When you click on links to various merchants on this site and make a purchase, this can result in this site earning a commission. Affiliate programs and affiliations include, but are not limited to, the eBay Partner Network.
Okay guys, I just got done repairing a leak from my oil cooler, the dreaded failure of the union between the housing and the block leading to coolant loss. Misha had added stop leak and that bought about a year or two before it started leaking again. It's a daunting repair, given how buried it is in the engine bay and the sheer amount of things in your way. However, it isn't so bad, it's just a time consuming and tedious process, not that any one thing is in of itself complicated. You will need a few things. Plan on an oil change and coolant flush, so get the necessary parts for that, and you will need the funky looking seal for the oil inlet/outlet on the oil filter housing, pictured here later. There are some places that would benefit from penetrating oil, especially the manifold studs you will have to remove. There are two that will make your job a lot easier, I broke one of them by mistake! It should be okay, there are 11 other studs holding it on, 10 of which were untouched. You will want a number of allen and star bits to get the job done, I bought
and it had all I needed. Anyway, here are the parts you will need;
-Metal union pipe and o-rings, available from ebay here
-Oil cooler gaskets - Part # 077198405, you really only need the double one, but you can remove and replace the others on the oil cooler itself if you like, available here on ECS
-Alternator coolant line o-rings, Part # N90783401, you need 4 of these
-8 qts 0W-40 VW/Audi approved oil, like Mobile 1
-Oil filter and crush ring for drain plug
-At least 1 gallon of G12 coolant, you can dilute it 50/50 with distilled water prior to adding to the system
Now, before you begin, you will want a place the car can be for a while in case you have unexpected surprises or the like. It takes time for parts to arrive.
1) Disconnect the battery! May as well do this while your hands are clean.
2) Remove the two belly pans below the motor and radiator
3) Remove the wheel and forward wheel liner, you will be doing a lot of your work from this area.
4) Remove the serpentine belt. For more room to access the alternator, you can remove the idler pulley and tensioner with one bolt each.
5) Remove the airbox assembly. There are only 2 bolts holding the bottom portion in, and the air hose out the bottom is clipped in.
6) Remove the headlight. It sounds difficult, but it is held in with 4 bolts only. There are two on top and two more on the bottom of the assembly, as shown. Unplug it after removing the bolts. If you find it difficult to pull the headlight out, you can undo the three bolts holding the bumper to the fender and a couple of those on top to allow the bumper cover to shift forward, also shown.
7) Next up is removing the air guide, also known as the little black plastic piece the accordion thing attaching to the air box leads to. There is one screw in the top and two in the bottom, and one near the corner of the grill that also helps hold the bumper cover on. Once you undo the screws, there are three clips holding it to a piece that collects air from in front of the radiator, 2 on the forward vertical edge, and one on the bottom. I ended up breaking all 3 of them, not that it seems to matter. That air guide is a real pain to remove and reinstall, take note of how the forward most screw bracket goes under the piece for the bumper cover, it takes finesse to line it up when reinstalling.
8) You removed the air guide and headlight for one reason, to access the 3 bolts holding on the upper portion of the torque mount! You will have to cut plastic, a dremel is tedious but works, I resorted to tin snips and that worked great. You will cut as shown to allow access to the forward 2 bolts. Once done, remove those three bolts, the one holding it into the insulator, and pull the piece out.
9) With that piece out, you can remove the insulator. Remove the 2 bolts holding it in and unplug the connector if it has one(mine didn't.) This would be a good time to put a new one in if it is worn out or just plain broken.
10) Next up, you want to drain the coolant, or at least what you can. Take the reservoir cap off and undo the lower radiator hose, the one shown. You will also want to undo the upper radiator hose at the aft end, also shown, so you can move it around for accessing things, not necessary, but it makes things easier.
10) Remove the oil filter cap and oil filter
11) Up next, you want to undo the electrical connections for the alternator, there are two. With those removed, you will want to undo the retaining plate, held in with a single screw, on both the upper and lower portion of the cooling lines to the alternator. The upper one is shown. I used tape at this point and a marker to label which one was which, so I didn't get confused reinstalling them. Once done, remove them, they are only held in by their o-rings at this point!
13) Remove the alternator, it's only held in by 2 bolts, one at the 1 o'clock and another at the 10 o'clock position, as viewed from the front. It's a bit tight getting those out, but once they are, friction holds in the alternator, a screwdriver as a pry bar worked for me getting it out, the retaining bushings hold it pretty tight and had to be knocked back a little to reinstall it for me, so keep that in mind for later. WD-40 or penetrating oil can help, too!
14) With the alternator out of the way, you can move to clearing up more room. Remove the sway bar, it's held in by 4 bolts plus one each from the sway bar links, also good to replace now if worn.
15) Before moving on to the next step, you will want to make sure you have the front of the motor supported, a floor jack with a board worked for me, with notches cut into it to fit in the ash tray and account for the angle of the oil pan. An engine bridge or hoist would work too, there are 2 hooks for it on the top of the motor. A spare jackstand under there would be a good idea, as a backup. I had that, and it's a good thing, because my jack lost height overnight, and the stand meant I only lost 2 inches in height or so.
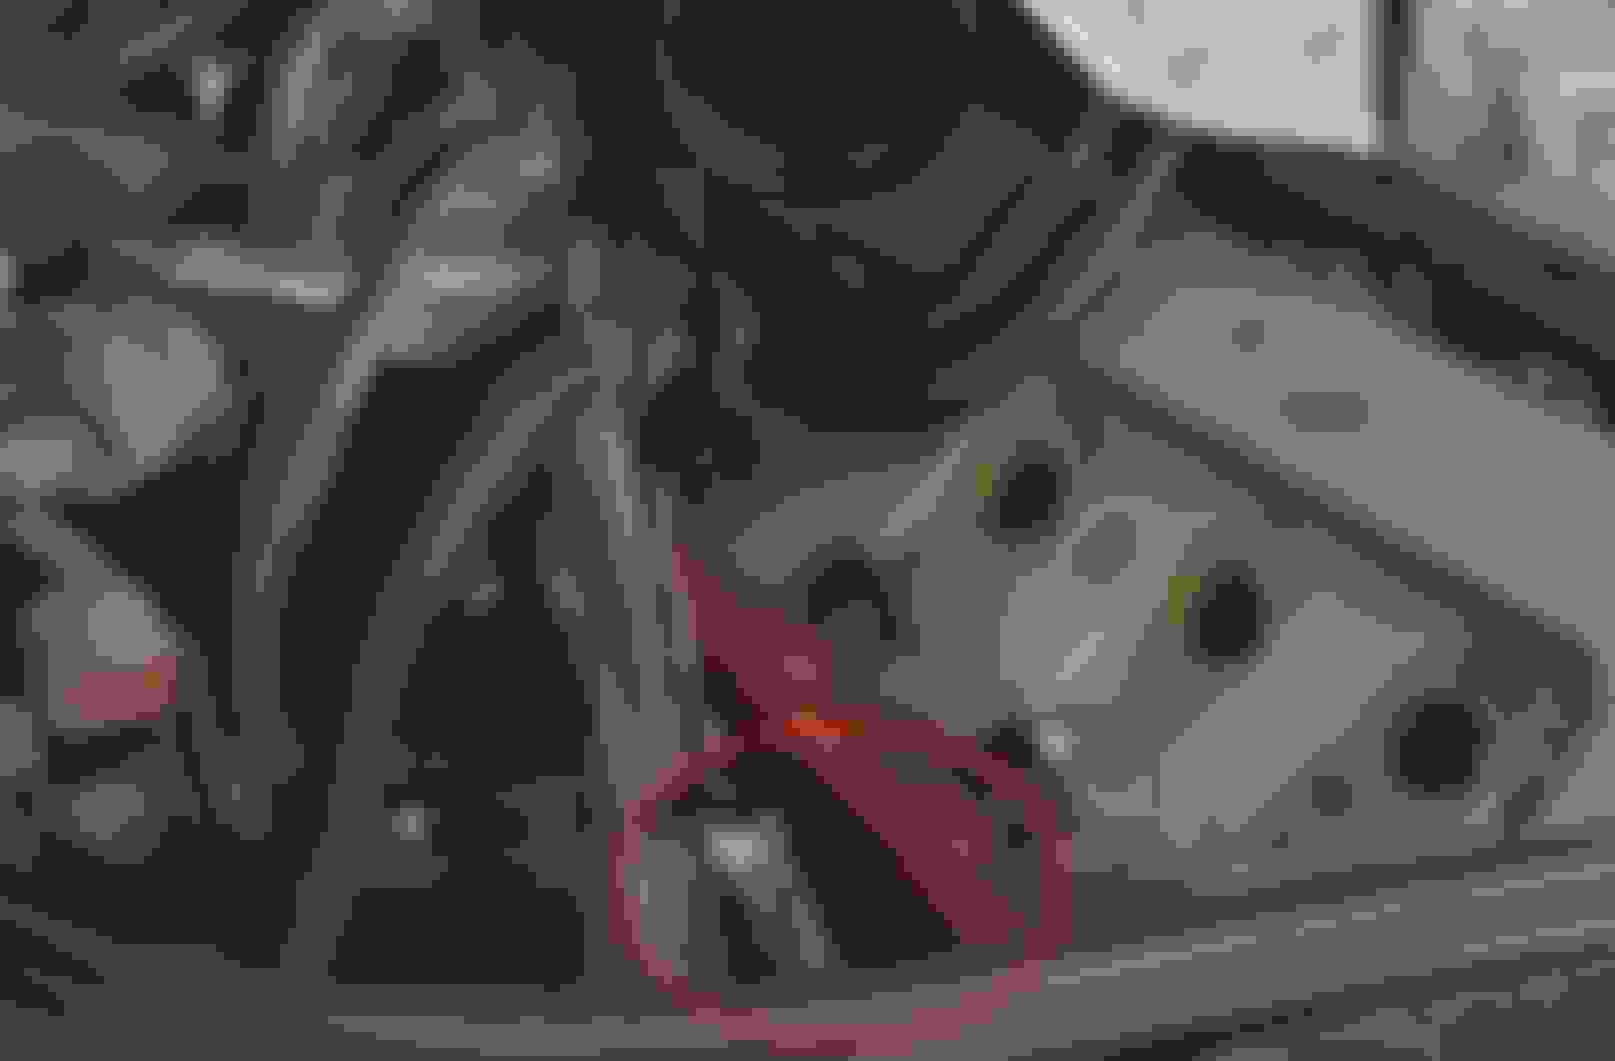
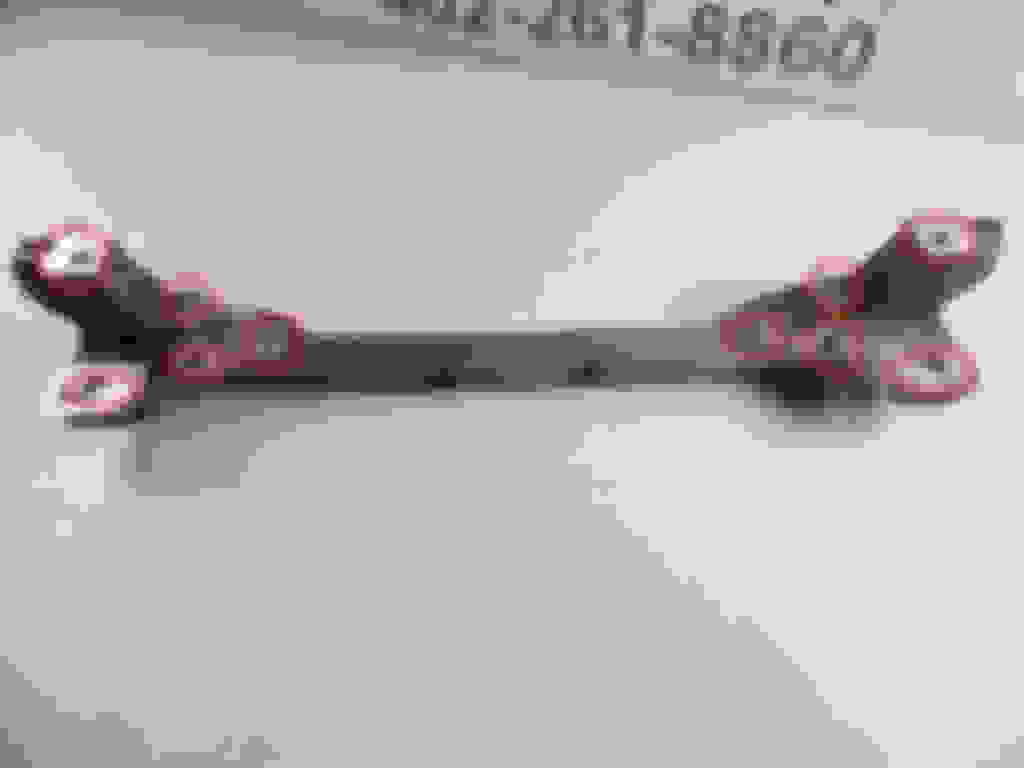
16) Remove the engine cradle linking the 2 forward motor mounts. It's only held in with 6 bolts, plus the 2 for each motor mount.
17) Unplug the passenger motor mount and remove the three bolts holding the bracket onto the motor. The mount and bracket will come off as one. This will make accessing 2 of the oil cooler bolts much easier. Note, a difficult to see wire is attached to it, it may be held with a zip tie or screw clamp kind of mount.
18) You will see a metal pipe running over top the oil cooler, blocking access to one of the bolts holding it on. You will want to remove 2 of the manifold studs if you want this to go easy. To do that, remove the nuts on the stud, and use the double nut trick to remove the studs(and reinstall them later.) I ended up filing the excess off of one of the nuts and using a larger one from a piecemeal kit, putting the larger one on snug first, then the smaller one snug over it. That allowed me to use the larger socket to pull the stud by the smaller nut stopping the larger nut from being unthreaded, so it turns the stud instead when you go to loosen it. I highly advise using penetrating oil and letting it set over night before doing anything with them, the studs are rusty and I broke one because the nut on it was seized.
19) With the studs out of the way, that metal pipe has one bolt holding it in, remove it and pop the pipe out of its hole.
20) There are 5 bolts you will have to remove, some of them a bit tricky. You will have to hold the metal pipe out of the way to access the top one, it's not too bad, though. See picture below for approximate locations, just to give you the idea. After that, work the oil filter housing from the engine block. Also visible in the picture is the only other gasket on the housing you have to replace, the funky double thing!
21) With the oil filter housing off, you can see the offending pipe. It's easy enough to remove, but mine left bits of itself both in the engine block and filter housing that I had to pull with pliers. Below are the bits of mine it broke into!
And that's it! Reassemble everything in reverse of how you took it off. Be careful not to overtorque some of those bolts, remember a lot of them are going into aluminum. Check to make sure the oil filter housing is seated properly by sticking your head in where the motor mount was and see if there is any gap between the housing and the block, it should be flush. The chassis bolts you can use more force on, of course, those are always tight. Don't forget to bleed the cooling system, there are two bleeder screws near the cabin air filter on the passenger side. You have to remove the cabin air filter for one of them, easy enough to do. Good luck guys, careful wrenching! Most things here don't require a lot of force unless mentioned. Also, be aware that removing the engine cradle can mess with your alignment, apparently it's part of it, but I didn't see an evidence of it having done so for me.
Oh, and thanks to MP4.2+6.0 and Mister Bally for guidance, I know I kind of ended up doing this my own way. I was also in the middle of a lot of other repairs, so other stuff being out of the way probably made it easier. I should note that I did remove the portion of the torque mount on the front of the engine. Rather, I undid it, since I couldn't actually get it out. In some ways, this made it harder, because the loose piece was in the way as it flopped around, but if it is necessary to access the bolts, it can be undone with 3 bolts on the front, all of them near where the tensioner is. You also have to remove the passenger side(2 screws) and lower timing cover(2 clamps.)
Great write up!! I wonder if the 2007 and up fsi engine has the same issue and would it be the same procedure... cause I have a leak I cant pin down to where is coming from, I already changed the seals to the oil filter housing which was leaking plenty, and also the the valve cover gaskets.
Great write up! Well done.
Hopefully the 'stop leak' can do the trick otherwise I'll have to do the same thing...
How long did it take?
This car had stop leak used and it worked for about a year! Previous owner tried it, I personally don't like the stuff. Because I kept having to buy tools and wait for parts and going off of incomplete instructions that didn't quite work for me, it took a few weeks on and off, and probably 15 hours. If I were to do it again with these instructions and everything on hand, I bet I could do it in 5 or 6 hours. Just take your time removing some of the tight fasteners to avoid stripping them, slow is smooth, smooth is fast.
Has anyone had an issue with the oil cooler leaking oil instead of the antifreeze?
I have an oil leak and after doing the oil filter housing, oil pan seal and the intake gaskets now it leaks form the oil cooler looks like. From what I read - most oil cooler issues are on the coolant side, mine seems to be on the oil side - has anyone dealt with this?
A couple people reported an oil leak after replacing the coolant pipe on the BFM engines. You must replace all of the seals between the oil cooler and engine block. Otherwise you have to do the repair all over again. The second time with the seals.
A couple people reported an oil leak after replacing the coolant pipe on the BFM engines. You must replace all of the seals between the oil cooler and engine block. Otherwise you have to do the repair all over again. The second time with the seals.
In my case, it was from not quite tightening the bolts enough. Stupid, but hey.
hey Jack. Great tutorial. I have this problem on my 2003 and I�m toying with the idea of trying the stop leak.Which one did you use? Did it clog anything up?
usually I wouldn�t dream of stop leak but the complexity/cost of repair vs life left and condition of car (200k miles now) means I might try it.
many thanks again.
stoosh
Originally Posted by Jack88
This car had stop leak used and it worked for about a year! Previous owner tried it, I personally don't like the stuff. Because I kept having to buy tools and wait for parts and going off of incomplete instructions that didn't quite work for me, it took a few weeks on and off, and probably 15 hours. If I were to do it again with these instructions and everything on hand, I bet I could do it in 5 or 6 hours. Just take your time removing some of the tight fasteners to avoid stripping them, slow is smooth, smooth is fast.
 07-03-2018, 07:26 PM