When you click on links to various merchants on this site and make a purchase, this can result in this site earning a commission. Affiliate programs and affiliations include, but are not limited to, the eBay Partner Network.
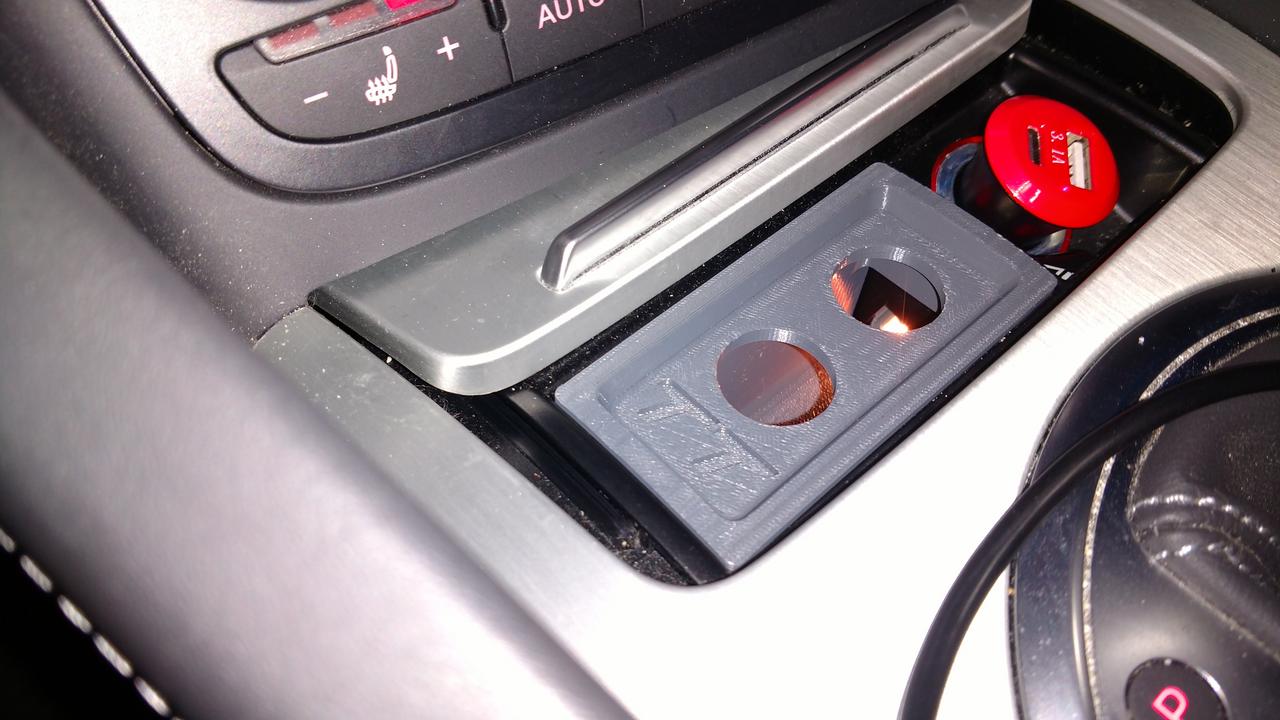
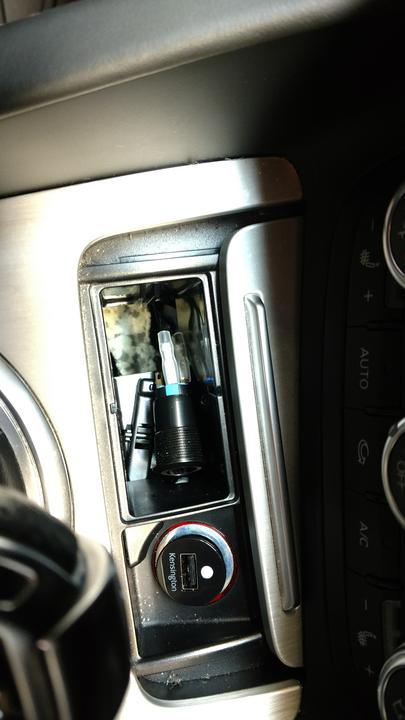
First post here so I'd thought I would share a small project I worked on. I wanted foot well lighting in my 2013 TT and couldn't find a nice way of incorporating a system for turning them on and off without destroying the dash at all. I ended up taking out the ash tray and found it was a perfect size and could be easily incorporated into the console and would still look "stock."
For an easier read, these are the other parts I had to order offline:
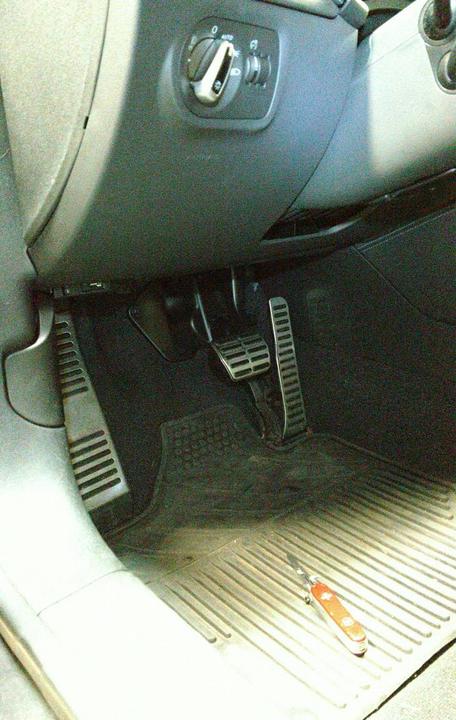
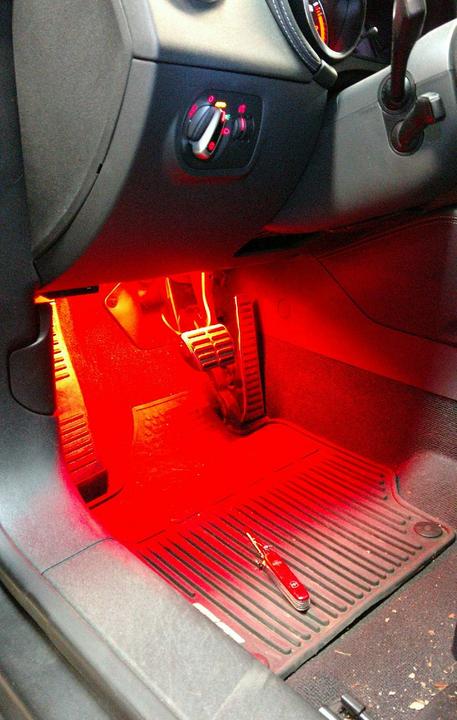
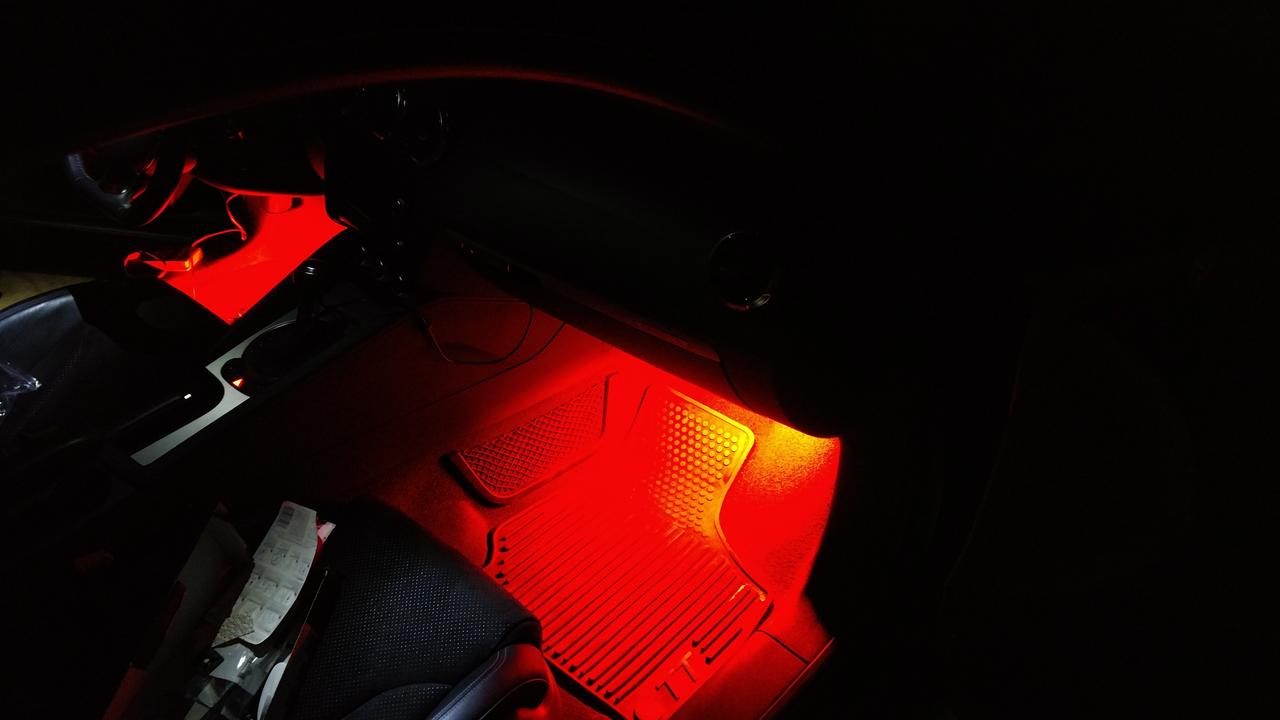
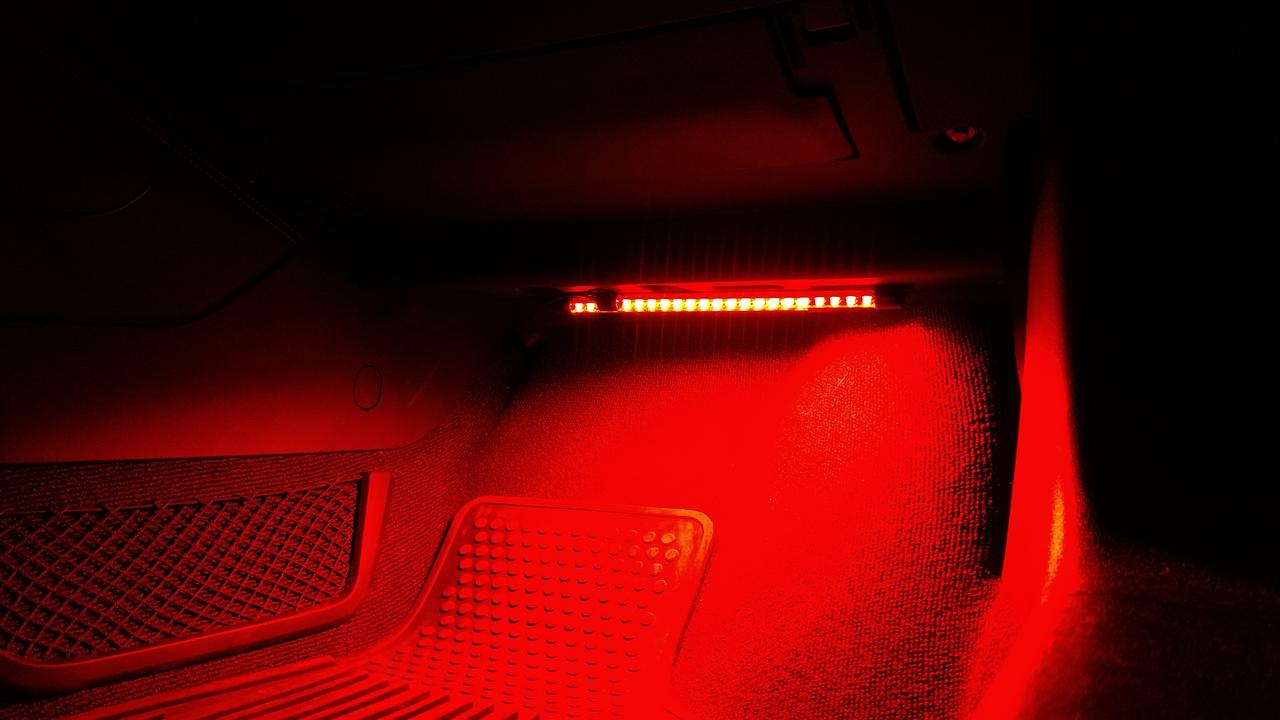
These are the lights I got for under the dash, they throw a lot of light, especially since I have them grouped up with 2 sets in each foot well.
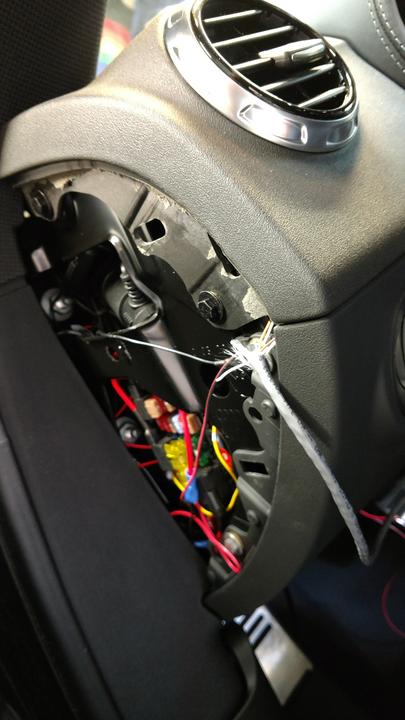
Hard Wiring it into the fuse box and testing the connections, this was to test to make sure I had the paths correct and grounds were solid, didn't want any shorts on this at all:
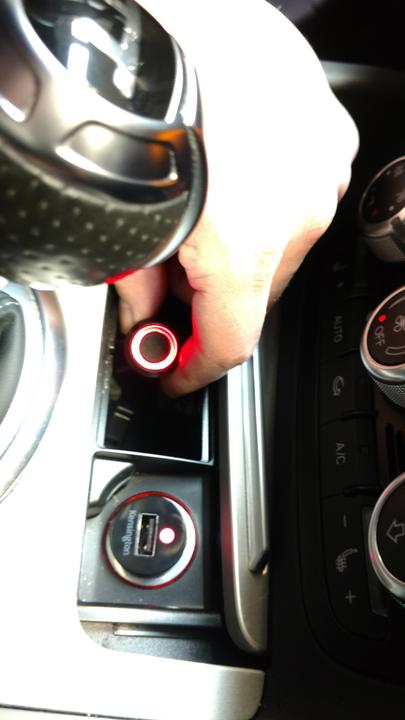
IT WORKS!
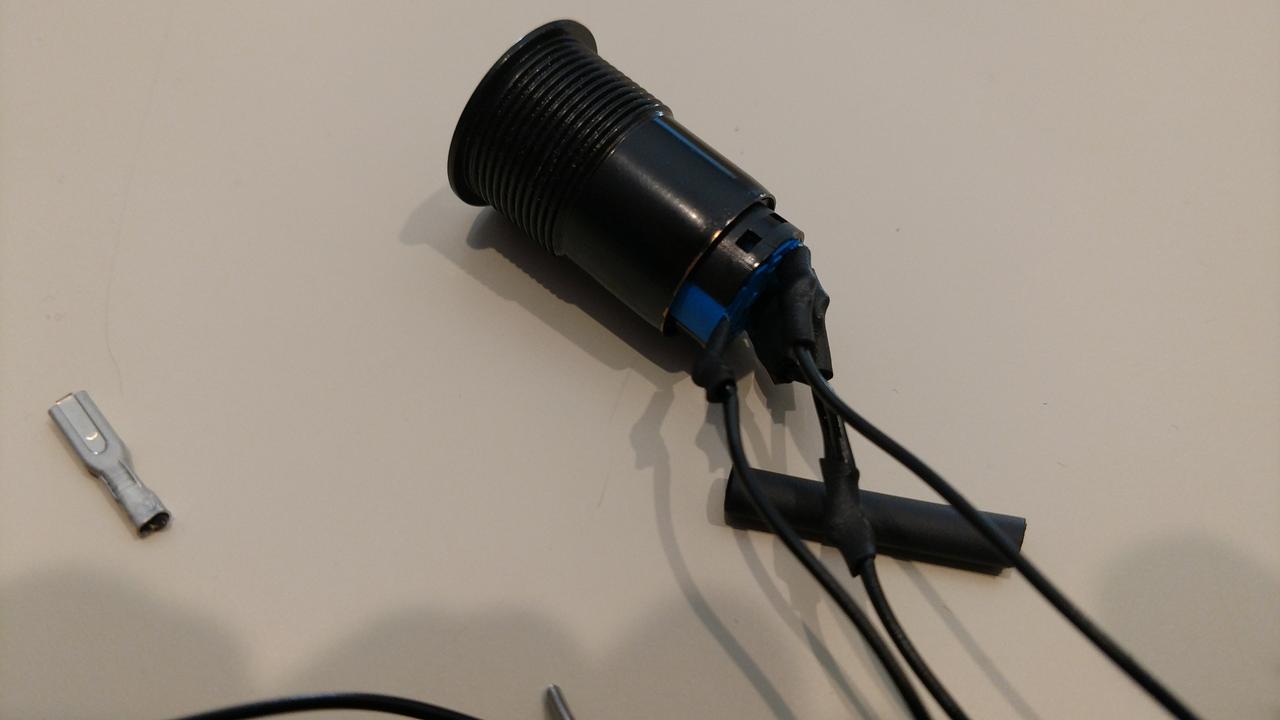
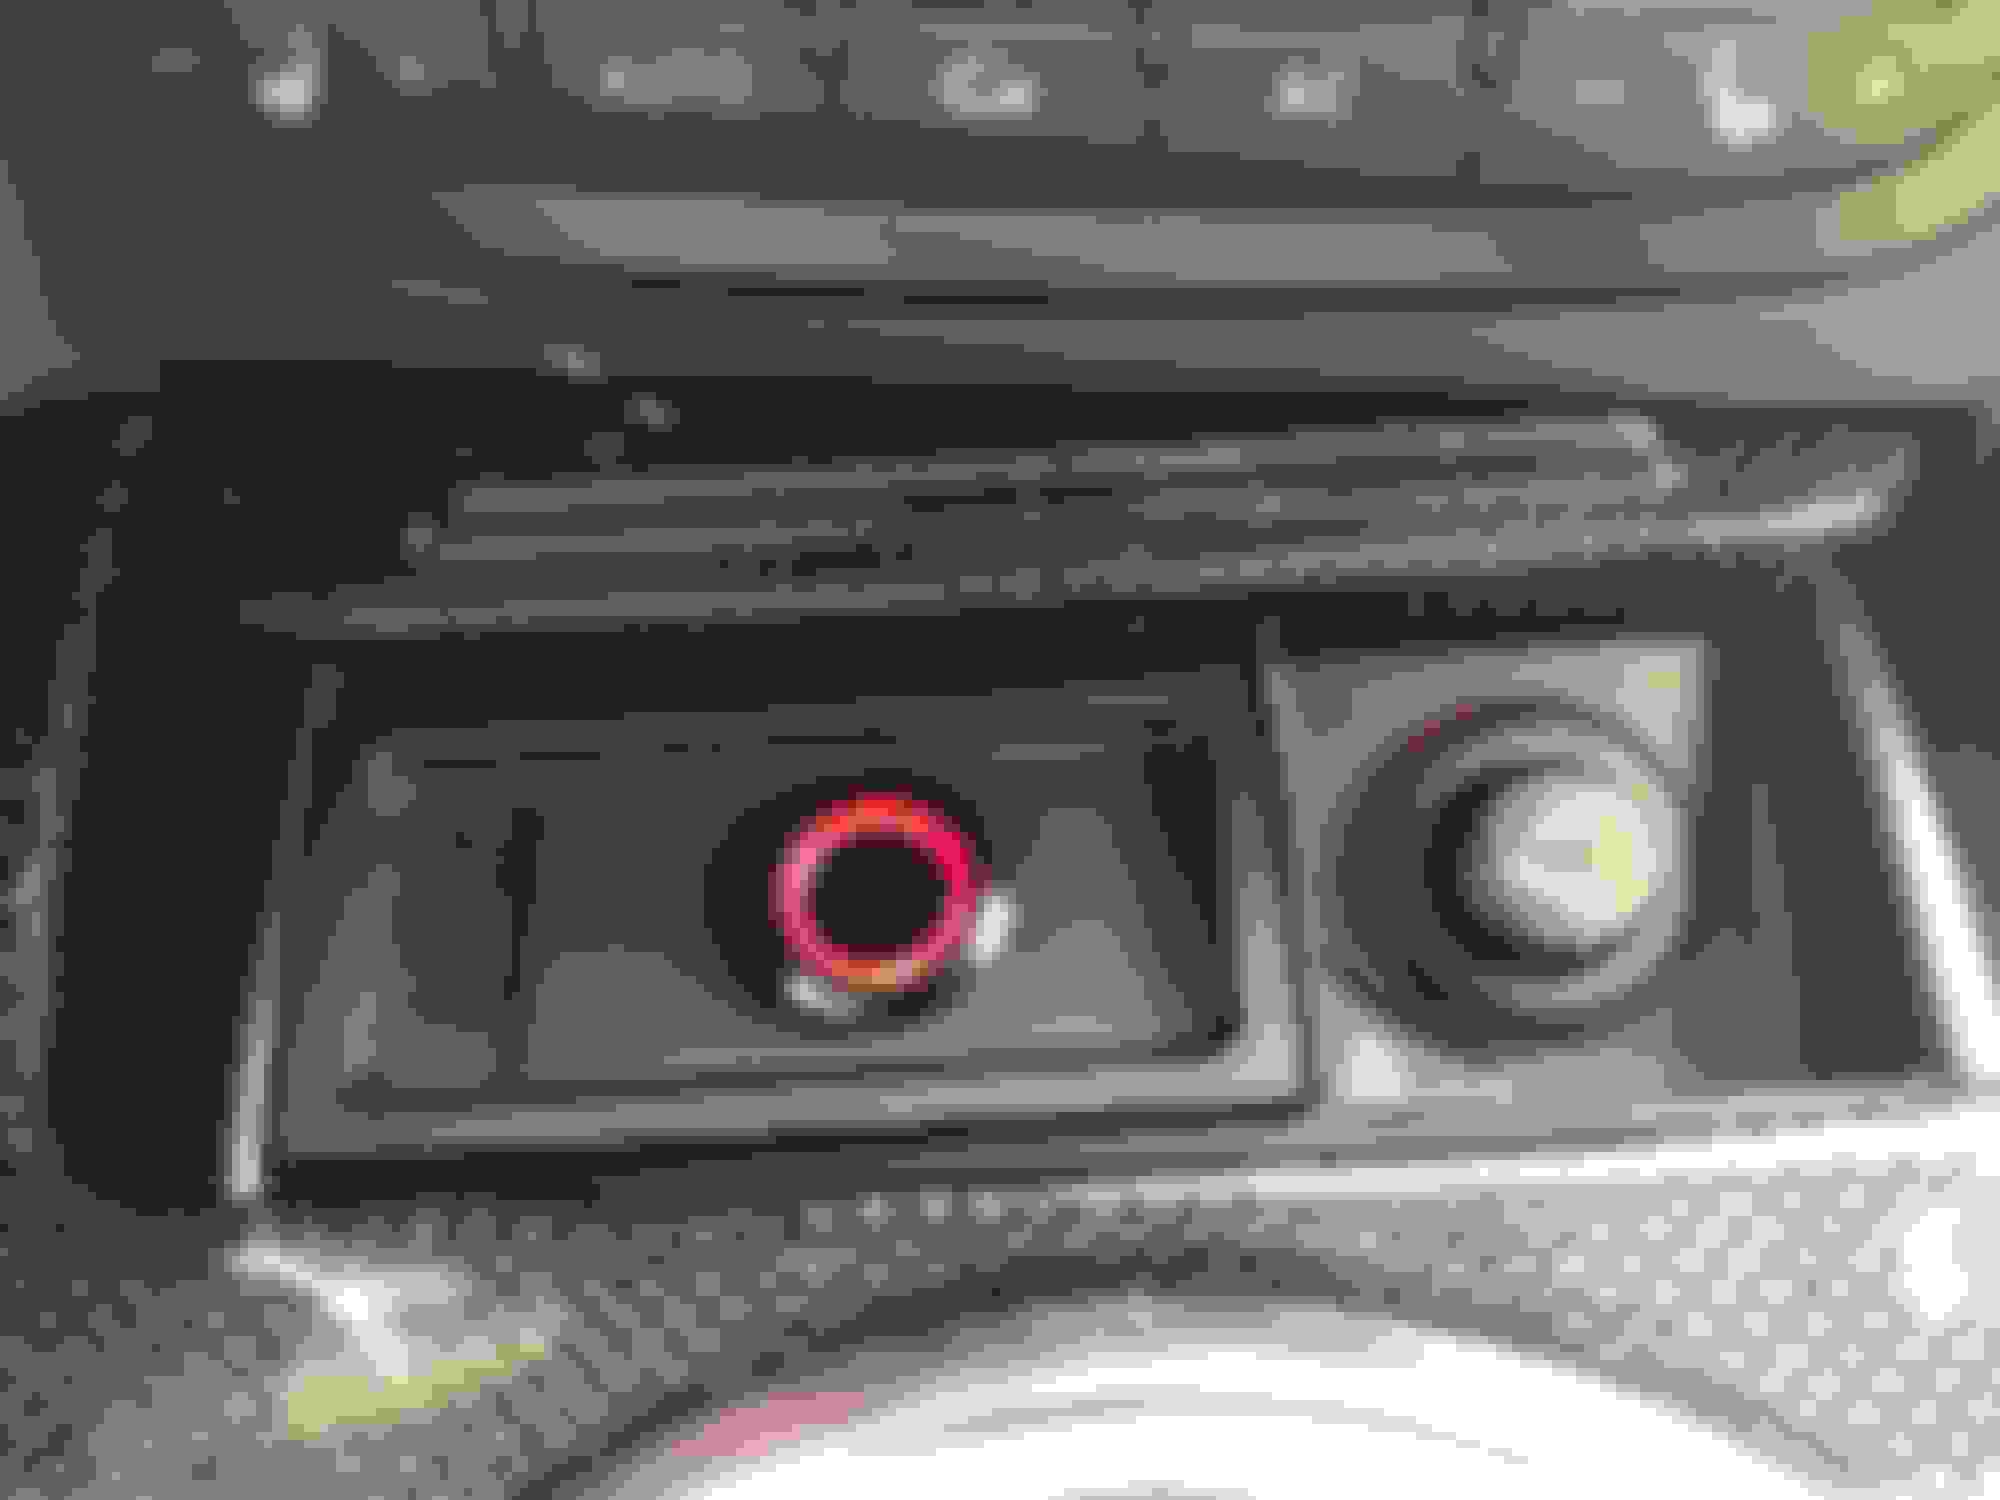
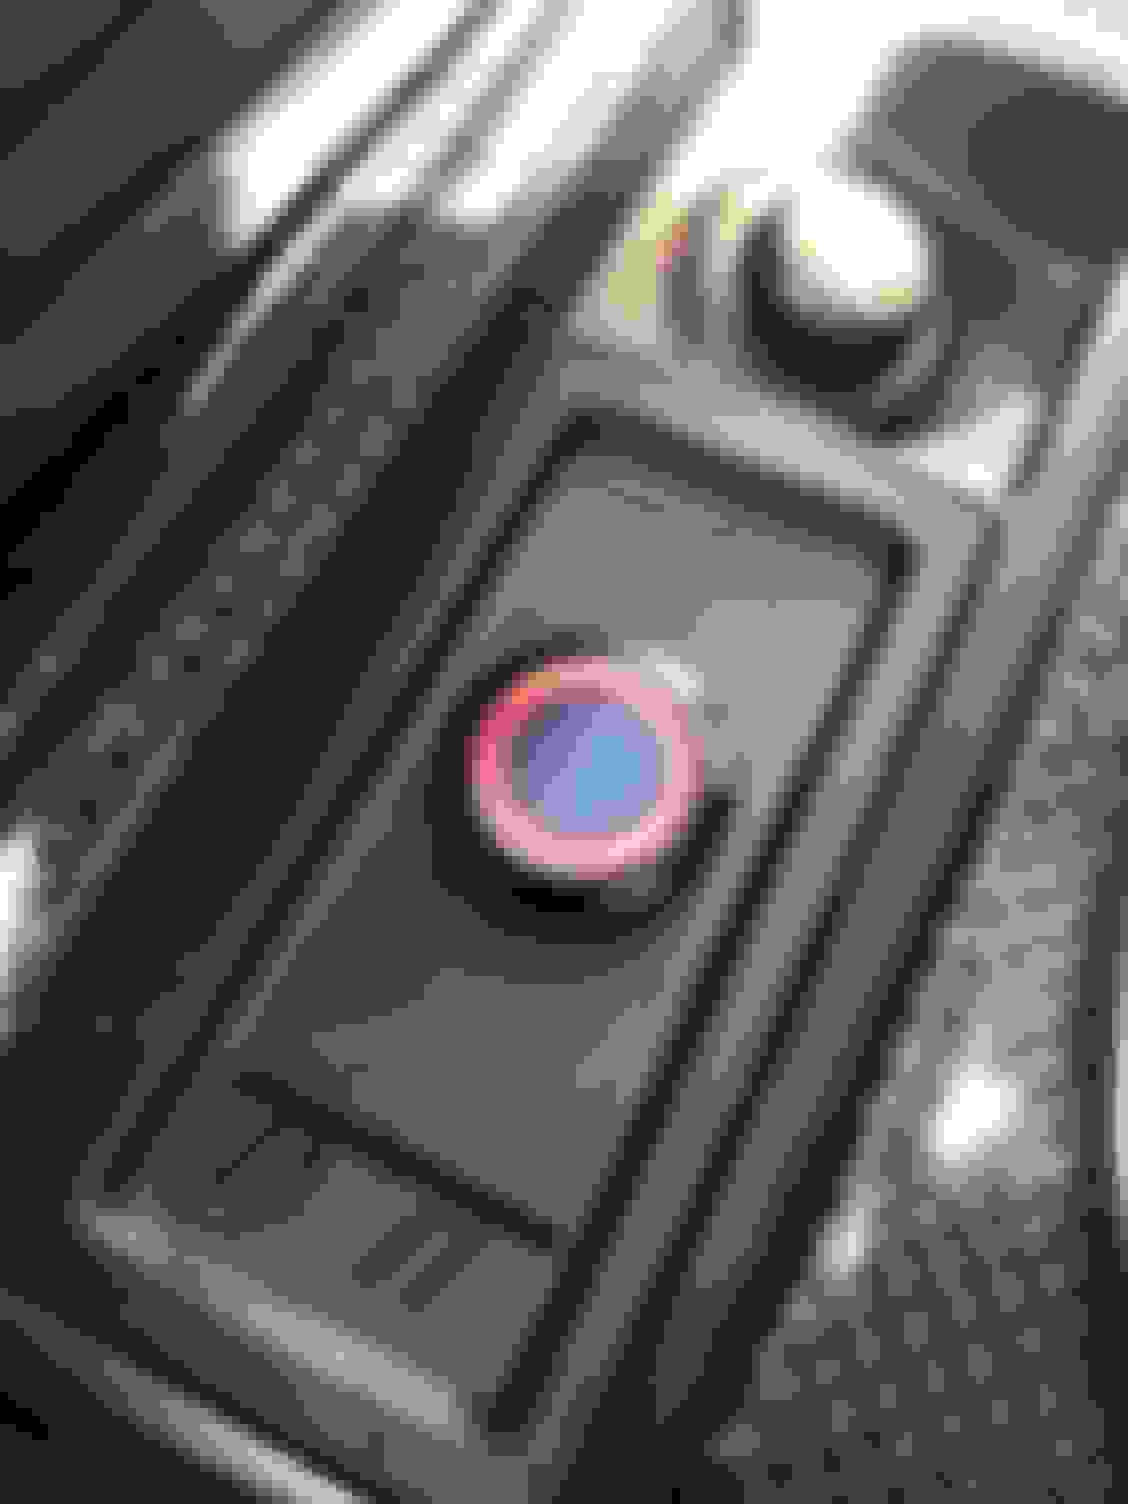
Starting the wiring and soldering of the buttons, the final connections in the car were all soldered and heat shrinked to make sure I had good connections and that there was no chance of them shorting out at all.
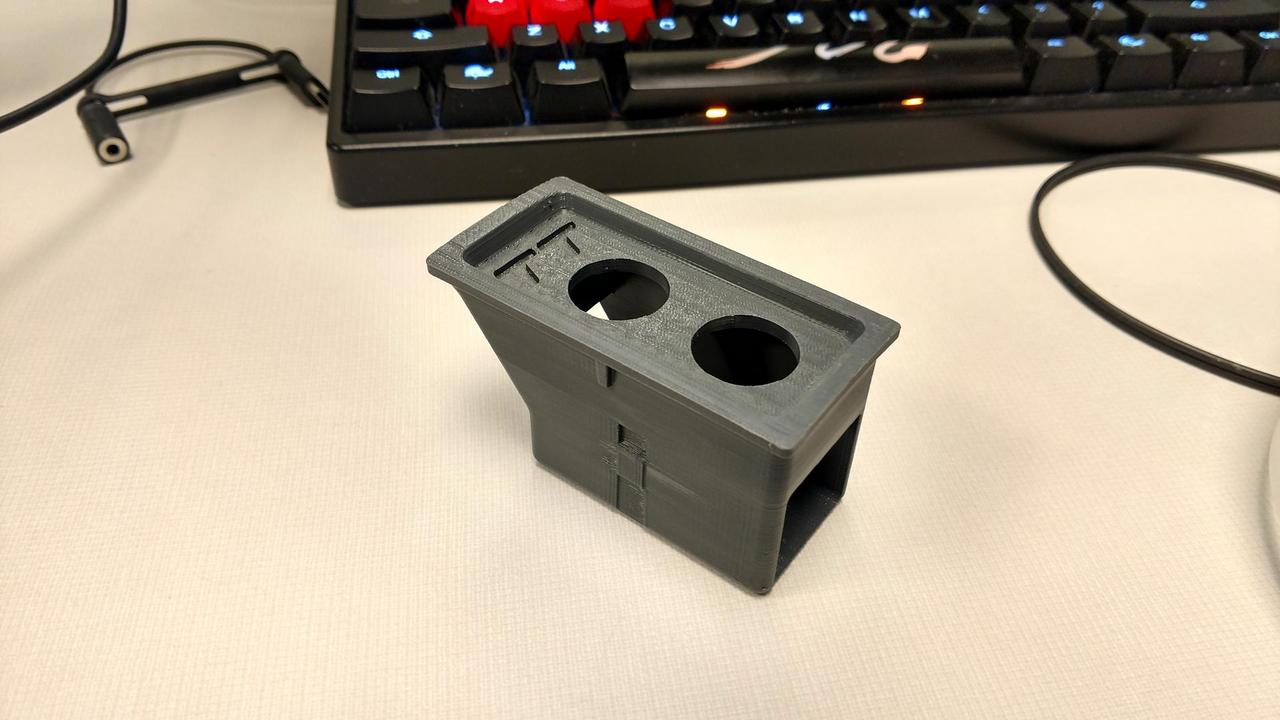
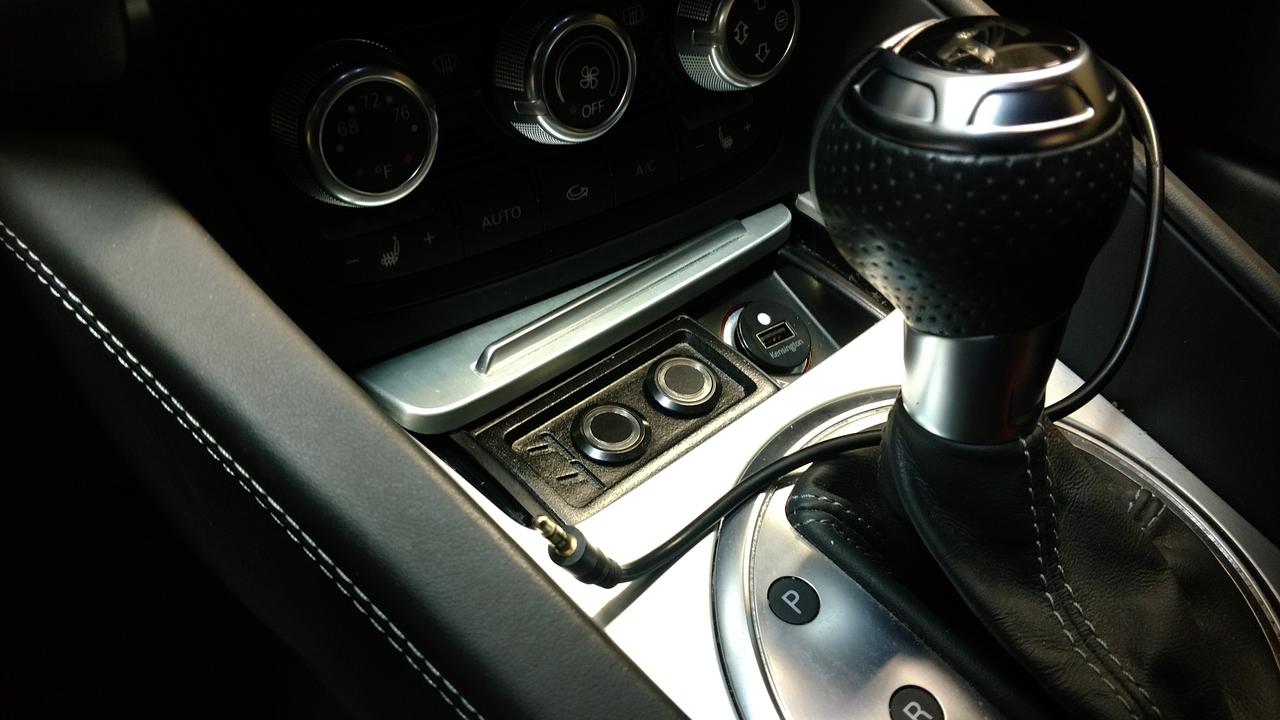
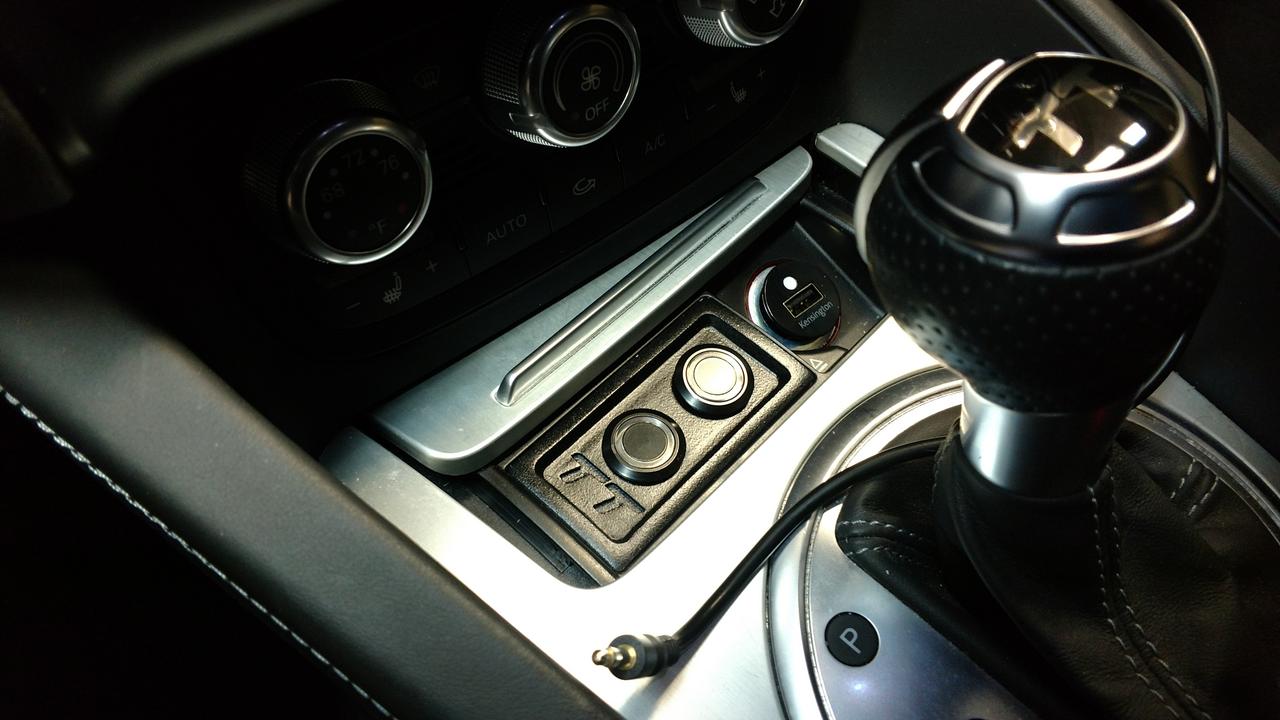
Overall, I'm pretty happy with the result, the one switch will be wired as an on/off switch for a WMI system in the future, but for right now it's not hooked up to anything. I have the files for this project so if anyone is interested in doing this themselves, let me know and I can post up the 3D print files.
This is a great post! I was googling tonight to find something like this and here is your post. I have downloaded your print file for a single button. Thank you for sharing that! I am curious what units the model is in? I don't have the software but a friend has a printer so I was going to have him make me one. Thank you!
Well I downloaded the print file, found a 3D printer in my area via www.3dhubs.com and got a single-button box printer. RGB footwell lights on order from DeAutoKey Will post my version of the photos when installed.
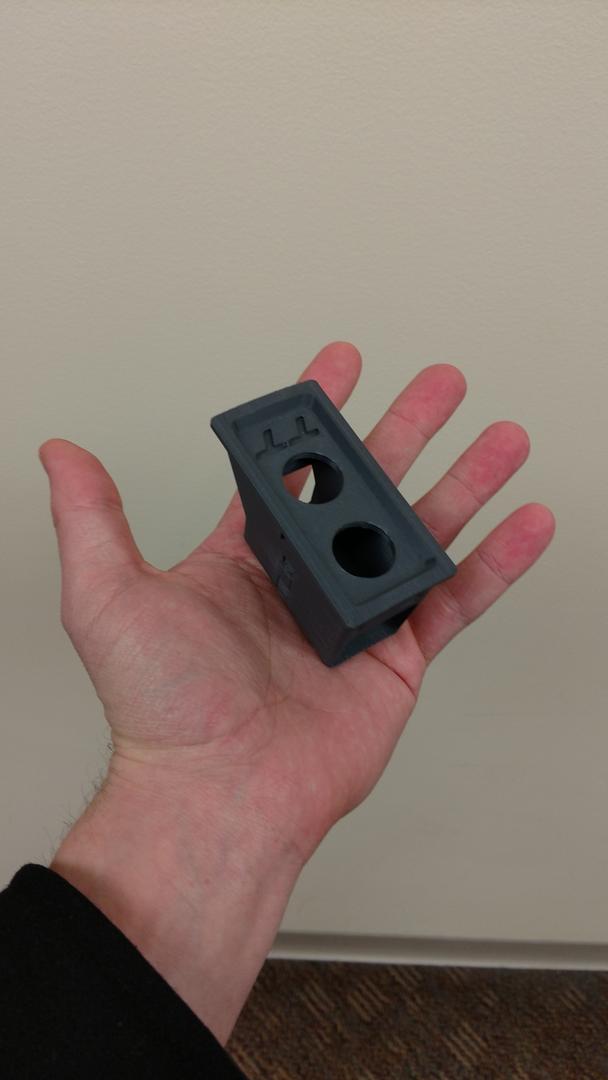
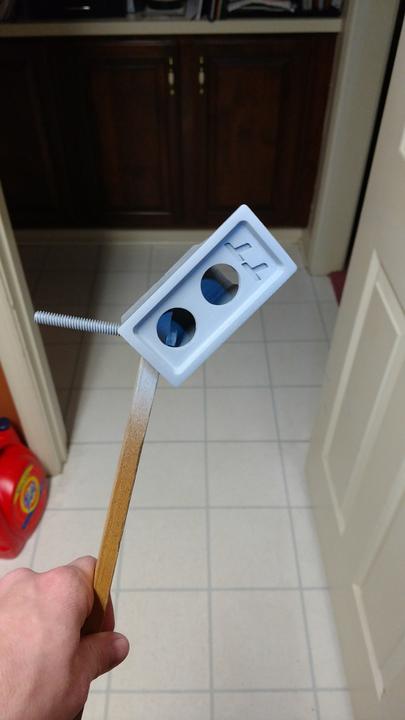
Here are photos of the 3D printed button box. I receive it in 1-2 days, will sand it and paint it.
Well my version of the above mod is 98% done. Just need to determine now that it's all done if I want to sand down, clean up & paint the 3D printed box. Thanks to ComplxDesign above, I got my 3D box printed for $13cdn, then ordered the same LED switch he did. I ordered RGB footwell lights from DeAutoLED/Key and some previously mentioned OSIR carbon pieces (i have posted a some photos in a different thread). My 12v electrical guy did the final connections. Overall quite happy with the results!
 05-25-2017, 04:44 AM