Audi A3: How to Replace Brake Master Cylinder
When you know your brakes are good, but your pedal is traveling a long way before slowing you down, you may need to replace your master cylinder.
This article applies to the Audi A3 (2005-2016).
Replacing the master cylinder on your A3 isn't a very difficult job, but it can be a pain to get to it. You'll need to remove stuff and get it out of your way to make more room to work in. These aren't difficult tasks, but they simply just add more time to your project. There are no special tools needed to do the job, but of course you will have to bleed your brake lines after you have made the replacement. Replacement master cylinders can be found relatively cheaply, but the labor at the dealer is never cheap. Do it yourself and save a ton of money from taking it to a professional. Brakes are nothing to take for granted, so if you have any qualms about doing this repair yourself, you may want to consider biting the bullet and having a pro do it for you.

Materials Needed
- T54 Torx bit and driver
- Turkey baster
- Phillips head screwdriver
- Pliers
- 11mm wrench
- New brake fluid
- Bleeder kit
- Assistant (optional)
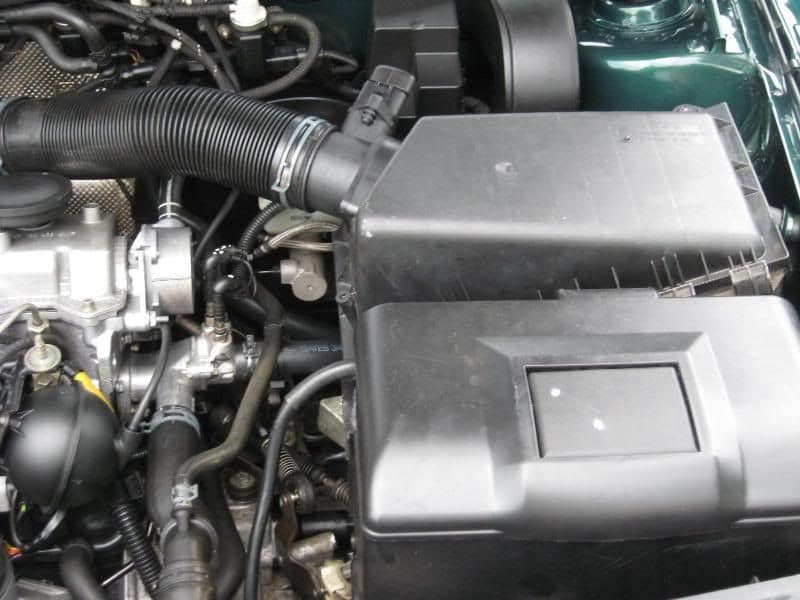
Step 1 – Start making some room
You will want to create some more room to get to the master cylinder by removing the air filter housing and the intake tube. This takes only a matter of minutes and isn't difficult at all. The additional time taken here will more than make up for itself when you have the extra space to work.
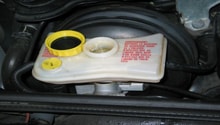
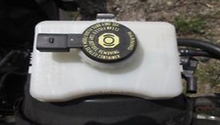
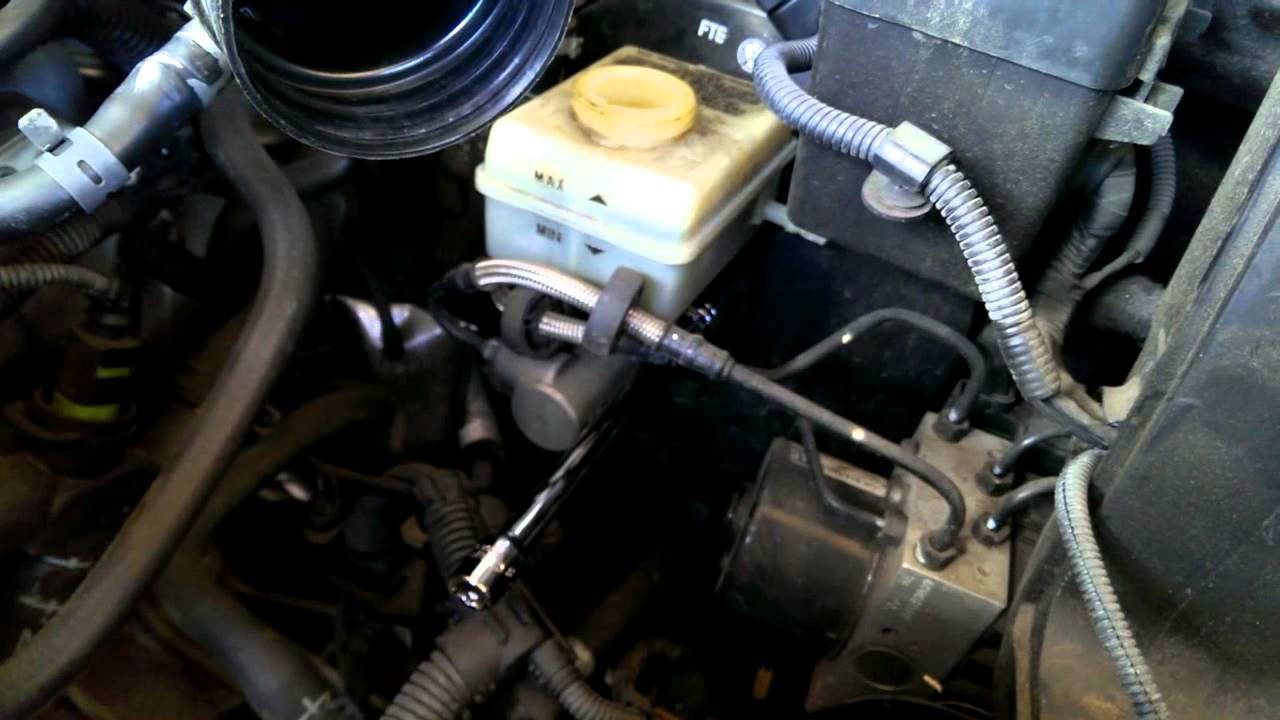
Step 2 – Empty brake fluid reservoir
Pull the sensor off the master cylinder cap and then remove the cap. Use a turkey baster or other suctioning device to remove as much brake fluid as possible to avoid making a mess when the reservoir and master cylinder are removed. When you have sucked out as much as you can, pull out the filter sleeve from the neck of the reservoir. Check it for damage and replace it if necessary.
Pro Tip
Brake fluid is nasty stuff. It will soften paint if allowed to stay in contact, so avoid spilling it. If you do spill it, rinse it off with water ASAP.
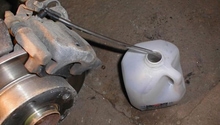
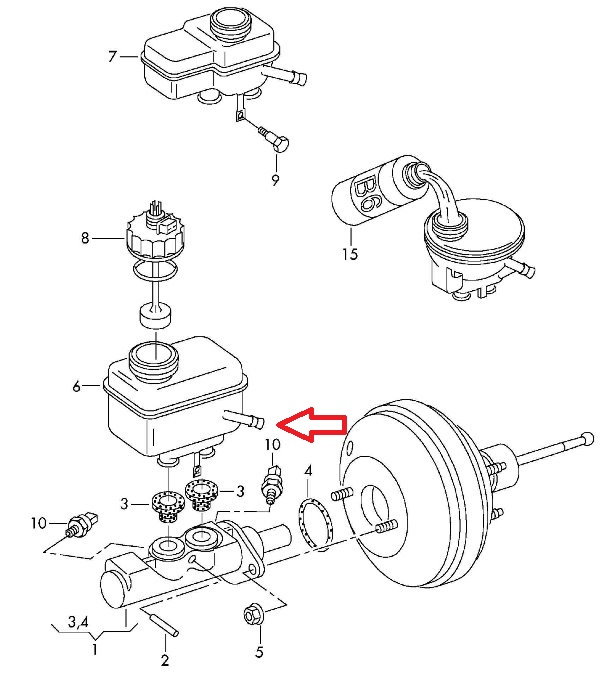
Step 3 – Remove the reservoir
Use a Phillips head screwdriver to loosen the clamp on the small diameter feed hose from just below the neck of the reservoir. Take care to not spill any brake fluid from this hose. Remove the two mounting bolts from the reservoir to the master cylinder, and pull it off. Again, watch for spills here. Set the reservoir aside.
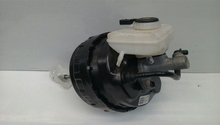
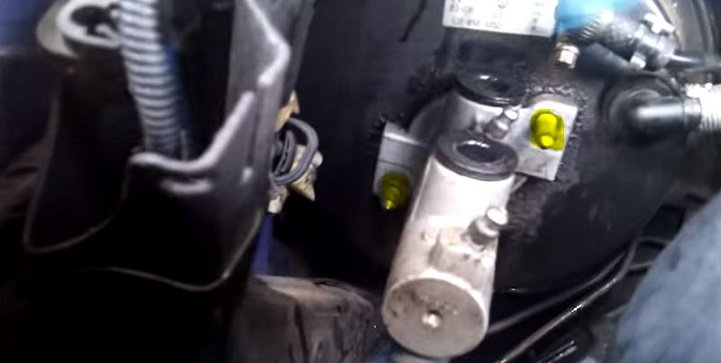
Step 4 – Remove master cylinder
With the reservoir off, you can now remove the master cylinder.
- Disconnect the two 11mm hard lines from below the master cylinder. Be very careful not to crimp or kink these lines.
- Remove the 13mm mounting bolts from the master cylinder to the brake booster.
- Carefully pull out the master cylinder and set it aside.
- Alternatively, you can keep the reservoir attached and remove both as one unit, but it is much harder to reach the bolts and brake lines.
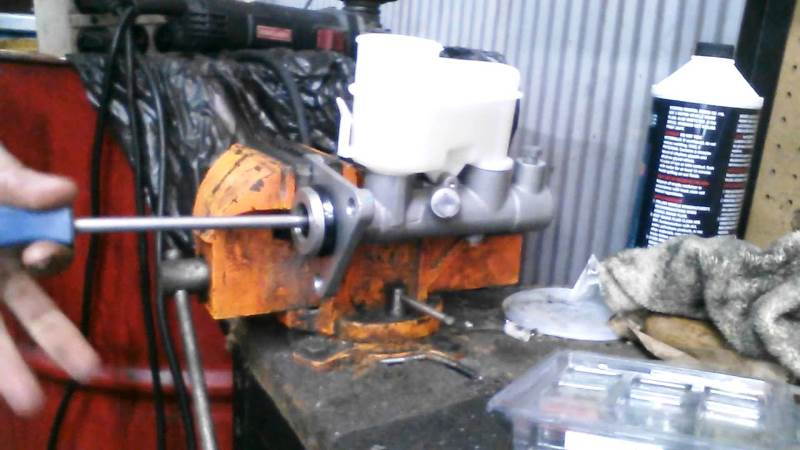
Step 5 – Bench bleed master cylinder
To make things easier, and quicker, install the reservoir to the new unit and add fluid. Then, with the master cylinder held securely in a vice, press in where the brake rod goes with a screwdriver. Pump until fluid squirts out of the brake line fittings to be sure you have fluid flowing properly.
Step 6 – Install master cylinder and bleed system
The new master cylinder will install even easier than it was taking the old one off.
- Remount the master cylinder to the brake booster and torque the 13mm bolts to spec.
- Replace the hard brake lines at the bottom of the master cylinder and tighten; be careful not to strip the bolts or bend the line.
- Re-attach the reservoir overflow hose.
- Fill the reservoir to the fill line and replace the sensor on the cap, but leave the cap loose.
- You will need to bleed your brake lines, starting with the rear passenger side. (Step 3 in How to Replace Brake Fluid.)
- Make sure you keep the reservoir filled at all times and bleed one wheel at a time, pumping the brakes until the fluid starts running clear out of your bleeders.
- Fill the reservoir with new fluid and put the intake plumbing and airbox back in place.
- Take her for a test ride and enjoy your new, better brakes.
Featured Videos: Master Cylinder Replacement
-
Part 1
-
Part 2
Related Discussion and Site
- Replacing the Master Cylinder - AudiWorld
- Audi TT DIY Master Cylinder Replacement and Brake Hydraulics - Audi-DIY.Blogspot