Audi A3: How to Replace Fuel Door
This article explains just how easy it is to replace the fuel door on an Audi A3.
This article applies to the Audi A3 (2003-present).
Fuel doors are small flaps that protect the gas caps from being lost or stolen. The Audi A3 has a special electronically controlled gas door that requires a switch to be press in order to open. As cool as this device is, it leaves a chance for the fuel door to become jammed. In these situations, you can just as easily use the manual procedure to open the door until fixing it. However, you should know the procedure to replace the door is very simple to do, as explained below.

Materials Needed
- Flathead screwdriver
- T20 Torx driver
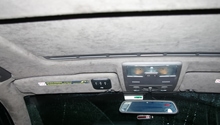
Step 1 – Locate the rear access
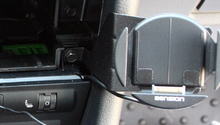
Open your trunk and locate the access port near the passenger side wheel well. It will look like a small circular cover recessed into the side of the trunk. Grab your flathead screwdriver and pry it upwards.

Step 2 – Loosen the taillight mount
Although some consider this step optional, removing the bolt allows you to easily access the pull lever. Use your flathead screwdriver to loosen the top taillight mounting bolt and remove it.
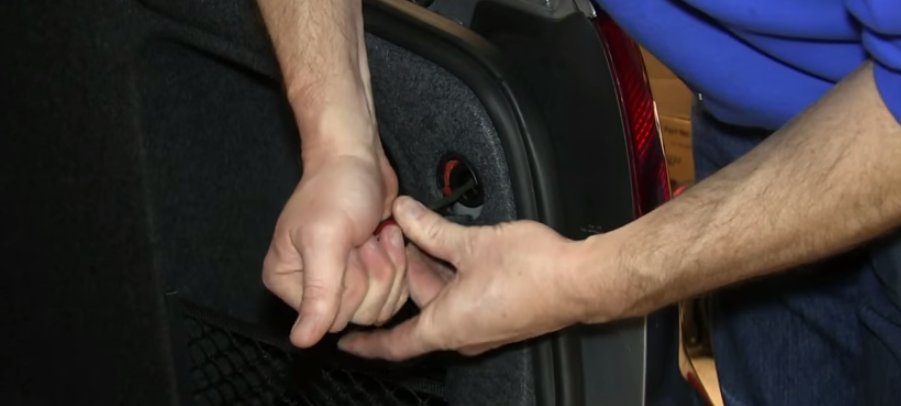
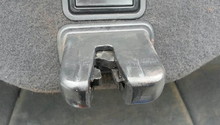
Then, grab and pull the red cable.
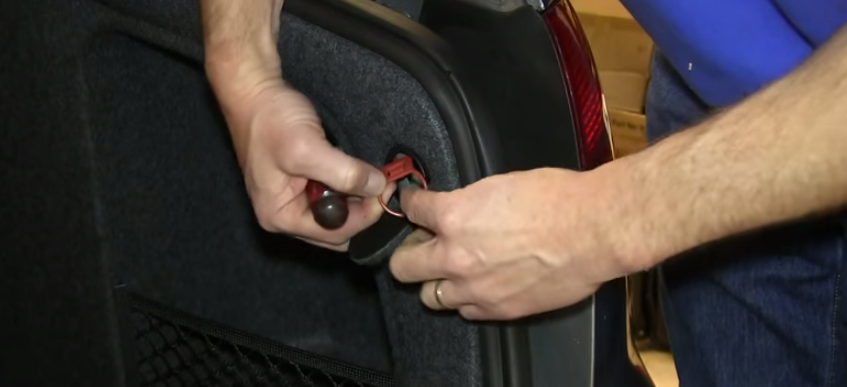
Step 3 – Open the gas door and remove the T20 Torx bolt
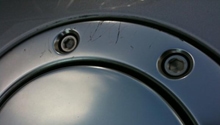
Pulling the cable will release the lock on the door and allow you to access the T20 bolt holding the entire assembly to the car. Loosen the T20 Torx bolt and remove the gas cap. Then, pry the fuel lid cover up with your hands, working around the fuel cap ring and eventually pulling it off. Now, unhook the release cable.
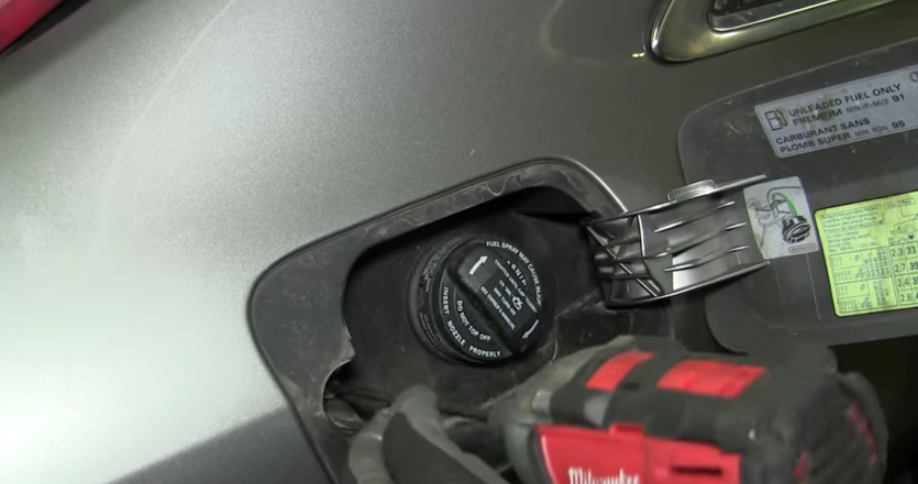
Figure 4. Remove the T20 Torx bolt. 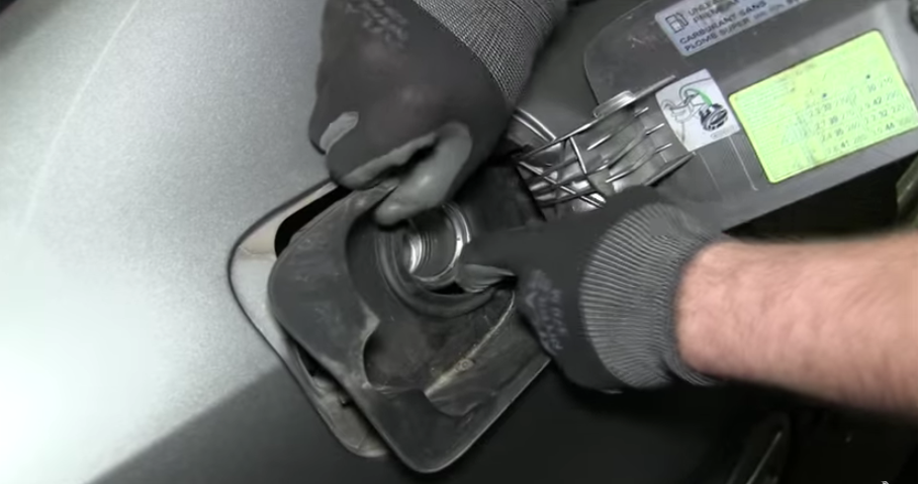
Figure 5. Pry the cover off the car. 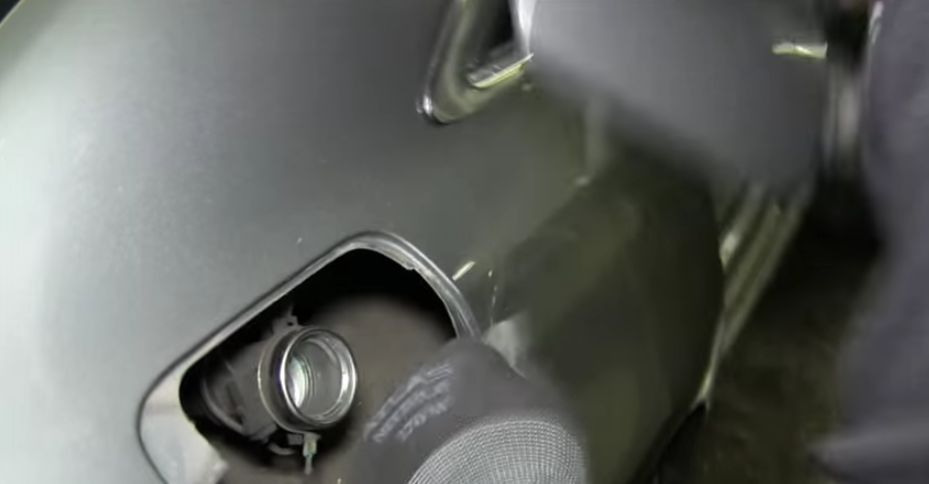
Figure 6. Disconnect the release cable.
Step 4 – Install the new lid
- Connect the release wire.
- Install the lid along with the fuel door.
- Install the gas cap.
- Tighten the T20 Torx bolt.
- Install the taillight mounting bolt.
- Place the cable release back inside and cover the rear access.
Pro Tip
Make sure you paint match the newly install fuel lid so it matches with the rest of the car. You can also simply purchase a pre-painted lid.
Related Discussion and Videos
- Fuel Door Actuator Replacement? - Audiworld.com
- How To Manually Open Fuel Gas Door Audi A4 2003-08- Youtube.com
- How to Manually Open & Remove Fuel / Gas Door - 2004 AUDI A8 D3 - Youtube.com