Audi A3: How to Replace Parking Brake
You need the parking brake to keep your car from rolling away on a hill, or to pull off sweet 180 degree turns like a rally driver. If it's not working, here's how to get it back to 100%.
This article applies to the Audi A3 (2005-2012).
One of the most dependable tools on your car is the emergency brake. The function and design is so basic that its staying and stopping power is almost always there. Still, things can happen, such as binding pads, seizing cables, and general rust, which can cause complete inoperability. Since the hand brake doesn't have much affect on the otherwise normal operation of your vehicle, it is one of those items that we tend to overlook in our maintenance schedule. Luckily for you, this is a straightforward and easy job to do in our own garage. This will save you cash and removes any excuse for not getting it fixed.

Materials Needed
- 10mm wrench
- Torx driver and T15 bit
- Hydraulic floor jack
- Jack stands
- New emergency brake line
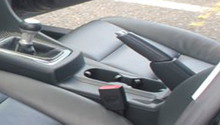
Step 1 – Remove your center console
The hand brake handle comes out of the center console, and just behind it, under the storage compartment, is the adjuster for the brake cables. To fix the parking brake, you need to start here.
- Remove the rear ashtray and cup holders.
- You now have access to the bolts holding the center console down.
- Remove the four T15 Torx bolts.
- Pivot the console forward and then pull the front out of where it slides into the gear shift housing.
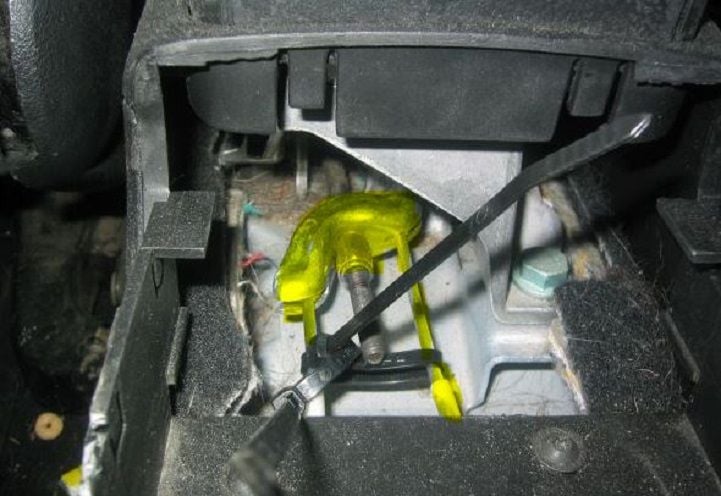
- Set the console aside and you now have access to the ends of the emergency brake lines and the adjusting nuts.
- Release the emergency brake and loosen the adjusting nut with a 10mm wrench. Don't remove the nut completely.
Step 2 – Lift car and remove brake clips
Lift the rear end of your A3 at the approved jacking location and place on jack stands for safety. You need to get to areas under the rear of the car, but if you prefer, you can jack up all four wheels.
- Remove the parking brake cable retaining clip.
- Remove the end of the emergency brake line where it meets with the calipers.
- Remove the parking brake cable from the retainer hooks, making note of their location in relation to the brake line.
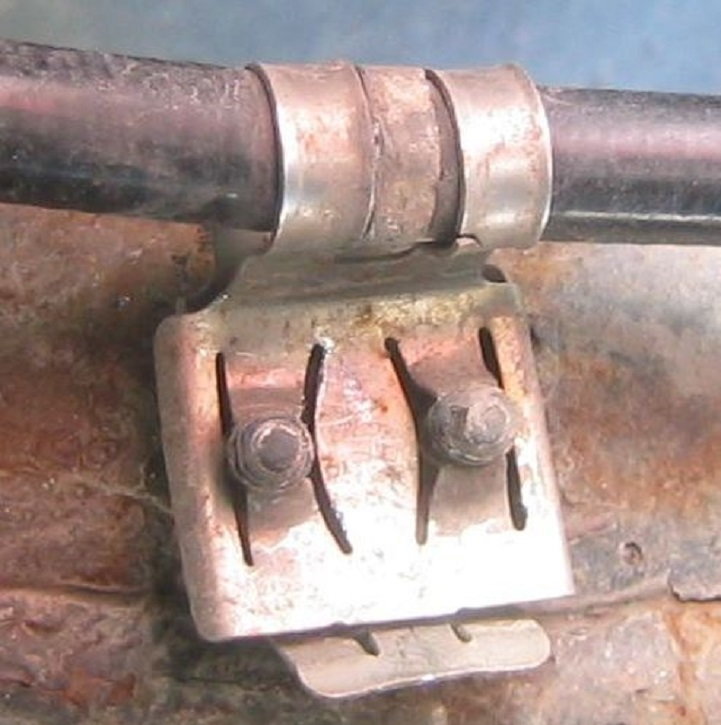
- Pry off the rear axle cable retaining clip.
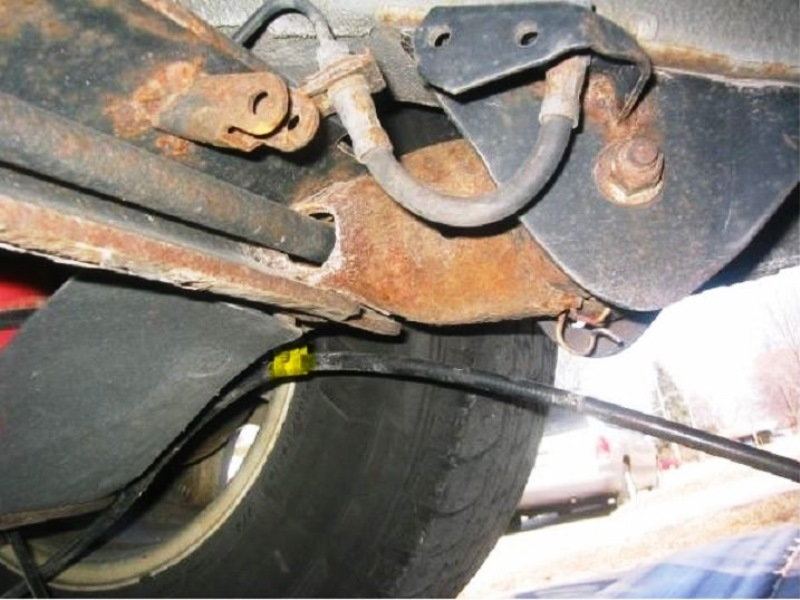
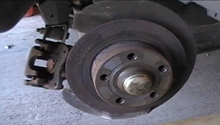
Figure 2. Yellow indicates the cable retaining clip. 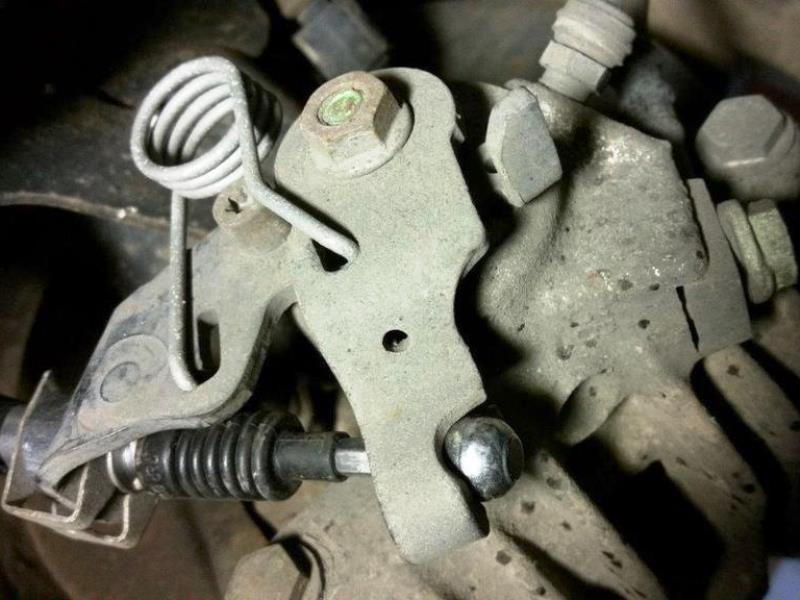
Figure 3. With the cable slack, the ball end ought to slip out of the lever easily. 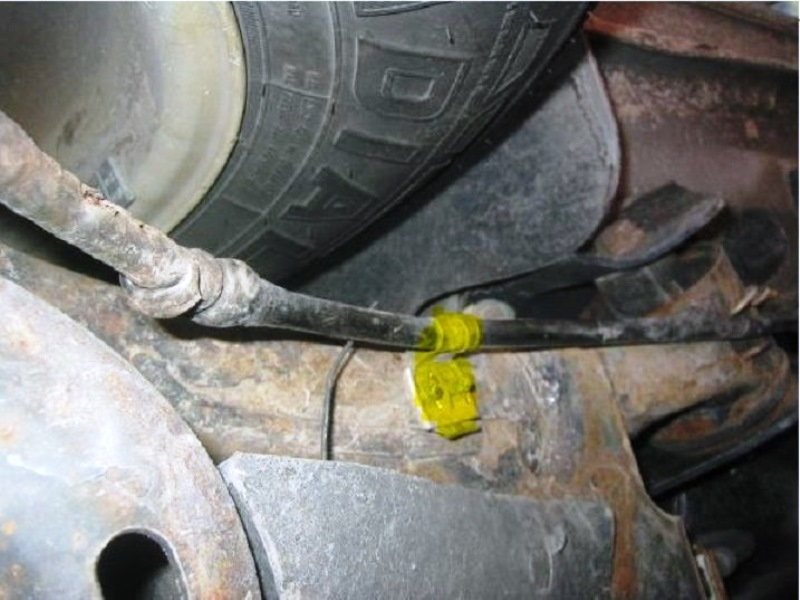
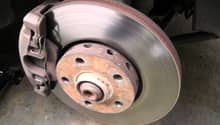
Figure 4. Another view of a cable retaining clip (yellow).
Step 3 – Replace old emergency brake cable
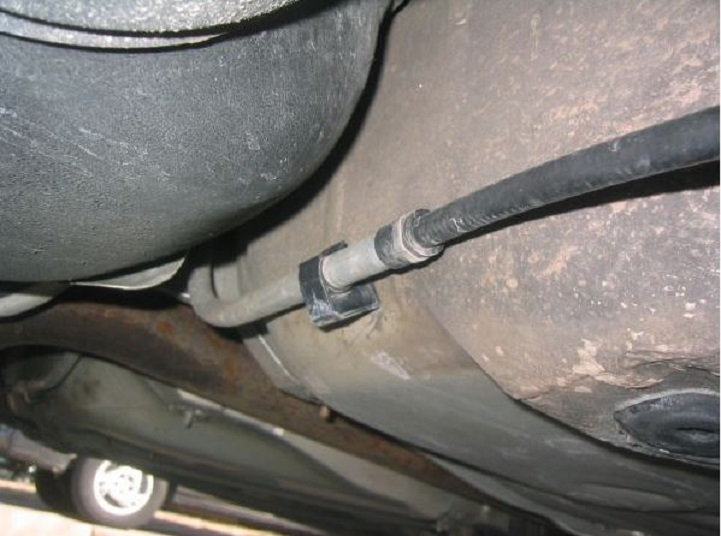
Locate the end of the brake cable guide tube that is mounted to the chassis. The tube guides the cable from under the car up and into the cabin near the center console.
- Pull the old emergency brake cable out of the end of this tube. You may need to twist and pull while holding the tube so you don't rip it from the chassis.
- After the old cable is removed, feed the new brake cable back into the tube.
- Check inside the car at the console and make sure the new cable has made it all the way through.
Step 4 – Reconnect the brake cable under the car
Hopefully you didn't destroy all the retaining clips and can re-use them. Replace these clips if necessary.
- Re-connect the cable to the caliper lever and reinstall the retaining clip.
- Reinstall the cable into the rear axle clip the same way the old one was connected and remount those clips.
- Reattach the other retaining clips.
Step 5 – Adjust emergency brake lever
With the end of the brake cable reconnected to the caliper, you are ready to adjust it at the handle.
- Slip the end of the brake line into the compensator and tighten the nut just a little.
- Press your brake pedal down firmly and pull up on your emergency brake lever to the fourth notch, or clicking sound.
- Tighten the compensator nut a little.
- Turn the rear wheels by hand.
- Repeat these two steps, alternating the tightening of the compensator nut and turning the wheels until the wheels won't turn by hand.

Step 6 – Test the brakes
Take the car off the jack stands and test the parking brake.
- Apply the brake and put the car in neutral.
- Try to roll the car by pushing it.
- Start the motor and put the car in gear. The car should not move, or the motor should stall if the brake is properly adjusted and applied.
- Replace the console, the ashtray and the rear cup holders (if applicable).
Featured Video: How to Adjust Hand Brake Cable
Related Discussions, Sites and Video
- About to Replace Parking Brake Cable - AudiWorld
- Changing Rear Calipers - AudiWorld
- Parking Brake Cable Replacement, Step by Step - TDIClub
- Replacing and Adjusting E-brake Cables - VWVortex
- Rear Brake Pad Replacement - YouTube