Audi A4 B7: How to Repair and Replace Parking Brake
If you have a manual transmission, the last thing you want to do is rely completely on engine compression to keep your vehicle still when parked. If you've pulled up on the parking brake, felt the pop, and now it's loose, more than likely one of the parking brake cables has let loose. This is usually an indication the cable has seized in the sheathing and needs to be replaced. Read on to discover how to change this cable and get things back to normal again.
This article applies to the Audi A4 B7 (2005-2008).
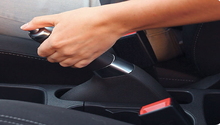
The parking brake cable attaches your parking brake handle to the rear brakes and actuates the brakes to keep your vehicle stopped while parked. This repair, while involved, isn't too difficult, so doing it can save you some money by replacing it yourself. There are a couple of steps in the process which can be a real pain, like disconnecting the cable ball from the brake actuator. If you are a little timid about what might be a little difficult, you may want to allow a professional to do it for you. This article covers the basics of cable replacement and should get your vehicle back to a state of stop once more.

Materials Needed
- General tool set
- Torque wrench
- Several pairs of Vice-Grips
- Hammer
- Flat tip screwdriver
- Jack, jack stands, and wheel chocks
While you may only need to replace one side to fix the parking brake cable, it comes highly recommended to change both cables at the same time. The cost of the cables are negligible compared to the time it will take you to do this job twice when the second one breaks or gets stuck in the sheathing.
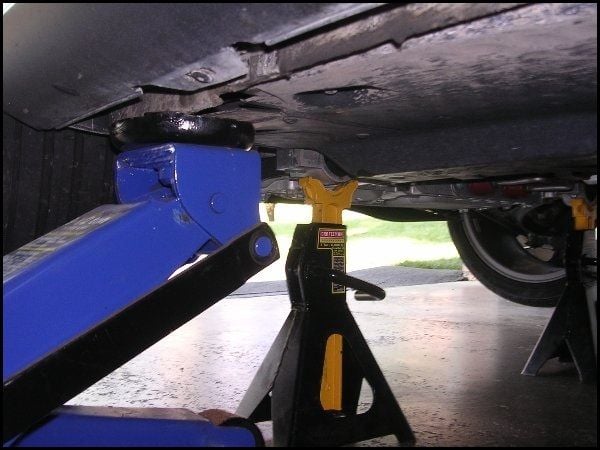
Step 1 – Jack up the car
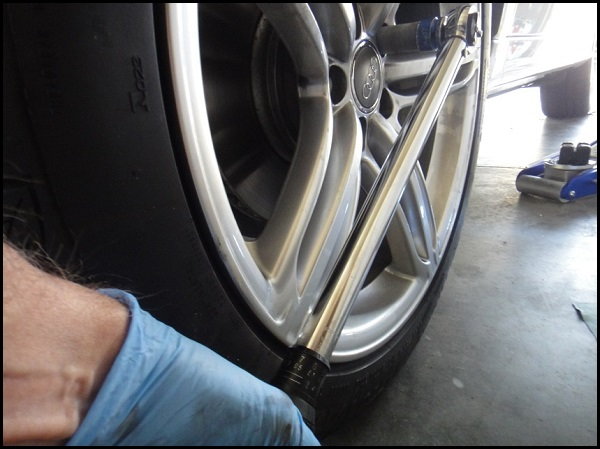
Since you are fixing your parking brake cable, ensure the parking brake lever is all the way down. Put the transmission in gear if it's a manual transmission. Place wheel chocks front and back of a single front tire. Break the lug nuts free, but don't remove them. Jack the back end of the vehicle up, placing it evenly on jack stands. Finish removing the rear tires, placing them out of the way.
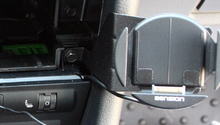
Step 2 – Disassemble the arm rest
Inside the car, slide both front seats forward all the way and incline the seatbacks forward as much as possible. This will provide you with more room to work. From the center of the rear seat, remove the ashtray (Figure 2).
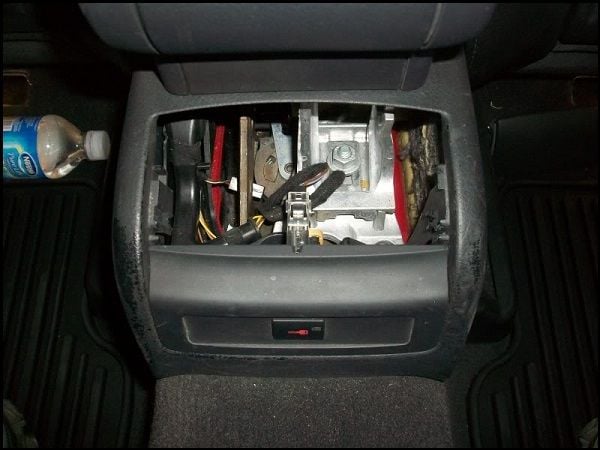
Remove the lock button plate by sticking your fingers inside and feeling for the retaining tabs, pushing both outward. The plate should fall out. Remove the nut from the center stud and the arm rest should come free (Figure 3).
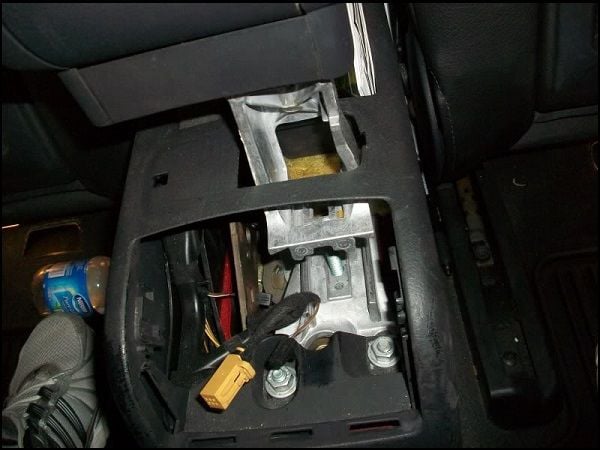
Pop the bottom plate out of the console pocket. In the holes that remain, locate a nut through a round hole at the back of the console pocket area. This should be the front of the guide plate (Figure 4). Remove the front nut, then remove the two nuts at the back to remove the plate.
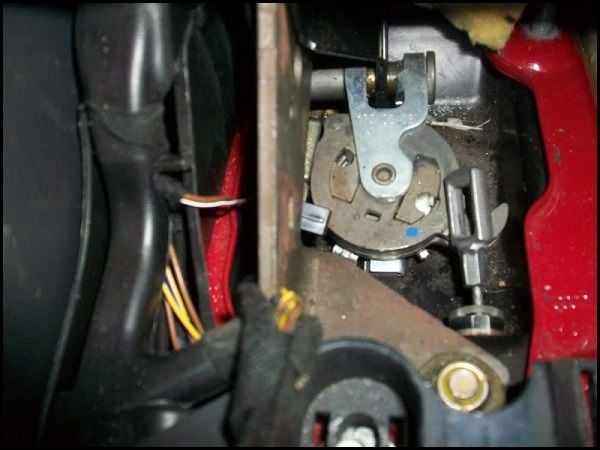
Once the guide plate is out of way, the parking brake adjuster should be visible (Figure 5). Ensure the cable you are replacing is not attached to the adjuster. Both sides can be let loose if replacing both cables.
Step 3 – Remove the old cable
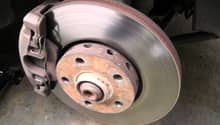
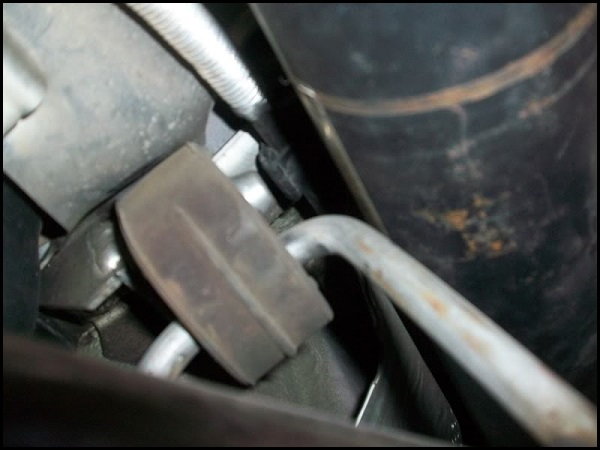
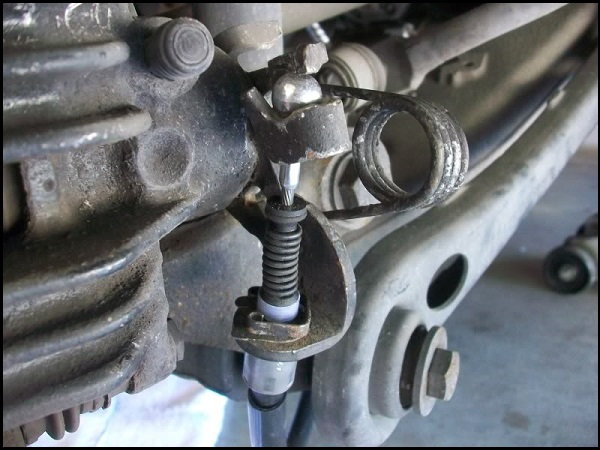
At the back of the car, disconnect the cable from the parking brake. To do this, grab the parking brake actuator which is attached to the caliper with a pair of Vice-Grips and rotate it as if it were being actuated. This should create slack in the parking brake cable. Fold the cable back on itself so the cable can be released from the actuator and the ball will come free. Using a large screwdriver, pry the retaining clip free where the cable is attached. This will allow you to pull the cable free of the caliper assembly. Working your way forward, remove bolts and clips as you go. There is a heat shield which will need to be removed along the way in order to get to the cable mounts. Follow the cable and you'll get to the middle of the vehicle where it is attached at the console. Giving it a good tug will pull it free of the console mounting.
Step 4 – Install new cable
Placing a bright lamp near the hole in the console will allow you to see where it's at from underneath the vehicle, which will allow for an easy way to guide the new cable into place. Insert the cable into the hole and push until it pops into place. Thread the cable back through into its proper position towards the back of the vehicle, securing it as you go. When you get the cable back to the caliper, insert the ball end of the cable through the cable mount. Pull the arm down again with the pair of Vice-Grips, folding the cable back on itself to get the ball and then the cable back into position. After the cable ball is attached to the arm, release the tension on the arm, which should pull it forward into position. Replace the clip to secure the cable to the mount.
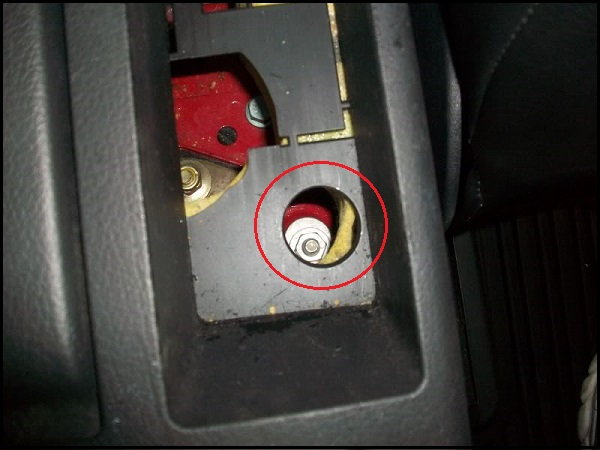
Back in the passenger cabin, reattach the new cable onto the parking brake adjuster. Ensure the handle is down all the way, then pry the side of the adjuster back, which will cause the opposite cable to become tight. You should be able to pull the hook of the adjuster back far enough to slip the new cable over it. Once on the hook, actuate the parking brake handle several times to ensure it is functioning correctly.
Step 5 – Button up the rest
Reinstall the console guide plate using the three nuts. Move the guide plate into position by seeing where the nuts had gouged the metal previously and tighten them into place. Replace the bottom of the console pocket.
Featured Video: 2008 Audi A4 Brake Job
Related Discussion
- Replace Parking Brake Cable - AudiWorld