Audi A4 B7: How to Replace Ball Joints/Control Arms
The complex, three control arm front suspension of the Audi A4 is what gives it such great ride and handling characteristics, but they need to be replaced from time to time. The ball joints and bushings integral to the control arms function just don't last forever.
This article applies to the Audi A4 B7 (2004-2008).
The Audi A4 front suspension delivers a comfortable ride and sporty handling, but when it starts to age, you will begin experiencing symptoms such as highway vibrations and noise. Your Audi has three control arms per wheel up front, and more in the rear of the chassis. At the end of the control arms, excluding the rear upper, there is a ball joint attached the the wheel hub. Although the arms themselves rarely fail, the ball joints will loose its tight hold on the wheels, and the bushings will get sloppy, too. Use the following information when the time comes to replace each of these control arms found on your Audi A4.

Materials Needed
- Phillips screwdriver
- Pickle fork
- 18mm socket
- 18mm open-ended wrench
- 16mm wrench x2
- Jack
- Jack stand
- 10mm wrench
This DIY will be separated into two sections. Steps 2 through 4 will focus on the front, while Steps 5 to 6 will focus on the rear.
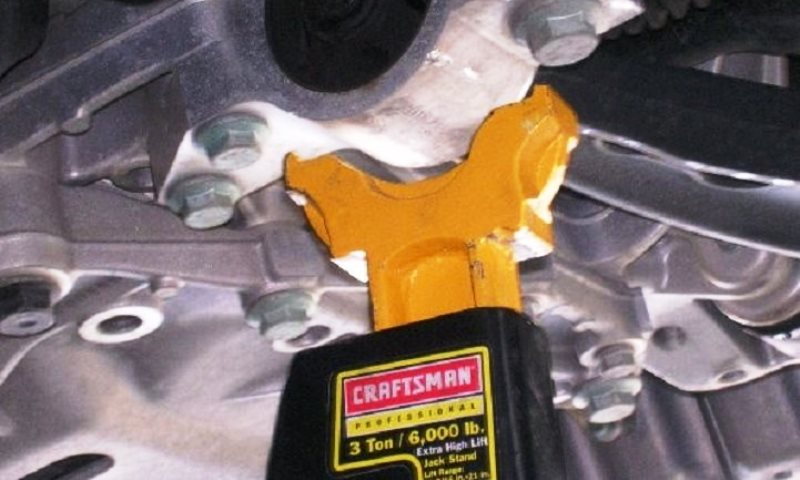
Step 1 – Raise and support the chassis
Safety first! First loosen the bolts on you wheels, then jack your car up and place each jack stand under your car in the proper locations.
Step 2 – Remove the control arm assembly
Here you will be removing the entire control arm assembly from the chassis, so open up the engine bay and remove the cowl weatherstripping and cover, then loosen the coolant reservoir screw and push the assembly aside. The ball joint pinch bolts might look like 5/8", but they are of course metric, and a 16mm wrench will fit better.
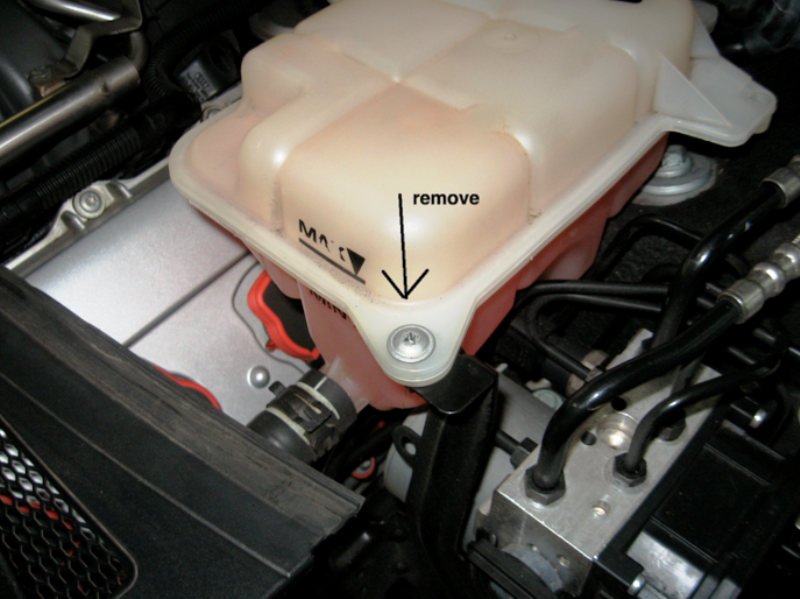
Figure 2. Place the coolant reservoir aside. 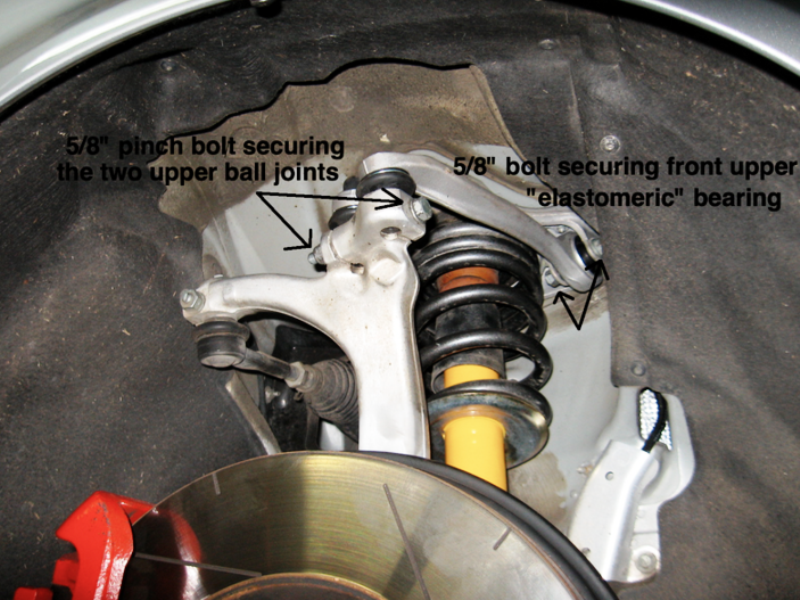
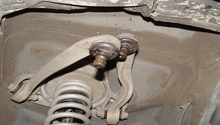
Figure 3. Remove the bolt holding the upper ball joints in place. 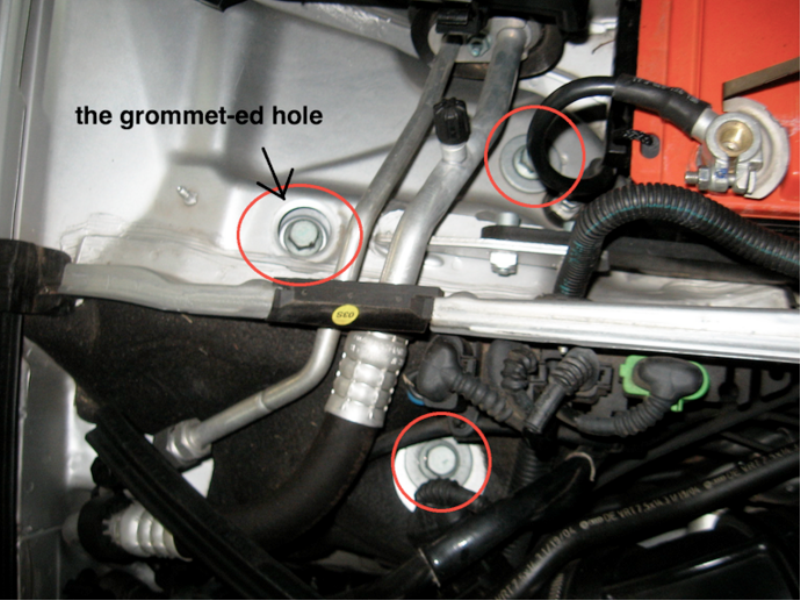
Figure 4. Remove the top mounting bolts.
Step 3 – Replace the control arms
With the entire assembly on a bench, remove and replace each of the arms. Make sure to tighten the arms so that they are only snug, then reinstall the upper portion back into the chassis. It's a lot easier with two people, but if you have access to a jack, use it to hold the strut while the bolt the control arm mounting plate are installed. Install both of the upper control arm ball joints in place using the two 16mm bolts, but you can't tighten it down completely until the full weight of the car is sitting on the suspension.
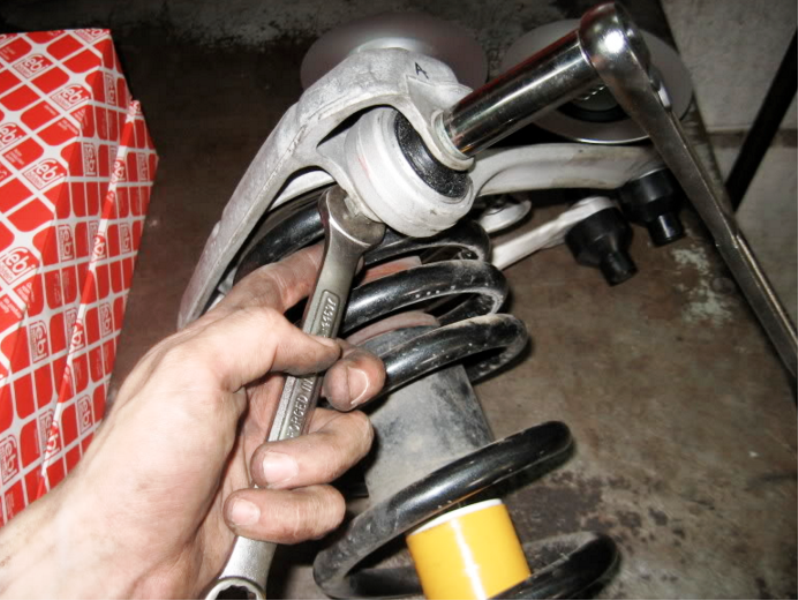
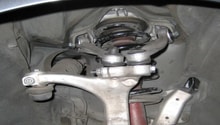
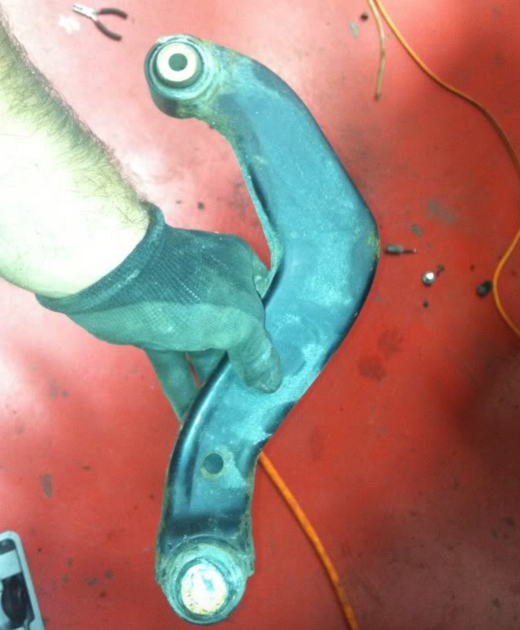
Figure 5. Remove the upper control arms. 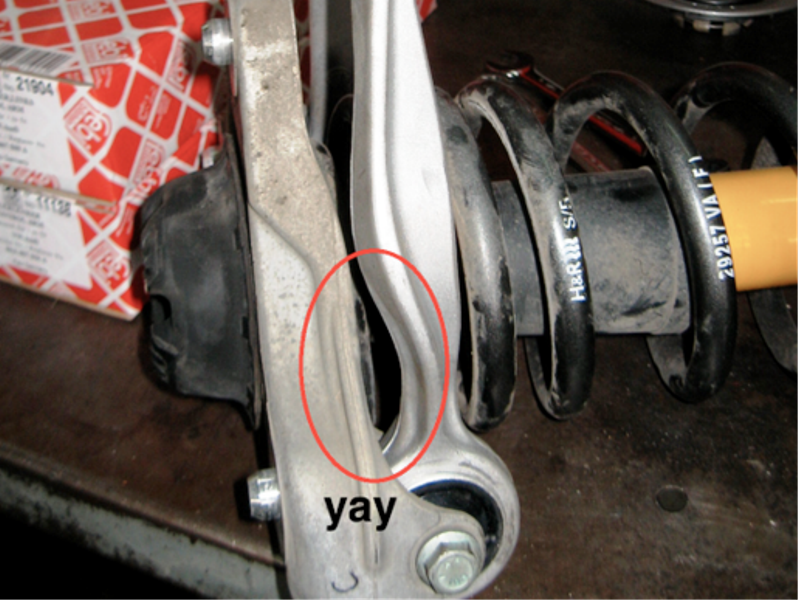
Figure 6. Install the new arms in the correct position to avoid interference. 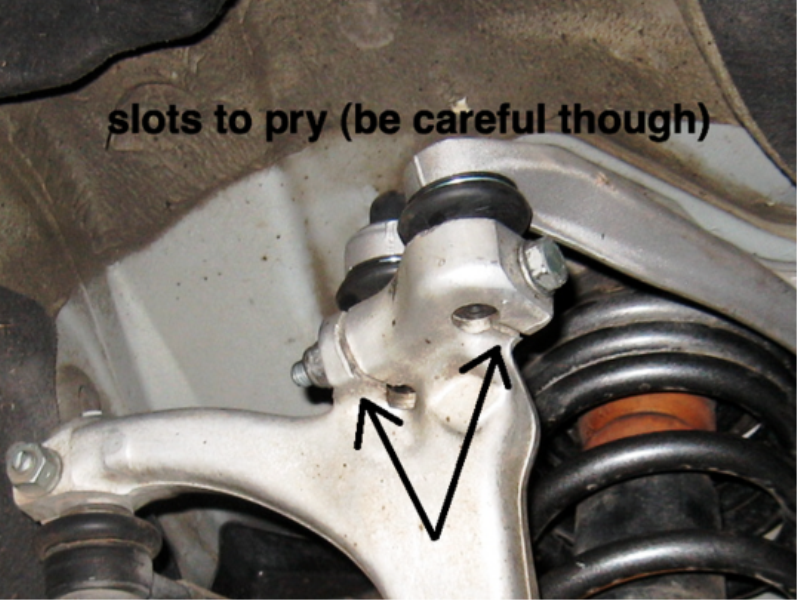
Figure 7. Slots to help ease the new ball joints in.
Pro Tip
If you have trouble sliding the ball joints in, there are slots that you can pry open and allow more clearance (refer to Figure. 7).
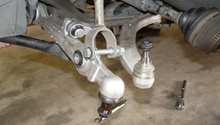
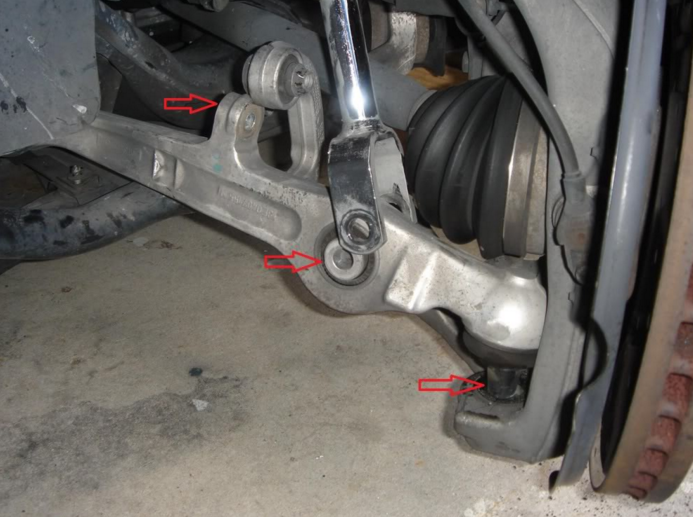
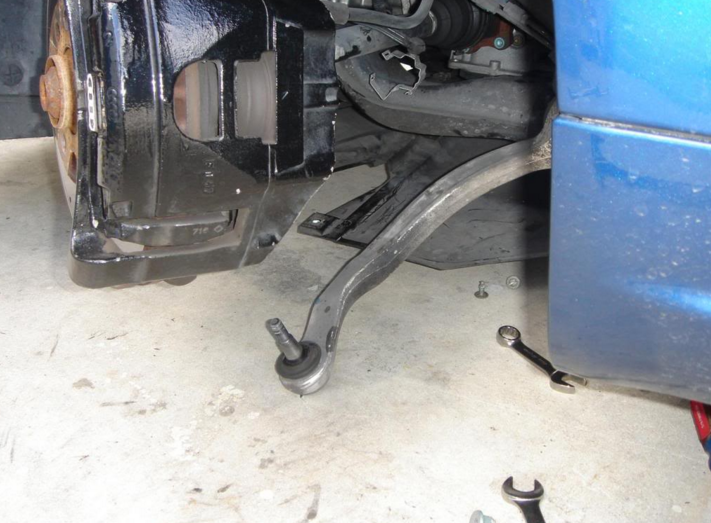
Step 4 – Remove the lower arm
This arm is a lot simpler. Remove the top portion of the sway bar end link and loosen the nut holding the ball joint in place. Use a pickle fork to remove the ball joint, then remove the last bolt in the rear of the control arm. Replace the assembly and, again, only tighten it enough to stay on. You will be torquing down each control arm with the car on the ground, so the bushings can have the correct load on them when tightened.
Related Video: Replacing Upper Control Arms
Step 5 – Replace the rear upper control arm
The rear arms are a lot easier to replace.
- Thoroughly lubricate each side of the control arm.
- Use an 18mm socket to remove the front and rear bolts.
- Install the new rear control arm.
If you opt to replace only the ball joints themselves, you can (although Audi does not sell that part, the aftermarket has come through and offers the ball joint separately). Just take the control arm to a shop with a press and press the old ones out. Then have them press the new ones in.
Pro Tip
Although pressing the ball joints in and out (and reusing the old control arms) can save some cash, it does require more work and time.
Step 6 – Replace the rear lower control arms
- Loosen the ball joint nut.
- Wedge the pickle fork in and hammer to pop out the ball joint.
- Remove the rear control arm bolt.
- Replace the rear lower control arm.
Related Discussions
- Front Control Arm Replacement - AudiWorld
- Control Arm Recommendations - AudiWorld