Audi A4 B7: How to Replace Your Tail Light Bulbs
Has one of your tail light bulbs burned out? Before you get a ticket or pay a king's ransom to the dealer to replace it, check out our DIY guide on replacing a tail light bulb.
This article applies to the Audi A4 B7 (2004-2008).
Burned out tail light bulbs are a sure fire way to get a warning by the police, a pricey ticket, or even cause an accident. But taking your ride to the dealership for a bulb replacement can also cost you—upwards of $80 for what amounts to a relatively easy job. It's so easy, in fact, that there's really no reason why you wouldn't just want to do it yourself and save some serious coin. Keep reading and we'll walk you through the process.

Material Needed
- Flat head screwdriver
Step 1 – Remove tail light assembly
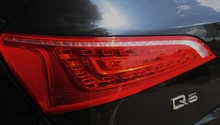
Open the trunk and look for the round cutout in the trunk carpet that covers the tail light bulb (Figure 1). Insert a flat head screwdriver into the top of the plug and carefully pry it open. Remove the retaining bolt by inserting the flat head screwdriver into the slot at the bottom and turning it counterclockwise until it comes loose. Carefully pull on the right side of the tail light assembly until it comes out around 1/4". Be careful not to pull too hard, or you will snap the plastic posts that hold the assembly in place. Once the right side is loose, grab the assembly at the bottom and carefully pull it straight out.
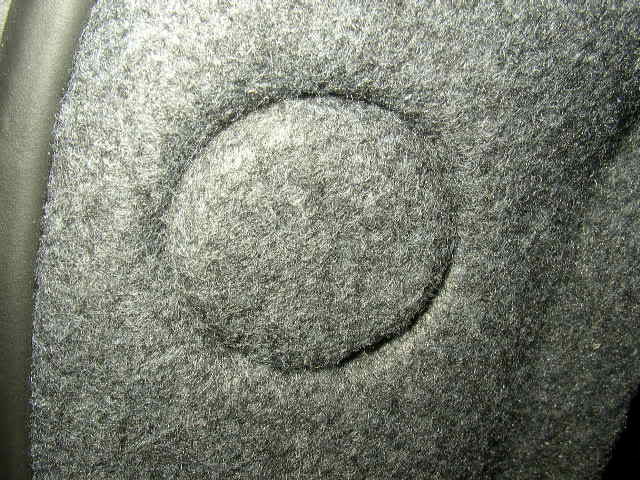
Figure 1. Locate the round cutout in the trunk. 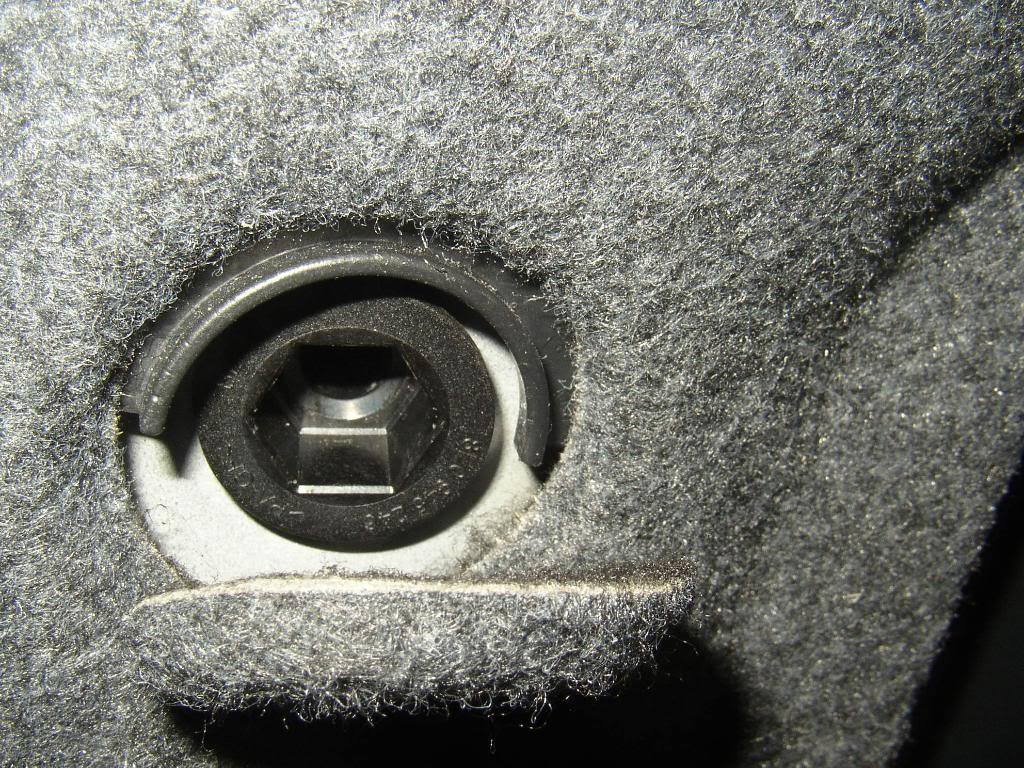
Figure 2. Pry the plug open with a flat head screwdriver. 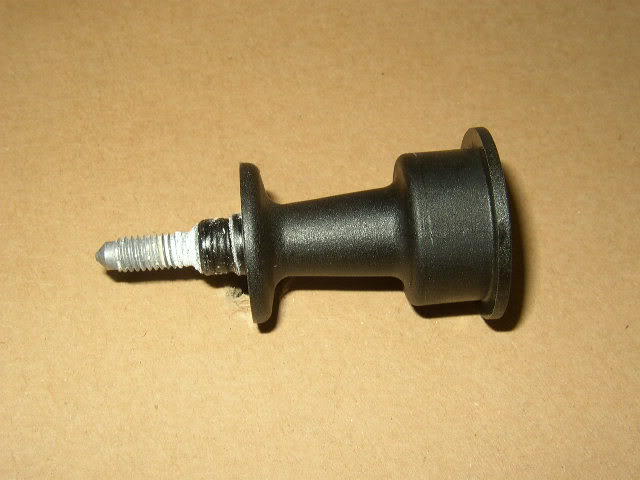
Figure 3. The retaining bolt removed. 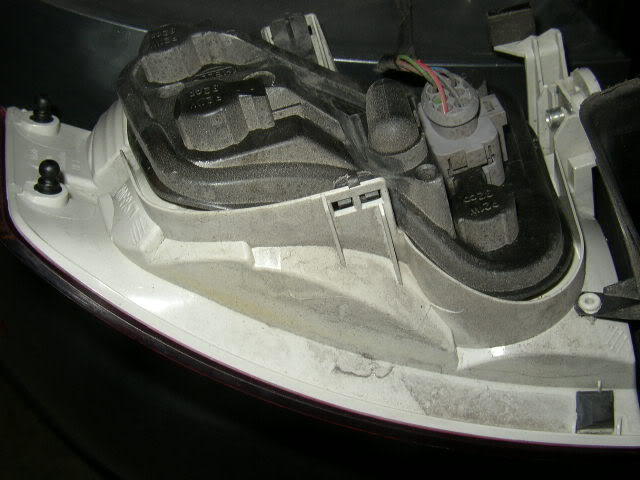
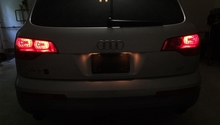
Figure 4. Remove the tail light assembly.
Step 2 – Replace the tail light bulb
Remove the light housing from the tail light assembly by releasing the tabs from the two plastic clips that hold them together. To remove the old bulb(s), push them in slightly and turn them counterclockwise. Install the new bulbs by pushing it in slightly and turning it clockwise. Before putting everything back together, test the new bulbs to make sure they are working correctly. Once this is done, reinstall the light housing into the tail light assembly and push it in until the tabs lock back into place. Reinstall the retaining bolt and push the round carpeted plug back into place.
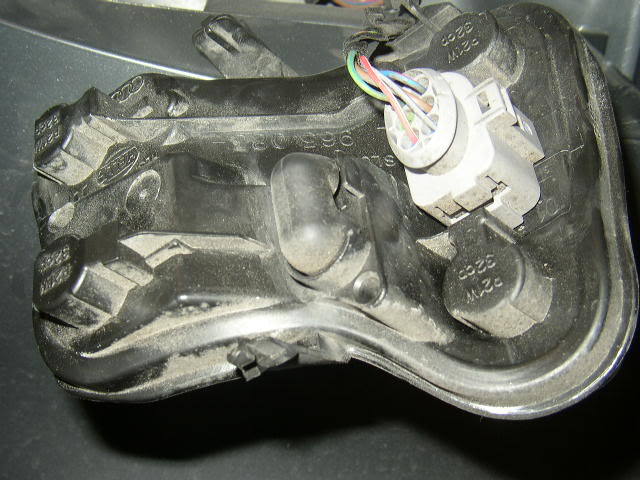
Figure 5. Remove the tail light assembly from the light cover. 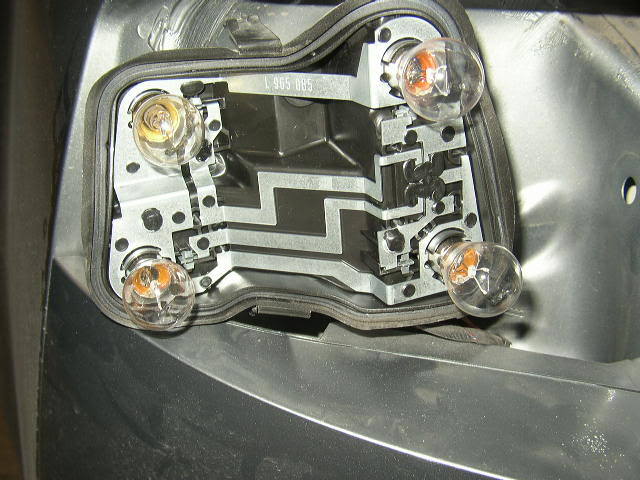
Figure 6. Replace the bulbs.
Featured Video: How to Replace Tail Light Bulb
Related Discussion
- DIY: How to Replace Rear Tail Light Bulb - AudiWorld.com