Audi A4 B8: How to Remove the Fixed Rear Seat
Removing the rear seat in your A4 can be a real pain, but this article will walk you through the process step-by-step.
This article applies to the Audi A4 B8 (2008-2015).
Rear seat removal can be a real pain in most cars, and the A4 B8 is no exception (if you don't know what you're doing, of course). Hidden screws, hard-to-remove plastic anchors, and the need for specialty tools means that this job could be a real nightmare. But once you get past the reality of those problems, removing the rear seat isn't terribly difficult if you know where to look and what to do. Keep reading to discover the step-by-step process.

Materials Needed
- 9/16" socket and wrench
- Triple square set (sizes equivalent to T40 and T50 Torx bits)
Step 1 – Remove the seat bottom
- Pop the child seat anchor covers off by prying them with your hands, then pull out the anchors. The anchors can be a bit of pain, but if you place your hand between the seat bottom and back and then twist the piece at an angle, it makes removal a little easier.
- To release the seat bottom from the clips that hold it into place, apply even pressure to both sides when pulling. You might have to work a little on one side, then move to the other side to get them loose enough to pop out. Don't worry about using too much force, as you won't break anything.
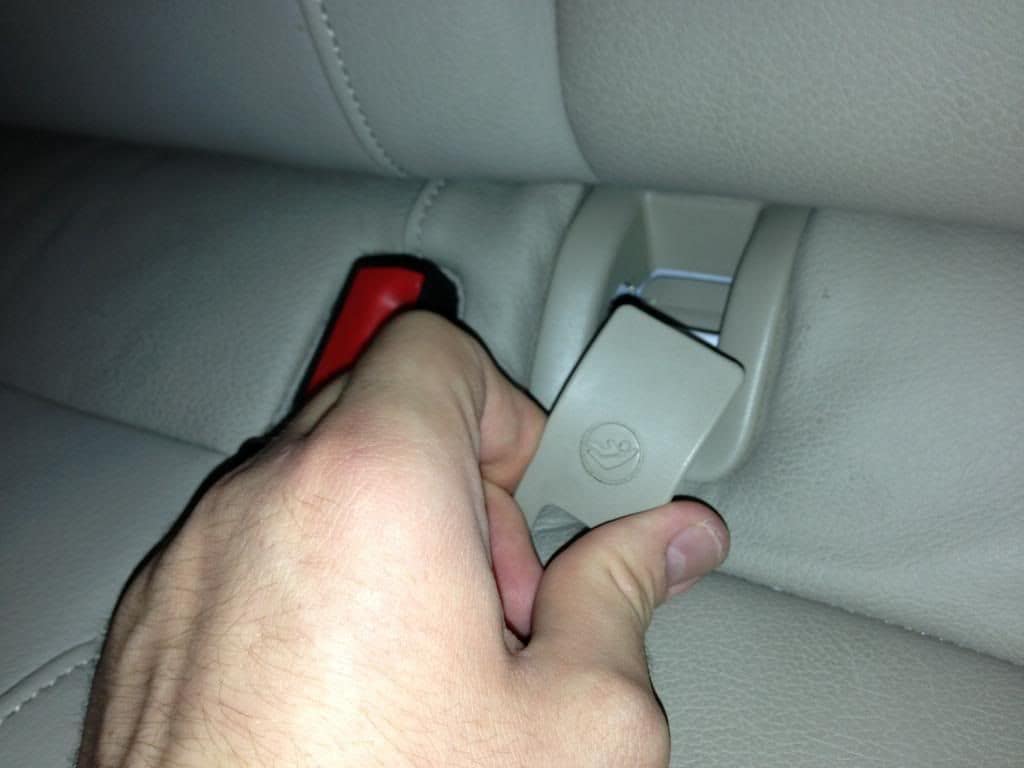
Figure 1. Remove the plastic anchor covers. 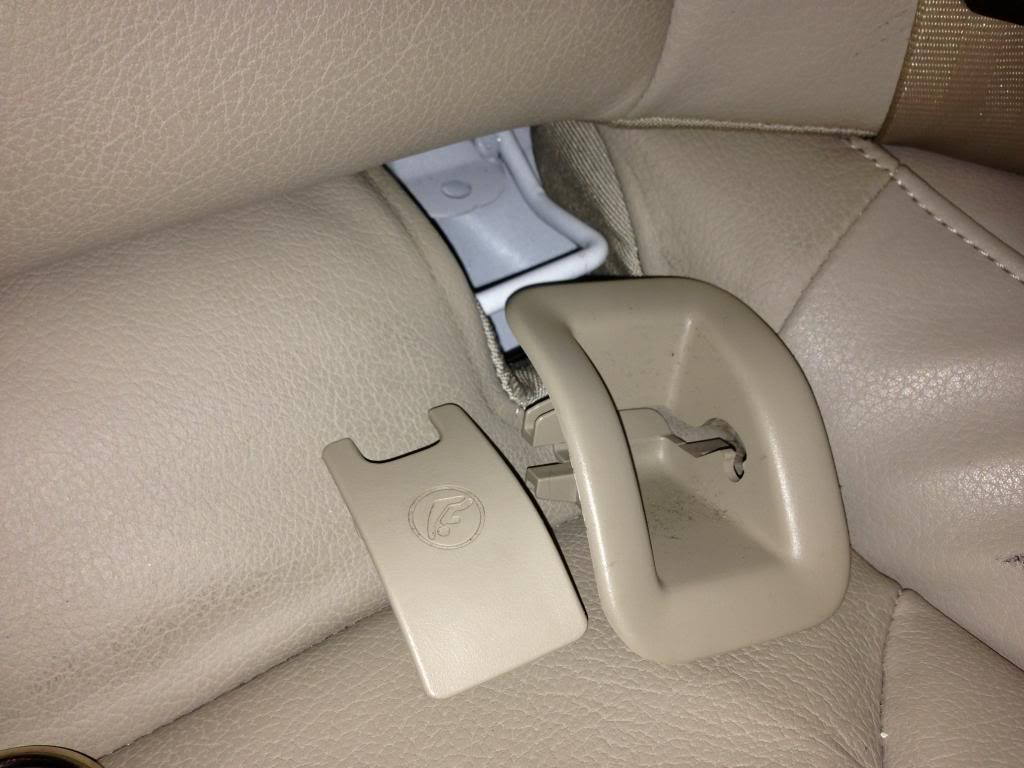
Figure 2. Anchor removed. 
Figure 3. Pull the seat bottom out.
Step 2 – Remove the seat back and seat belts
- Remove the three screws in the trunk that hold the seat back in place using the T50 size triple square piece.
- Use the socket wrench and 9/16" socket to remove the seat belt bolts, then slide them out of the way.
- Using the T40 sized triple square pieces, remove the last bolts holding the seat back in place.
- Lift the seat back carefully a few inches back from where it sits, then disconnect the emergency trunk release and lift the seat back out.
Figure 4. Remove the three screws in the trunk. 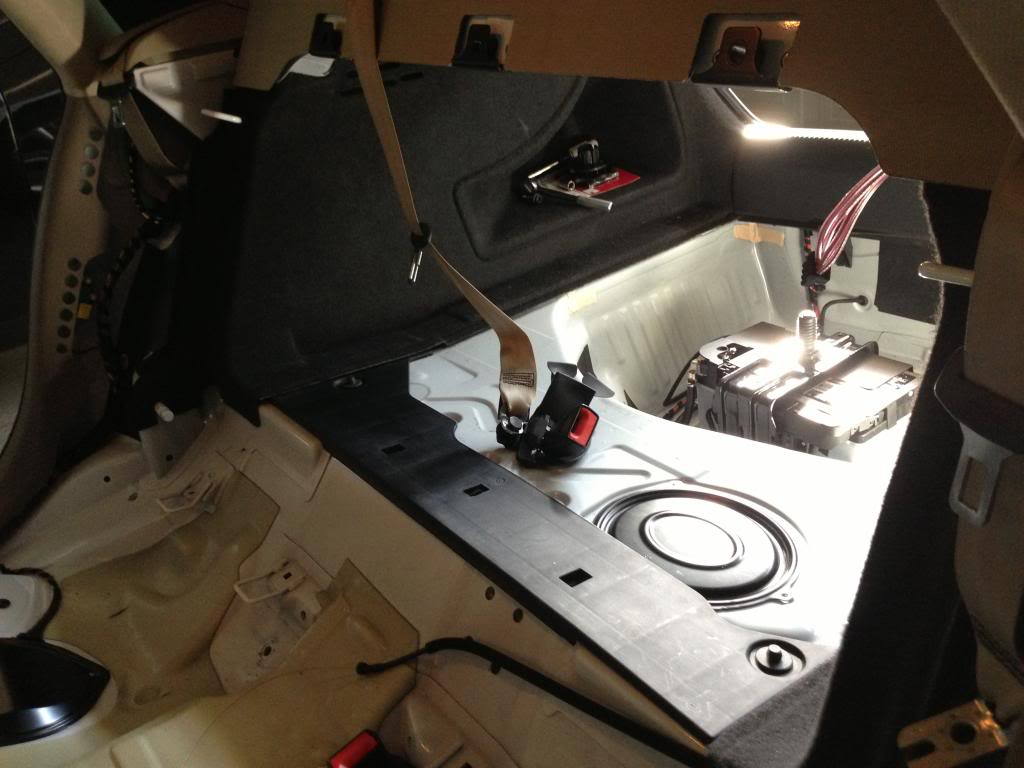
Figure 5. Remove the remaining bolts then the seat belts before removing the seat back.
Related Discussion
- Removing the Fixed Rear Seat in an Audi A4 B8 - AudiWorld.com