Audi A6 C5/C6: Why Aren't My Headlights Working?
This article will help shed some light on the source of headlight problems and where to look first.
This article applies to the Audi A6 C5/C6 (1998-2011).
Outside of total brake failure, there's probably nothing scarier than losing your headlights while driving at night. Even if you're one of the lucky ones who can navigate through the darkness like a bat, that doesn't mean that other drivers on the road can see you. Total headlight failure can occur for a few different reasons, so finding the source of the problem takes a little detective work. Keep reading and we'll help shed some light on why your headlights aren't working properly.

Materials Needed
- Multimeter
- 8mm socket and ratchet
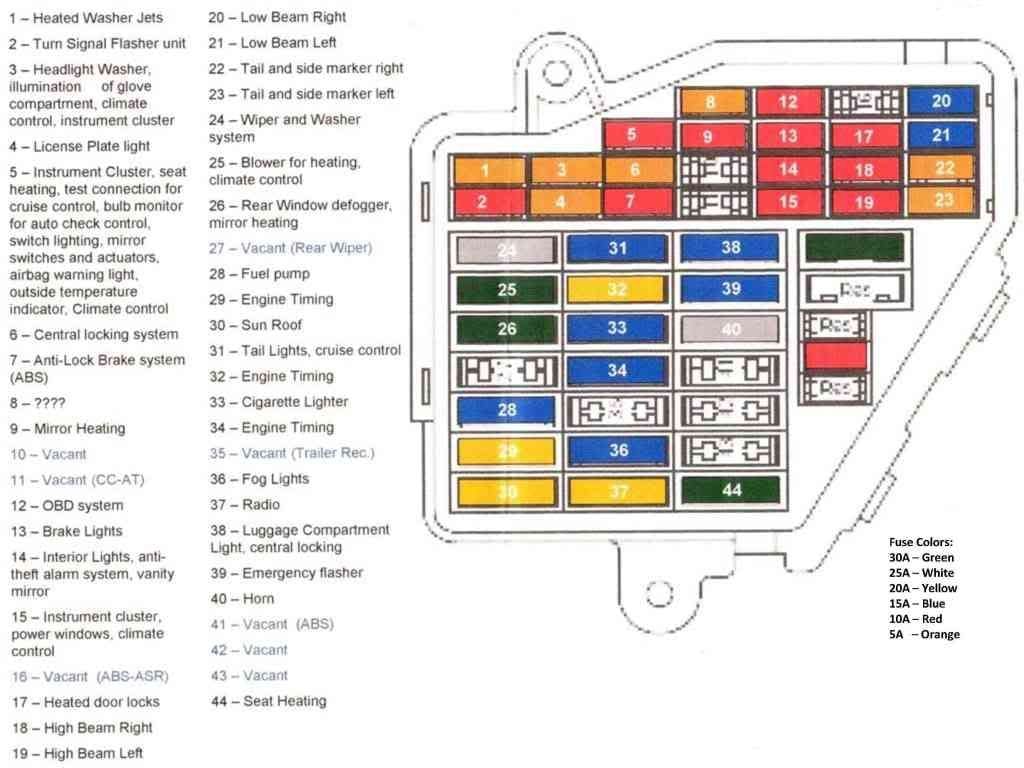
Step 1 – Check the fuses
A blown fuse is the simplest and easiest fix.
If you're lucky, the problem could simply be a blown fuse. Pull the cover from the fuse panel, located on the lower driver's side dash, and locate the headlight fuses (20 and 21 are the low beam fuses). Pull them out and check to see if they are blown, and if so, replace them. If the fuses aren't visibly damaged, you can also check continuity with a multimeter to see if they are bad.
If your fuses are in good shape, move on to Step 2.
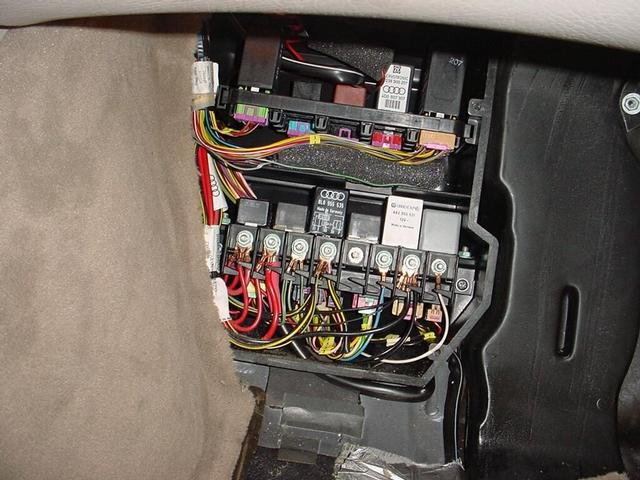
Step 2 – Check the relay
A faulty relay is one of the most common problems in the A6.
The relay is located underneath the knee bolster on the driver's side. To get to it, remove the three 8mm bolts (two on the bottom, one on the side by the fuses, and two up by the steering column). Once you gain access to the panel, check the Lamp Control Module relay (387) to see if it is functioning properly with your multimeter. If not, replace it.
If your relay is in good shape, move on to Step 3.
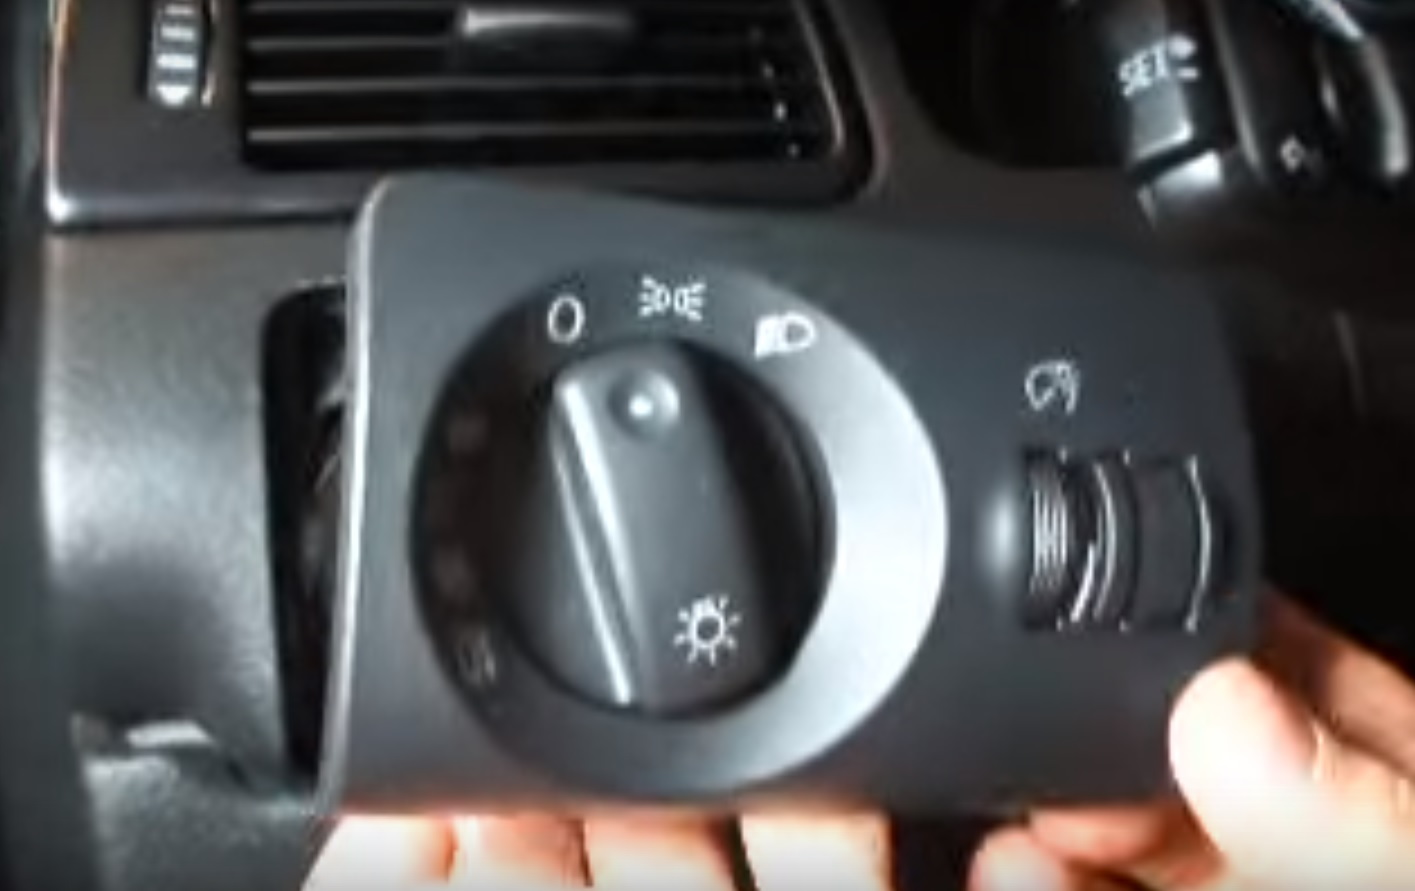
Step 3 – Check the headlight switch
A faulty switch will cause your headlights to completely stop working.
When a headlight switch goes bad, your headlights will immediately stop working without any sort of warning. To access the switch, turn your headlight control knob just slightly to the right of the on position (video demonstration) while simultaneously pulling outward and the panel will pop right out. Disconnect the wiring harnesses on the back and test with your multimeter, replacing it if necessary.
Related Discussions
- Headlights Not Working - AudiWorld.com
- HID Automatic Headlight Problem - AudiWorld.com
- Adaptive Headlight Fefective - AudiWorld.com