Audi A6 C5: How to Remove the Headlight Assembly
This article will make what can be a tedious and aggravating process simple and easy. Here's how to remove the headlight assembly from the Audi A6 C5.
This article applies to the Audi A6 C5 (1998-2004).
If you've ever tried to remove the headlights from a C5 A6 Audi, you know the struggle that comes with what is usually a simple job (for most cars). For whatever reason, Audi decided to make this a particularly difficult task which means shelling out big bucks at the dealership for a swap, that is, if you don't know how to do it yourself. Removing the stock headlights can be accomplished with standard tools, but it's worth spending a few dollars and picking up a Torx extender. Whichever route you decide to take, keep reading and we'll walk you through the process of removal.

Materials Needed
- 8-12" Torx extender, no bigger than 1/4"
- Torx driver and bits
Step 1 – Remove the air inlet hose and cover
To gain access to the passenger side headlight, you must first remove the front air inlet hose and cover. Simply pull up on the cover to release it from its retention clips. Pull the air inlet hose back and out to remove it.
Step 2 – Remove the headlights
There are three Torx bolts that hold each headlight in place which must be removed. The first two, located on top of each headlight, are very simple and straightforward. However, the third lower bolt is not. This bolt can be removed with standard tools, but you have to remove the bumper to access it. It's well worth spending a few dollars on a Torx extension; just make sure that it's no bigger in diameter than 1/4" (to fit in the hole) and around 8-12" in length.
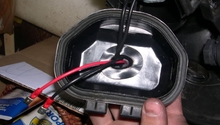
Once you've removed the three Torx bolts, there is a white plastic piece that contains a peg inside its hole. This peg can be pulled out of the hole to free the headlight. Once this is done, you will still need to wiggle the headlight assembly back and forth to angle it properly for removal. This is because the ballast, mounted on the bottom, sticks out and prevents a simple and straightforward removal.
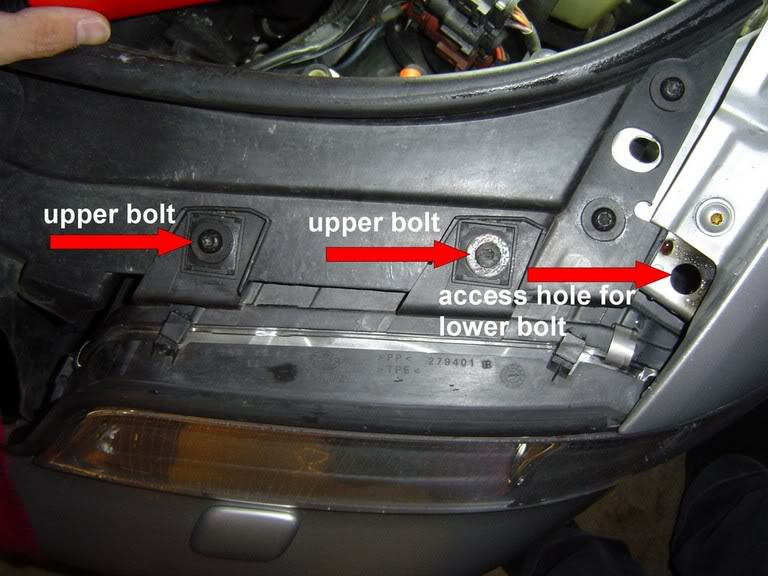
Figure 2. Headlight bolts that must be removed (with headlight installed). 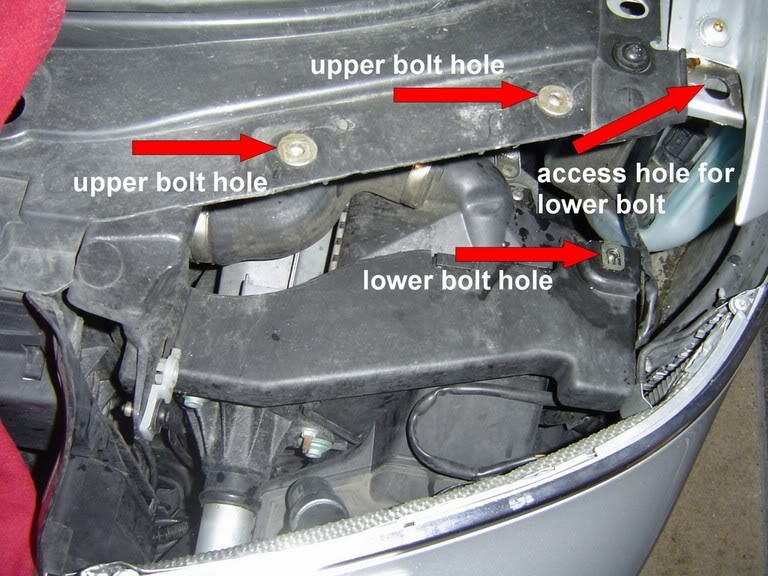
Figure 3. With the headlight removed, it's easier to see the lower bolt.
Related Discussion
- Headlight Assembly Removal - AudiWorld.com