Audi A6 C6: How to Remove and Install MMI and Center Console
Whether you're changing the MMI console or you need to replace another part of your center console, this guide will take you through a complete tear down of the center console in an Audi A6 C6.
This article applies to the Audi A6 C6 (2004-2010).
Replacing an MMI control console is a costly repair just for the parts alone, but you can just as easily install it on your own. Any component in the A6 center console can be easily replaced if you know how to take the console apart. That's what this guide is for. Keep reading for a detailed tear down of the A6 C6 center console.

Materials Needed
- Ratchet with 13mm socket and small extension
- T20 and T25 torx screwdriver
- Small flat head screwdriver
- Plastic trim tool
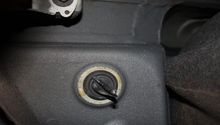
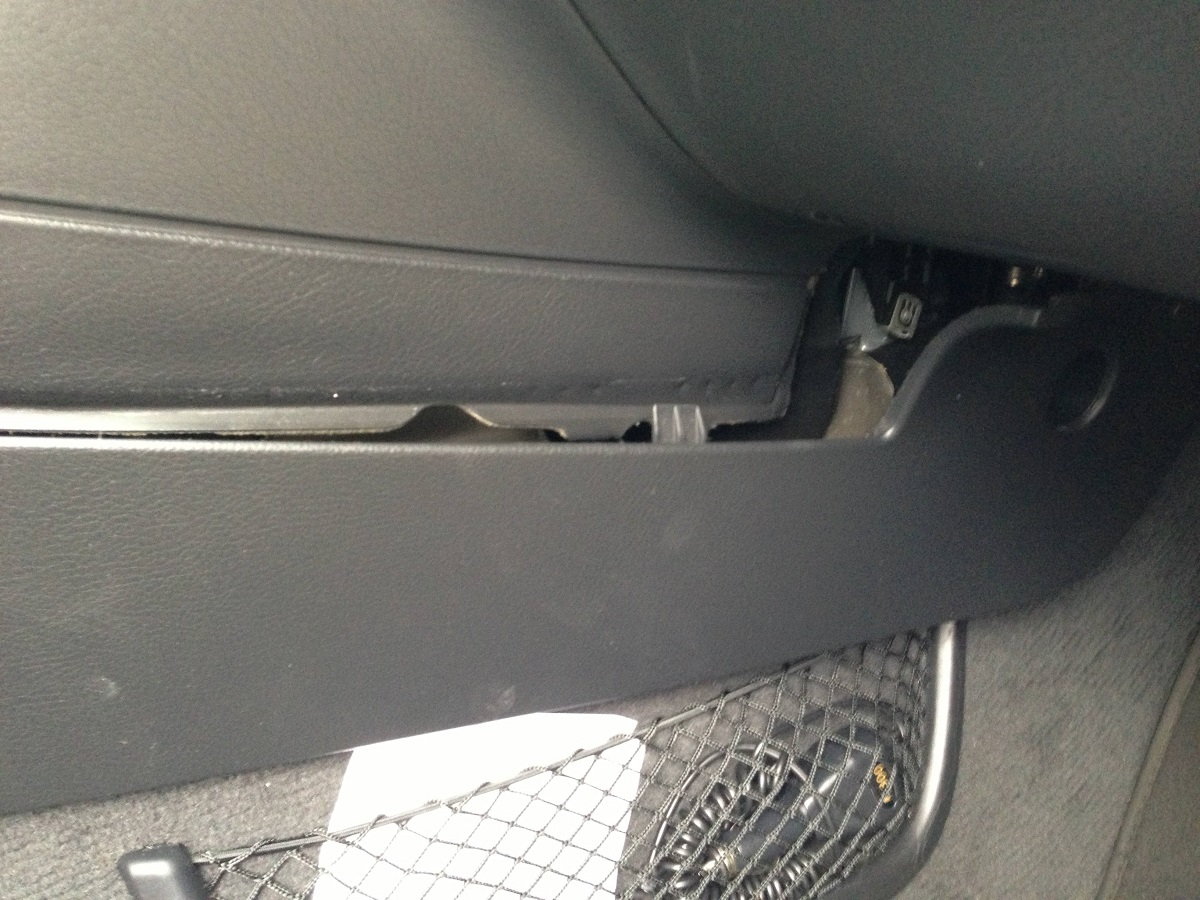
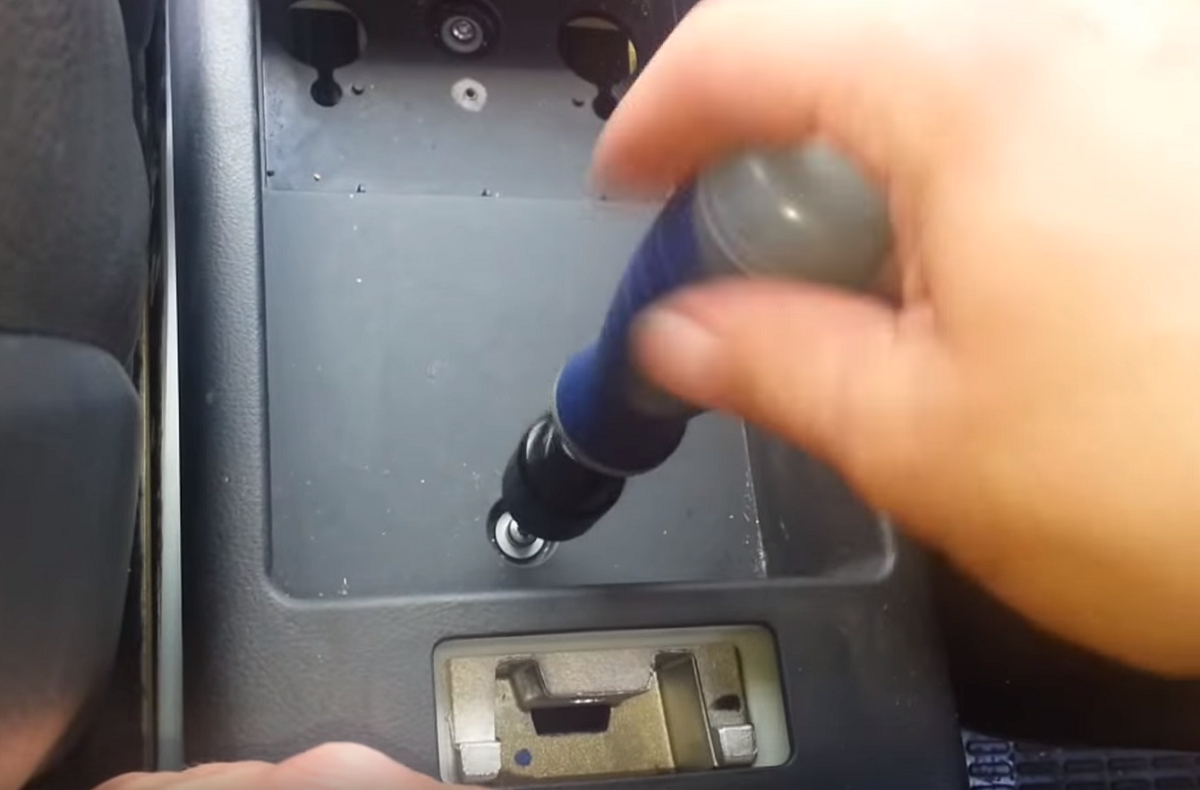
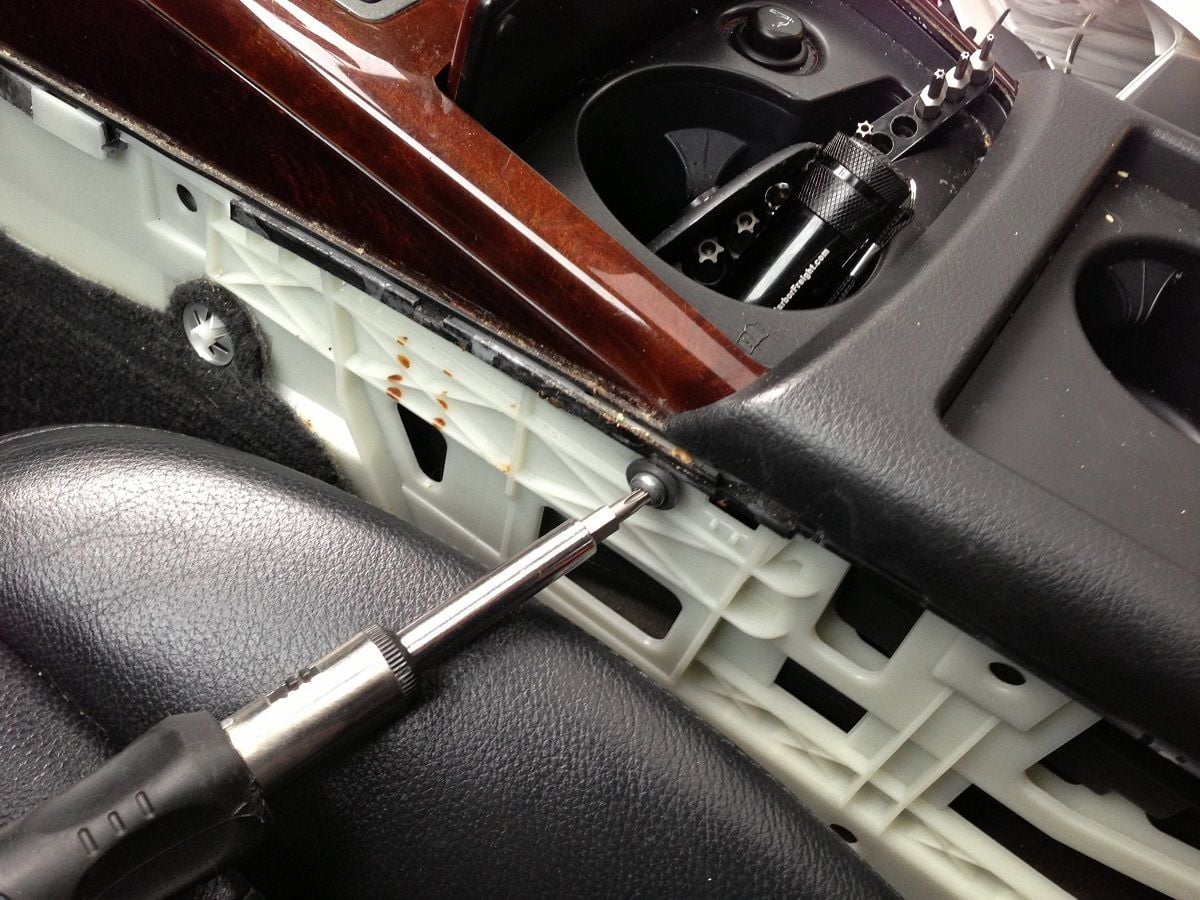
Step 1 – Remove the side trim
Follow the side trim of your center console all the way to the front of car underneath the dash. You'll see a small round cover. Pry open this cover and remove the bolt inside. Then carefully pry the side trim away from the center console using your plastic trim tool. You'll need to repeat this for the other side of the console.
Pro Tip
The side trim is held by many fragile clips, so be careful as you pry it loose.
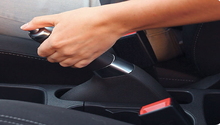
Step 2 – Remove the armrest
You'll need to pry out the vent on the back of the center console. With the side trim removed, you can also push it out from the other side. Disconnect the electrical connector for the vent after you remove it, then set the vent aside. You'll see a bolt way in the back of the vent housing. Use an extension with your ratchet and remove that bolt. After that, you can pull up the armrest and set it aside.
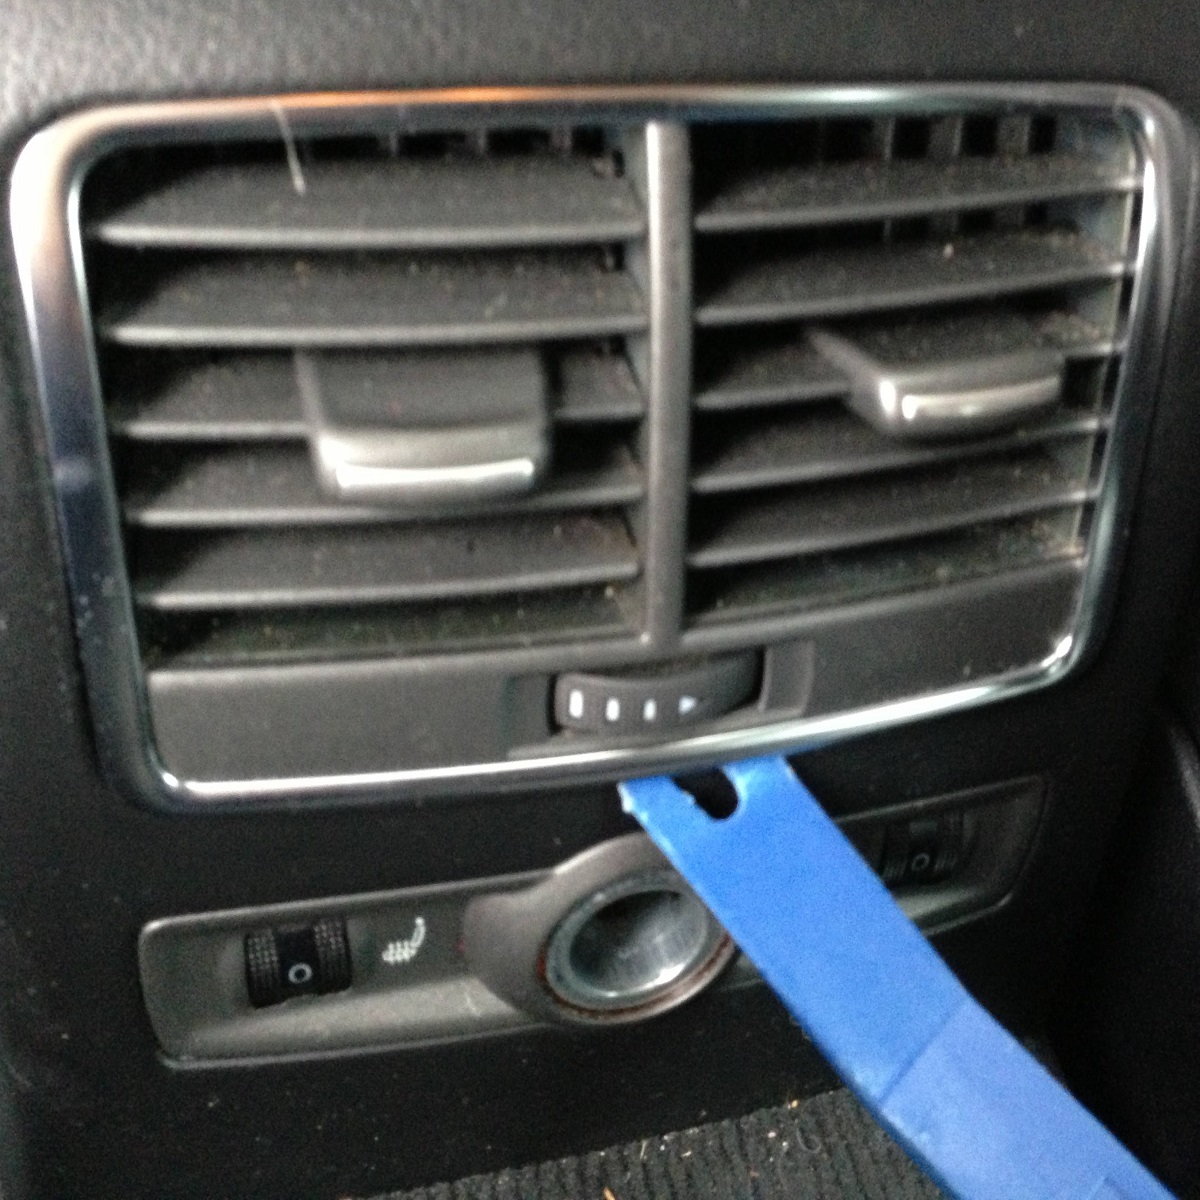
Figure 2. Remove the vent on the back of the center console. 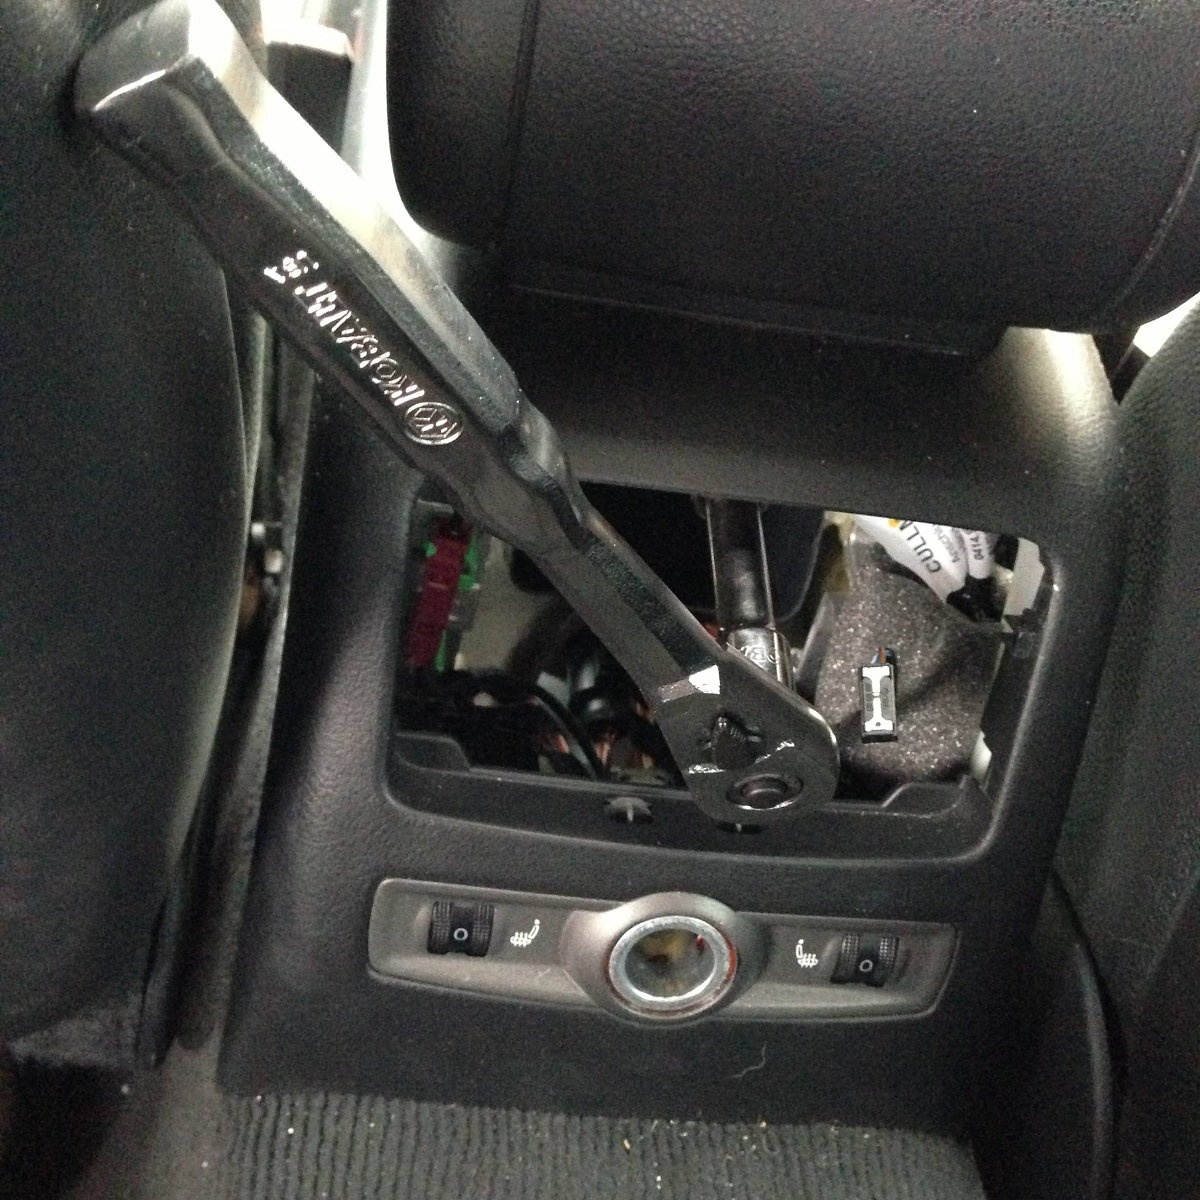
Figure 3. Remove the bolt in the back of the vent housing. 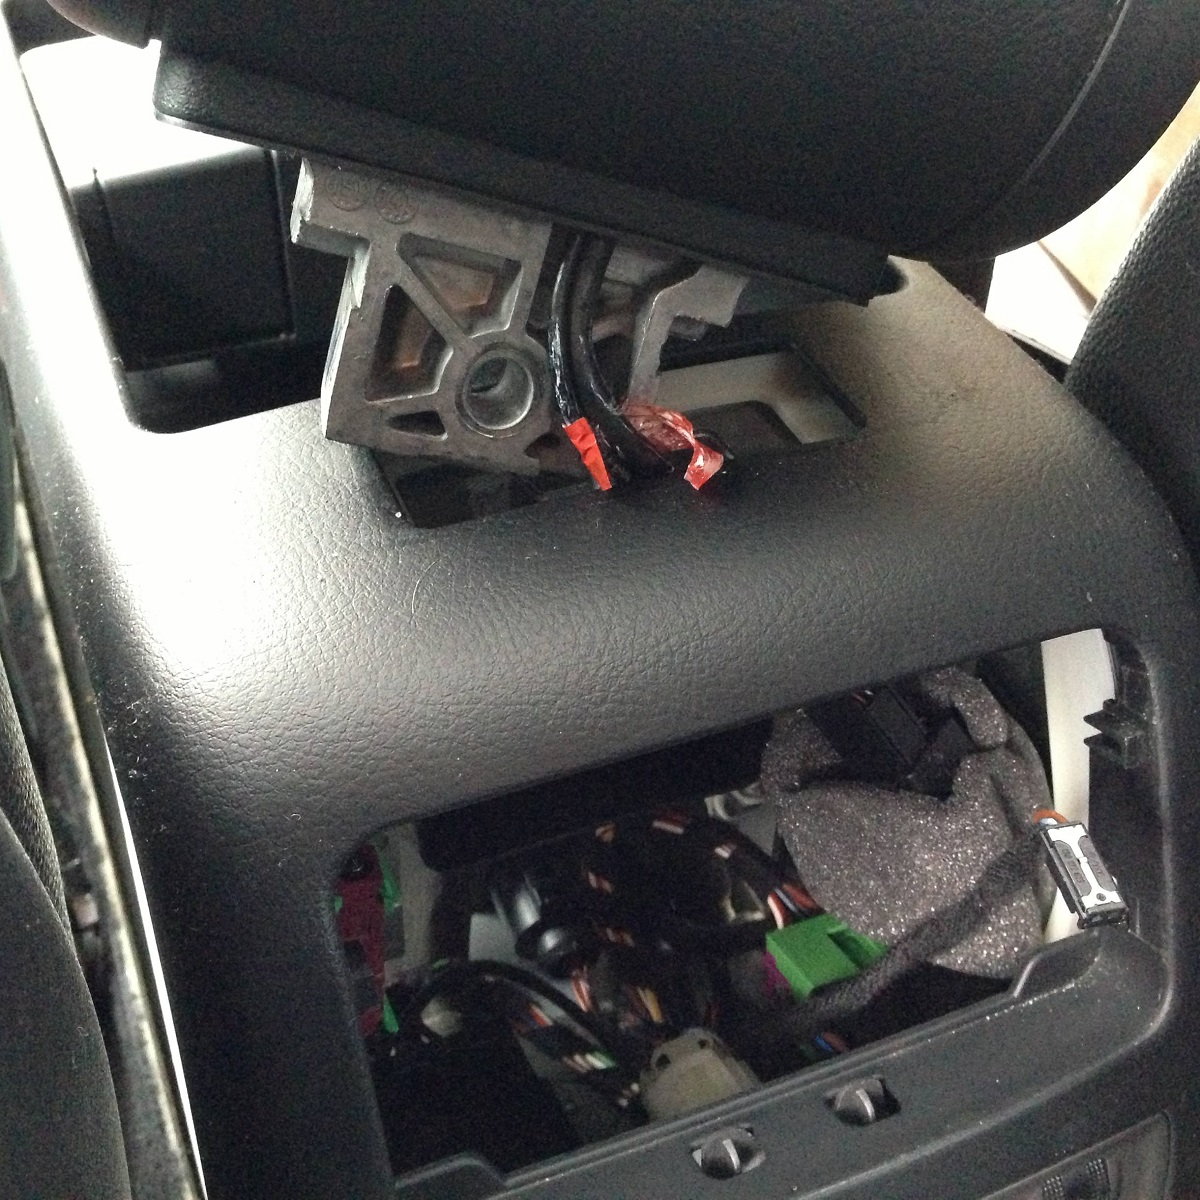
Figure 4. Remove the armrest.
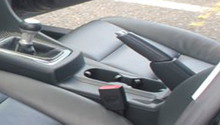
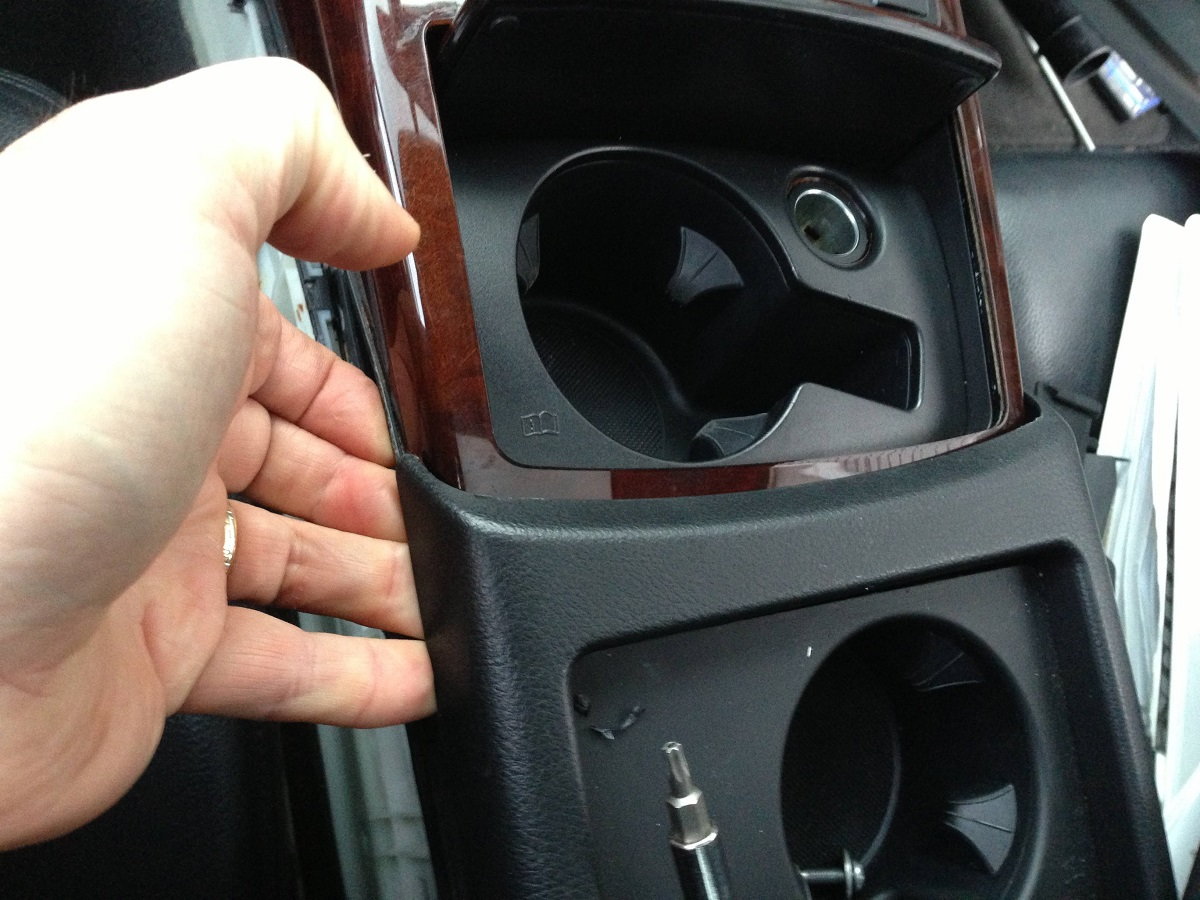
Step 3 – Remove the back of the center console
Pull up the rubber matting in the cup holder. This will reveal a bolt that needs to be removed. Then pull up and set aside the cup holder.

Remove the rubber matting in the storage compartment. Then remove the bolt within the compartment. Lift the compartment and disconnect the electrical connector on the back, then set the compartment aside.
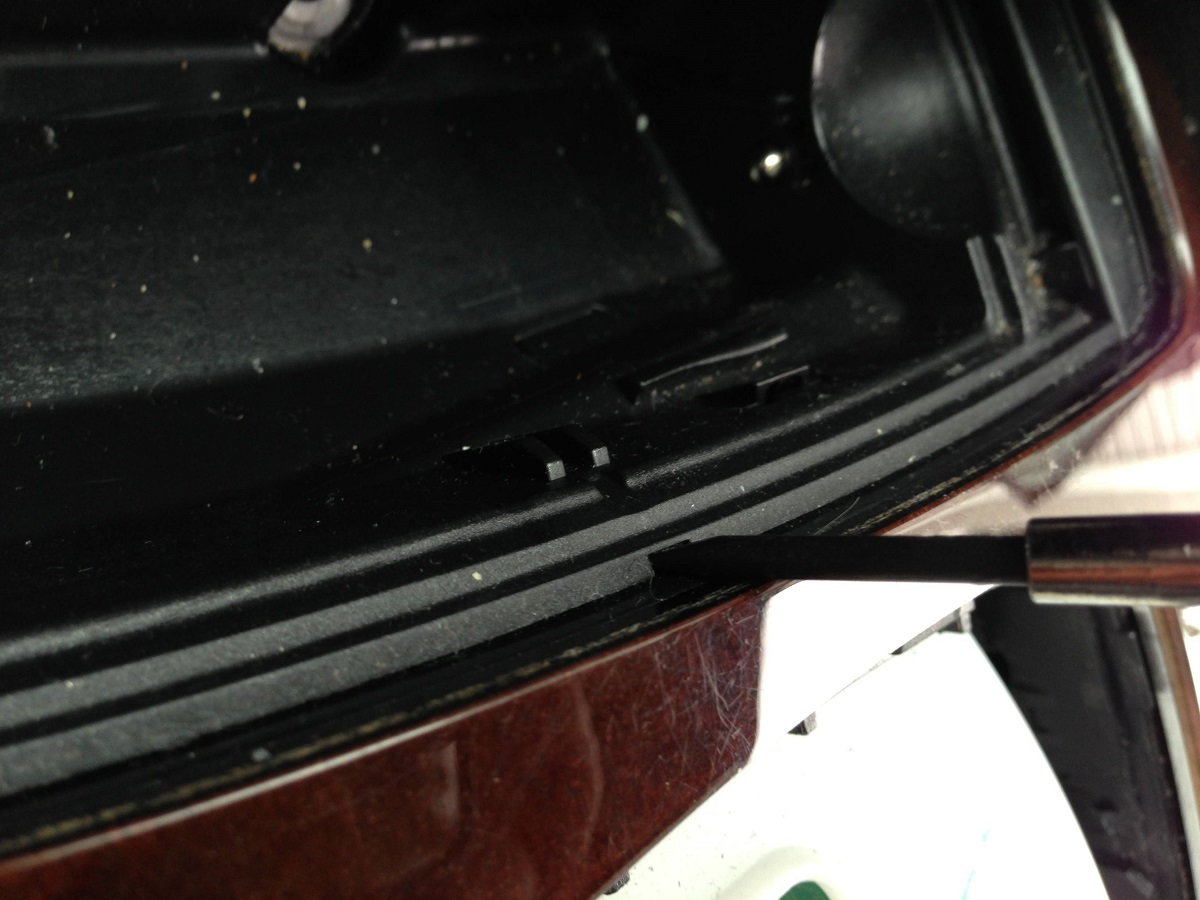
Step 4 – Remove the ashtray
Use your pry tool to remove the trim piece sitting above the ashtray. You'll need this out of the way to remove the rest of the console.
Open the ashtray cover and remove the tray. There will be two more bolts inside. Remove the two bolts.
If you look at the front of the ashtray, you'll notice a small hole. It's just big enough to insert a small flat head screwdriver. If you insert the screwdriver, it will push in the tab and release the ashtray. Now you lift the ashtray and set it aside.
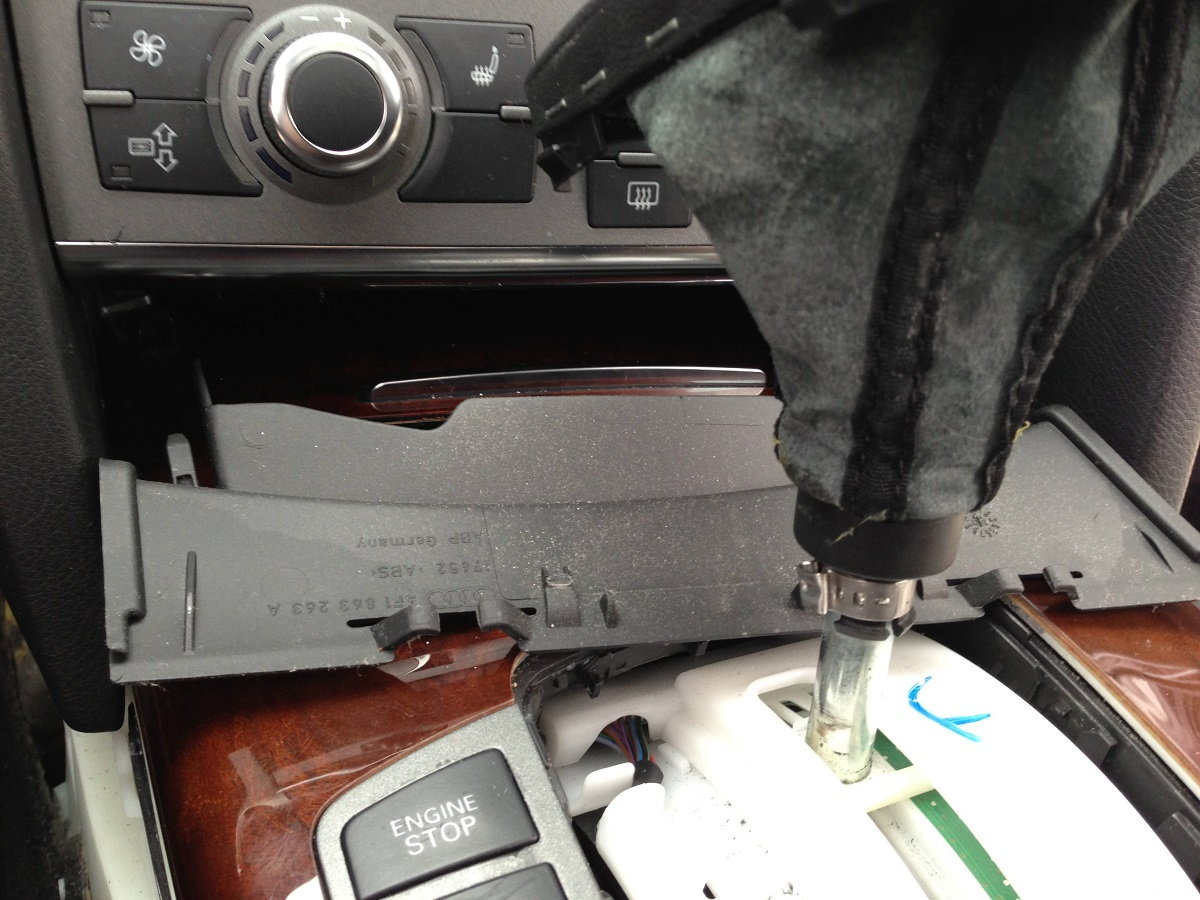
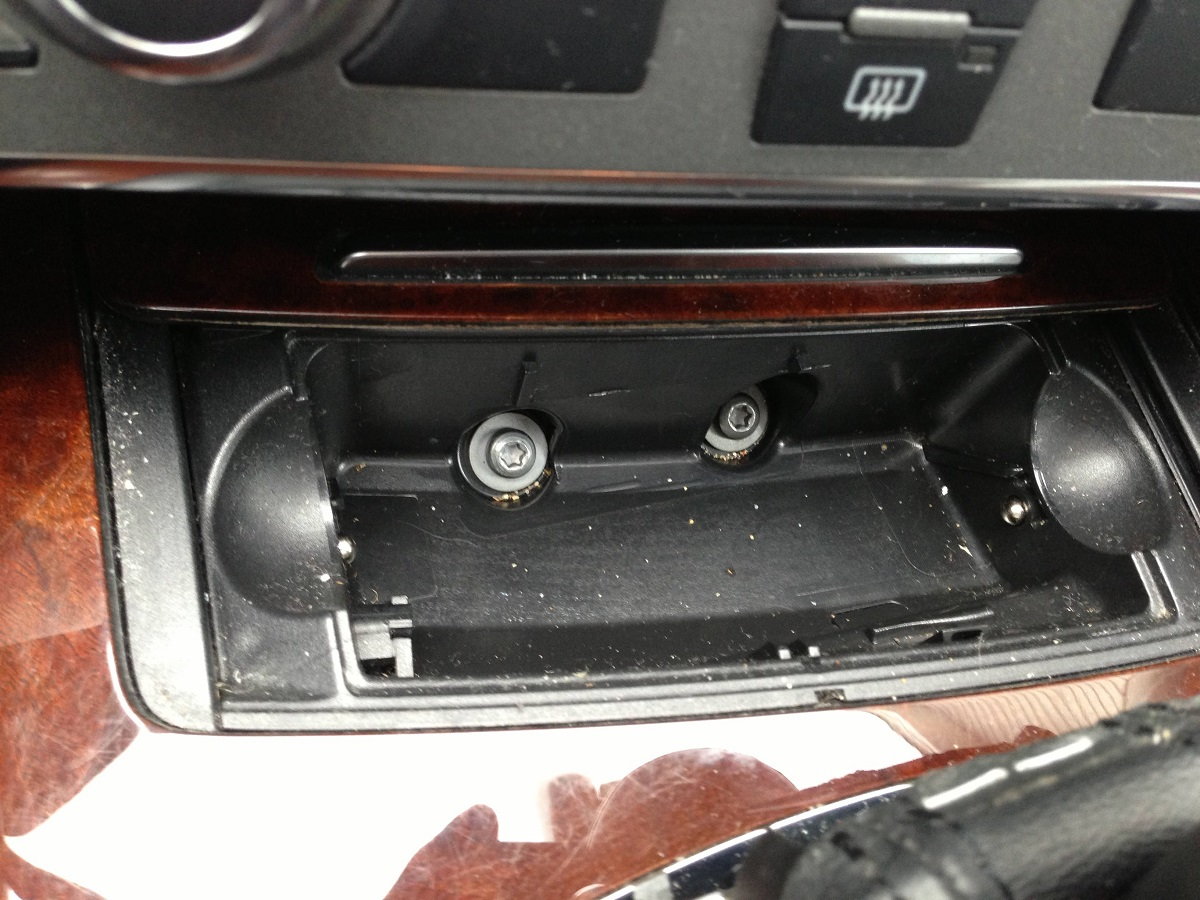
Step 5 – Remove the front of the center console
You'll first need to pull up the boot of the gear selector. It's held in by some clips on the side, but if you pull on the sides of the boot, it will come loose and you can pull it up around the gear selector. You do not need to remove it completely.
Now locate the bolts at the rear corner on either side of the center console. Remove these two bolts. Once those two bolts are gone, you can remove the center console by sliding it back and up.
There will be four electrical connectors for you to unplug. Just push in the tab to release the electrical connectors. Then slide the center console up and away from the gear selector.
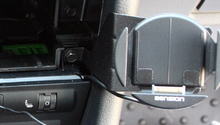
Step 6 – Remove the MMI control panel
If you flip over the center console you'll see four bolts aligned in a square in the middle. Remove these four bolts, then flip the console over again. Around the hole for the gear selector is a series of retaining clips. Pry these clips up to remove the MMI control panel trim. Be very careful as you do this, as it's easy to break off these clips. After that, you can push out the MMI control panel from the MMI plug under the center console.
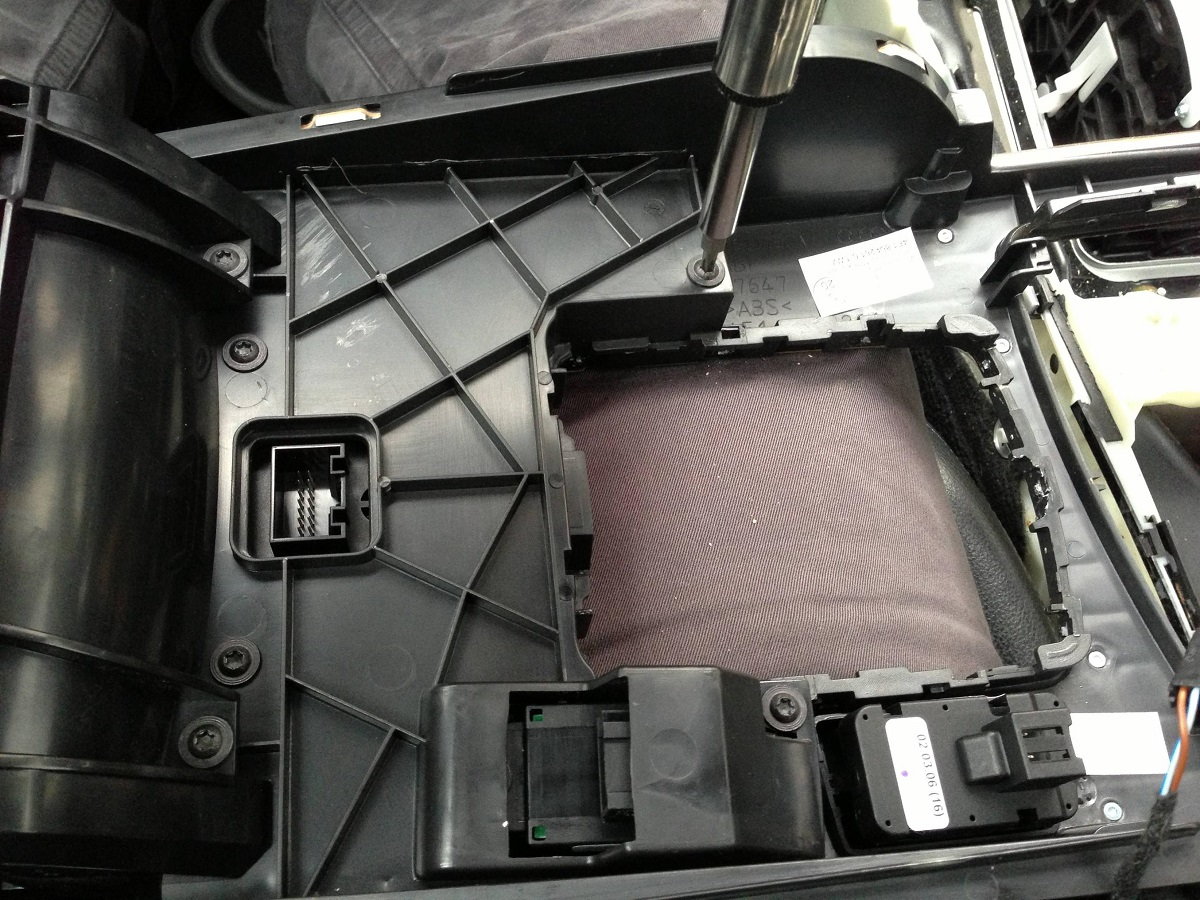
Figure 12. Remove the four center-most bolts. MMI plug is in the left center. 
Figure 13. Pull up the clips in the center to remove the MMI control panel trim.
Step 7 – Installation
You'll need to reverse the previous steps as summarized here.
- Return MMI control panel to the center console.
- Press MMI control panel trim to the control panel until clips snap into position.
- Tighten four bolts on the back of the center console.
- Slide center console back over the gear selector.
- Plug in the four electrical connectors to the back of the center console.
- Tighten two bolts on the side of the center console.
- Pull down gear selector boot and snap it back into position.
- Return the ashtray and snap it back into position.
- Tighten the two bolts in the ashtray.
- Return the cover tray to the ashtray.
- Return the trim to the bottom of the HVAC unit.
- Plug in climate control plug to the back of the center console.
- Return the center console storage compartment.
- Tighten the bolt to the storage compartment.
- Return the rubber matting to the storage compartment.
- Return the cup holder.
- Tighten down the bolt for the cup holder.
- Return the rubber matting to the cup holder.
- Set the armrest on top of the storage compartment.
- Tighten down the bolt on the back of the armrest.
- Plug in the vent and return it to its housing.
- Press the side trim firmly back into position.
- Tighten down bolts for the side trim and return bolt cover.
Featured Video: How to Replace Center Console on Audi A6
Related Discussions
- DIY for Center Console Removal? - AudiWorld
- CF Trim Install Write-up - AudiWorld