Audi A6 C6: How to Replace Side Marker Bulb
The side marker on your A6 is seemingly innocuous, so why does it give owners so many troubles? It's just a little inexpensive bulb, but it appears to be a difficult place to get to.
This article applies to the Audi A6 C6 (2005-2011).
The side marker bulb is located inside the side marker housing, but getting to it is not the most obvious thing. You could disassemble the fog light grille, and several other pieces of trim, to get to it from behind, but the German engineers designed a much easier way into the car. Read on and find the proper way to do it, and you'll be done in just a few minutes.

Materials Needed
- Small thin screwdriver or knife
- Replacement bulb
- Nitrile gloves (optional)
Step 1 – Remove side marker housing
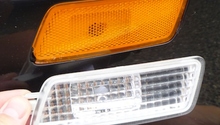
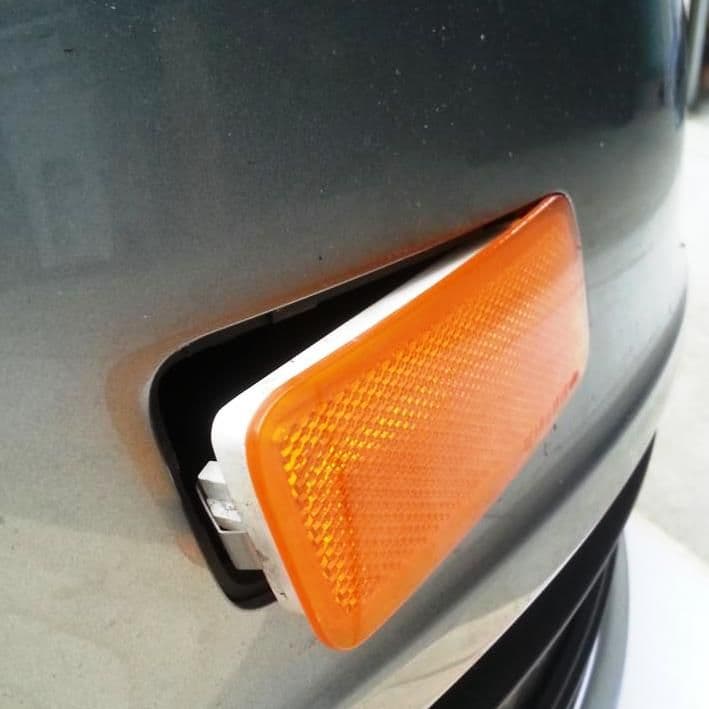
As mentioned, the hardest part of this job is getting to the bulb. The side marker housing is located in the plastic bumper cover, just forward of the wheel well. Press down on the forward edge of the orange marker light lens, and a small gap will open at the back edge. Place the small thin screwdriver (or knife) in the gap, and press the tab while gently prying it out. Then pull the entire housing rearward to get the tab out of the forward edge of the hole.
Pro Tip
While not necessary with side marker bulbs, it is a good habit to wear nitrile gloves when dealing with automotive light bulbs. Oils from your fingertips left on the bulbs can substantially shorten the life of the bulb, especially halogen headlights and fog lights.
Step 2 – Replace bulb
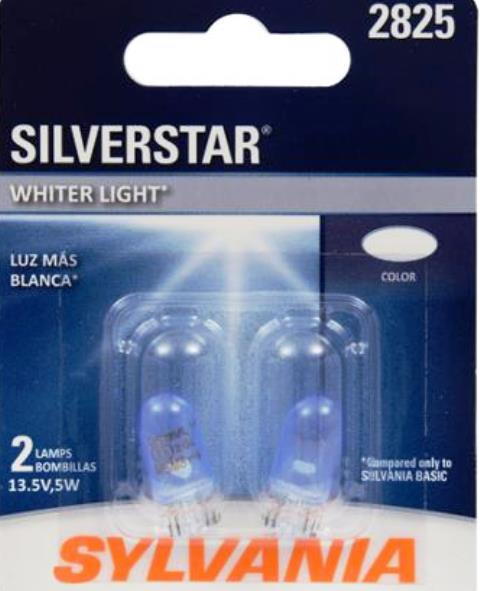
With the marker light housing out, the bulb socket will be obvious. Firmly grab the socket and turn it to release from the housing. Pull the bulb from the socket and replace with a Sylvania 2825 or equivalent.
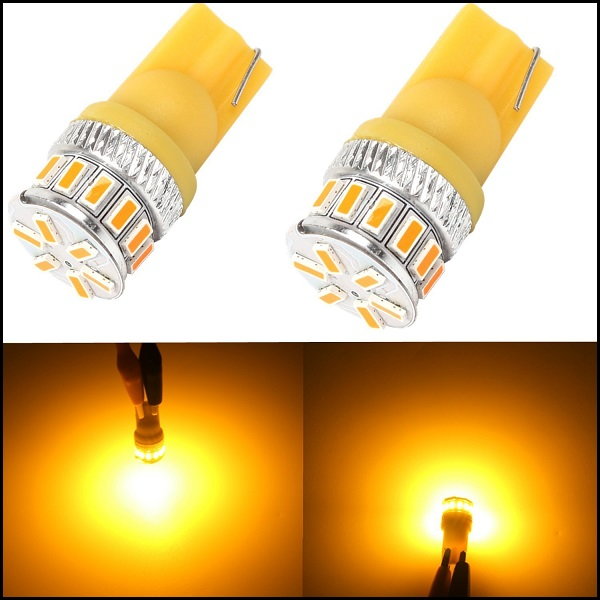
There are alternatives to the standard bulb, however. If you are using clear marker light housings, you should use the Sylvania 2827 bulb, which is the same exact bulb, only orange. Another option is to replace the marker lights with T10 LED bulbs (Figure 3). Two things to be careful of when purchasing LEDs. First, ensure these will work without interfering with the vehicle. LEDs draw way less amperage than OEM bulbs and vehicle computers sometimes don't detect them, indicating the bulb as being out on your instrument cluster, or causing the blinker to flash slower or faster than normal. Secondly, ensure you get the same height of bulb. While all T10 bulbs have the same socket end on it, they can be of varying heights, and might not fit the housing if they are too long. While the T10 style LED bulb will cost more than the OEM replacement, they do last longer. Plus, they produce more light and less heat than the regular bulb.
Step 3 – Replace housing
Once you have the bulb back into the socket, twist the bulb socket back into place in the housing. Place the tab end into the slot in the bumper first, then push the clip home into the bumper cover. The housing should now be secure. Ensure the housing is flush and does not protrude. Lastly, test the lights on to ensure the new bulb functions as expected.

Featured Video: How to Install/Change Side Marker Light and Bulb
Related Discussion
- How to Replace Side Marker Bulb - AudiWorld