Audi A6 C6: How to Replace the Tail Light Assembly
A malfunctioning tail light is not only a headache, it’s also illegal. Fortunately, it’s an easy fix. Read on to learn how you can do it yourself in under an hour’s time.
This article applies to the Audi A6 C6 (2005-2011).
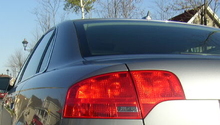
Whether your tail light is malfunctioning or completely burned out, you’d be best served to have it fixed sooner rather than later. It’s not only confusing to the drivers behind you, it’s also illegal, and you could get a ticket. Fortunately, it’s an easy fix and can be completed in about 30 minutes or so. What’s more, it’s also fairly inexpensive – most assemblies run about $130 or so. To learn how to replace your tail light assembly, read on.

Materials Needed
- New tail light assembly
- Flathead screwdriver
- Socket wrench set
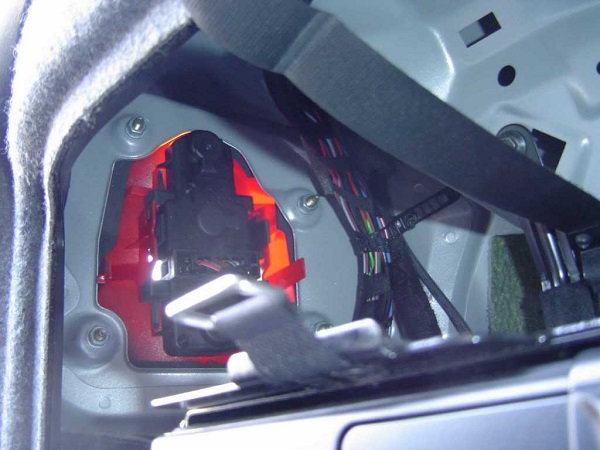
Step 1 – Access the tail light assembly
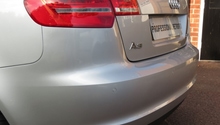
Open the trunk and pull back the trunk floor covering. Remove the black insulation piece with a flathead screwdriver.

You’ll see there are four nuts exposed which secure the tail light in place. Remove them to gain access to the tail light; place the nuts on the side where they’re not likely to get lost.
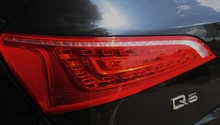
Step 2 – Remove the tail light and replace with new assembly
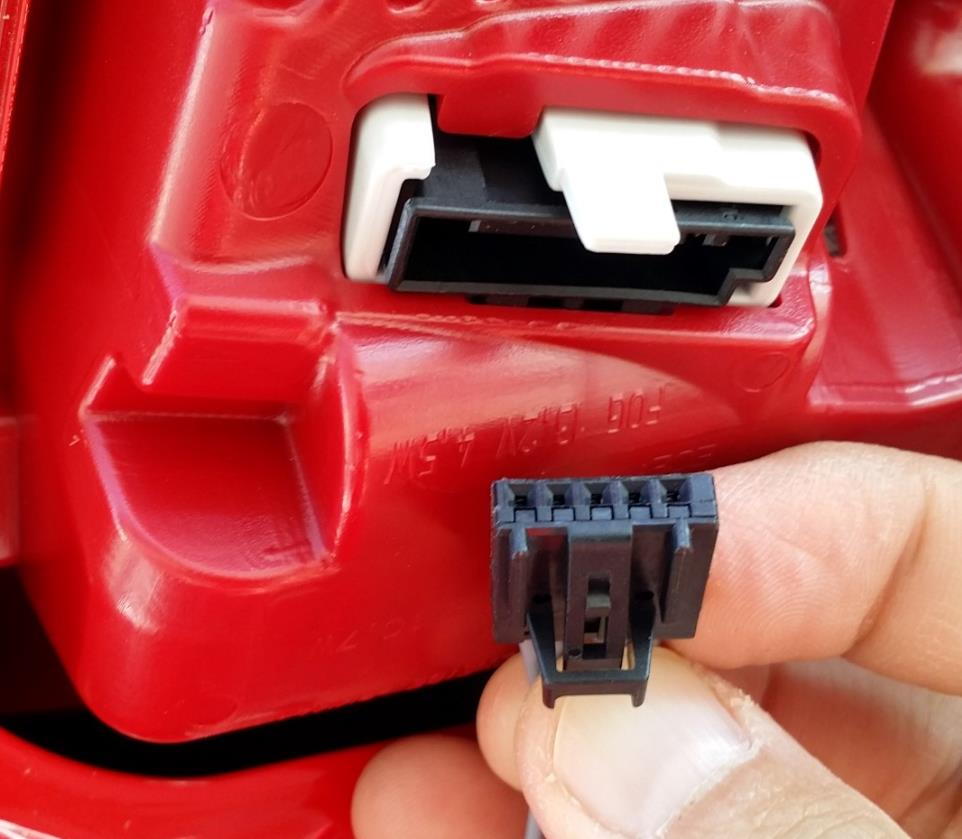
Once all of the nuts are removed, unplug the tail light assembly. Gently pull the assembly up and away from the tail light area. Place on the side. Bring the new light assembly up and into the correct area.
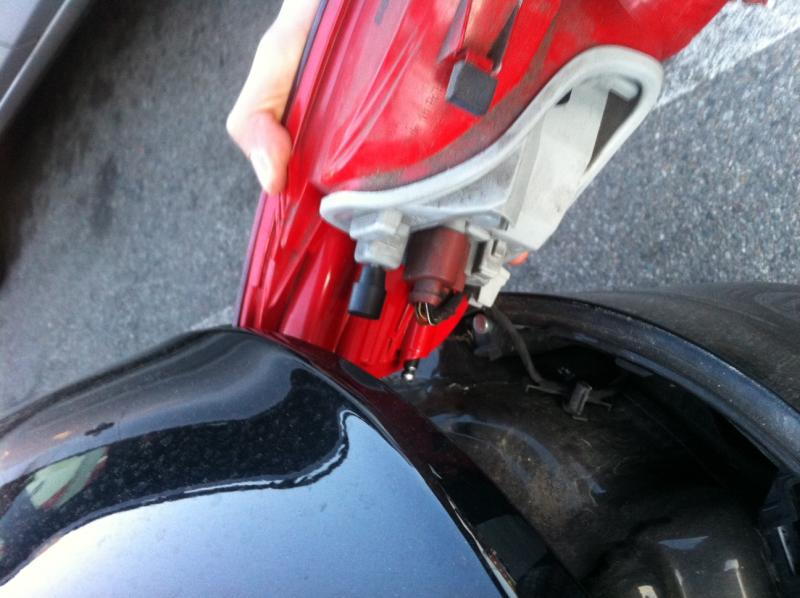
Plug the light assembly to the car’s electrical connection, and carefully slide the light assembly into the tail light chamber.
Step 3 – Replace all fixtures and test
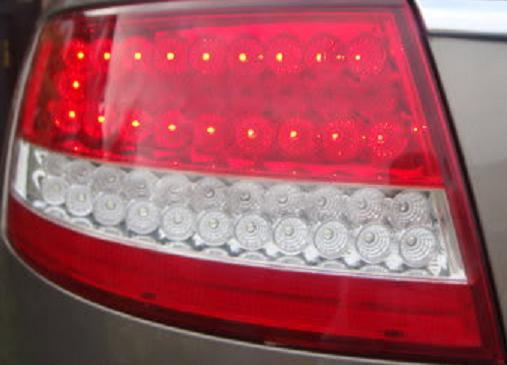
Once the new tail light assembly is in place, replace the four nuts and tighten. Confirm the light is not loose and that the assembly is sitting flush in the tail light chamber. This lowers the risk of water getting into the chamber and damaging the light.
Replace the black plastic insulation piece, and put the floor covering back down. Ask someone to go up to the driver’s side and press down on the brakes to ensure the light assembly works.
Related Discussion
- Replacing Tail Light Head Light - Audiworld.com