Audi A6: How to Remove the Headliner
Removing a headliner can be a difficult task if you don't know the steps involved. This article will walk you through the process and make it as smooth as possible.
This article applies to the Audi A6 C5 and C6 (1998-2011).
Whether your old one is torn or shoddy looking, or you simply want to install a nice looking Alcantara piece, removing an old headliner is a job that eventually calls to be done. The problem is, this one simple job has gotten incredibly complicated in modern cars. While not an easy job by any means, removing the headliner in an Audi A6 is doable by most anyone with a lot of patience and a handful of basic tools. Keep reading and we'll walk you through the process.

Materials Needed
- T25 Torx driver (and other common sizes)
- Phillips screwdriver
- Plastic putty knife (or metal one with edges taped)
- 17mm socket and ratchet
Step 1 – Remove the A-pillar
Begin by removing the sun visor. Pop off the plastic piece covering the Phillips head screw and remove the screw. Turn the sun visor down and back to pry it loose, then pull it out and disconnect the wires. Remove the grab handle by removing the two Torx bolts located underneath the hinges beneath plastic caps.

Figure 1. Remove the sun visor screw. 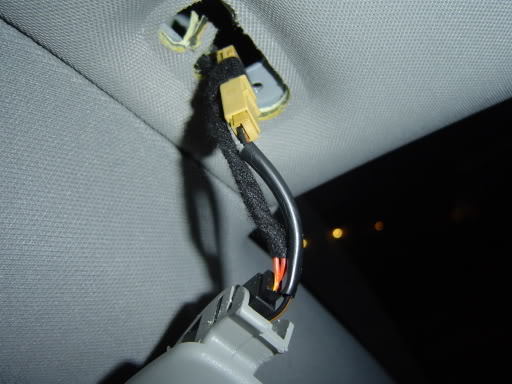
Figure 2. Pull the visor down and disconnect it. 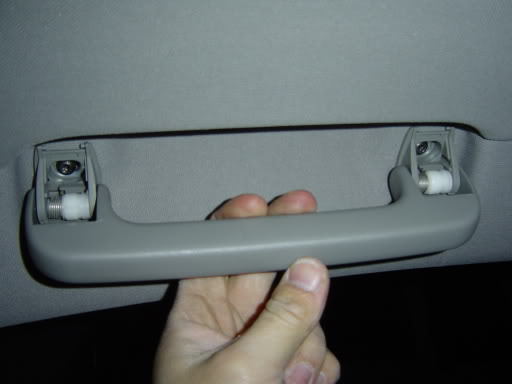
Figure 3. Pull the grab handle down and remove the screws.
Remove the airbag plastic piece above the B-pillar to access another Torx bolt and remove it. Remove the brass oval washer in the leading hole for the grab handles with some pliers by pulling it back toward the rear. Beginning on the side where the visor was removed, gently pull down on the A-pillar and work your way around to release it from the clips. Once all the clips are free, remove the A-pillar.
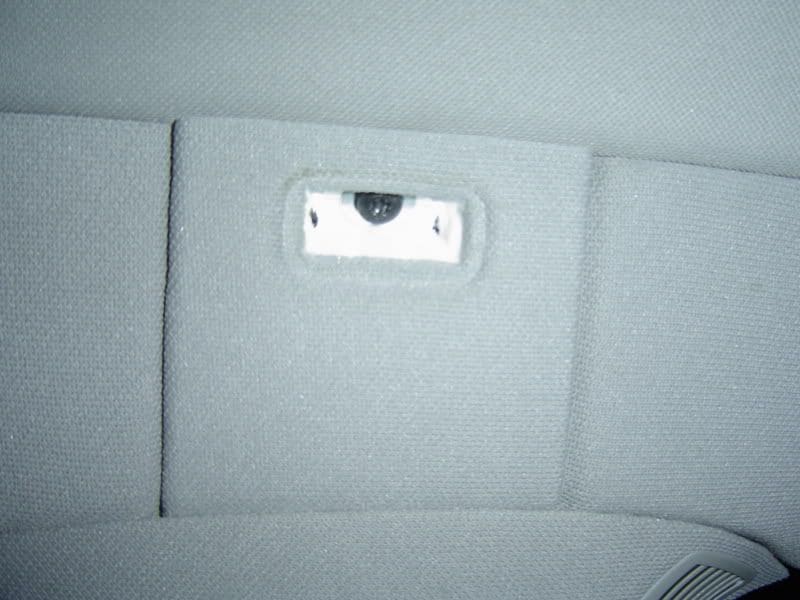
Figure 4. Remove the ABS cover and screw beneath it. 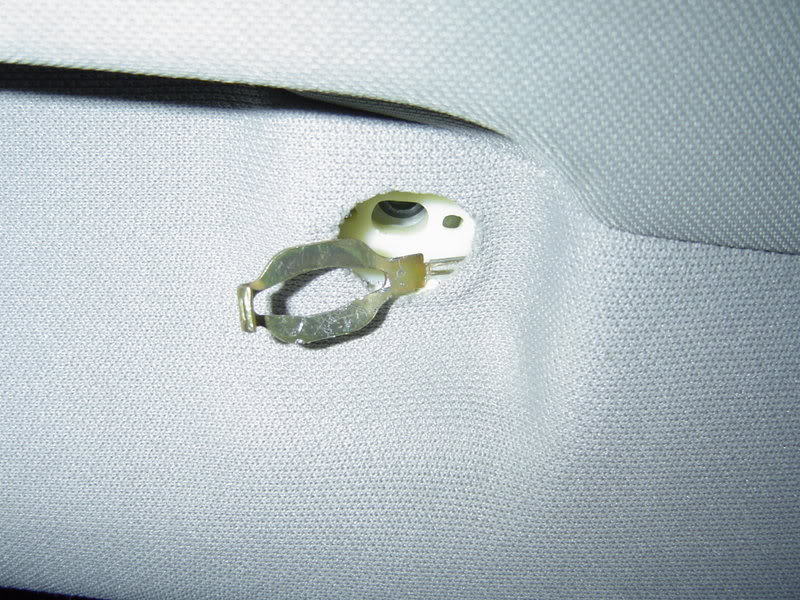
Figure 5. Remove the brass clips. 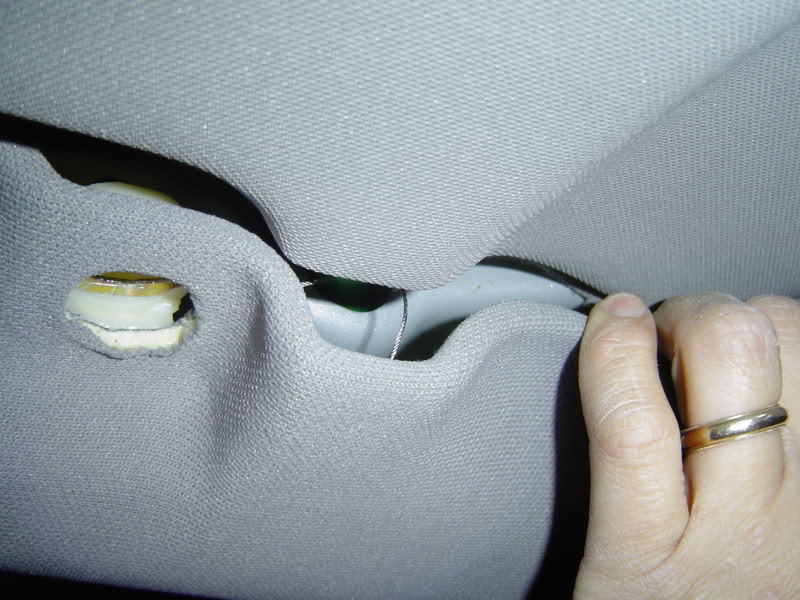
Figure 6. Pull the A-Pillar to release it from the retention clips.
Step 2 – Remove the C and D-pillar
Just as you did with the A-pillar, remove the grab handle and brass oval washer. Flip the coat hook down and remove the screw beneath it. Once you remove the coat hook, remove the Torx bolt underneath it. Remove the locking clip underneath the D-pillar. Remove the C/D-pillar trim by removing the Torx bolt for the side curtain airbag, then the bolts and clips shown in Figure 10. Once everything is removed, pull the trim piece out.
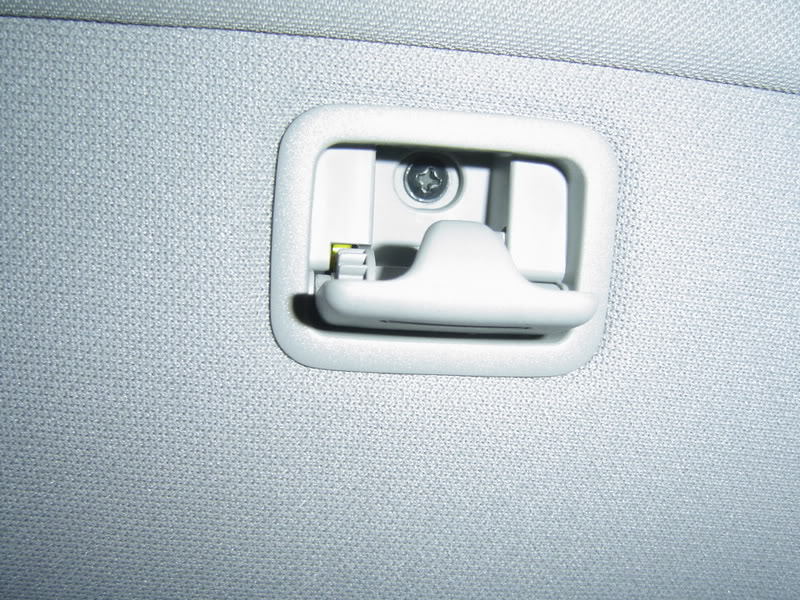
Figure 7. Remove the screw holding the coat hook in place. 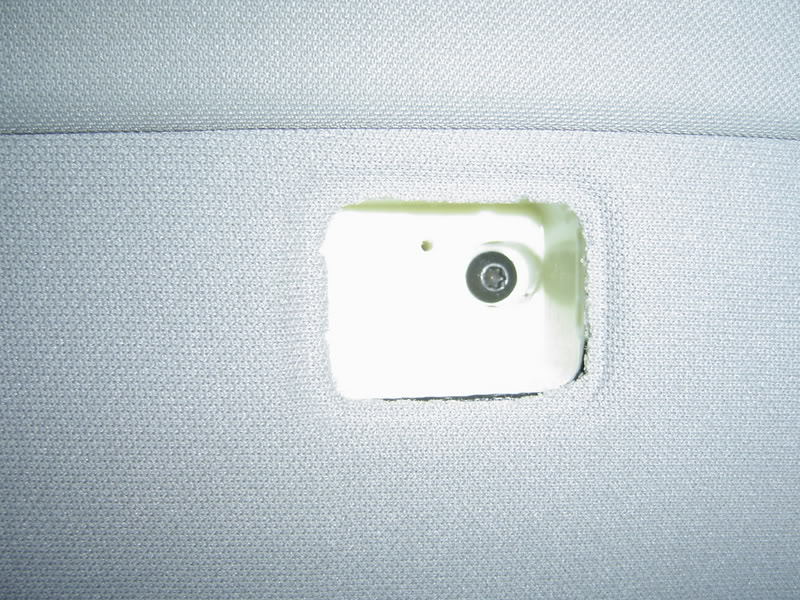
Figure 8. Remove the Torx bolt underneath the coat hook. 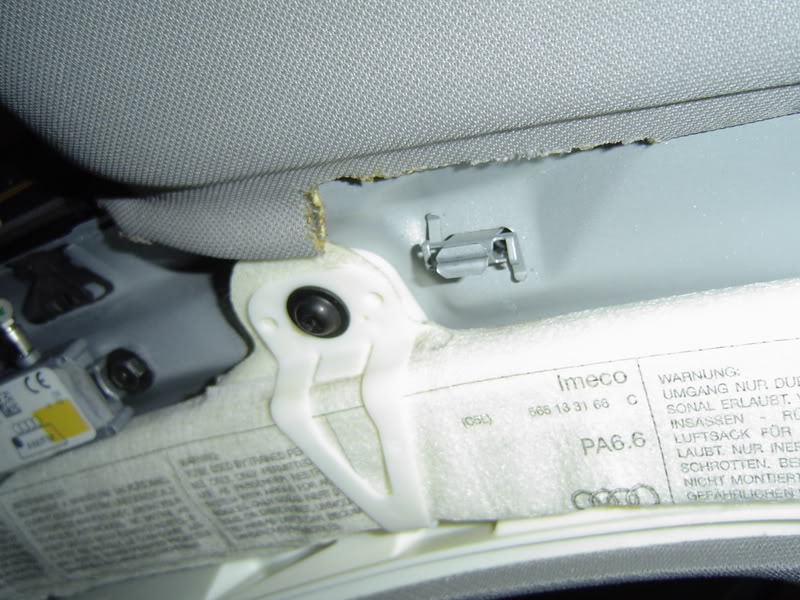
Figure 9. Remove the clip under the trim. 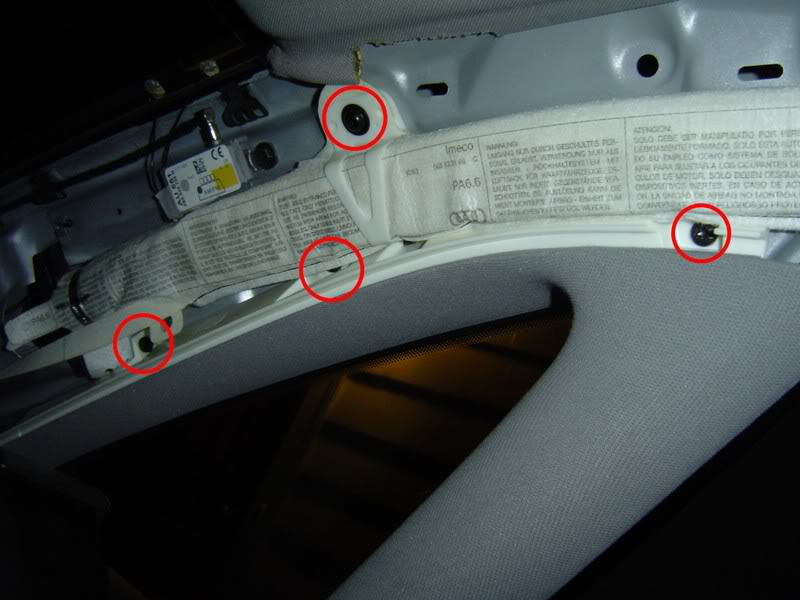
Figure 10. Remove the bolts and clips shown.
Step 3 – Remove the B-pillar
To remove the B-pillar, you must first remove the seat belt. Loosen the two Phillips head screws holding the lower A-pillar trim in place, then remove the anchor bolt holding the seat belt. Pull up and remove the door sill trim, then the 17mm bolt hidden underneath. Remove the Torx bolts along the upper edge of the B-pillar trim (Figure 15) and the sensors for the alarm. Pull the B-pillar out gently to release it from its retaining clips.
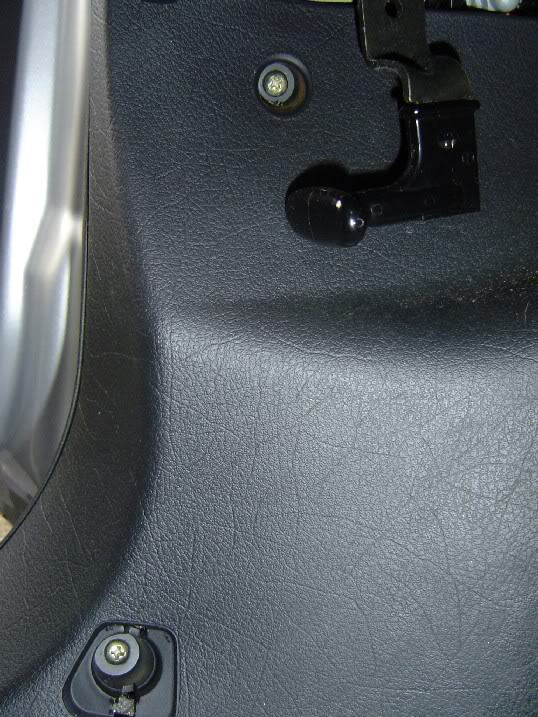
Figure 11. Loosen the screws from the lower A-pillar. 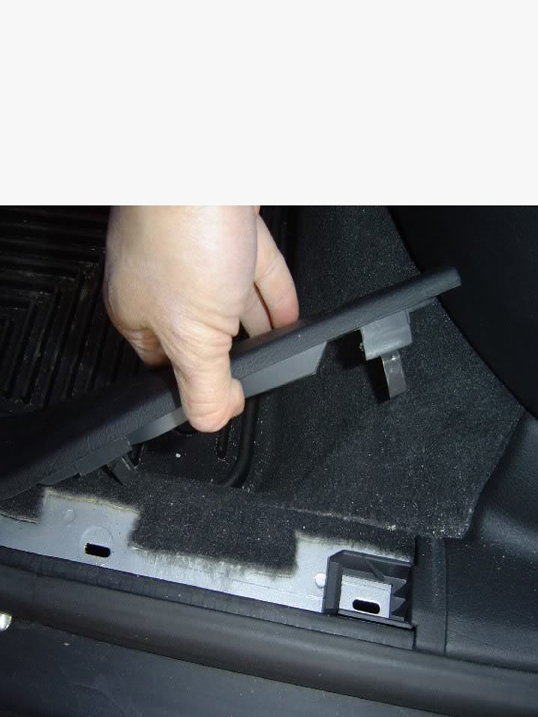
Figure 12. Remove the door sill trim. 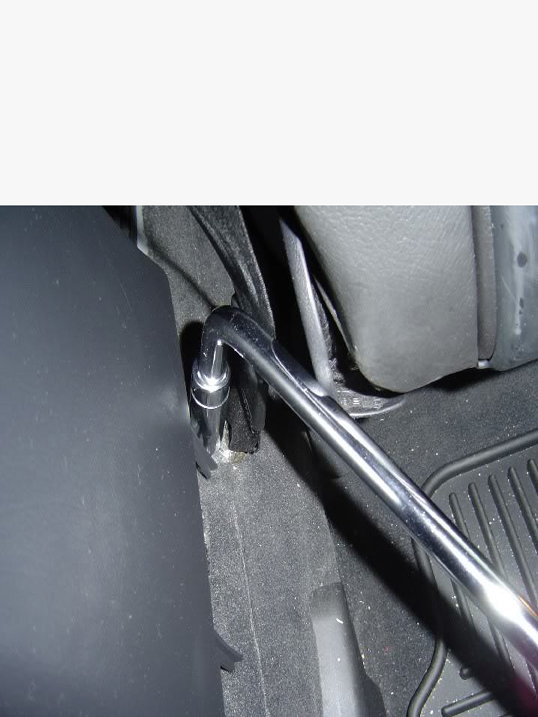
Figure 13. Remove the 17mm bolt underneath the trim. 
Figure 14. Remove the bolts from the B-pillar. 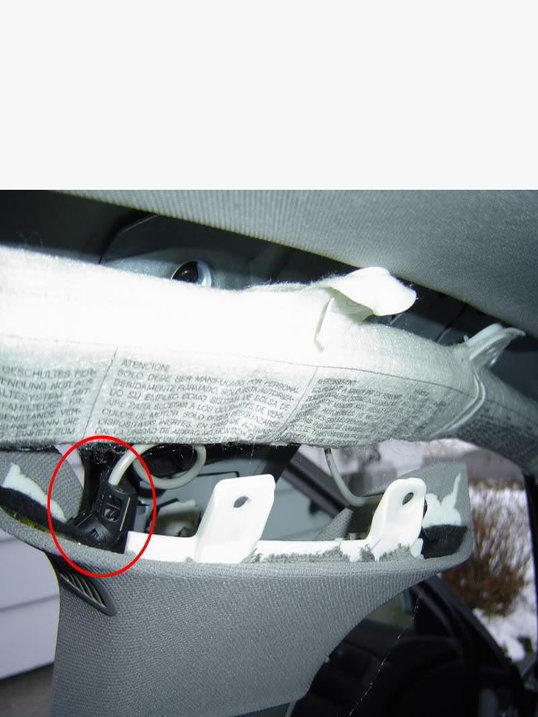
Figure 15. Disconnect the alarm sensors.
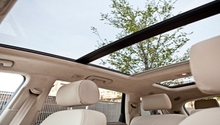
Step 4 – Remove the sunroof shade
Tilt the sunroof up and locate the plastic rail caps just above the track, then pull them off. Remove the three Torx bolts underneath the caps on both sides, then carefully lift the glass panel out. Look down from the top and locate the two Phillips screws on each side that hold the shade in place, then remove them and the shade. Remove the metal frame that holds the sunroof in place using a putty knife.
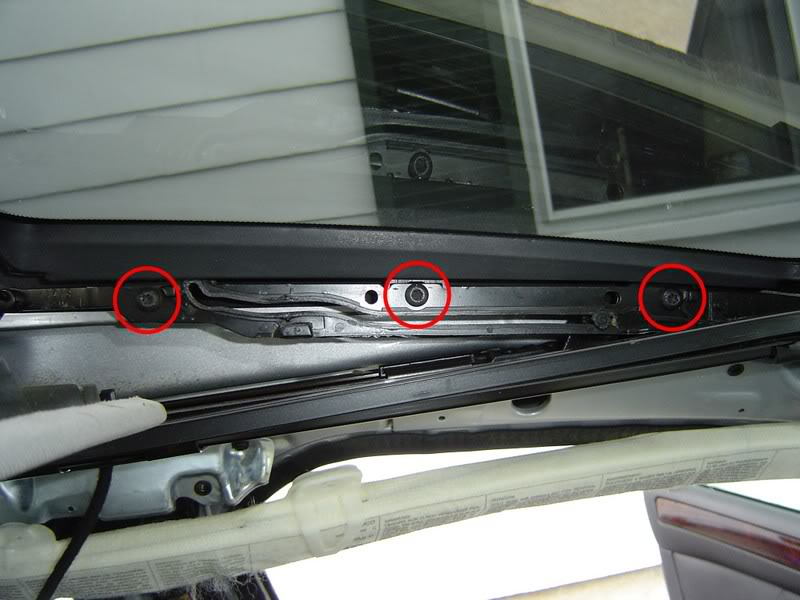
Figure 16. Remove the plastic clips and screws holding the sunroof in place. 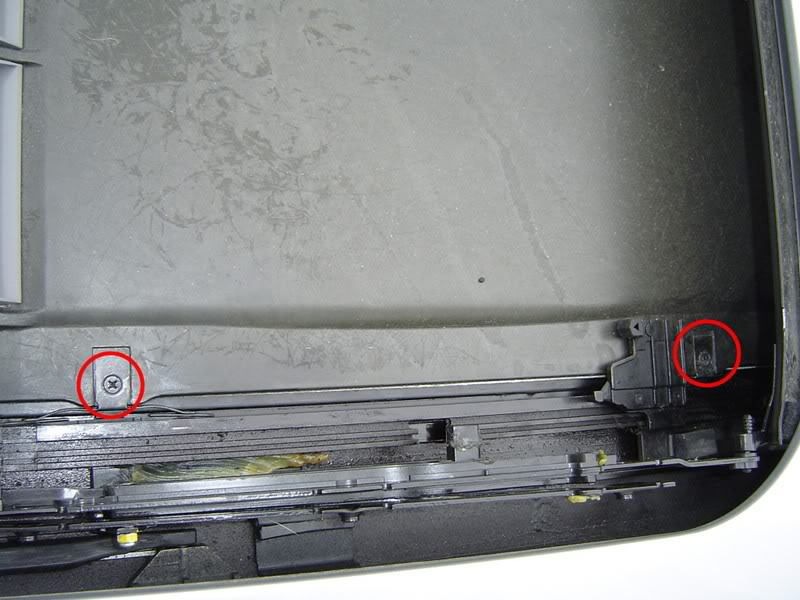
Figure 17. Remove the screws and shade. 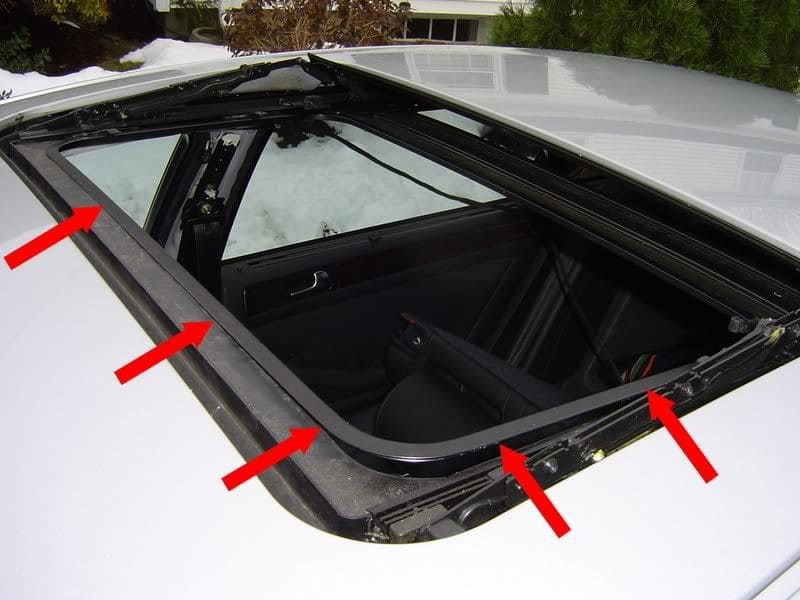
Figure 18. Remove the sunroof track.
Step 5 – Remove the headliner
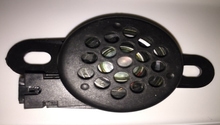
Remove the sun visor clips with a prying tool. Remove the rearview mirror and disconnect the wiring behind it (rotate it 90 degrees counterclockwise to break it loose). Remove the dome light, rear dome light, and sunroof control panel by prying them off, then remove the screws underneath them. Fold down the rear seats and recline the front seats all the way back. Slide the headliner back just a bit to release it from the clips and it will drop down. Remove the wiring harnesses connected to the headliner and remove it through the trunk.
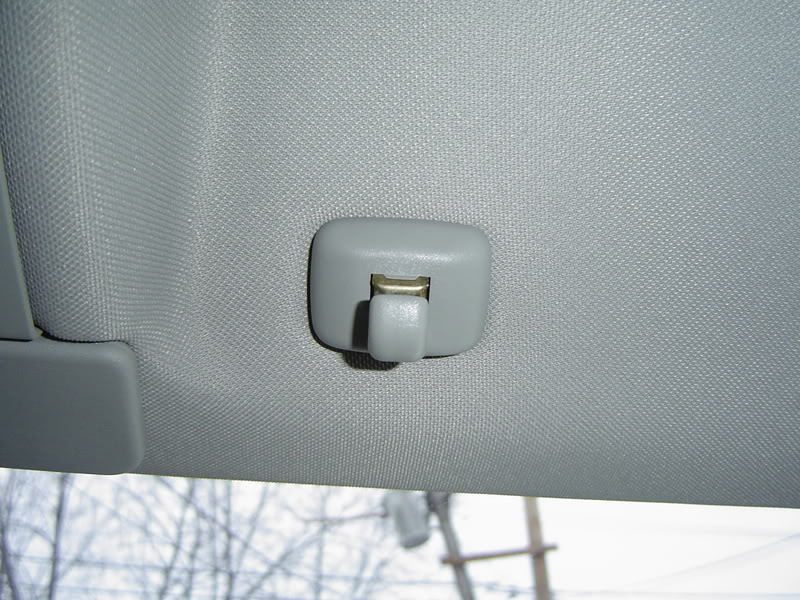
Figure 19. Remove the sunvisor clips. 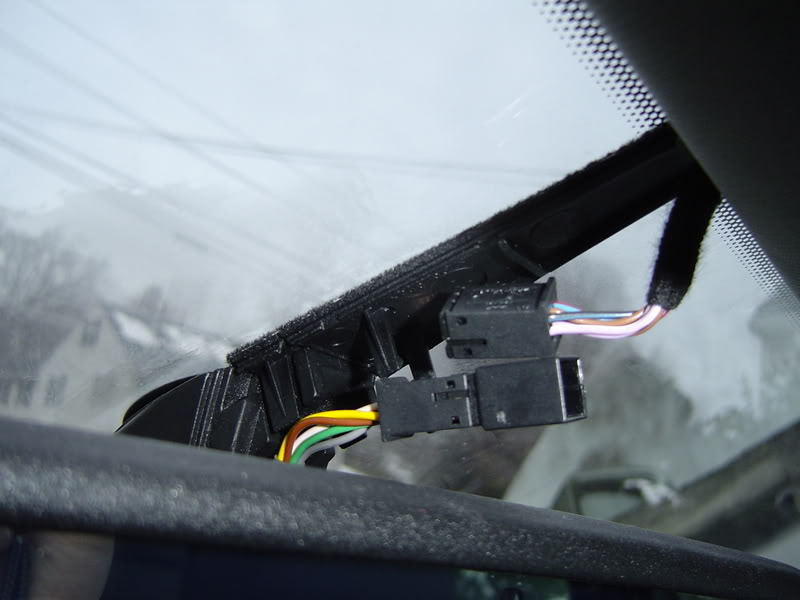
Figure 20. Remove the rear view mirror. 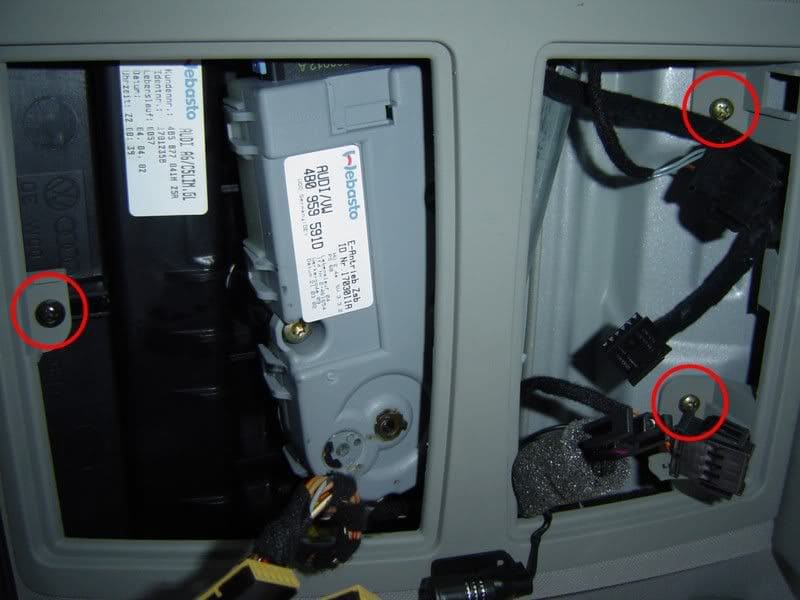
Figure 21. Remove the dome lights and screws underneath them. 
Figure 22. Disconnect all wiring harnesses and remove the headliner.
That's all there is to removing the liner on the roof of your Audi A6.
Related Discussion
- Headliner Removal - AudiWorld