Audi A6: Radio Problems Diagnostic Guide
It can be annoying dealing with a problematic radio. Fortunately, fixing an audio problem may not be as complicated as you think.
This article applies to the Audi A6 C5 and A6 C6 (1998-2011).
Most drivers appreciate the option to jam out to their favorite tracks, whether they're doing errands or just enjoying the road. It's unfortunate when a speaker sounds just a bit off, a head unit ceases to work or even when a mysterious rattle appears, as the problem can completely diminish the drive. Problems can sometimes be due to loose wiring, blown fuses or, in the worst case scenarios, be a completely damaged radio system. However, most issues are caused by smaller problems. So, if you like to enjoy long drives, read on and see some common issues that can cause your radio to stop working properly, along with the ways to fix them.

Materials Needed
- Radio manual
- Radio removal keys
- Replacement parts
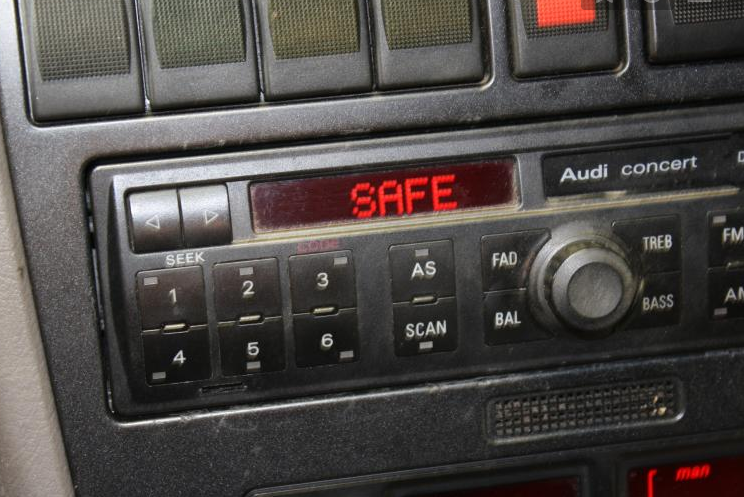
Step 1 – Input your radio code
It may just need to be reset.
If you've ever needed to remove the radio or disconnect the battery at any point in owning your vehicle, this problem will show up. A radio code is used as a theft deterrent in order to prevent thieves from using the radio they stole on another vehicle. These codes vary according to each vehicle and should be relative to your own car. If your car had some work done at a local dealership, they may reset it for you, but if not, you can find the code in several places.
- Check under the spare wheel.
- Check your radio manual.
- Check your car manual.
- Call your dealership–as they can generally find the proper code using the VIN or your vehicle.
After you have the proper code, input it into your head unit:
- Press and hold the AS and RDS button until 1000 is shown.
- Release the buttons.
- Use the 1-4 preset button to input the code. Each press increases the number value by one.
- Once finished, press and hold the AS and RDS buttons again to accept the code.
If you've reset the radio and the problem still persists, then continue to Step 2.
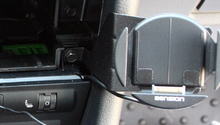
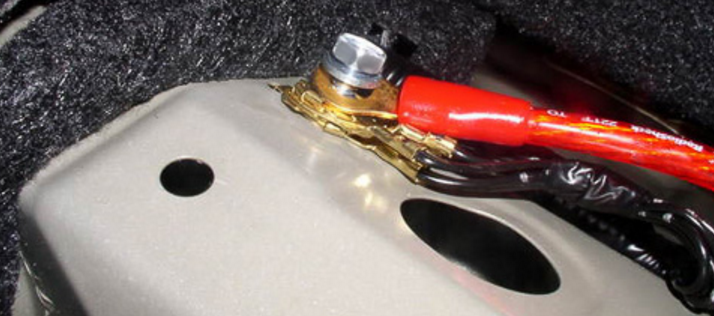
Step 2 – Check for loose wiring
A cable may just need to be tightened.
If you experience issues with the speakers sometimes working, or even the display that semi-functions, then check the connections. A wire connector clip could have broken off, or loosened, so grab your radio keys and pull out the head unit. Make sure you have the radio code with you prior to doing this. Use the radio keys to remove the head unit and disconnect each of the connections. Reconnect each connection and then check the system.
If all the connections are snug, then proceed to Step 3.
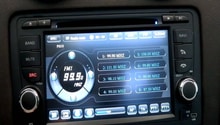
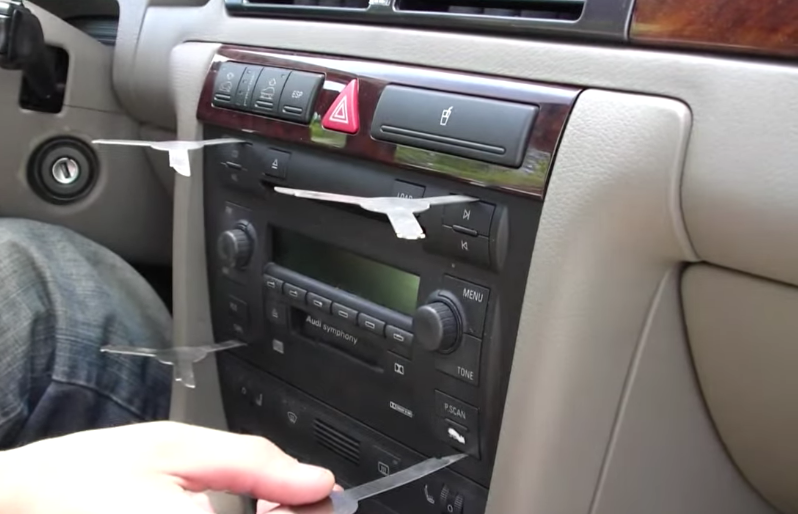
Step 3 – Check the head unit
The unit itself may be damaged.
When the actual radio unit fails, you'll experience several different types of issues such as music fading in and out, trouble with the sound, or the issues using the control panel. If the radio works intermediately, then there is probably an overheating issue inside of the unit. If you believe the radio is the culprit, get a second opinion before spending the money on a replacement. The procedure to replace a unit with an OEM radio is listed below.
- Push the proper keys into each slot.
- Wait until you hear a click and carefully remove the head unit.
- Disconnect the wire harness.
- Connect the wire harness to the new head unit.
- Install the new radio.
Related Discussions
- Radio Issue in my 2000 Audi A6 2.7T - AudiWorld
- Radio Issue- AudiWorld
- 2004 A6 Symphony Not Working - AudiWorld