Audi: Door Not Unlocking Diagnostic
Door lock problems can get really annoying. This diagnostic will show you how to fix most door locking problems in Audi vehicles.
This article applies to all Audi models (2001-Present).
Is your Audi's door not unlocking? Is all but one of your doors unlocking? Or, maybe they unlock from the inside but not from the outside? We'll be covering all these issues in this diagnostic. If your problem is with all of the doors, start with Step 1. If your problem is with just one of the doors, then start with Step 3.

Materials Needed
- VAG-COM
- Multimeter
- Torx screwdrivers
- Phillips screwdriver
- Flat head screwdriver
- Ratchet with 8mm 12-point socket
- Trim tool
- Spare wire
- Soldering iron and solder
- Electrical tape
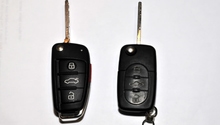
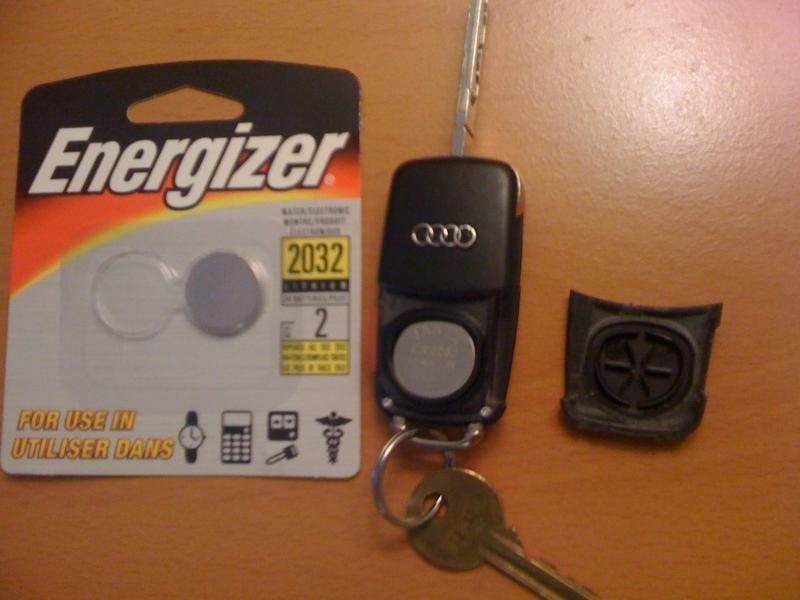
Step 1 – Is it the key fob?
If you've noticed that gradually over time your key fob has been ineffective at unlocking the doors, then it's likely that the key fob battery is dying and needs to be replaced. Just pull out the spare key from the key fob, then pull the battery out and replace it. If it still doesn't work and you can't open the door manually, then the key fob may need to be replaced.
If the doors will still not unlock, continue to Step 2.
Related Articles
- What's Wrong with My Key Fob? - AudiWorld
- Audi A6 C5: How to Reprogram Key Fob - AudiWorld
- Audi Q5/Q7: How to Replace Key Fob Battery - AudiWorld
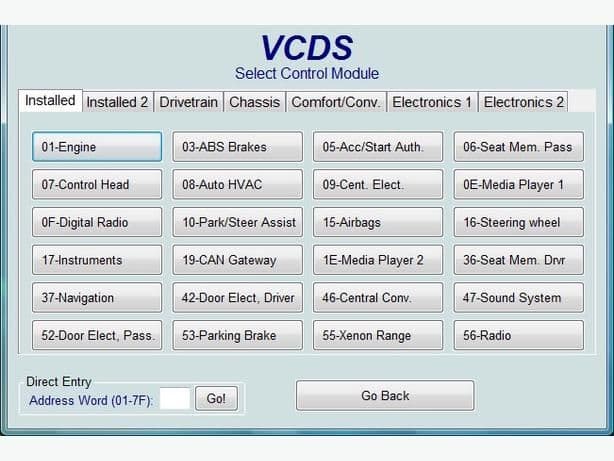
Step 2 – Is it a coding problem?
Like almost every other feature in an Audi, the door locks are more electronic than mechanical and require a bit of coding to work correctly. If you have access to the VAG-COM software, try using it to access the door locking module electronically and resetting it to the default for your car. It's also possible for the door locks to get messed up by changing different settings in VAG-COM, so returning all of the settings to their default will be the best way to ensure this is not the problem.
If the attempt using the VAG-COM software didn't do the trick, keep going.
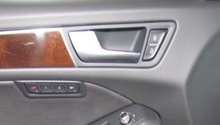
Step 3 – Is it the wiring or the electrical connectors?
For these next few steps you'll need to be able to remove the interior door panel and get access to the door's wiring as well as mechanisms. It'll be different for every model, but it's the same basic process. Start by going along the edges and removing any screws or loose panels that can be pried, such as the covers around the handles and switches. Use a plastic tool to pry the door panel loose, then push it up and out. Be careful as you do, so that you don't break or lose any of the clips inside the door panel. You're also going to want to be careful that you don't accidentally damage the wiring and connectors inside the door panel as you pry it off.
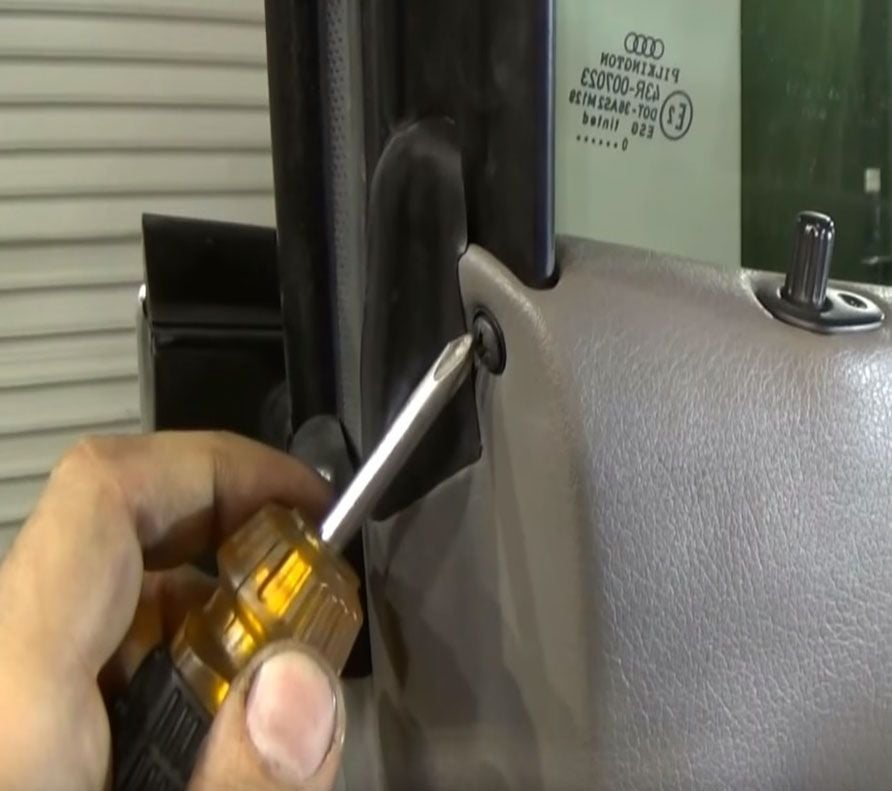
Figure 3. Remove the screws on the door panel. 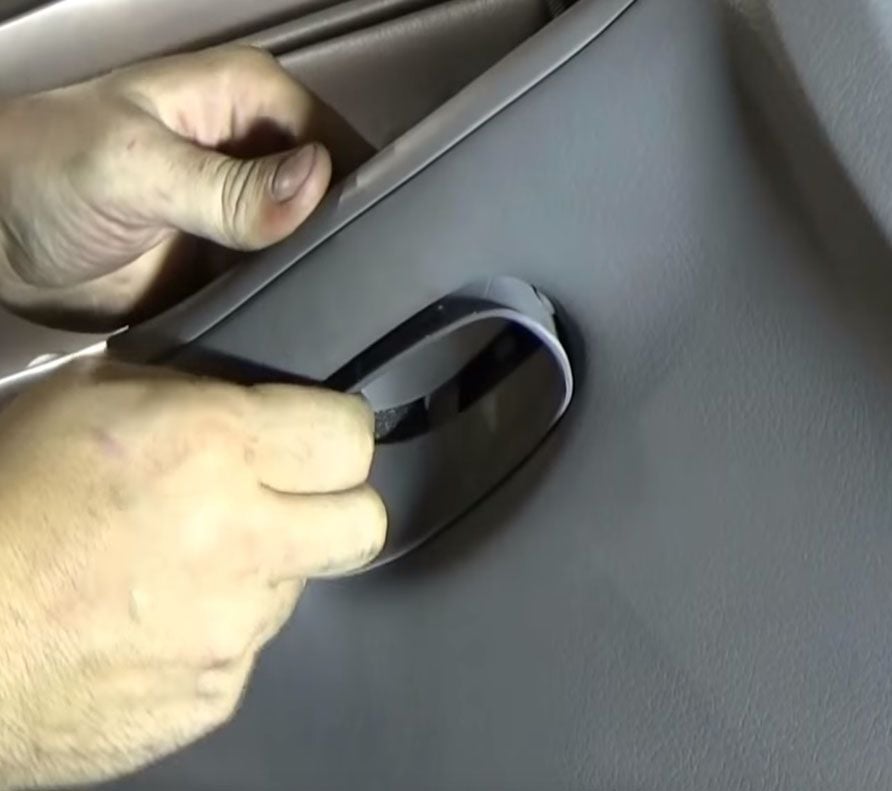
Figure 4. Remove any loose covers or panels. 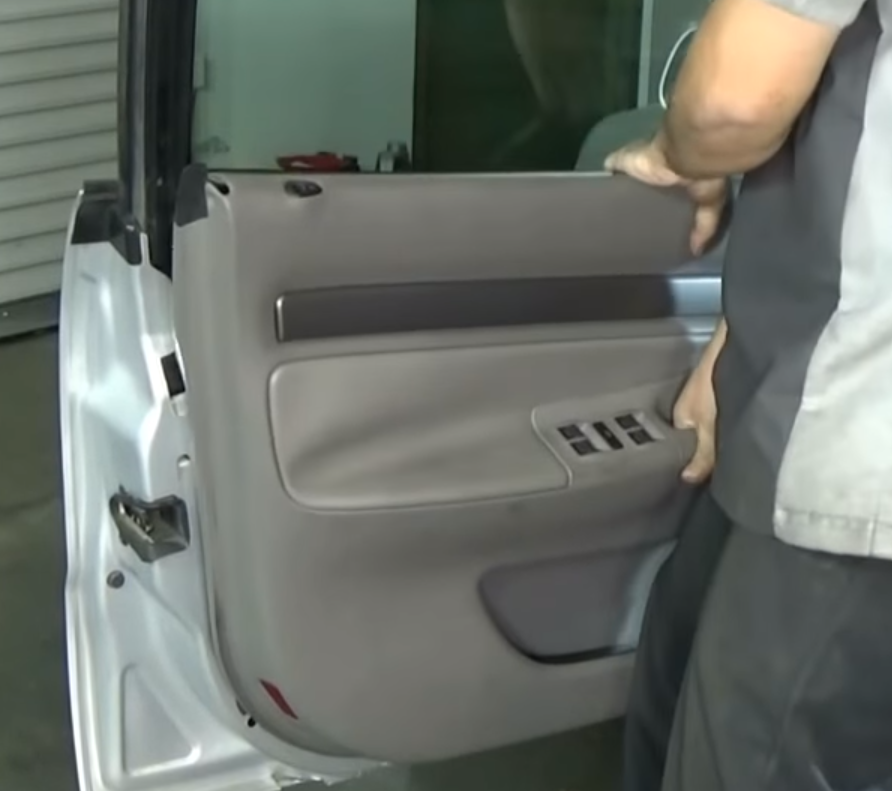
Figure 5. Pry up the door panel.
The door panel does not need to be completely removed. You just need to inspect the relevant wires and connectors. First find the wire and electrical connector for the door lock assembly. Make sure that the connector and wires are not physically damaged. Testing the connectors with a multimeter is a good way to tell if there is something wrong with the wires and connectors.
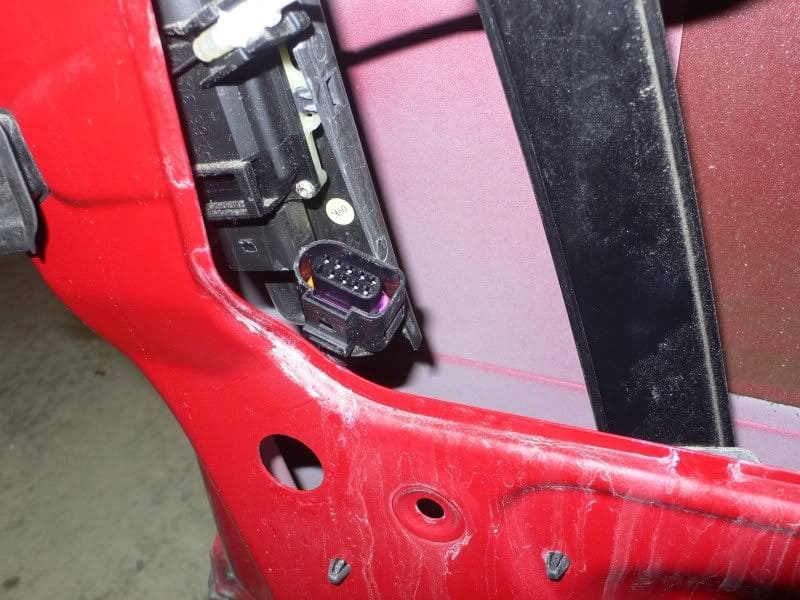
You'll also want to check the wiring around the door hinges, as these receive the most strain from the door opening and closing. If you find a broken wire, then you'll need to solder on a new section of wire. If an electrical connector is at fault, sometimes you just need to bend the pins on the connector a bit to get it to work. Otherwise, you'll need to replace it.
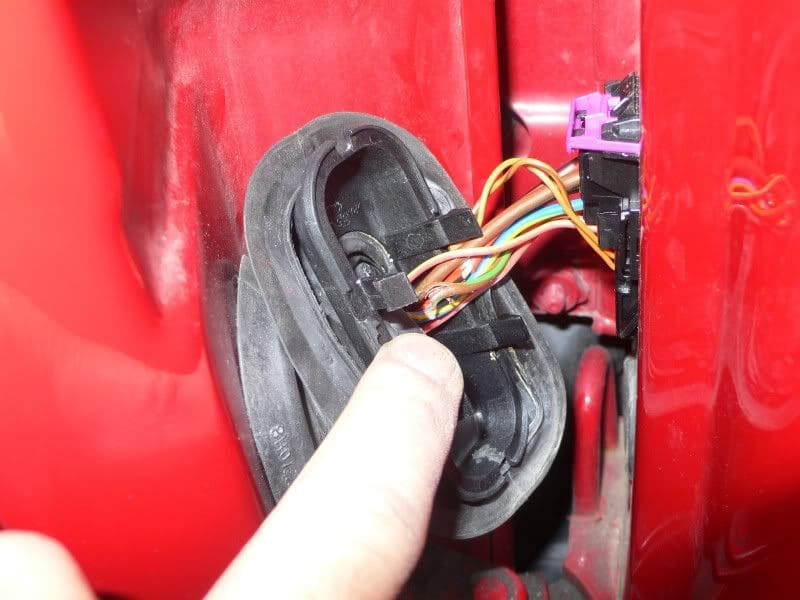
Figure 7. Don't forget to check the wires around the door hinges.
If the wires all checked out, then continue troubleshooting.
Step 4 – Replace the door lock assembly
It's possible that the door lock assembly is broken and needs to be replaced. These can break down due to regular use and wear. If you are going to replace the door lock assembly, then you're going to have to disconnect the door panel entirely. This means disconnecting all of the electrical connectors and other electrical components in the door.
You should see a rod connecting the handle to the door lock assembly. There is a plastic clip attached to this rod. Push down the clip to loosen the rod, then pull the rod up and out of the door. Unbolt the door lock assembly from the door and then pull the assembly out. Reverse the process when you install the new door lock assembly.

Figure 8. Push down the plastic clip on the door handle rod. 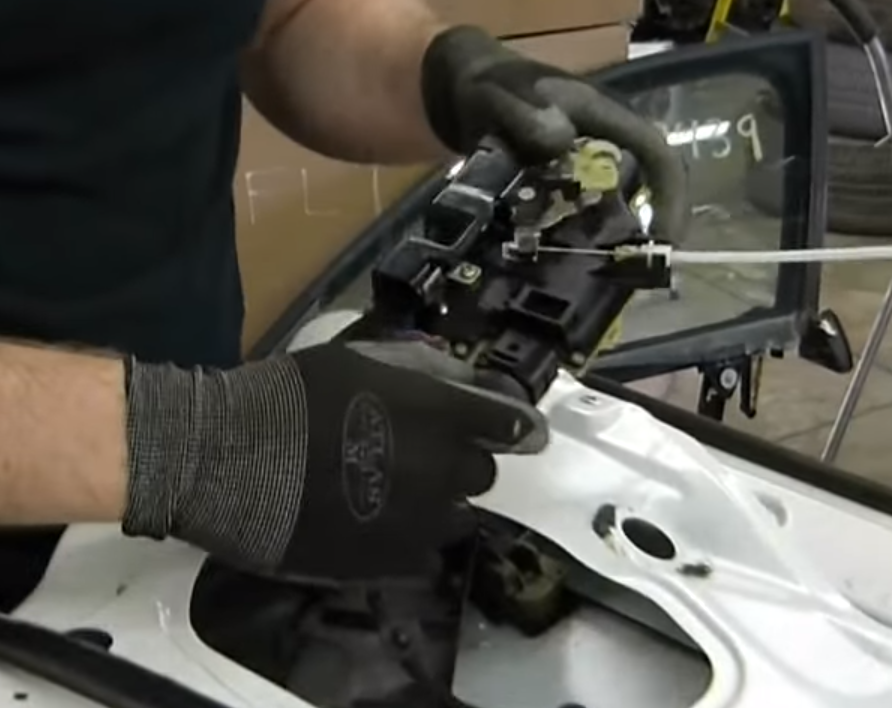
Figure 9. Remove the door lock assembly.
Featured Video: How to Remove and Replace a Door Panel
Related Discussions and Video
- Door Does Not Open and Stays Locked - AudiWorld
- Driver's Door Won't Open Once Unlocked - AudiWorld
- Passenger Front Door Won't Unlock/Open - AudiWorld
- How to Remove the Door Lock Actuator - B6 / B7 Audi A4 - YouTube