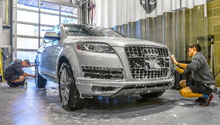
Audi: How to Paint Your Brake Calipers
Keep reading to learn more about the easy do-it-yourself paint project every Audi owner is raving about.
This article applies to the Audi Q5/Q7, A3, A4 B7, A4 B8, A6 C5, A6 C6
You've heard your neighbor, co-worker, or close friend raving about the new paint on his or her calipers and now you want to do the same to the calipers on your Audi. Well, you're in luck, because this DIY project is not only easy, but highly affordable if not downright cheap, too. While you won't need an assistant, having one around will help the process move along more quickly. Like any other DIY project of this level, you will only need to set aside a few hours to complete the project. After that, you'll just need to wait for the paint to cure, and then you'll be all set to hit the road again.

Materials Needed
- Jack with two (2) jack stands
- Lug wrench
- Automotive wheel cleaner
- Small wheel brush
- Needle nose pliers
- Painter's or masking tape
- G2 Caliper Paint Kit in color or other caliper paint of your choice
- Clear coat (if not supplied in the paint kit)
- Small paint brush
- Decals (optional)
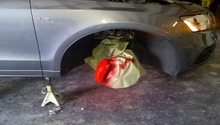
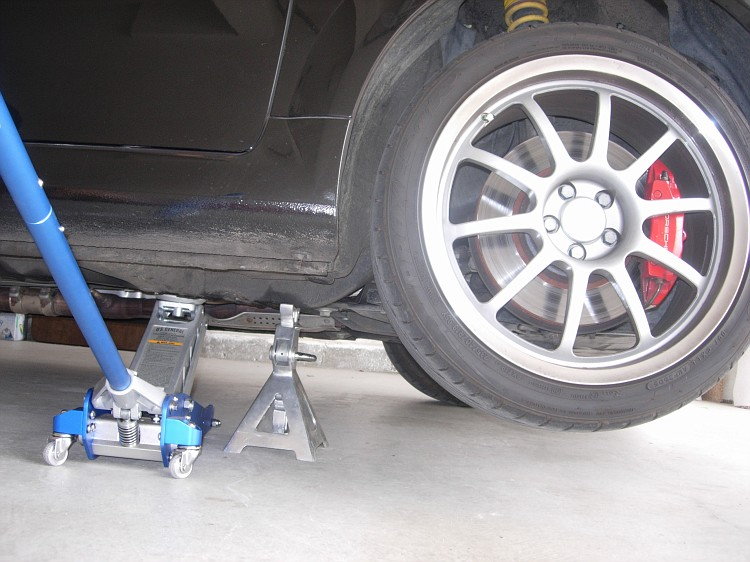
Step 1 – Jack up car and remove wheel(s)
- Loosen all of the lug nuts on the wheels for which you want to paint the calipers.
- Next, jack up the vehicle, supporting the weight of the frame under two or more jack stands.
- Remove the lug nuts from the wheel(s), and then carefully ease the wheel(s) off your vehicle.
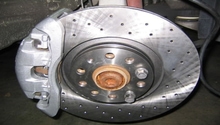
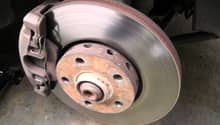
Step 2 – Wash brake calipers and remove spring clips
- Thoroughly wash your brake calipers to prepare them for the paint.
- Remove the "spring" clip using your needle nose pliers to assist you as needed; you will need to pry it out.
- Perform one final dusting and cleaning of the brake calipers.
- Mask off any areas that you do not want hit with overspray.
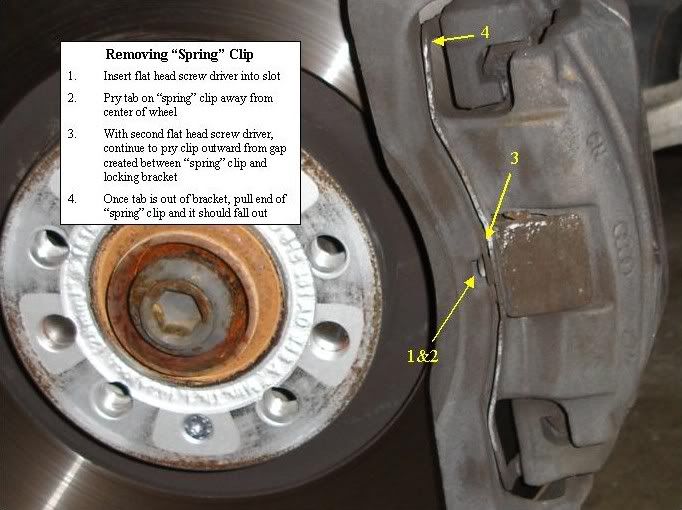
Figure 2. Remove the "spring" clip.
Step 3 – Paint the calipers
- Apply your first coat of paint, using either your own paint brush or the one that came with your kit.
- Be sure to keep the first coat light, as you will be applying additional coats of paint later on.
- Allow the first coat of paint to dry completely, and then move on to the next caliper.
- Repeat the process with each caliper.
- Once you are done, begin applying your second, third, and fourth coats of paint.
- Allow each coat to dry before applying the next.
- When it comes to a beautiful finish, you'll need to apply at least three to four coats of clear coat. Do so over a 30-minute period for the best results.
Pro Tips
- If you choose to add decals, wait at least 12 hours before doing so. As well, go ahead and add any decals before applying a final clear coat.
- A wide variety of decals can be found on online, particularly on e-commerce website such as eBay. Prices vary, so look around for the best deal.
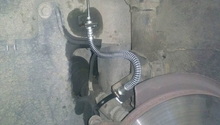
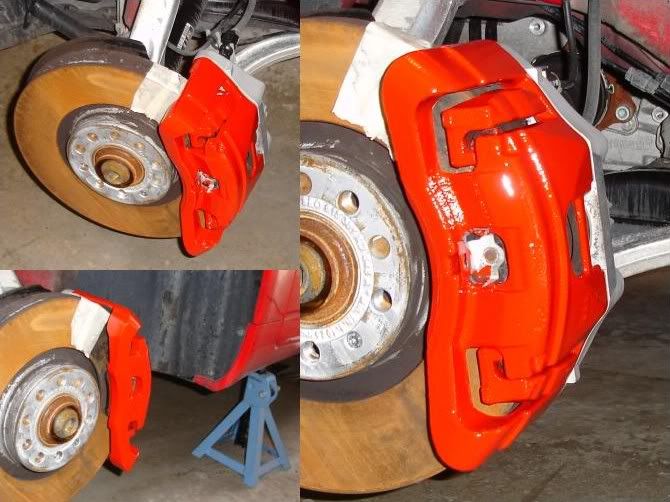
Step 4 – Allow paint to cure, then re-install spring clips and wheels
- Allow the paint to cure overnight before driving your Audi again.
- Once the paint has cured, go ahead and put the spring clip back on each caliper.
- Re-install your wheels by mounting the tire and securing the lug nuts.
- Lower your car back down to the ground using the jack.
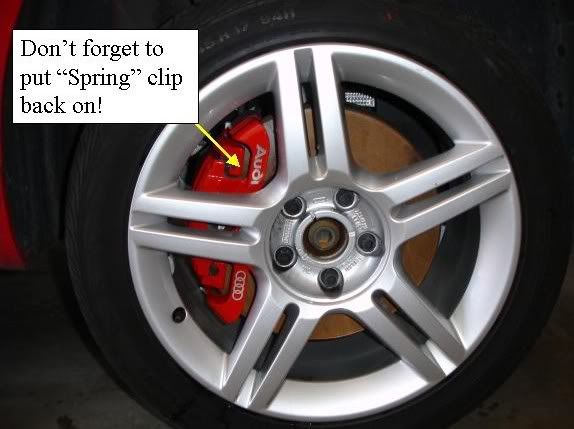
Figure 4. Put everything back when you are done.
Related Discussions
- Tips on Painting Brake Calipers - Audiworld.com
- Additional Photos - Audiworld.com