Audi: How to Recondition MMI Display
If you're not careful, cleaning can lead to scratches on the MMI display. Here's what you can do to recondition a scratched display.
This article applies to the Audi A3, A4, A6, Q5, and Q7.
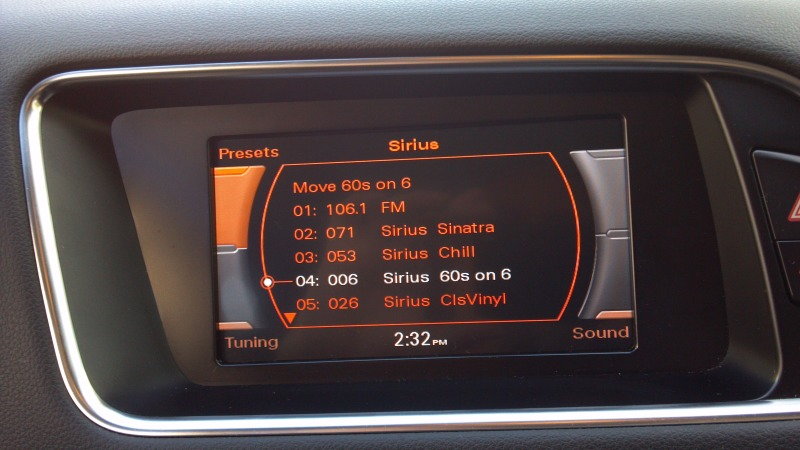
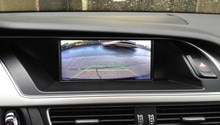
If you've ever looked closely at your MMI display, you may have noticed that it has a bluish haze. This is caused by the anti-glare coating on the screen. It's recommended that you don't clean the MMI display if you can help it because cleaning it can cause the coating to rub off, which will make it look like the screen is scratched. But if it seems that your anti-glare coating is starting to rub off, then you can use this method to remove the scratched look without having to replace the entire display, saving you over a thousand dollars in replacement costs.

Materials Needed
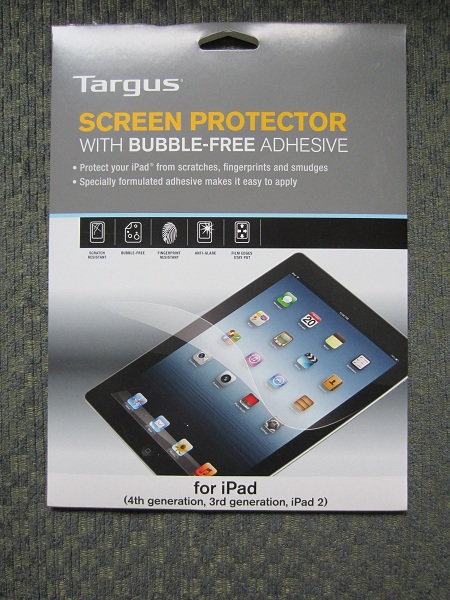
- 7" LCD screen protector
- Lint-free cloth
- LCD cleaner
- Torx screwdriver
- Plastic pry tool
- Hook tool (Audi Tool 3438)
- Razor
Step 1 – Remove the display bezel
The display bezel is separate from the rest of the dashboard trim so it doesn't require removing any other parts. Simply use your plastic pry tool around the edges of the bezel to push the four clips up at each corner. Disconnect the electrical connectors for the emergency switch, then set the bezel aside.
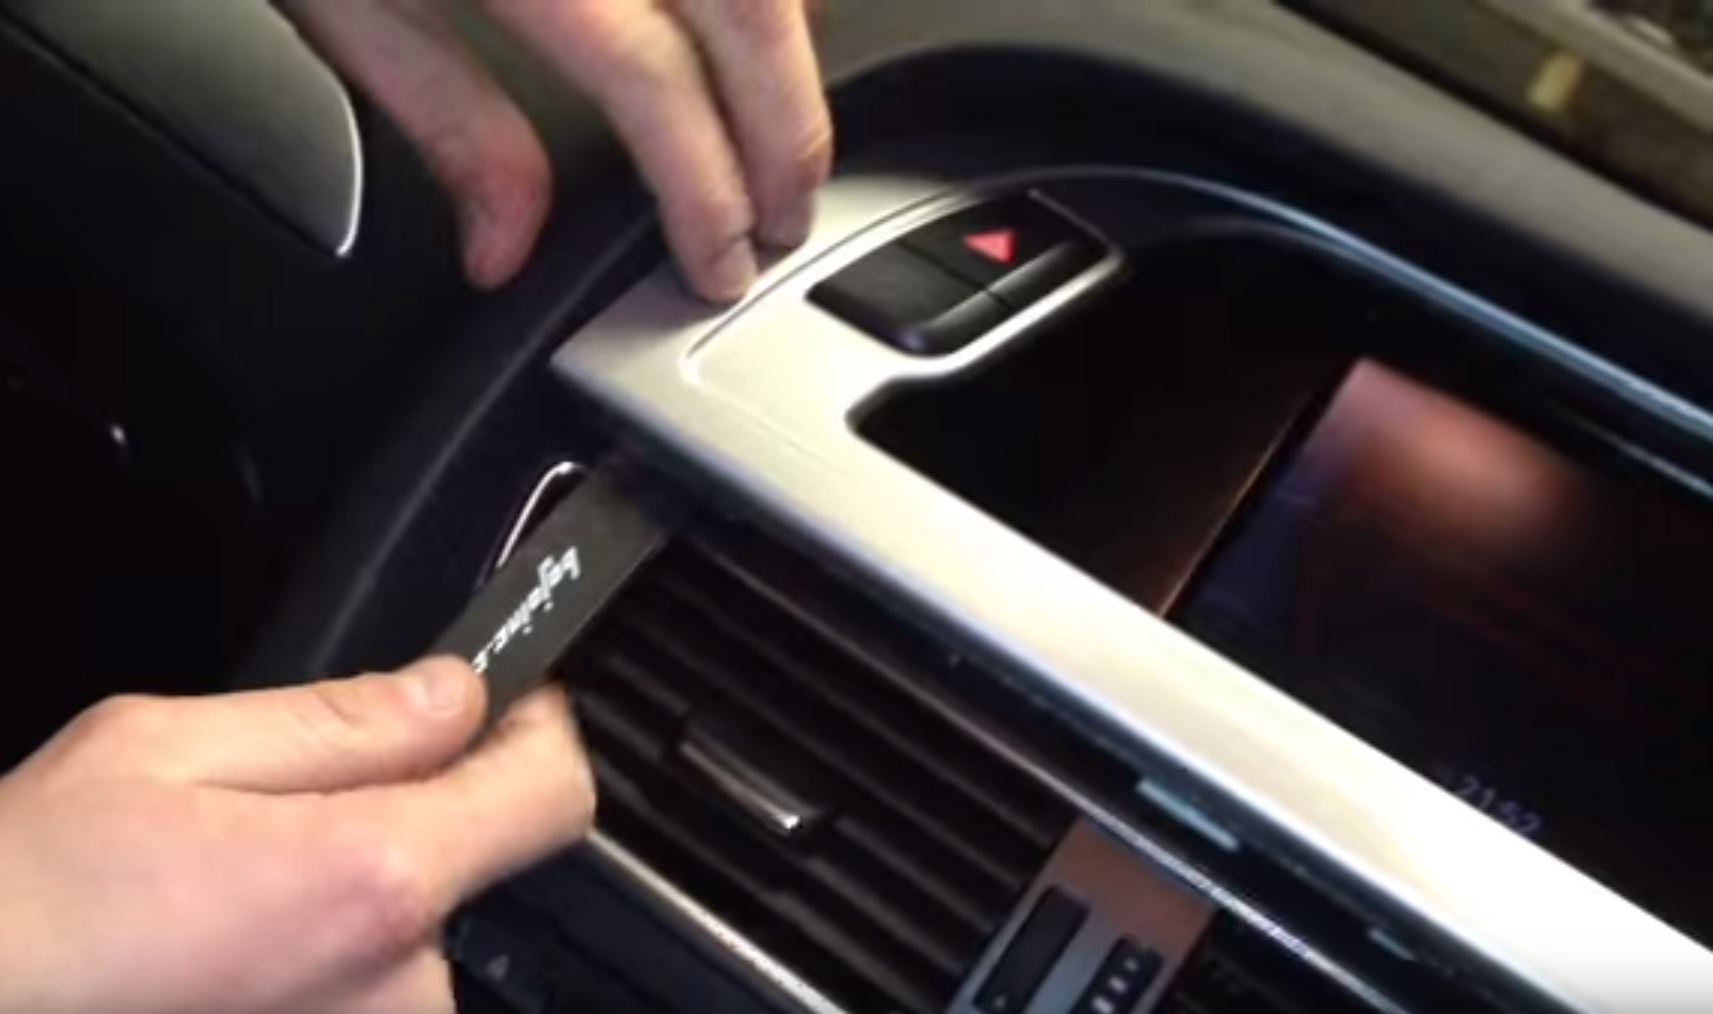
Pro Tip
Some models will require the removal of a side vent. The vent can be removed by inserting the Audi hook tool into an insert inside the vent and pulling it out.
Step 2 – Remove the MMI display
The display is held to the dash by four Torx screws. Remove these then pull the display out. On the back of the display there will be a pair of electrical connectors. Push in the tabs on the connectors to release them from the display.

Figure 2. Remove the Torx screws on the sides of the display. 
Figure 3. Disconnect the electrical connectors on the back of the display.
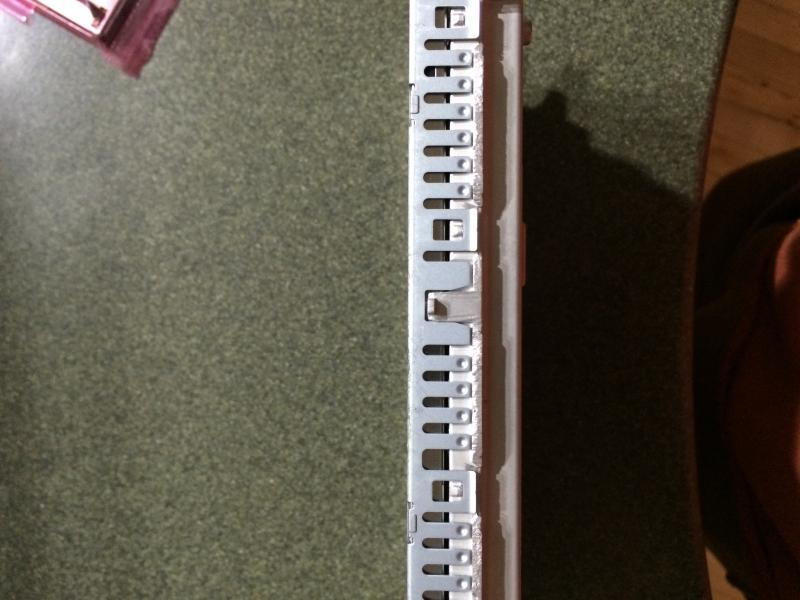
Step 3 – Remove MMI display mounting bracket
On the sides of the bracket you should see that it's held together by a series of tabs that can be pried up. Use your soft tool to carefully pry up these tabs and release the mounting bracket from the display.
Step 4 – Clean the MMI display screen
Use LCD cleaner and a lint-free cloth to rub off the anti-glare coating on the display. It will require a bit of pressure to get the coating to come off. Continue doing this until all of the coating is gone.
Pro Tip
Do not use any heavy chemical cleaners or polishes as it could risk damage to the display. You also want to be sure that you don't use a cloth that's so abrasive that it could leave scratches.
Step 5 – Apply screen protector
Once the coating is removed, keep cleaning to get the display screen as clean as possible. This means leaving no trace of dirt or dust on the screen. The screen needs to be cleaned before applying the screen protector, otherwise the protector won't be as effective and may not even stick properly to the screen. When you apply the screen protector, carefully smooth out any air bubbles from under the protector or, better yet, use a bubble-free screen protector.
Step 6 – Reinstall MMI display
If there is a bit of overhang on the screen protector, trim it off with a razor so that the mounting bracket will fit over it. Then snap the mounting bracket back over the MMI display. Reconnect the MMI display electrical connectors and return the display to the dash. Tighten down the four Torx screws. Then, reconnect the emergency switch and return the bezel to the dash.