Audi Q5: How to Repair and Replace Parking Brake Motor
Has the parking brake motor on your Q5 failed, rendering your electronic parking brake less effective? This article will walk you through the process of replacing that dead motor with a new one.
This article applies to the Audi Q5 (2009-2016).
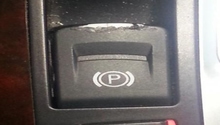
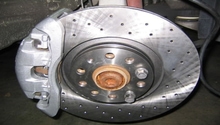
The electronic parking brake in your Q5 relies on an electric motor at each rear wheel to engage and disengage the parking brake, replacing the mechanical units of the past. The problem is, electronic motors have a limited shelf life, and when they die, your parking brake is only half as effective. Aside from completely dying, sometimes these electric motors also exhibit unusual behavior such as failing to release from the brake, leaving you in quite the predicament. It's also possible for the parking brake wiring harnesses to become corroded, so it is worth checking before you go through the trouble and expense of replacing a motor. You can also apply 12 volt power to the motor to test if it works, and possibly to release it if it is stuck in the applied position.
If the electric motor in your parking brake is dead or dying, keep reading and we'll walk you through the process of replacing it.

Materials Needed
- T30 Torx key and driver
- New parking brake motor
- Jack and jack stands
- 6mm Torx bit
Jack up the rear of the car and place it on jack stands. Remove the rear wheels. Before removing the parking brake motor, inspect your wiring harnesses for corrosion and damage. If the wiring is pinched or damaged, replacing or repairing it might correct your problem without having to purchase a new motor. Often, all it takes is a broken or corroded wire to cause erratic behavior or complete failure of the parking brake. Also, be sure and check the connector that plugs into the electric parking brake motor, as it is a part that can also break and causes issues with the parking brake. If broken, you can simply cut off the old connector and splice the new one on.
Step 1 – Remove the caliper
While it is possible to replace just the motor without taking the caliper off the wheel, it isn't easy. Removing the caliper requires taking out just two bolts, and you don't need to disconnect the brake line or bleed the brakes afterwards. Use an open ended wrench to hold the sliding portion, and then loosen and remove the two bolts holding the caliper to the bracket with another wrench or socket. This way of doing it doesn't even disturb the brake pads on the rotor.
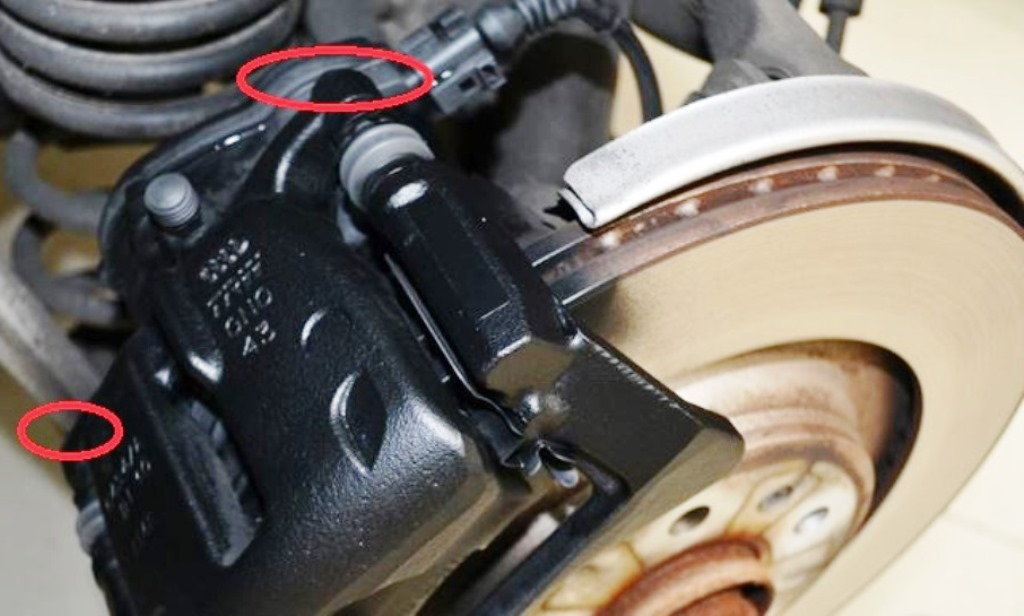
Figure 1. The location of the caliper slider bolts. 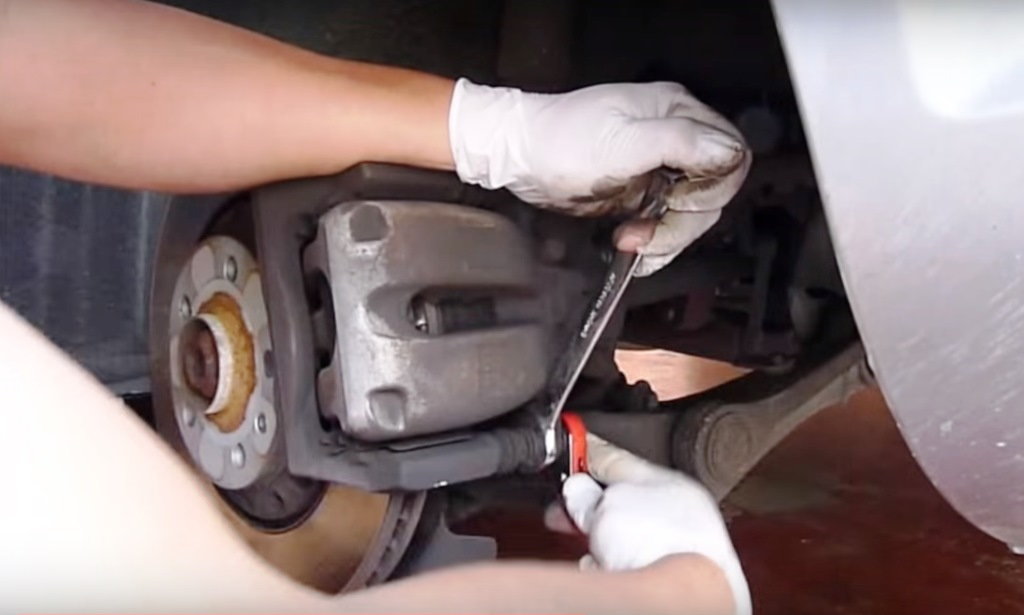
Figure 2. Use a wrench to hold the slider, and another to loosen the bolt.
Step 2 – Remove parking brake motor
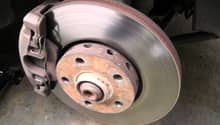
Remove the motor from the caliper by using a T30 Torx key to remove the two screws at the back that hold the motor to the caliper. If your brake parts are as rusty and corroded as the ones in this picture, you may want to spray the bolts in penetrating oil beforehand, so as to avoid striping the internal Torx head. Disconnect the harness that plugs in to the motor, then pull the motor off the caliper.
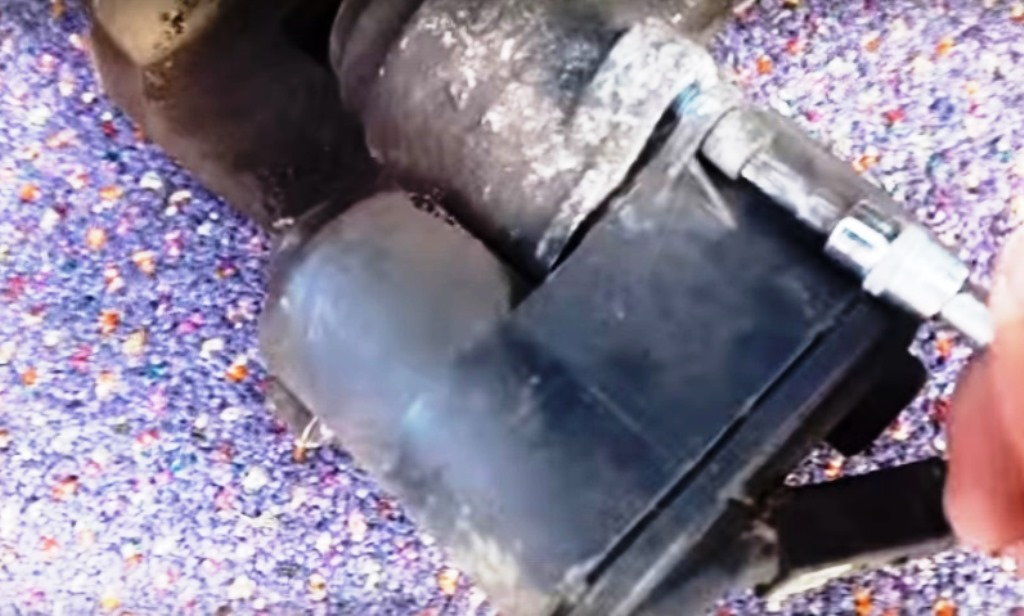
Figure 3. Carefully loosen the Torx head bolts. 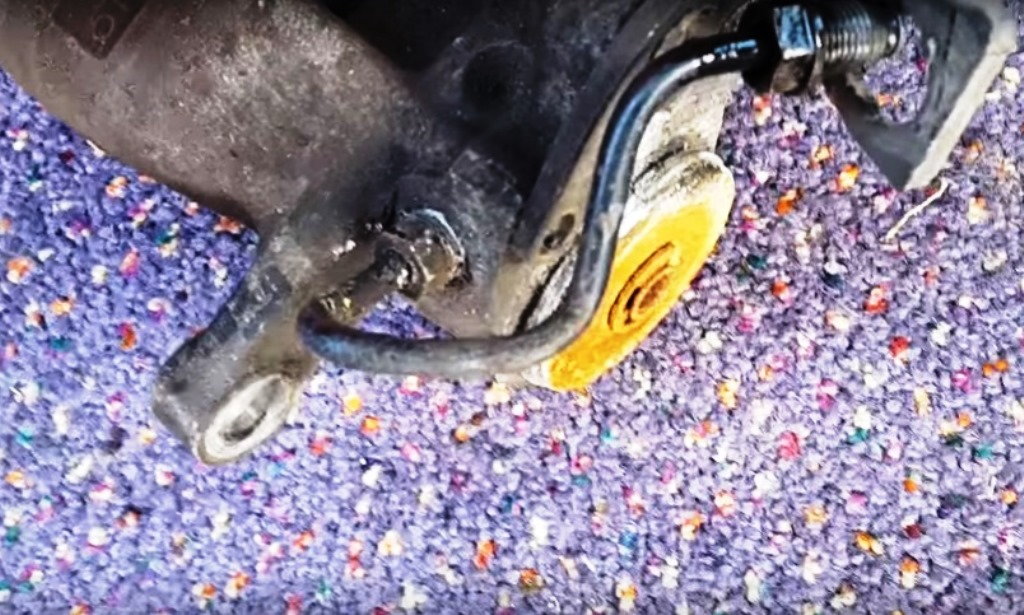
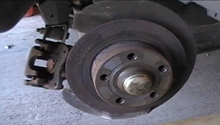
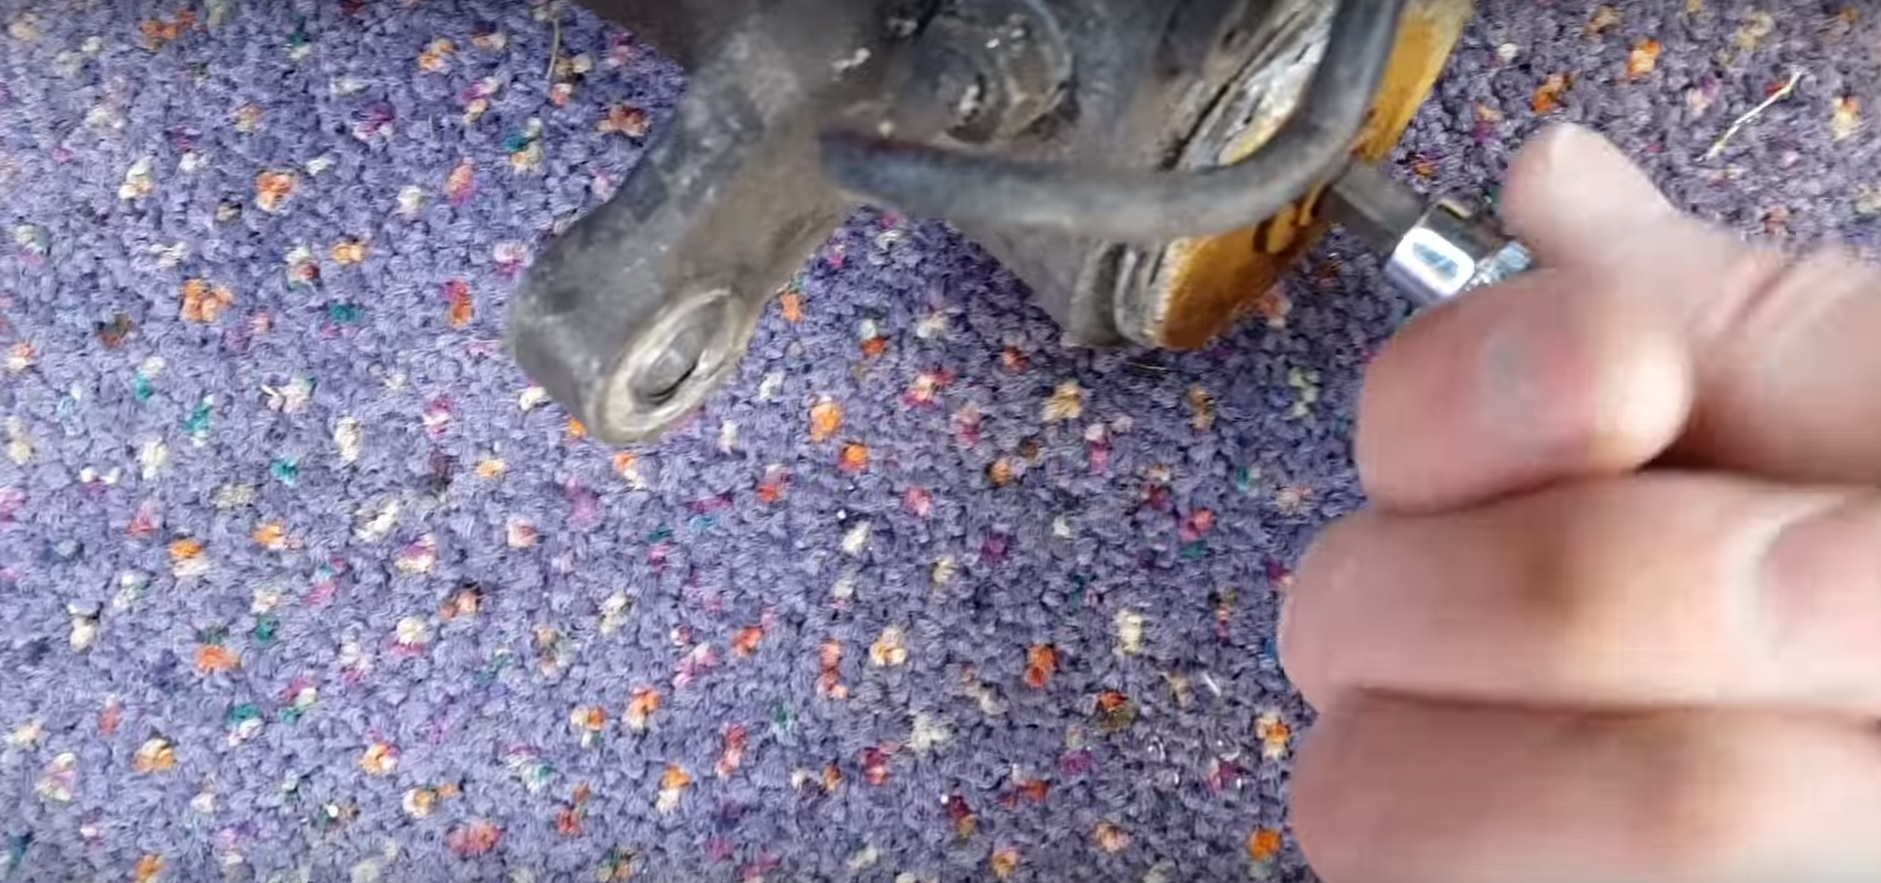
Figure 4. Caliper with motor removed shows the 6mm Allen head adjuster screw.
Step 3 – Install new parking brake motor
The Audi computer expects a new motor to be installed with the parking brake piston fully retracted into the caliper. Insert a 6mm bit into the caliper piston and turn it counterclockwise to retract it. Install the new parking brake motor onto the caliper and replace the two Torx bolts. Use a dab of dielectric grease on the connector, and plug the harness back into the motor. Bolt the caliper back to their bracket. If necessary, repeat the steps to replace the motor on the other side. Once finished, reinstall the wheels and tires, then lower the car from the jack stands. Test the parking brake to make sure it is working before you head out on the road.
Featured Video: Electronic Parking Brake Caliper Removal
Related Discussions
- Parking Brake Motor - AudiWorld
- Parking Brake Motor Failed - AudiWorld