Audi Q5 /Q7: How to Tow with the Q Series
The Audi Q5 or Q7 has the highest towing capacity in its class. If you're interested in adding this valuable component to your vehicle, read on to learn all about it.
This article applies to the Audi Q5 and Q7 (2005-Present).
Did you know the Q5 can tow 4,400 lbs?
That’s considered to be the highest towing capacity in its class. A tow is a great accessory to have on your Q5 or Q7 SUV—the actual task of installing it can be a bit difficult, though. To learn the in’s and out’s of how to add a hitch/tow to your car, read on.

Materials Needed
- Tow/hitch package
- Screwdriver
- Wrench set
- Car lift
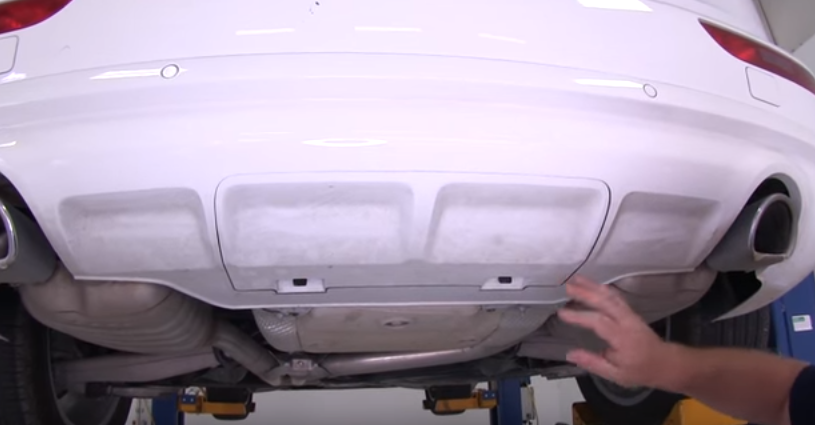
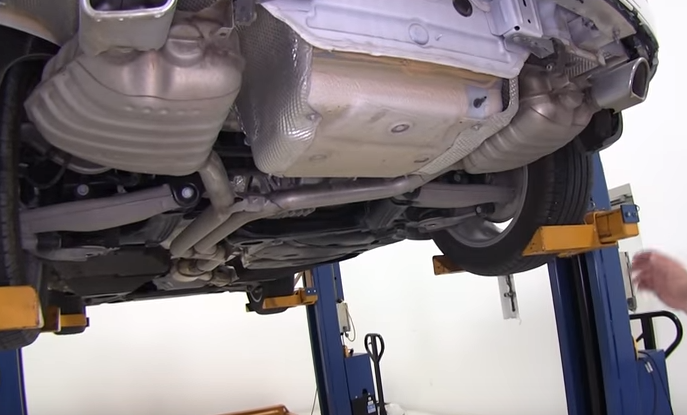
Step 1 – Gain access to car body
Lift car, and remove center door section below back bumper by turning tabs 90 degrees.
Next, remove four T20 screws: two next to the door section.
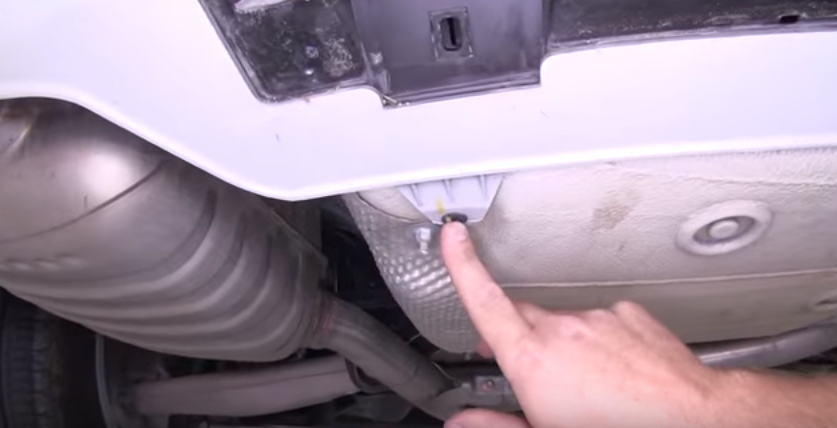
Figure 3. One of the four screws that need to be removed. 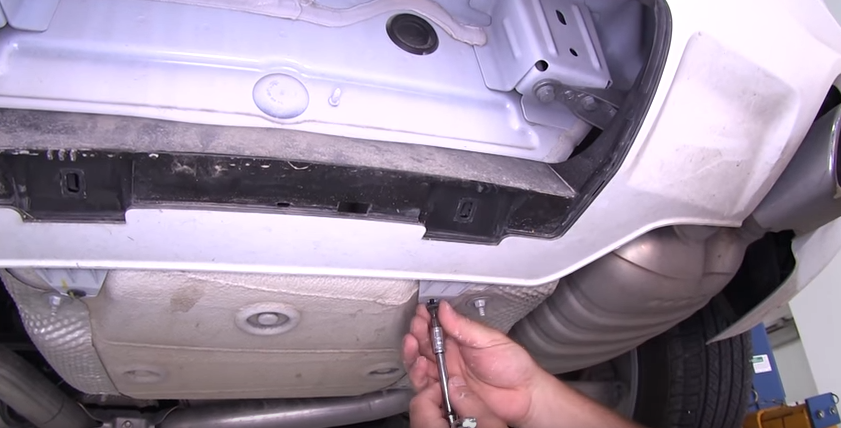
Figure 4. Be sure to put the screws in a safe spot together.
Two within both wheel wells (one in each).
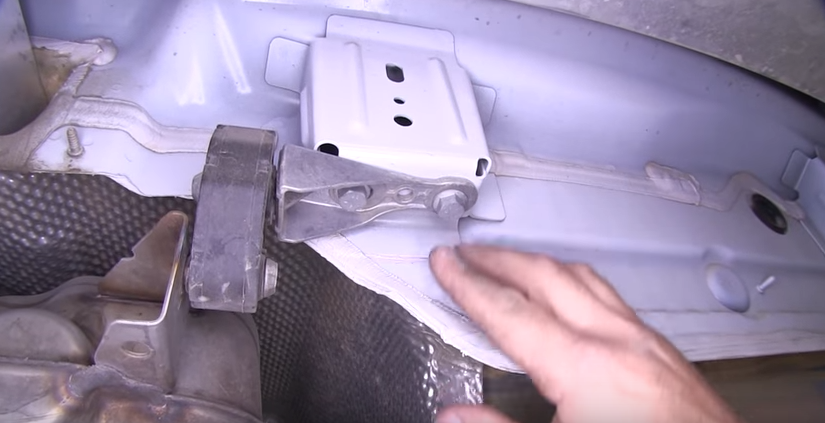
Remove snap tab that hold the bracing in place (both sides). As you pull back faceplate, remove each of the back-up sensors by pushing in on the locking tab, and pulling outward. Pull the faceplate off.
Step 2 – Remove components to allow for tow add-on
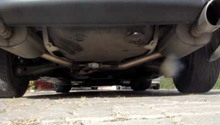
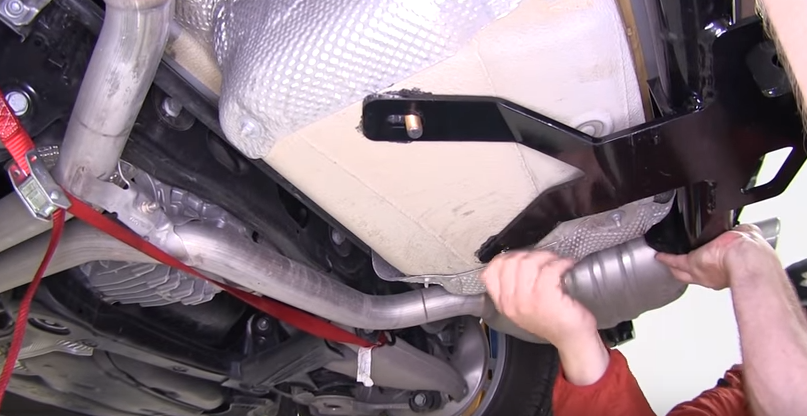
Now put into place a brace belt to support the exhaust system during the next few steps, when it will be loosened and jostled a bit.
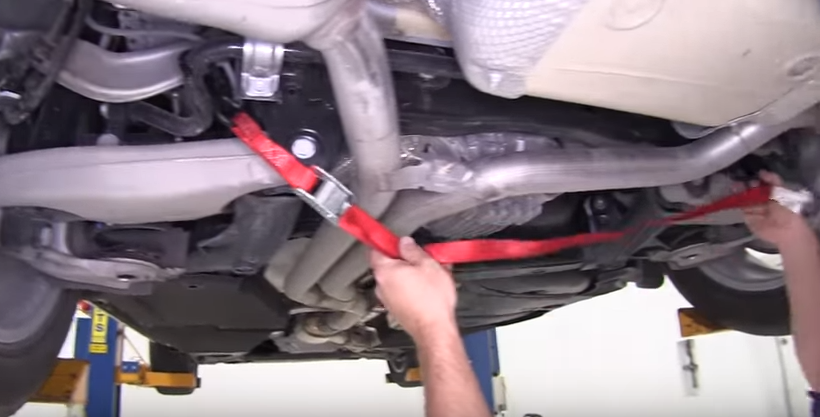
Remove the bolts that secure the exhaust system to the vehicle’s frame, on both sides of the back of the car.
Once the bolts are removed, and the exhaust system is being held securely in place by the brace belt, cut out two of the front-most plugs.
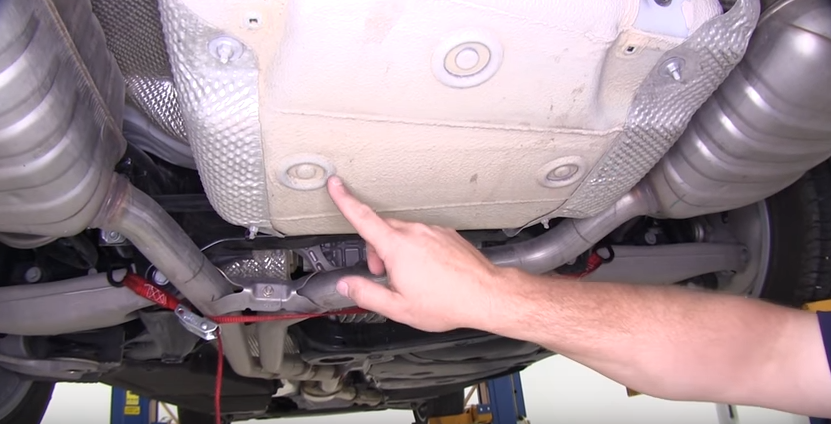
Figure 9. Here and the spot across from it are your targets. 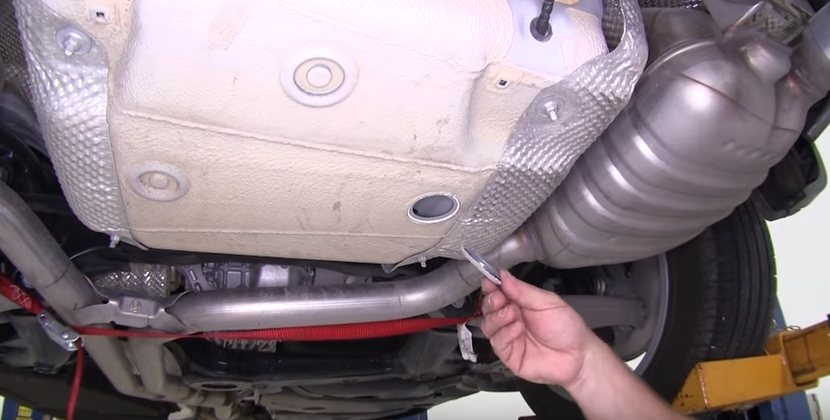
Figure 10. Take your time making your cut.
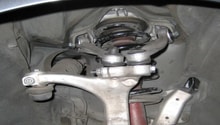
Install half-inch carriage bolt and holder block into both holes; when in place, add silicon sealant around the holes.
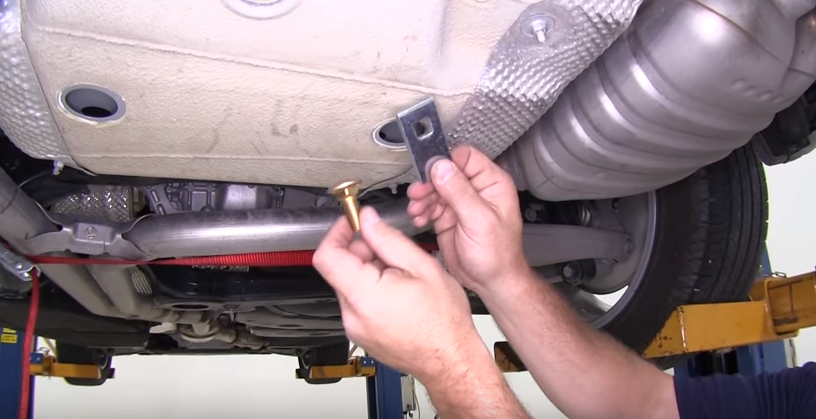
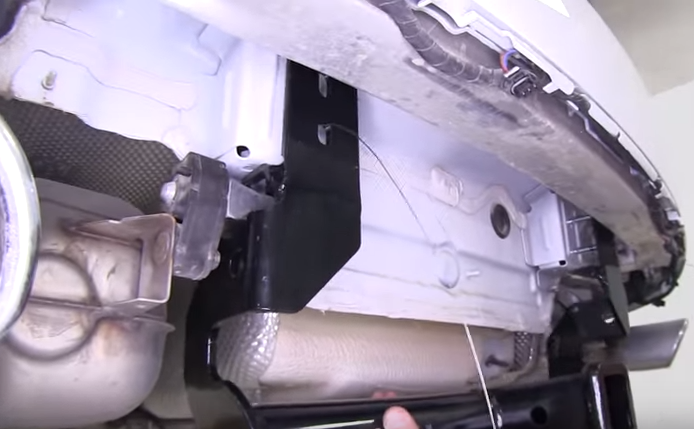
Install U-bolt into backframe of vehicle.
Then, tie fishing line to one end to ensure the bolt does not fall into space.
Step 3 – Install the tow hitch
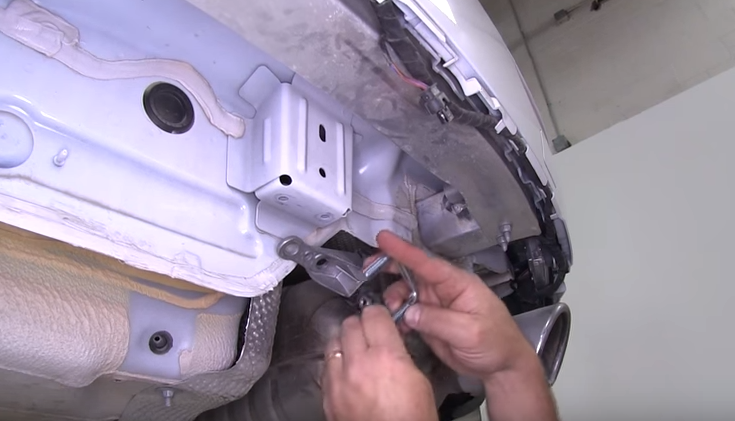
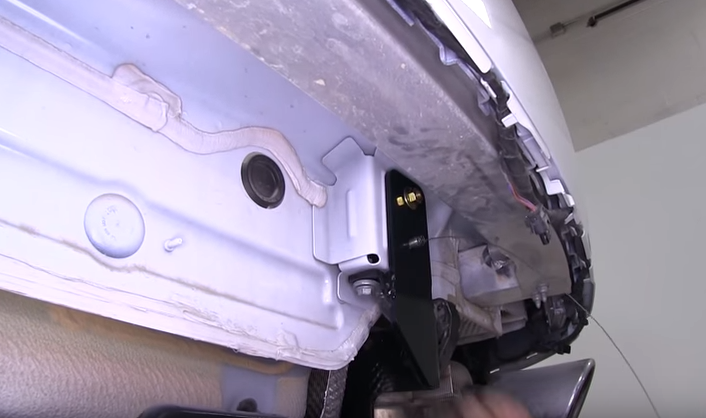
Raise the hitch up into place, and secure it onto the U-bolt hooks.
Secure the hitch with two half-inch flange nuts underneath the belly of the vehicle.
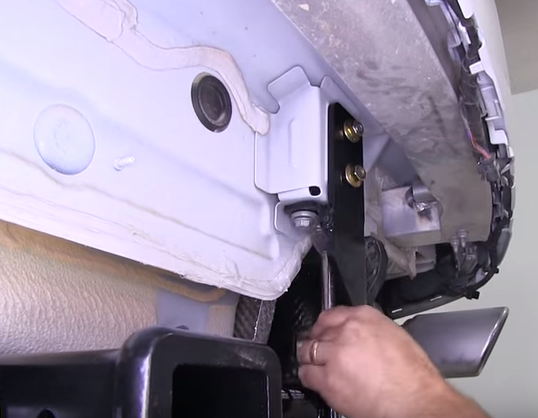
Secure hitch with two half-inch flange nuts to each of the supporting arms of the U-bolt on the backside of the vehicle.
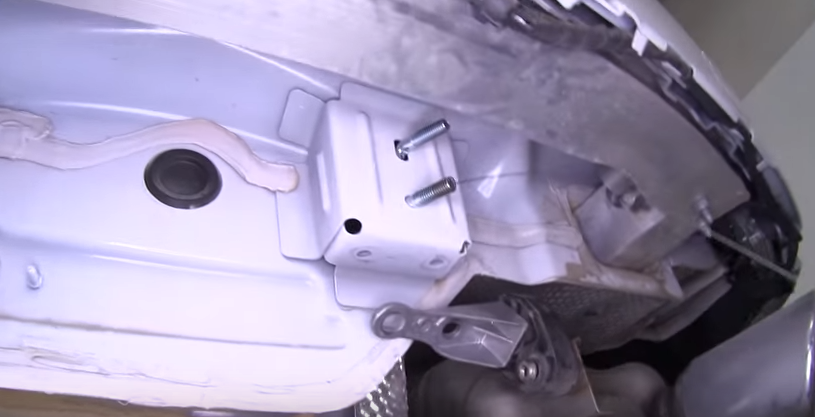
Once all flange nuts have secured the tow to the vehicle, replace the nuts that hold the exhaust system in place.
Step 4 – Close it all up
Do a final tightening of all the bolts to fully secure all components. When complete, remove the brace belt from the exhaust system. Now replace the rear face shield, along with the back-up sensors, and snap back into place. Secure all previously removed screw and finish off by replacing the rear face plate.
Lower the car down to the ground and test the tow to ensure secure application.
Related Discussions
- Anyone Towing Their Q5 - Audiworld
- Does Anyone Tow Camper Q5 - Audiworld