| Tech Article Title |
Author |
Date
|
| 3.0 V6 Timing Belt Service |
a_CQ |
2007 |
Ok here we go.
First I'd like to thank Tgr_Clw for a generous donation for this
project. I was really joking when I mentioned it last week but his
donation kept me full and beered up for couple days it took to do this,
so again, thanks Roman!
I want to warn you that if you are doing this for the 1st time it will
take some time. It took me overall about 2.5 days to do it all.
Hopefully this writeup will reduce that for you to 2 days at most.
I will also say that if you decide to do this yourself, which will save
you anywhere from $600-1,000 you should really invest $65 into Bentley
manual. It will pay off right away and you'll have it for many years to
come with your Audi.
As for the tools, you will need an asortment of metric tools. Sockets,
wrenches, allen sockets and torx bit sockets. The primary torx bits
used are T30 and T45. Allen sockets in 5, 6 and 8mm. Make sure you have
a quality allen sockets as the cheap versions are easy to strip. I like
Craftsman for simple reason of when something breaks, I just bring it
back in and get a new tool, no questions asked. A good torque wrench is
a must as well.
As for parts, its up to you. In addition to standard parts like belt,
water pump, pulleys/rollers you can get a new thermostat, snub mount,
timing and serpentine belt tensioner. I won't go into part numbers as
Audi likes to change those so check with your delaer/parts supplier at
the time of a job.
I didn't do the thermostat as you can do it at any other time without
much extra effort. I should have bought new snub mount although my
original was fine. I also now wish I bought a new serpentine belt
tensioner - the roller/pulley on mine is making all kinds of noises
when spun so I'll probably do that this spring, no big deal.
Timing belt tensioner is optional too. For about $90 extra its a good
piece of mind, but I decided to leave it alone until next time. hope it
lasts;-)
On to the job itself...
Prep and front bumper removal
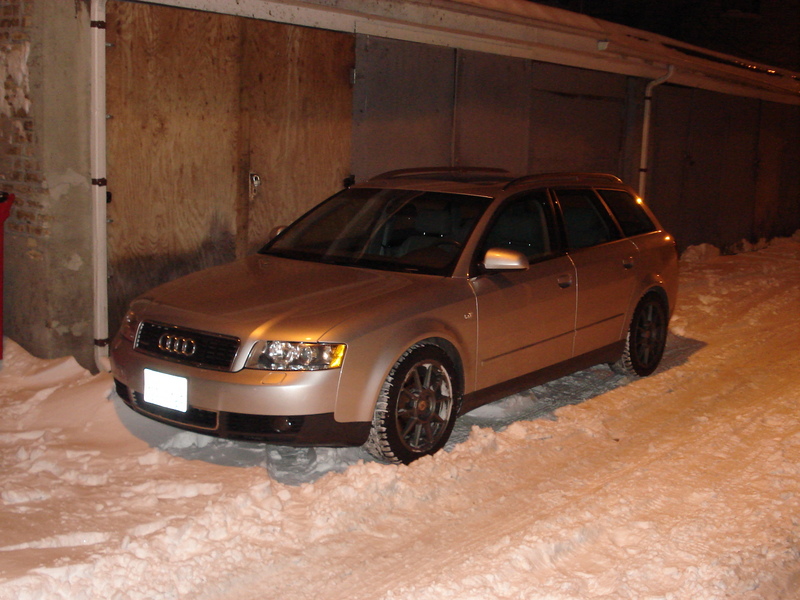
Parked the car in the garage and got the laptop ready for reading bentley directions.
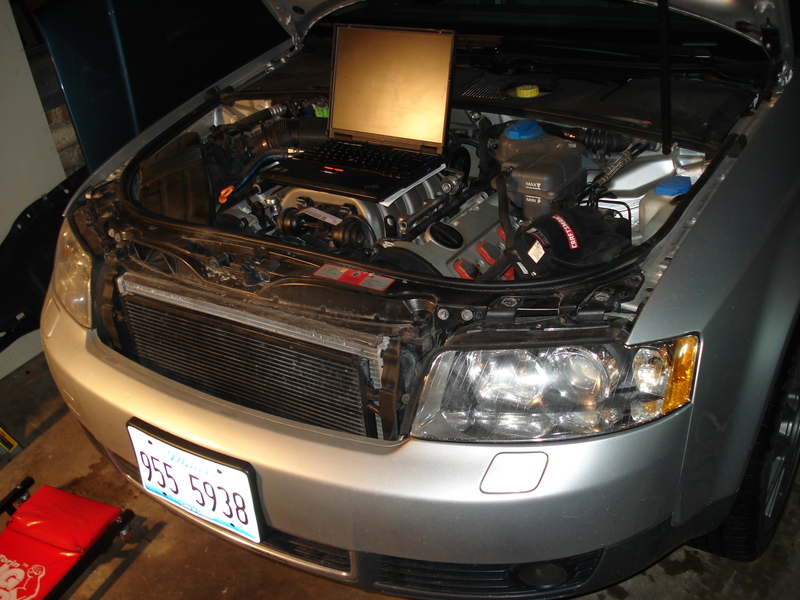
My garage is limited with space so I left the rear of the car hanging
out until I completely removed the bumper and moved the front carrier
into service position.

Jack up the car or drive onto the ramps so you can remove the belly pan
and a bumper. If you have enough room in the garage I would jack up the
car, put it on jack stands and remove front wheels. With the belly pan
removed you will need to acces this one small torx bolt on each side of
the bumper lower. Pry back the wheel well liner and you will see it.
Goes in the small hole here:

Then you can pull the lower part of the bumper off the fender....just
grab firmly the plastic part and yank hard away from the car. Don't be
afraid to pull hard. You'll end up here:

Next up is 3 10mm lock nuts on each side of the bumper - they are
actually on the inside of fender. If you look under the car you'll see
them a bit lower and to the outside of the headlight. I used a stuby
1/4" drive ratchet and a 10mm socket. I love this little ratchet and
recommend you have one as well. Great tool. So I reached from
underneath, stuck my arm up there and found the 3 nuts (this doesn't
sound good)....anyways, remove all 3 from both sides:

After this, you can pry the fog light grilles off. You'll see 4 tabs on
each corner - slide a flat head screw driver in there and pull straight
back. Then look underneath and you will see a 6mm allen bolt holding
the bumper to the bumper shock. Bentley says go about 15 turns but it
seems like a lot more...anyways, loosen those --no need to remove them
alltogether-- on each side and your bumer is ready to come out. Its
fairly light and comes straight out. Then, disconnect the headlight
washer jet hose on the driver's side corner as well as 2 electrical
connectors, for the fog lights and not sure what else.
you can see them hanging in the lower right of this picture as well as the white niple where the water hose connects to.

Carrier lock removal to service position
To remove the lock carrier you will need a T30 and T45 torx bits. make
sure you have a good T45 one as I stripped one and had to run to Sears
to get a better quality Craftsman unit. So, looking through the opening
where the bumper grilles go you will see 3 greenish in color T45 bolts.
Remove 2 on each side. Then get 2 longer bolts in same thread and pitch
(M8 bolt) and screw in to the 4th hole you will see there. Sorry but I
forgot to take a picture of this. You can see one of the bolts in this
picture:
After inserting the extra long bolt in the 4th slot remove remaining 2
T45 torx bolts, one on each side. You will also have to remove the 2
T30 bolts on top of the carrier to the outside of each headlight. See 2
holes in the black piece on the right edge of this picture:

So remove all 4, 2 on each side. Next, you will have to remove all the
plastics from the top of the engine. Also remove 2 philips screws
securing the intake tract to the airbox.
Once you remove all that you can then slide the whole carrier out and
have it rest on the securing bolts you inserted earlier next to the
bumper shocks. Look at the picture above to see what it looks like.
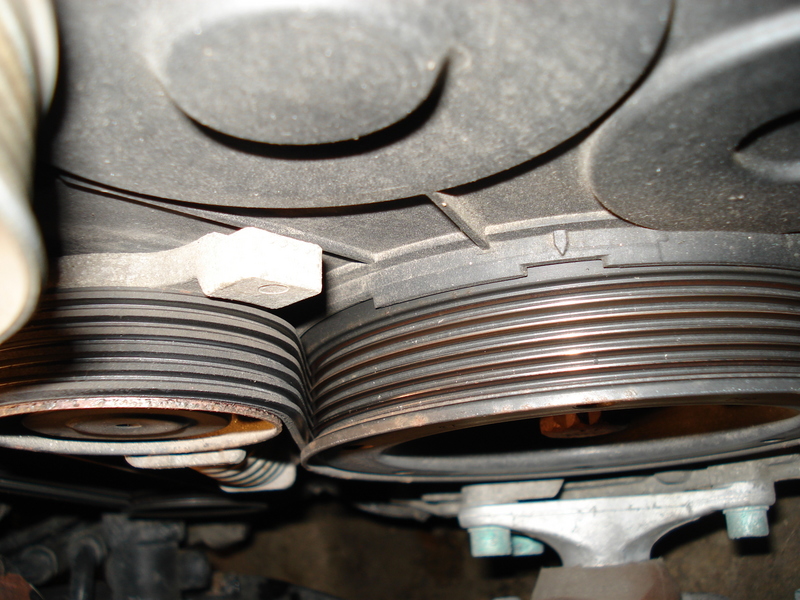
Serpentine belt & tensioner removal
Before you remove the belt, get a 6mm(or 5mm??) allen socket and break lose 3 bolts on the power steering pulley.
Then, take a 19mm open end wrench and some sharp metal object like a
pin or I used test light/circuit tester. Slide the wrench in the
srpentine belt tensioner like this:

This is more clear picture of where it goes:
Pry down on the wrench and have a pin ready to insert into a little
hole on the other side of the big spring on the tensioner...pry down
until you can insert the pin.
Can't really see the hole here but once you're there you'll see it, or feel it.

Slowly release the wrench. Once its locked you can remove the belt. If
you are re-using the belt mark the direction of its rotation so when
you put it back, it goes on the same way. If putting on new, no worries.
To remove the tensioner you will need a 6mm and 8mm allen sockets. This picture will tell you exactly where the bolts are:

When doing a big job like this I like to leave the bolts with each
component they go with so I don't have to scratch my head later what
bolt goes where.
Next, you will remove the 3 PS pulley bolts and that pulley - it may
take some effort to slide the pulley off. Wiggle it of or slightly tap
on each side back and forth till it comes off.
Removing valve covers
This is fairly easy but it takes some time. I'll rush through this and cover basic points as its pretty self explanatory.
Passenger side
Remove top of the airbox. Remove the MAF and hose going to throttle body plenum:

Remove the top bolt holding the oil dipstick to the valve cover. Also remove the 10mm bolt down low on the side of the head:
Remove front top timing belt cover. 2 T30 bolts, screwed to the valve
cover actually. Disconnect coil pack harness and pull out coil packs.
each valve cover has 12 T30 bolts - remove them all and disconnect the
breather line on the back of the valve cover --black plastic tube. You
can now remove the passenger valve cover. Its a bit tricky on this side
as you have 2 fuel lines and a dipstick. I wigled it underneath the
dipstic pulling away from the firewall.
Driver's side
Move coolant expansion tank out of the way - no need to disconnect any
lines. Remove top timing belt cover. Remove coil pack and its harness.
Disconnect breather line on the back of the valve cover and remove the
12 T30 bolts. I had a problem with the back and lower-most bolt on this
side. I couldn't get any tools in there to loosen that last bolt so I
did this -- 1/4" drive T30 socket and a 6mm allen L slid inside to turn
it. Should come out easy then.
The bolt:

The socket and 6mm allen setup:


You'll be looking at something like this:
If you haven't quit by now for the day you are doing good!!
Timing belt alignment to TDC (top dead center)
You will now need the special cam lock tool. if you can find and borrow
one, great. If not, you can rent it. I bought a timing belt kit from
Blau parts and they will rent you all the special tools needs. They
sent me more than I really needed.
Make sure your car is in neutral, whether manual or tiptronic. Pull on the mergency brake as well.
I used a 15/16" 12-point socket to slide on the main crank bolt in
order to rotate the engine. I am pretty sure 24mm 12-point will work
too. I tried 24 and 25mm 6-point but that didn't work, so I borrowed
the SAE (may God be with me) socket from a guy next garage over.
Rotate the motor until the line on the crank pulley aligns with the arrow on the front timing belt cover -- like this:

But, at this point you may be 180* off, so make sure you can insert teh
cam lock tool on both sides. On the passenger side, you will insert it
between spark plug #2 and #3. if you cannot put the tool on that means
you must rotate your engine one more time.
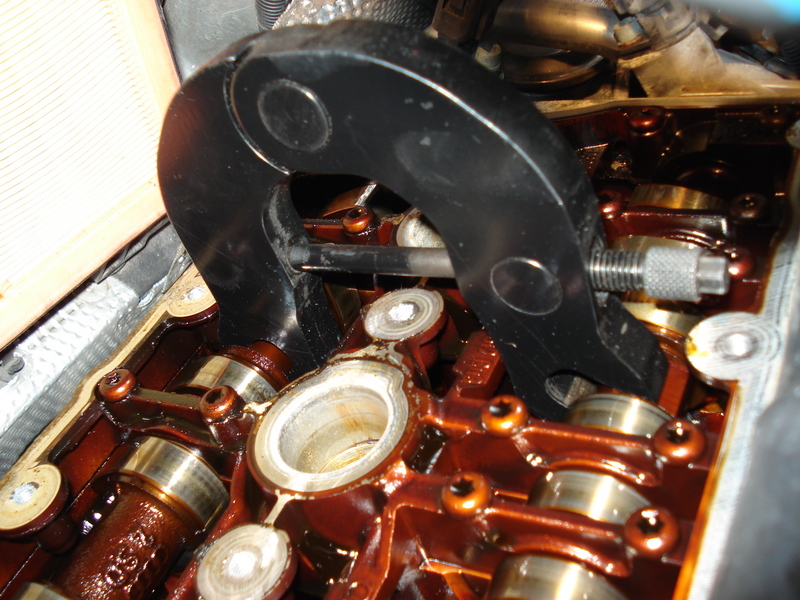
On the driver's side, the cam lock goes the same way but between cylinder #4 & #5. 4 is towards the front of the motot.
you may try turning the crank back and forth just a touch so that both cam lock tools slide all the way in their slots.
Once in, tighten them via the bolt that goes through the middle. Not
too tight but tight enough so they can't slide on the cams. 10nm is
what it takes.
Removing the timing belt
Next, you will have to remove 8 bolts on the front of the crank pulley.
I completely forgot to take a picture of those but you can feel them.
They are 6mm allen and laid around the main crank bolt. Make sure that
the socket you use is inserted fully before ettmpting to break those
lose. They are not tight but may strip, and that's not good.
After removing all 8 you can now remove the crank pulley or damper as
Audi calls it. it may take some effort again due to some rust/dirt
between it adn the crankshaft. I used a hammer and tapped on 4 (+)sides
back and forth until it came out. once out, note the 2 little notches
on the inner circle. this will be important for puting it back on.
With it removed you can now get to the bolts holding the front timing
belt cover. There are dozen of hem and they are 5mm allen. See this
picture for refference on where the bolts are:
Looks like 7 of them:

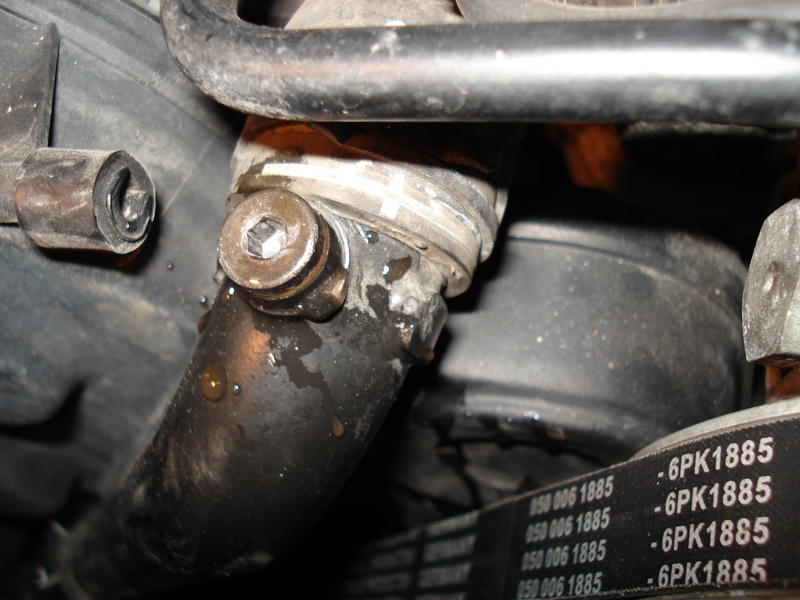
Plus, you will have to remove one lower bolt for the coolant pipe on the front:
My little mirror - another great tool to have around!

The coolant pipe can stay connected. Just wiggle the cover out.
This is what you'll see:

Next step is breaking the camshaft bolts lose. Each camshaft has a cap like this:

You will first have to remove the metal circlip. I used 2 small jewelers screwdrivers:

Get some paper towel ready as once you pry the cap out there will be oil coming out:

To pry the cap out use a simple flat head screw driver.

I recommend you do the following:
Remove one cap - break that cam's bolt lose and put the cap back on,
without the circlip. The reason for this is to prevent oil from leaking
out onto your cam puley and further down the motor. It made a bit of a
mess for me and I wish I thought of this earlier. instead, I kept
trapping the oil coming out constantly.
So, to break it loose, use a breaker bar and 18mm socket - make sure it
is 18mm - don't just take 18mm, put it on and try to break lose.
Knowing Audi they may have changed the size of teh bolt on '04 or '05
model or something, who knows. Alawys confirm the bolt size.
Do not worry about moving your cams or something, as long as you have the cam lock tool on.

I must note that I chose not to use a crank locking pin. I did few
timing belt jobs on older V6 motors and never used it and my budy Russ
(Audi tech) approved that as well, as long as you don't move your
crankshaft once the belt is off.
So, once you break all 4 cam bolts lose you can then compress the
timing belt tensioner. to do so, you will need a 8mm allen socket. you
will insert the socket like this:
You will also need a pin to hold the tensioner compressed. Compressing
this guy took some effort. What you need to do is push down the wrench
and simply lean on it with all your weight -- tensioner will compress
slowly -- be patient, it will go down. have a pin ready to insert and
lock it in place. I made a mistake and missed a "3rd hole", but it was
fine like that:

You can then release it and remove your timing belt. Cam pulleys will
spin freely but your cams will stay locked on place - this is normal.
Leave the pin in the tensioner until you are ready to tension your new belt.

Next step is to remove the 3 pulleys/rollers that timing belt rolls
over. One being the one that tensions the timing belt. Another one is
eccentric pulley that sits below and to the right of the water pump,
and finally the one you see in the picture here, between the coolant
pipe and power steering pump.

Next in line for removal is your water pump. Before you do this I would
drain the coolant from your radiator. If you look below the car, on the
passenger side bottom of radiator you will see a plastic cap. You can
use pliers to grab it and turn so the coolant can come out.
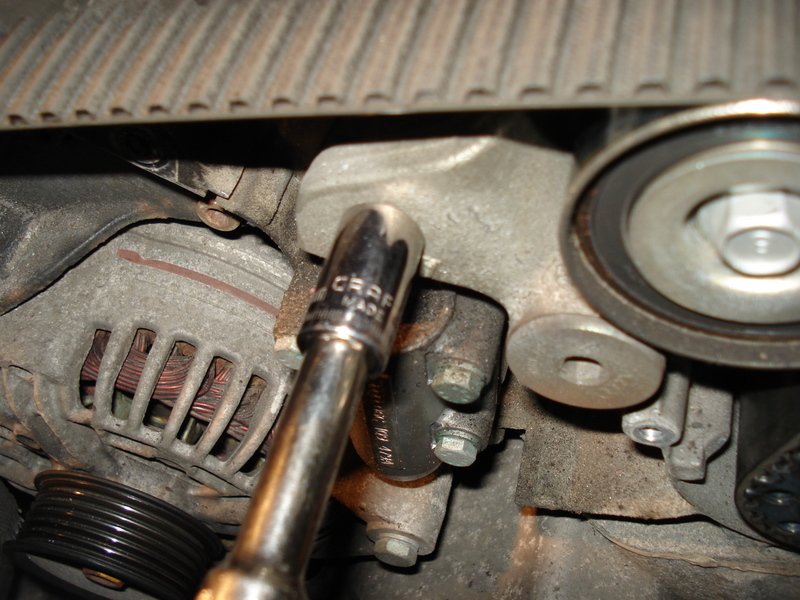
Now, to remove the water pump you actually need to release power
steering pump bracket that's bolted to the block. 3 bolts hold it down.
2 on the front...

And on the other side...top piece is the PS pump bracket and below you
see the water pump. You can also see the glimpse of one and only bolt
that's used for the water pump and hidden behind this bracket - go Audi
engineers!
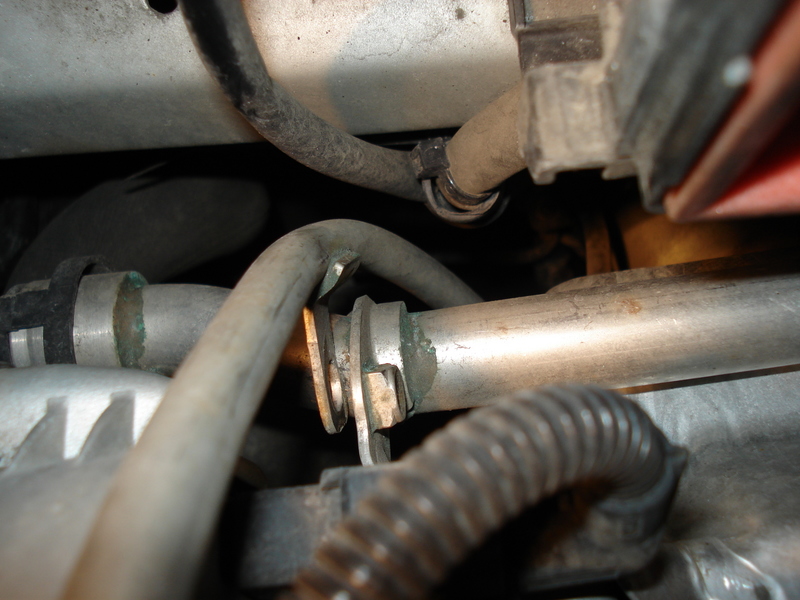
the 3rd bolt is actually tricky to spot but it is bolted directly from
the top, between the intake manifold and the PS pump. You can kinda see
it deep here:

To remove it, I used a 6mm allen socket on a long extension. Slide it
down between the IM actuator and the Im itself, like this...

Remove the bolt all the way. I actually loosened it almost the end,
then pulled the extension out and used a magnet tool to pull the bolt
out.
You can now remove all 10mm bolts holding the water pump. Place a drip
pan or something underneath the front of the motor as coolant will pour
out.
Water pump removed:

Hidden bolt hole:

After removal, clean the mating surface of the block & water pump
and bolt in new unit. My original one had a metal-like gasket and
replacement part had paper gasket. Should be fine. Water pump bolts are
only 10nm. if you don't have a small torque wrench, this is just
one-hand light snug. No need to go too tight.
You can now replace all the timing belt pulleys/rollers you removed
earlier. The roller you see here on top is torqued down to 45NM - you
can do this now.
You can also torque the tensioner roller. I believe it gets 45NM as well, but I'll double check.
The eccentric pulley can be snug but it must stay free to rotate.
Now you can put the new timing belt on.
You will then tension the belt via that eccentric pulley. In order to
do it properly Audi has a tool seen in the pics below but if you don't
have it, you can use needle nose pliers with bent ends (any tool store
has them). Rotate the pulley so the tool you use is centered accross
the water pump pulley. Like this:

Then as you hold it in place like that use a wrench to tighten down the
bolt holding that pulley - no need to torque it at the same time, but
you can. When its tight enought to stay in place you can let go off the
tool and torque it down to 23NM I believe.

Next, Bentley says to "pre-tention" the timing belt. I am not sure why
this is needed but I did it. To do so, you will insert the 8mm allen in
the tensioner roller and rotate clockwise tensioning your belt - set
the torque to 45NM. Go until it clicks.
Then, you will have to release the pin holding the tensioner
compressed. To do so, put pressure on the tensioner so you can remove
the pin. You can let it go and it will slowly go back, but not far
enough to tension the belt. You will use your torque wrench again, this
time set at 25NM and tensione the belt for the last time. Tensioner
should stay in place.
Now, you will have to use the special tool to adjust cam timing.
Somehow I skipped taking a picture of that. First do the passenger side
exhaust camshaft. Make sure your cam lock tool is still in place.
Remove the cap pictured earlier. Insert the tool and rotate the cam
clockwise using very light pressure, until it stops. It may move few
milimeters or it may not at all. Repeat on the driver's side exhaust
cam. You can now tighten all 4 cam bolts. Do all 4 with moderate
pressure first to ensure that if one moves all other move with it now,
although they should not move if your cam lock tool is tight on both
heads. After this, torque each one of them to 100NM.
You should have new seals for the cam pulley caps as well as new circlips. Replace now all 4 of them.
Put back on the lower timing belt cover. Replace the crank
pulley/damper. Be very careful to put it in the same position where it
was....remember the 2 little notches must align with the crank itself.
Also, your TDC mark should be back in same place when you removed it,
lined up with the arrow on the timing belt cover. Put back in all 8
allen bolts holding the crank pulley in place.
You can now remove the cam lock tools. Before doing anything else use
that 15/16" or 24mm 12-point socket and rotate your motor few times to
ensure it moves freely. You may get some resistance if your spark plugs
are in - this is normal so don't be afraid to push it a little.
Everything should be fine if you followed directions.
You can now replace the valve covers, installing new gaskets. Those VC
bolts are tight, but not too crazy. remember, your VCs are plastic!
Also put the PS pump pulley back on and replace the serpentine belt
tensioner. Put the serpentine belt back on and tighten the PS pulley
bolts.
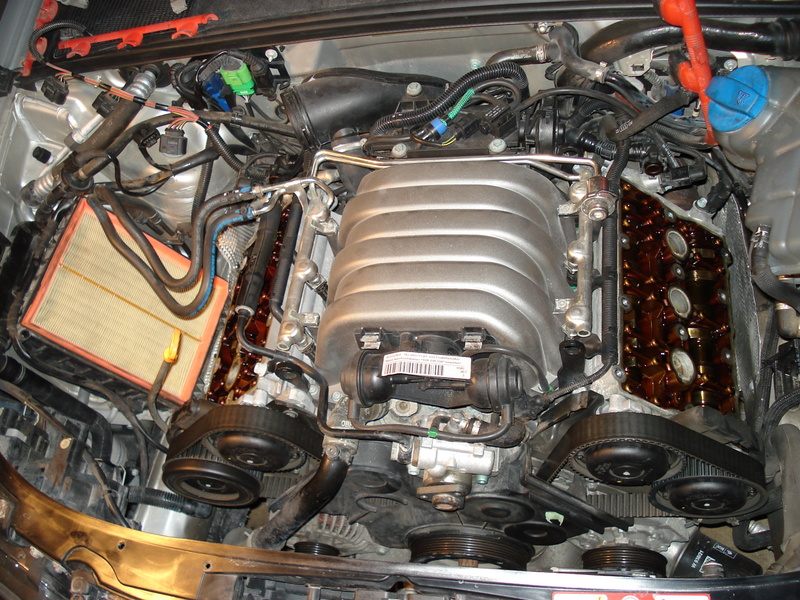
It should look like this, just where you started..
Put the coil packs back in, connect it all. Remember to connect 2
breather lines on the back of the valve covers. Reconnect the airbox
and a MAF sensor housing.
Put the lock carrier back in place and re-install the bumper.
To fill the car with coolant, open this bleeder screw...actually remove it all the way.
Fill in the coolant through the expansion tank until it starts coming
out through this bleeder hole. Close this bleeder and move on to the
hose going to your heater core. You will have to remove the plastic
cover over the battery and brake fluid reservoir. Remove the clamp from
the top hose and slide the hose back so the little hole in the rubber
line is not covered by the hard line below. Fluid will eventually come
through here as well. When it does, push it back and replace the clamp.
To be honest, I didn't do this. I tried but it was too hard to slide
that hose back so I just bled the air out of the system by leaving the
expansion cap off and running the car for few minutes, watching the
water temps. It always worked for me before and it did this time.
After filling the coolant you can finally start the car. Do not run the
car without the coolant in it as it may damage the water pump seal,
since this is lubricated by coolant/water.
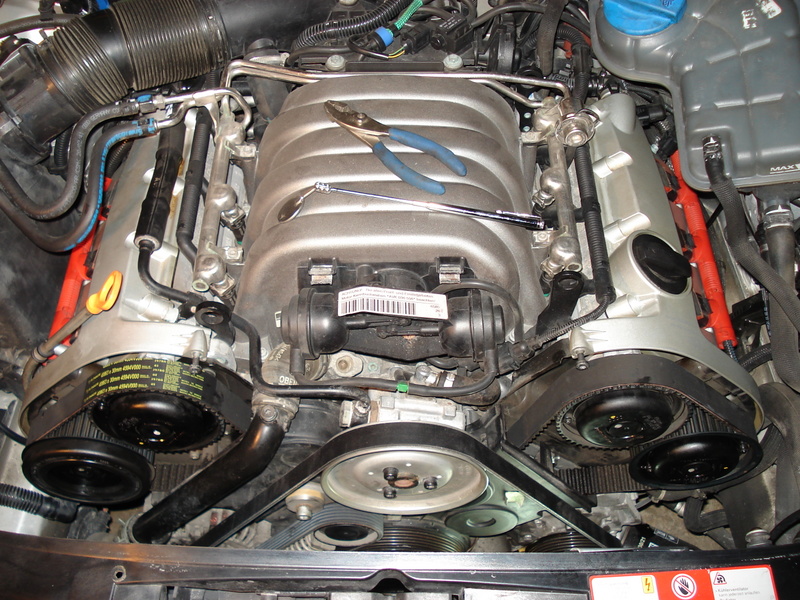
Well, that's about it. You can put the top engine plastics back on and go for a drive.
I sure did! Perfect conditions too!
|