<disclamer> everything you do is on your own risk!<end disclamer>
time required: around 3 hours by yourself
difficulty: maybe a number 3 if you are by yourself; its a basic unbolt/uncut
and put back together type scenario
job description: you will remove the rear and middle resonator/muffler
and then install a supersprint rear muffler and the middle one, this writeup
does not include a downpipe installation at this time
tools needed: wrench and socket set, bolt out removers, air tools would
be suggested, torx bit set, wd 40, brake cleaner, hacksaw, pb blaster, 2 1/4
exhaust clamps x3, small pry bar, hammer and maybe some other tools i forgot
to list
lets get started
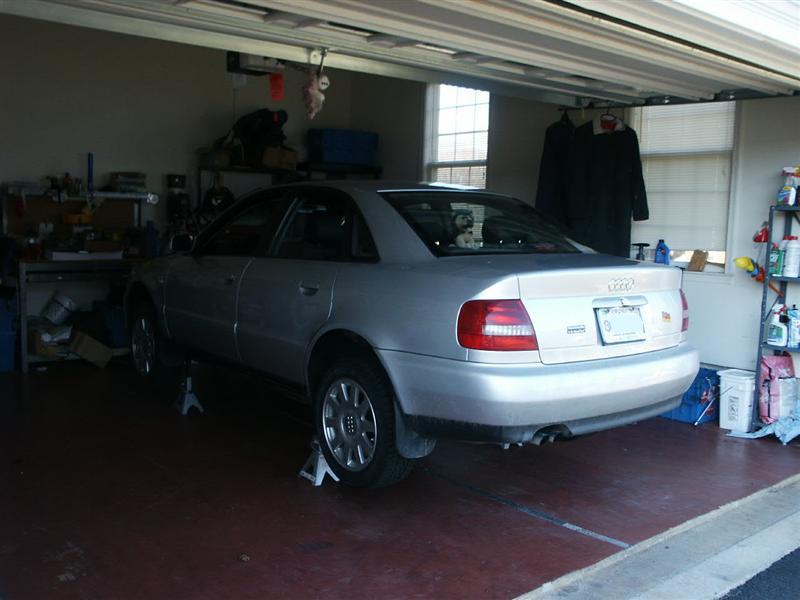
Place your car on 4 jackstands and raise those up as high as you can to allow
maximum work space underneath the car, you will need it as you are going to be
working from the front to the back underneath

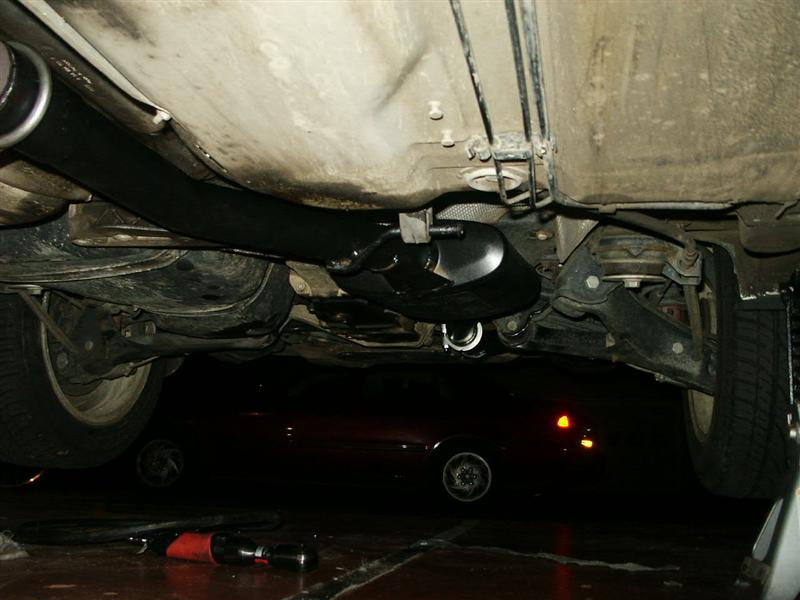
Lets take a look at the exhaust system on the 2000 a4 quattro 5spd with the
stock exhaust. the picture shows the muffler and part of the middle resonator/muffler
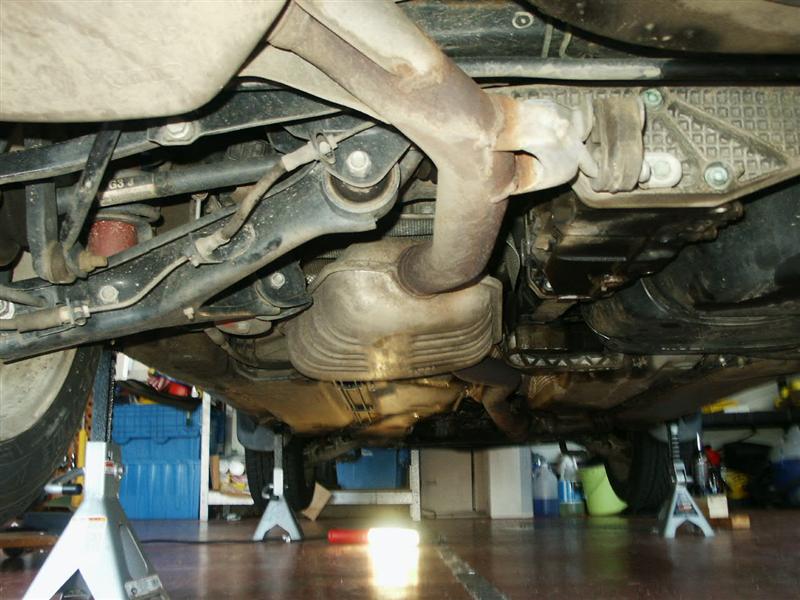
The middle resonator/muffler
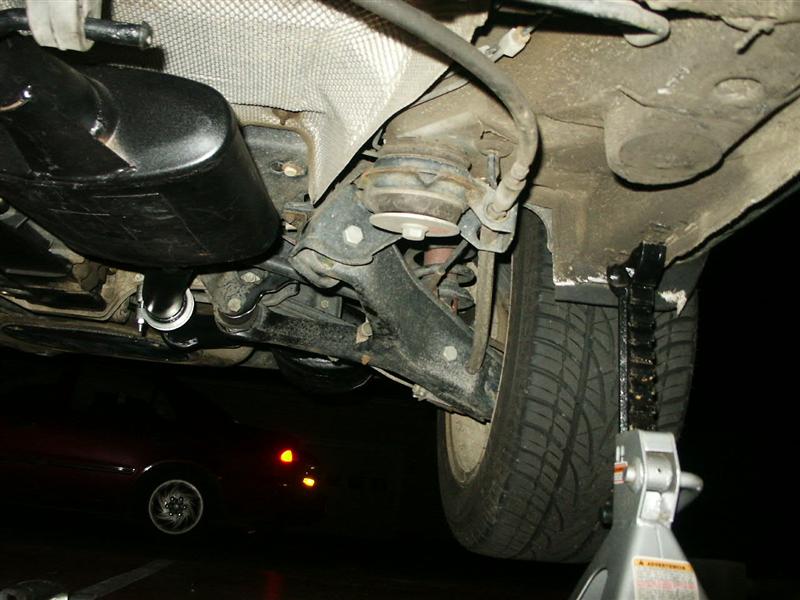
The pipe going from the middle resonator/muffler towards the downpipe and its
flex connection.

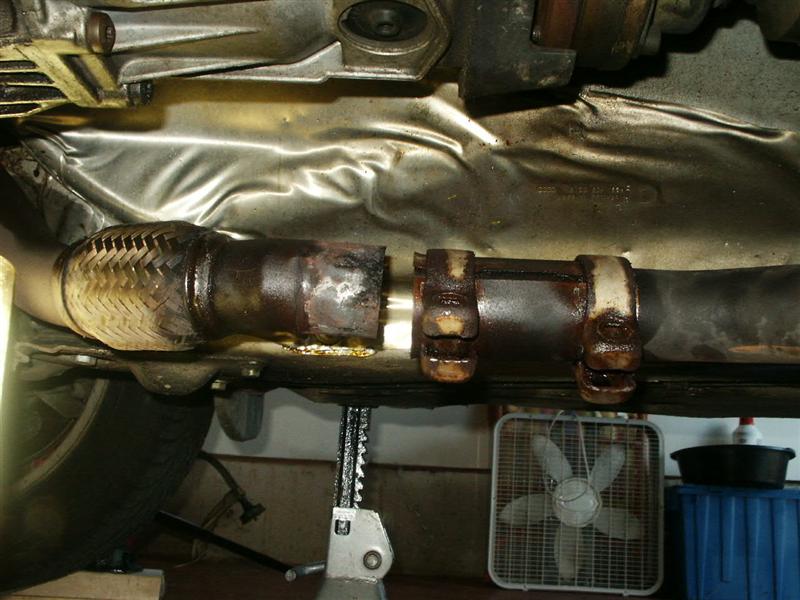
The exhaust sleeve connection on the downpipe towards the rest of the exhaust
system. i dont know if part of my exhaust had been replaced allready or if this
is how the system came stock from the factory.
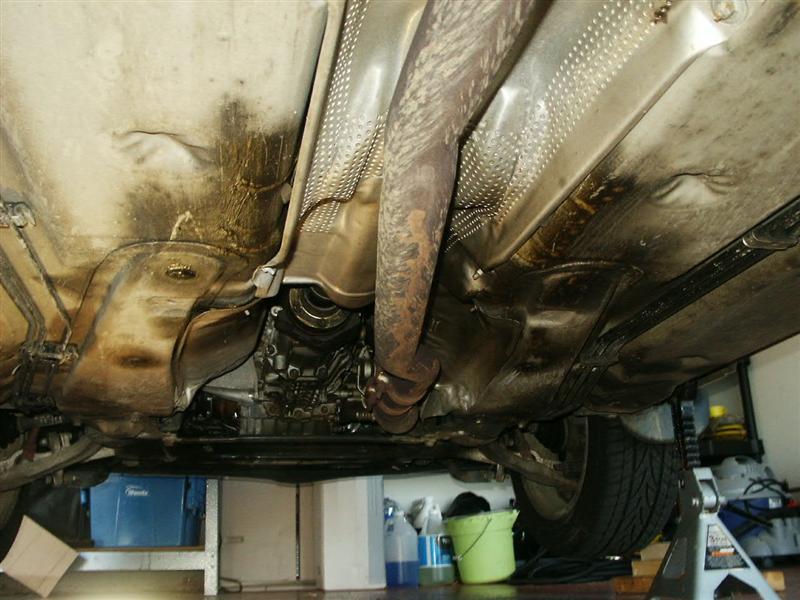
The sleeve is basically a metal tube that is placed over two exhaust pieces that
need to be connected to each other without welding. My sleeve was held together
with 2 old rusty 15mm nuts that were on there TIGHT.

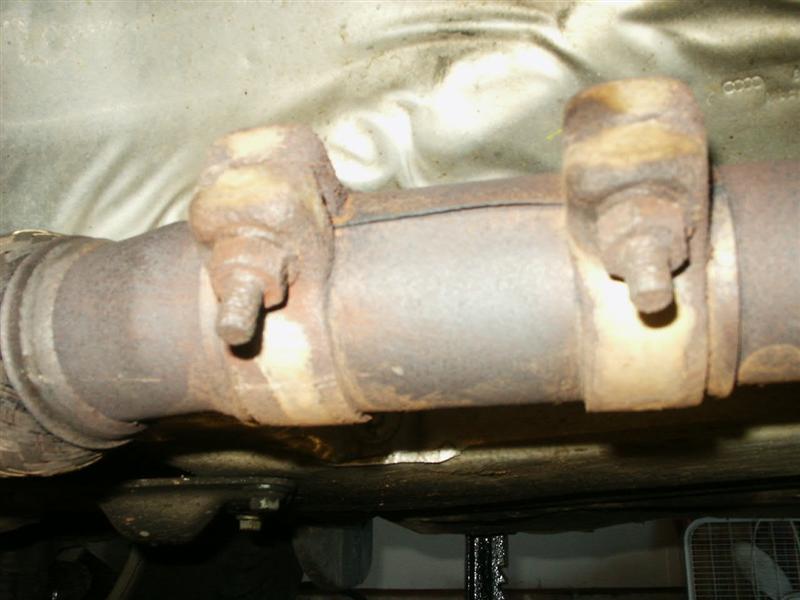
The rear bolt wasnt that tight and i managed to break that one loose without
problems, the front one however was so rusted and tight that i ended up tearing
the corners loose with the 15mm socket on it and i had to use my bolt out socket
set ( if you dont have one, i recommend buying one from sears!) It may help to
soak them bolts in pb blaster as well. i ended up replacing those two with 3/8x2" carriage
bolts for less than 1$ from a hardware store

Remove the told rusty bolts and break loose the clamps with a small prybar to
loosen them up. In case you dont have a sleeve and your exhaust is still welded
into one piece, you will need to cut the exhaust piping at this time. cut around
5-8 inches away from the end of the flex pipe lo give you enough space or the
swap.
The metal sleeve removed and pulled back some, wd-40 is a good idea to use for
lubrication throughout this exhaust replacement.

I decided to remove the whole exhaust including the hangers from the car, you
could probadly pull the rubber exhaust hangers out from the hangers but i decided
that i wanted to take a look at everything. the rear muffler is held on to the
car by 3 sets of 13mm bolts while the middle one is held to the car by a set
a torx screws, i dont remember that size but it was semi big. Torx 40 maybe?
If you dont want to remove all the hanging brackets continue just like the picture
and somehow support the stock exhaust system. the whole exhaust weighted 58lbs,
its not that heavy but VERY HARD TO MANEUVER by yourself.
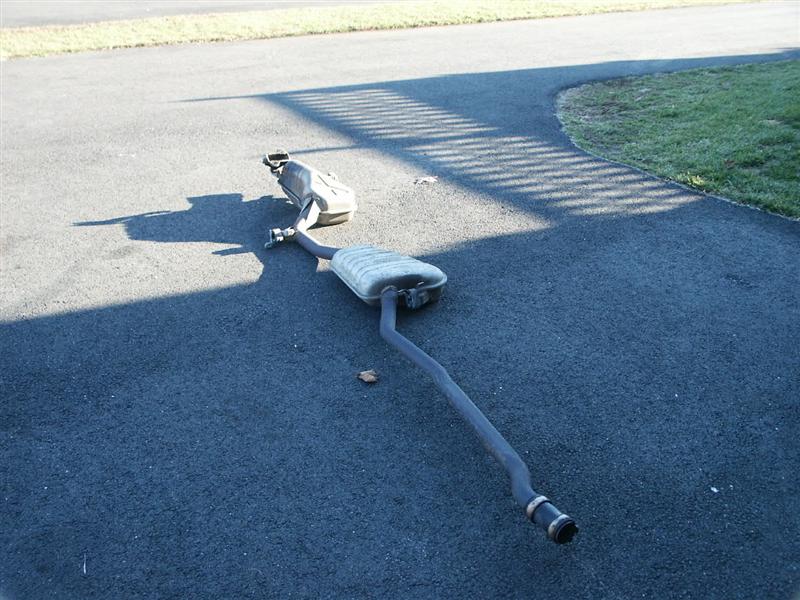
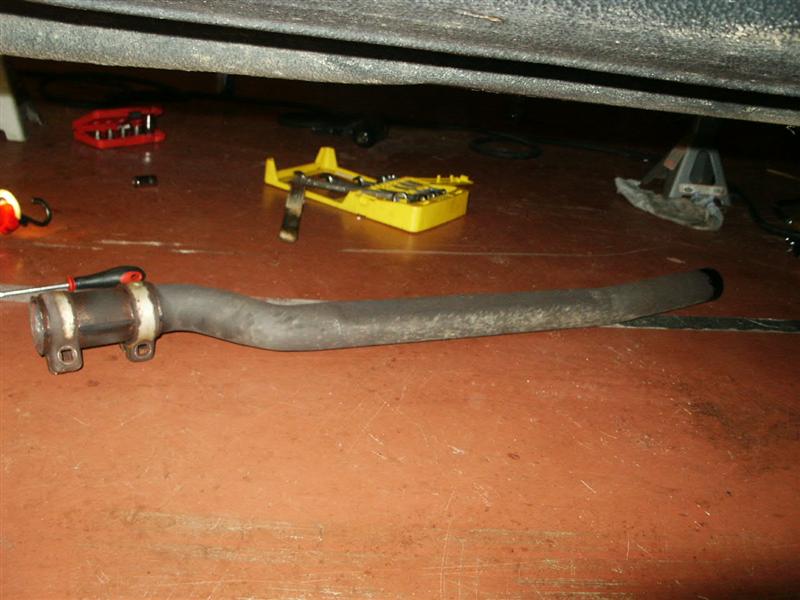
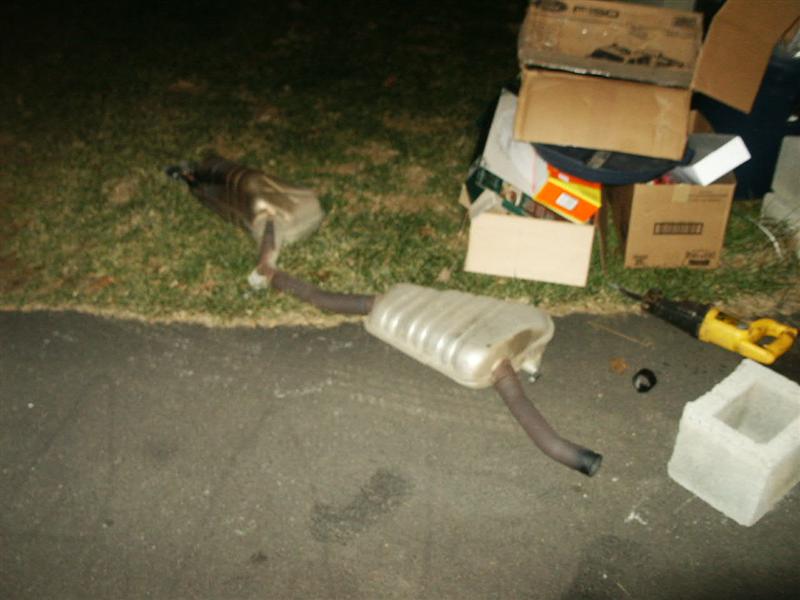
Stock exhaust removed
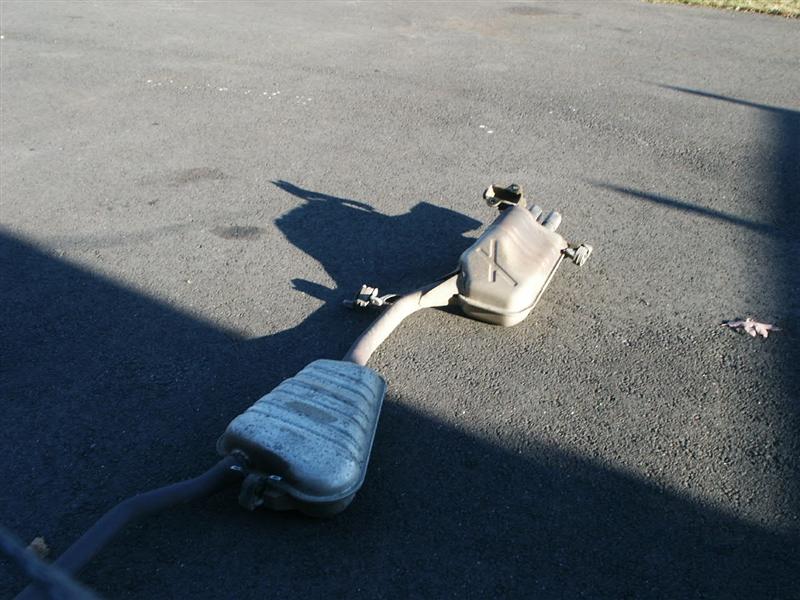
I wonder why there is an X on the muffler, the muffler is the heaviest part of
the whole exhaust

No piping

Supersprint exhaust vs stock exhaust. notice how the middle resonator/muffler
is way smaller than stock

The supersprint exhaust is actually a bit shorter than the stock exhaust in my
case so I had to cut of a section of 10" from the stock exhaust to make my system
work. you might have to cut more or less or nothing at all in your case.
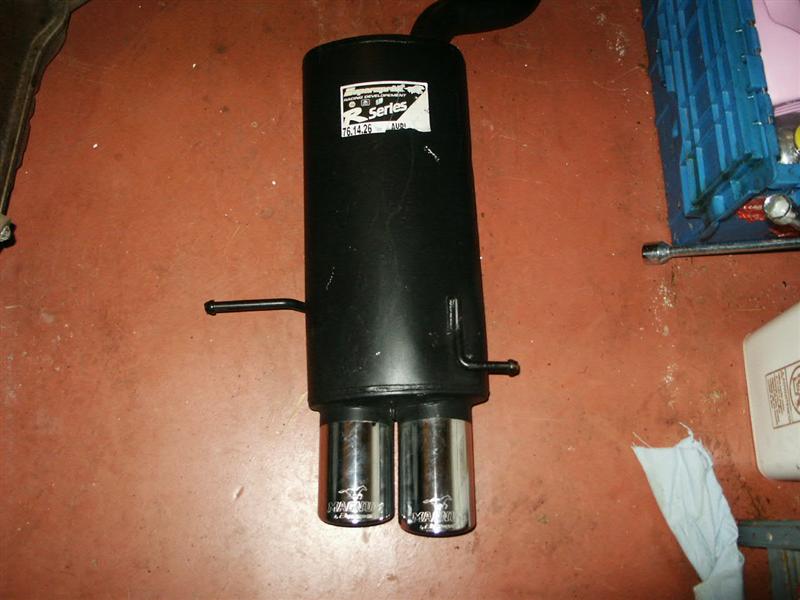
A look at the supersprint tips/tails. see the difference in length?

Another view of stock vs supersprint
stock weight 58lbs
supersprint 36lbs

Reinstall the muffler and middle resonator back onto the car. like i stated before
the supersprint exhaust is a bit shorter than stock so you will have to cut a
section from the stock exhaust of to make up the gap from the front flexpipe
towards the rear. Measure the distance between the ends from pipe <-- to --> pipe
and add around 4" to that. its better to have more than to not have enough at
all.
The 10" section that i had cut to fill the gap

Wd40 is again your friend when moving around the sleeve and making all the connections.
the pipe that i cut was 1/4" next to the stock pipe. not bad at all.


Everything connected. The exhaust clamps i used were 2 1/4 in size and around
3$ at autozone
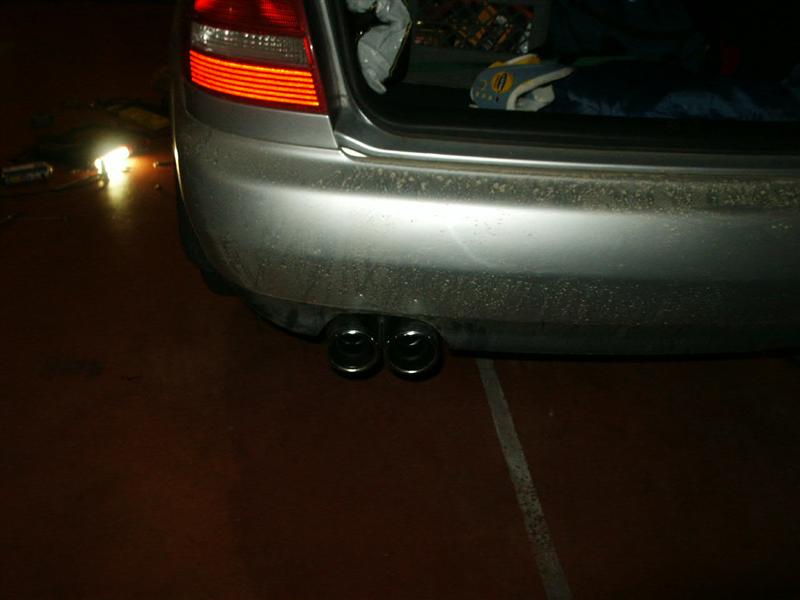
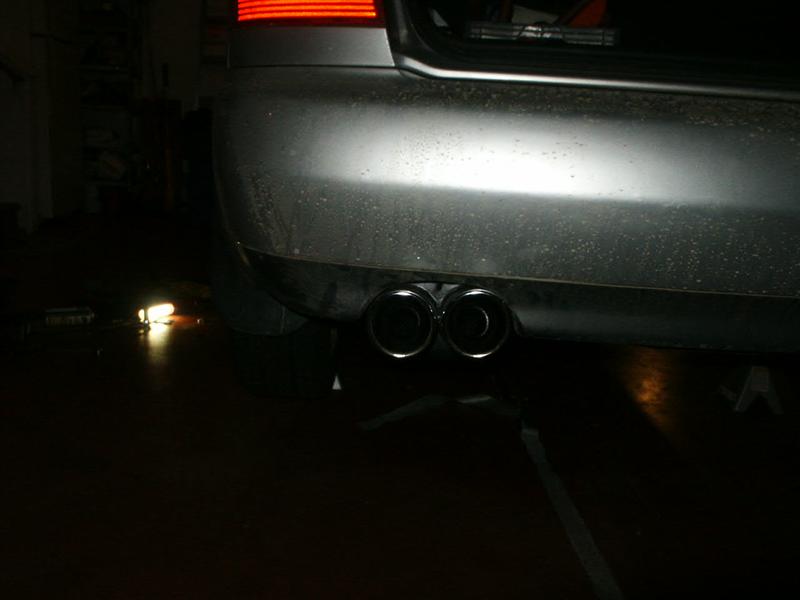
The tails/tips. i will have to go back to the rear and cut the black exhaust
valance a bit wider as the supersprint muffler has some huge pipes that are way
to big for the stock hole.
After everything is connected, double check all your bolts for tightness and
start the car while on the stands. inspect and listen for any leaks. if you have
none get ready for a testdrive!
Here is whats left over:

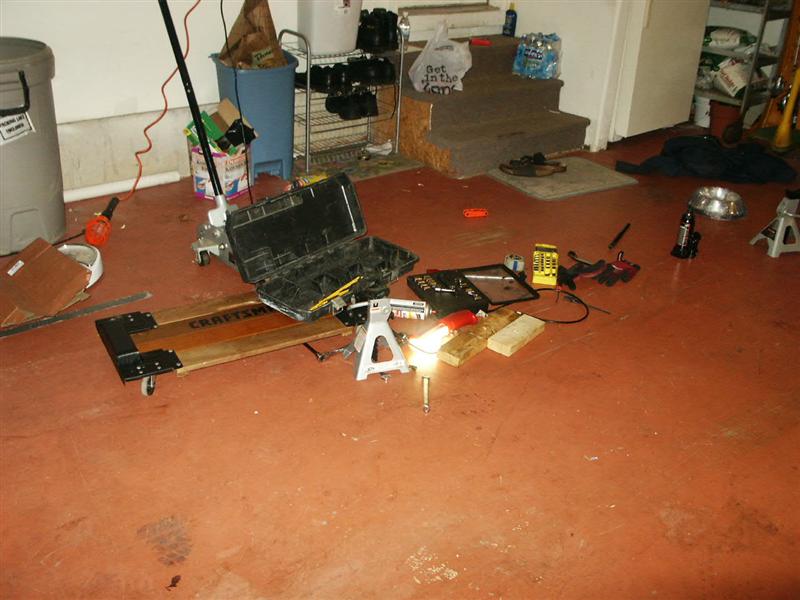
A dirty garage that needs a good cleanup.
Here are 3 videos of stock vs supersprint
the exhaust sounds much better in real life; no matter what you watch and see;
in real life it will always be different!
Stock System
Supersprint
exhaust
From the Inside
Ok, that should be it! Take the car out for a test drive and enjoy a red glowing
turbo!
