You assume all responsibility for any and all results obtained by following this article.
- You do so at your own risk.
- You are solely responsible for any damages financial or material.
- This article is only applicable to MY2000 S4 and models with the same headlight housings.
- Read this article in its entirety before attempting the procedure.
Introduction:
I had Euro spec H4's on my last car and missed them, even though the S4 had HID lighting, the pattern was too wide, the availible light wasn't being used efficently. I knew Euro S4 housings were availible but I hadn't seen any concrete info on if they were better/brighter or just a ~$500 clear corner mod. I read a few posts claiming a %30 increase in brightness so I decided to take the plunge, instuctions and results follow. Before you make this modification you may want to check local and state laws. On a scale of 1-10 ten being the most difficult I would rate this modification a 3-5 depending on your expertise.
Tools and parts needed:
- T30 torx bit with a 4" extension. Magnetic is a plus.
- T20 security torx bit, the type with a hole in the end.
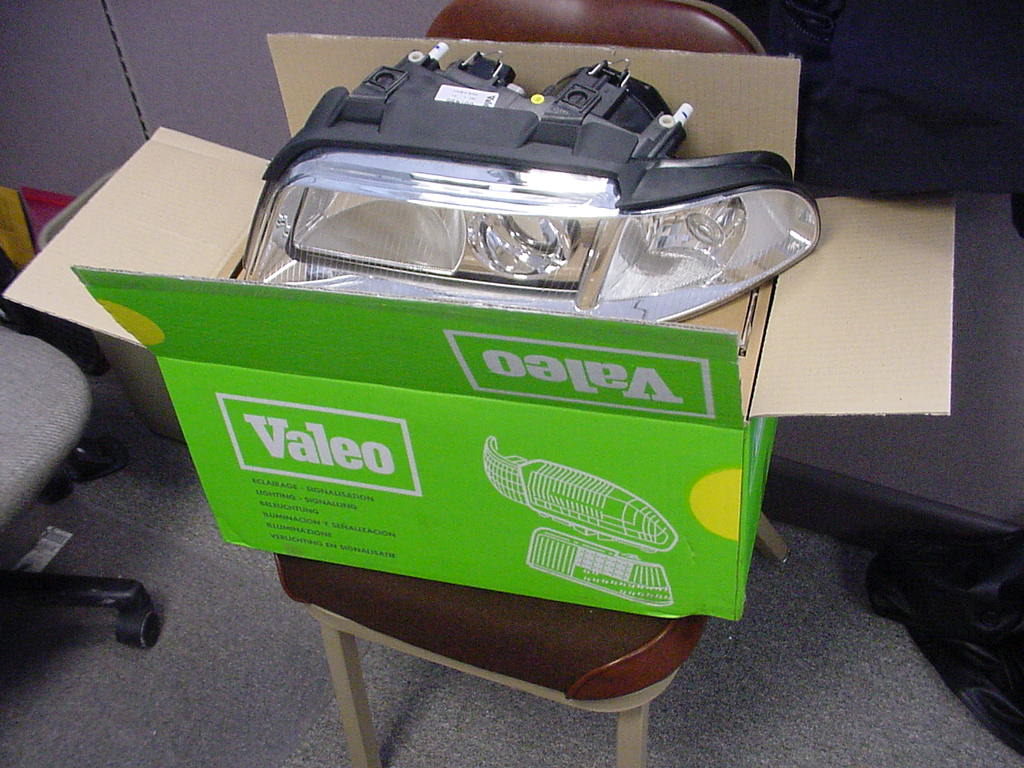
- Euro HID Housing for A4/S4.
- #2 Phillips Screwdriver.
|
Surgery
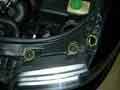
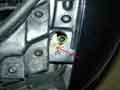
1. Headlamp Removal
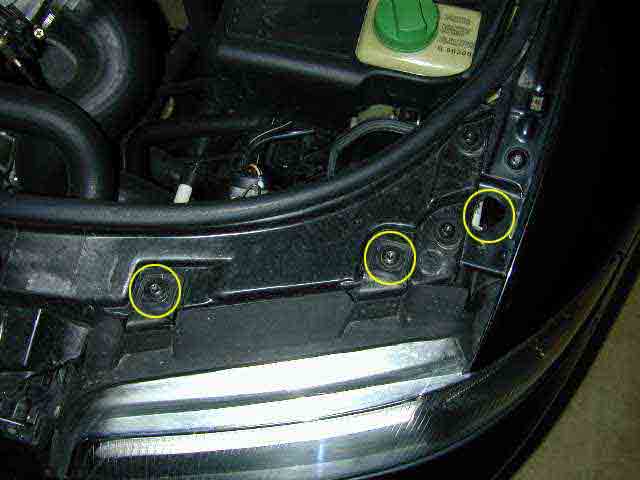
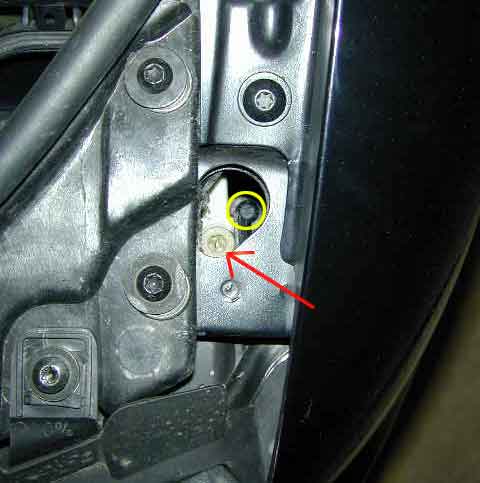
The first thing you have to do is remove the headlamp unit. There are 3 torx screws holding the lamp unit to the car.(circled in yellow) The top 2 are fairly obvious. The 3rd one on the other hand is down 4 or 5 inches beneath the white lamp adjustment screw(indicated by the red arrow). Once unscrewed, slide the unit out, don your operating gloves and slap it on the table.
BE CAREFUL NOT TO LOSE THE SCREW OR BIT/DRIVER DOWN THE HOLE.
|
|
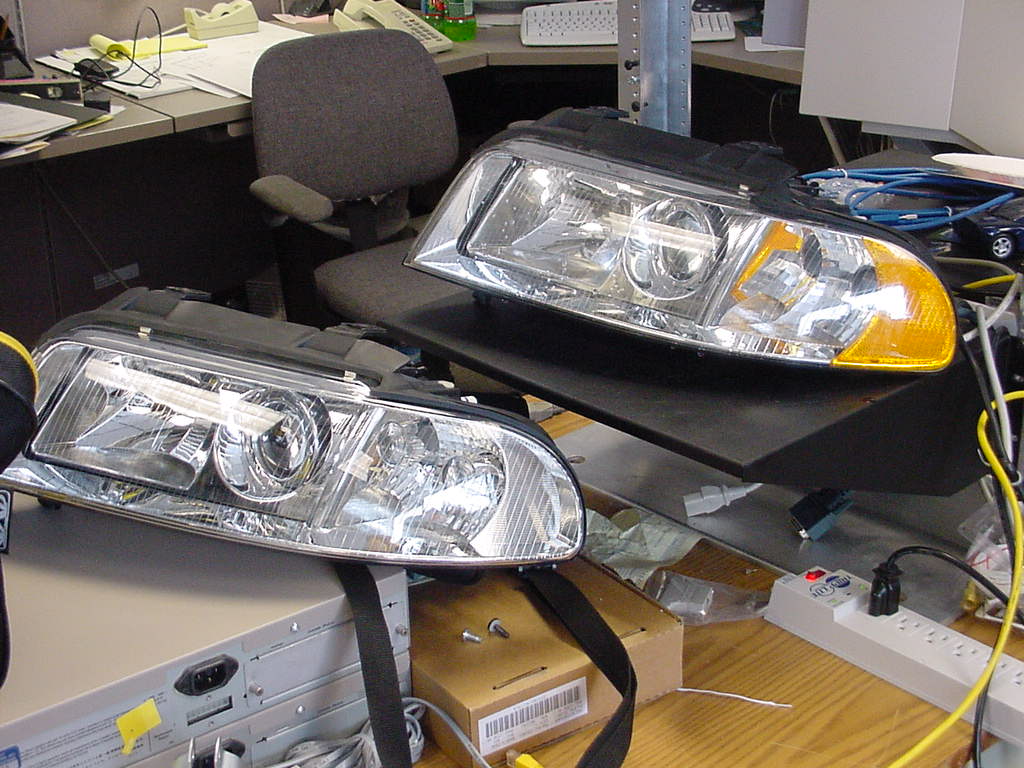
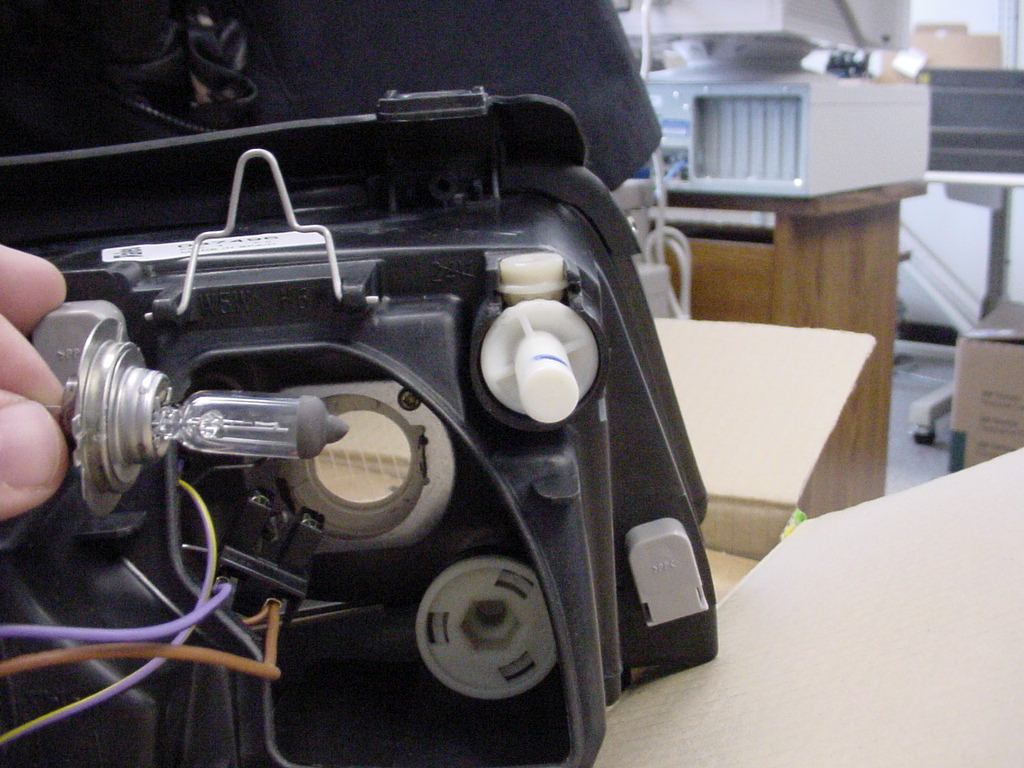
2. Remove components from US Housing and transfer to Euro.
First open the covers on the back of the US housing and move the bulbs over
to the Euro housing.


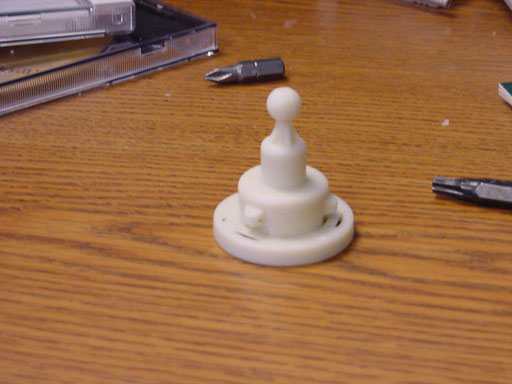
Then remove the shipping plug for the auto level motor on the euro housing.
Yes, it is a pain, be patient and gentle.

Shipping plug removed.
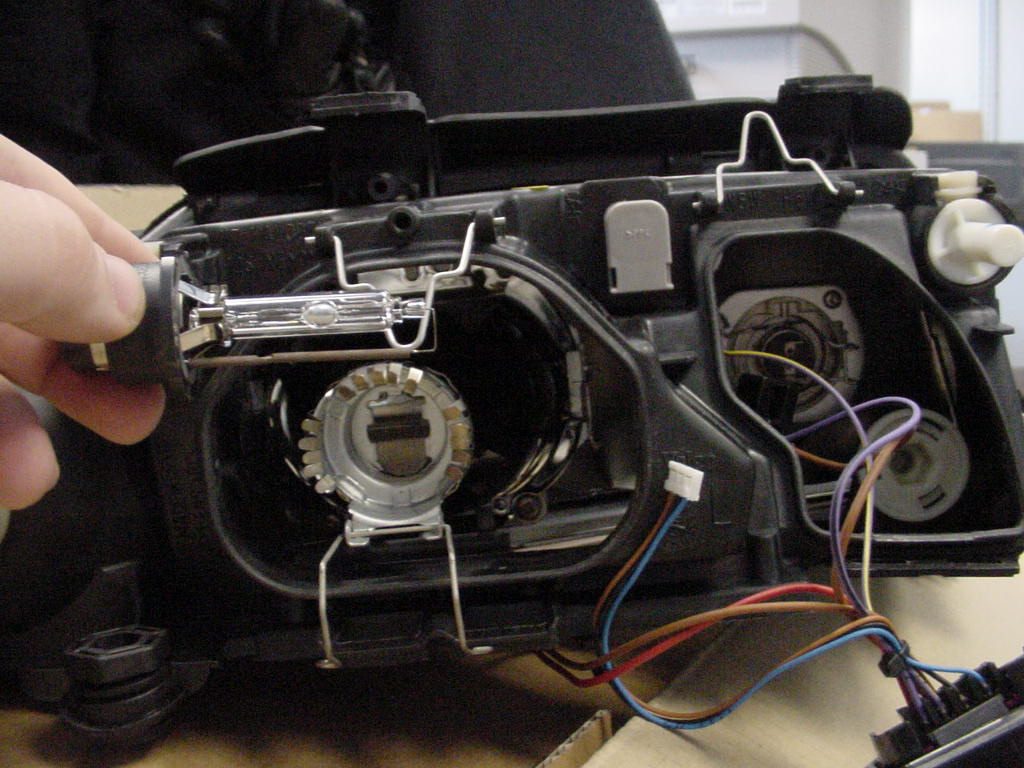
Next remove the ballast from the US housing, You'll need that T-20 Tamper Proof
Torx bit to remove the 6 screws around the edge of the ballast.
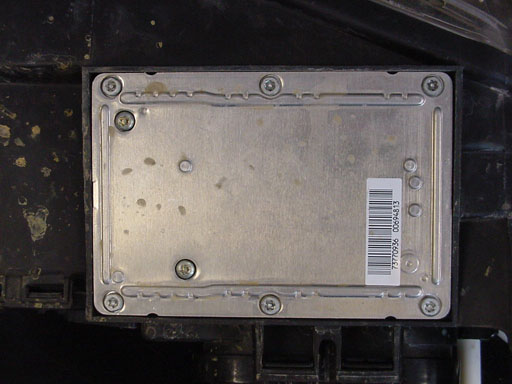
Ballast removed.

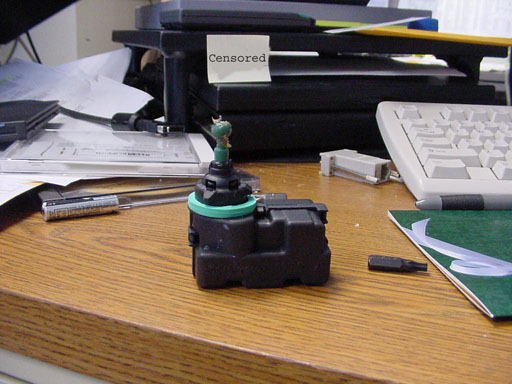
After removing the ballast, remove the autolevel motor from the US housing by turning it clockwise and wiggling/pivoting it down. Be careful, this area looks delicate.


Auto level motor removed.
Installation is opposite of removal, carefully put the autolevel motor in the Euro housing and then install the ballast, attach all the wiring, install in car, be careful, don't lose any screws in the engine compartment.
Optical differences between the Euro and the US housing:
The cutoff masks are different, the euro cutoff allows for more light in your lane of travel while reducing glare for oncoming traffic.
US spec cutoff.

Euro spec Cutoff

The reflectors also appear to be a bit deeper, but it is hard to photograph this.
Results:
The US spec housings have a nice wide and fairly even light pattern.

The euro housings have more of a hot spot where you need to see and much
less side illumination.
The sides of the pattern dim much faster, and the cut off is higher on the
right than the US cutoff.

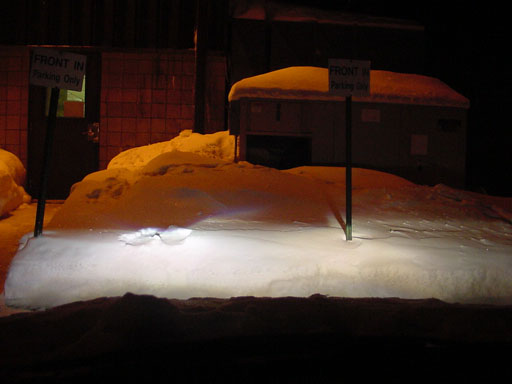
The pattern isn't level because the car isn't level, darn snow :)
With only one euro housing in place, the difference was quite pronounced, even though the euro was aimed too
low, it was always over powering the US on the right, impressive.
These aren't the best pictures, but they show the difference.

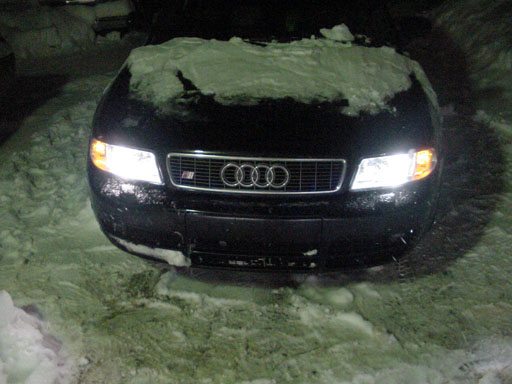
This is what it looks like with both euro housings in place.
Low Beam.

Just high beam.

Both.

White.
Conclusion:
Once I aimed them, Wow, I can honestly say I'm finally happy with the lighting.
They are now superior to the Euro H4's in my last car, on a long straight road
the light just reaches waaay out there, just like it should be.