|
|
The ONE comes with a large suction cup mount, but the mini-USB charging cable is separate, so you have to fuss with the suction cup and the cable separately every time you remove it / reinstall it. For a few months, I used an adhesive disk affixed to the upper part of the knee bolster, like this:  The setup worked well, was unobtrusive, and got good reception, but it wasn't a dock. While ProClip makes a charging dock, it's large and conspicuous (a suggestion to would-be thieves that you might have a GPS unit in the car, even if you've removed it from the dock) and expensive ($80): 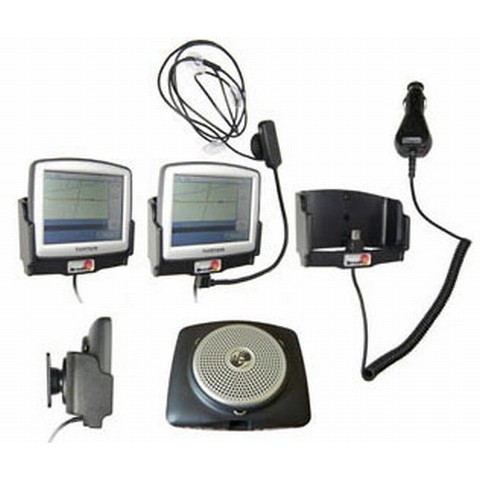 What to do? Create your own dock! Here's what I did: 1) I found some of these plastic brackets laying around my house:  2) I then took a straight mini-USB cable (I found that the Blackberry cables, which I had a number of, provided the most stability for the TomTom), cut off the large connector part, fed it through the bracket, and secured the mini-USB part to the bracket using a small hose clamp, snipped off the extra metal band after tightening the clamp, and pounded the clamp flat. I then painted everything flat black. Next, I screwed the assembly into the back of my ProClip clip. These pics doesn't show all the steps, but give a general idea: 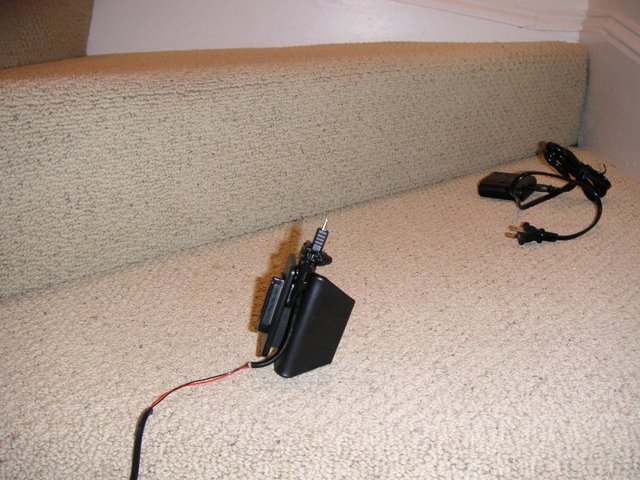 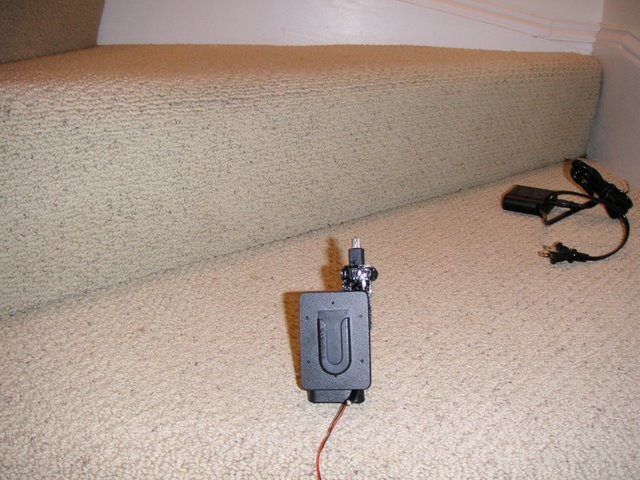 3) Note: On the C5 dashboard with the ProClip clip, it is insufficient to simply attach the mini-USB dock assembly to the ProClip clip. The ProClip's location on the dash does not provide enough clearance to then dock the TomTom unit because of the shape of the C5 dash on the passenger side. I found this out after trial and error. Thus, I had to get a ProClip extension plate to raise the mini-USB dock assembly further up so that it cleared the dash: 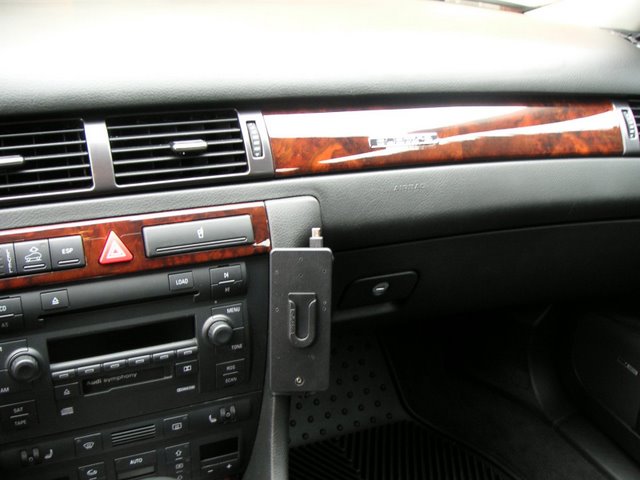 4) Feeding the USB cable: At first, I stripped part of the outer cable sheath and cut off the white and green inner cables (which are for USB data), removed the headunit, fed the red (which I painted black to be inconspicuous) and black inner cables (for power) through, and replaced the headunit so that the cables were tucked in through the crevice to the side of the headunit. I then cut the original TomTom power adapter, which I had hardwired to my fusebox to a switched power source, and connected the cut-up USB cable to the TomTom power adapter (red to red, black to black).  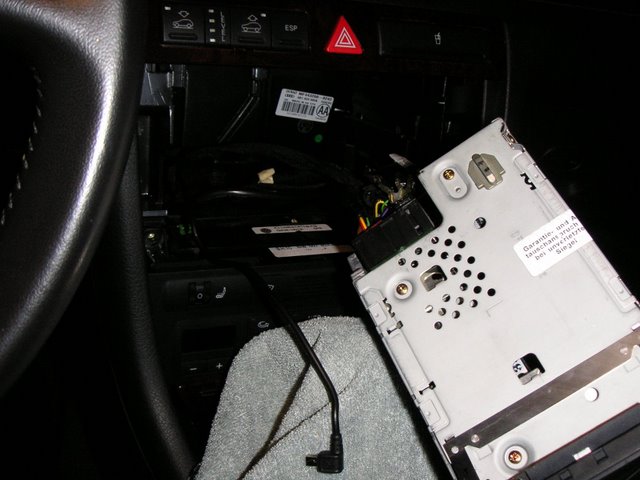 However, after realizing the clearance problem mentioned above, I had to remove my dock and reattach it with the extension plate. Being too lazy to remove the headunit again, this time I fed the cable through the glovebox (neatly tucking the cable into the crevice along the trim piece to the side of the headunit) and fed it through behind the dash (over the center tunnel) to the driver's side:  5) Here's how the final dock works:  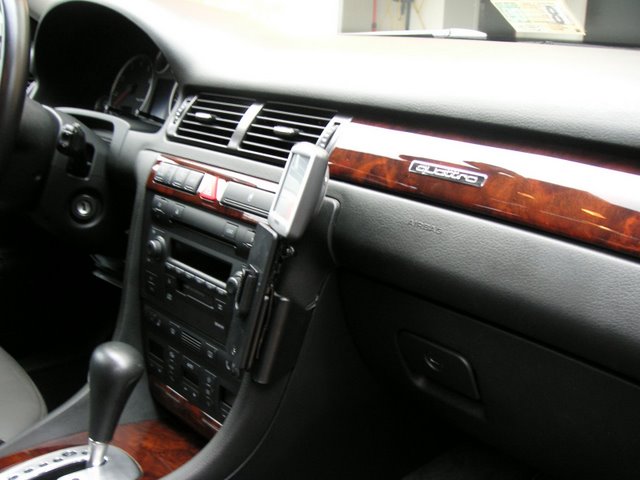  The TomTom is sufficiently secure plugged into just the mini-USB connector, it pops on and off easily, and it gets charged when the ignition is on. Mission accomplished. P.S. If you're wondering why the TomTom charging cable couldn't be used directly, it's because the L-shape of the mini-USB connector wouldn't allow me to attach it to the back of the bracket: 
|
|
Advertising |
Contact Us |
Cookie Policy |
Privacy Statement |
Terms of Service |
Do Not Sell My Personal Information
© 2020 MH Sub I, LLC dba Internet Brands |