| Tech Article Title
|
Author
|
Date
|
| Installing
Front Brake Pads |
Carol
Wong
|
2003 |
D I S C L A I M E R
To the best of my knowledge, this page accurately describes the procedure that I followed to install Porterfield R4S brake pads on my 2000 A4 1.8TQ. I cannot confirm that this procedure will work for your particular brake setup. Use these instructions at your own risk.
T O O L S
Tools for removing a wheel (17mm lug wrench, jack, etc)
Brake piston tool (large C-clamp will work too)
7mm hex key
Flat-head screwdriver
Needle nose pliers
Clean turkey baster
Torque wrench (90 ft-lb rating)
P R O C E D U R E
Jack up the front corner of the car and remove the wheel.

Remove the spring clip by prying at the two ends. The ends are hooked into the face of the caliper.

Remove the two black plastic caps on the back side of the caliper. The caps can be pried off with a flathead screwdriver.
The plastic caps protect the 7mm hex caliper screws. Using a 7mm hex key or 7mm hex attachment to a socket wrench, remove the two hex screws. You may need to pick the screws out with needlenose pliers once they are loose.
After both caliper screws are removed, carefully pull the caliper away from the rotor, taking care not to damage the ABS sensors and brake lines.

The pads may still stick to the caliper once it has been pulled off the rotor. The inside pad (the one that contacts the back face of the rotor) has a three-prong "claw" which fits inside the caliper piston. Simply pull the pad straight away from the piston.
You may need to pry the pads off with a screwdriver as there may be some adhesive gluing them to the caliper.
If the pads are still on the surface of the rotor, simply pull them off as there is nothing holding them there.
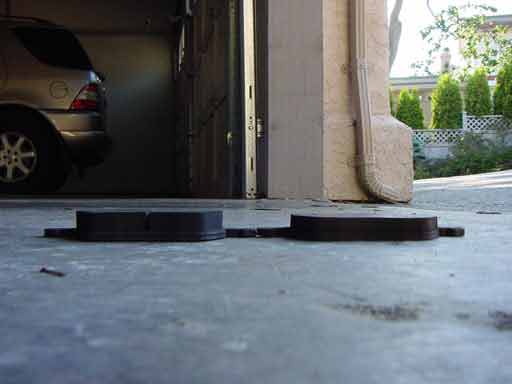
Set the caliper on an elevated platform (paint can, jackstand, lower control arm) to prevent stress on the
line

Brake wear sensors:
If you are installing race pads like I am, chances are the pads do not have wear sensors. Of course, if your early model A4 does not have wear sensors, you can skip this section.
If your A4 does have wear sensors, but the pads do not, you will need to cut the original sensor wire and short-circuit the ends to permanently complete the circuit:
- Cut the wire about 1 inch from the connector plug.
- Pull the protective rubber tubing away.
- Use wire strippers to strip the ends to expose some bare wire.

Brake wear sensors con't:
- Use a wire connector to connect the exposed ends.
- Replace the rubber tubing and wrap in electrical tape to prevent exposure to water.
- Use a zip tie if necessary to prevent the wire from flopping around.

Test fit the pads into the caliper and try to place the caliper back over the rotor. If you find it does not fit, you will need to push the piston back into the caliper.
A piston tool makes the job easy, although for the front pistons, a C-clamp will work too (the rear pistons are a different story).
Simply use the piston tool like a reverse vise to push the piston back into the caliper. Be careful not to damage the piston or the seal around
it

Before pushing the piston, open the brake fluid reservoir cap to allow the fluid room to expand. Also, keep an eye on the brake fluid level in the reservoir.
Pushing the piston back into the caliper puts pressure on the brake system and forces the fluid level to rise.
If the fluid rises beyond the max point, use a clean turkey baster to draw some fluid out of the reservoir. Be careful not to drop any brake fluid on painted surfaces as it will eat away at
paint
If the new pads have adhesive strips on the back, peel away the protective film to expose the adhesive, or apply anti-squeal compound as instructed on the bottle (I used neither).
Fit the pads to the inside of the caliper. The three-prong claw on the inside pad should fit tightly into the piston. If not, you may need to adjust the claw by pulling on each prong with pliers.
Put everything back together:
Place the caliper back over the rotor, tighten the caliper screws, replace the caps, spring, and wheel. Torque the wheel bolts to 89
ft-lbs. Repeat the procedure for the other front brake.
With the vehicle parked and ignition off, press on the brake pedal a few times. This gives the pads a chance to settle into place. Also, make sure the pedal feels firm.
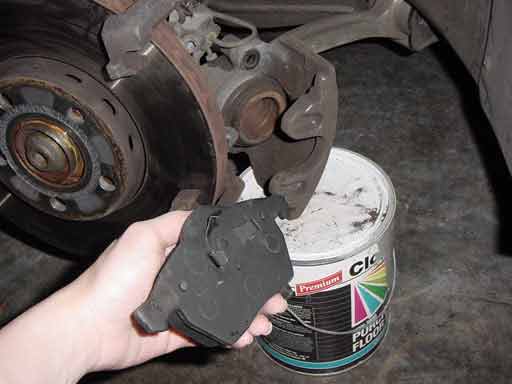
New pads require bedding-in. This involves gradually bringing the pads up to temperature, doing a few hard stops to heat them up, then allowing them to cool while the vehicle is still moving. The exact bed-in procedure is available from the pad manufacturer.
The picture to the left shows a stock Ferodo pad (right) from my A4 to a brand new R4S pad. There is still lots of material left on the stock pad.
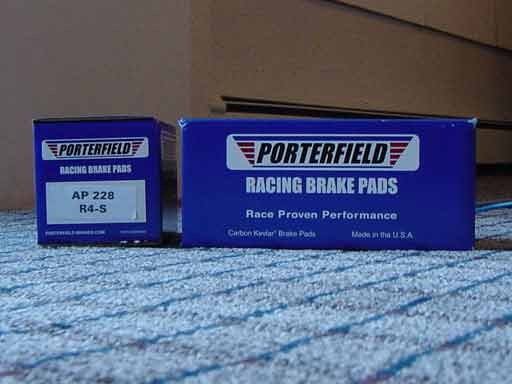
P O R T E R F I E L D R 4 S P A D S
I simply love these pads. They have a more linear feel than stock, so they are easier to modulate. Excellent bite and stopping power when cold. Also, they produce about a third as much brake dust as the stock pads. The only downside of these pads is that they occasionally squeal, although some antisqueal may fix that quite easily.
The following is a description from a vendor website:
R4S Street High-Performance & Limited Competition
The high performance street pad of choice. Very high friction level even at cold temperatures. No dust or squeal. This is the fastest stopping road pad available. Great for limited competition,
motocrosses, driver schools, & solo events.
Friction level = .400
Temp Limit = 1100 deg