So I decided to replace all 4 of my bearings that have 143k miles on them. More of the story leading up to that here:
http://ctny.audiworld.com/mark/s4/maintenance/engine_pull/
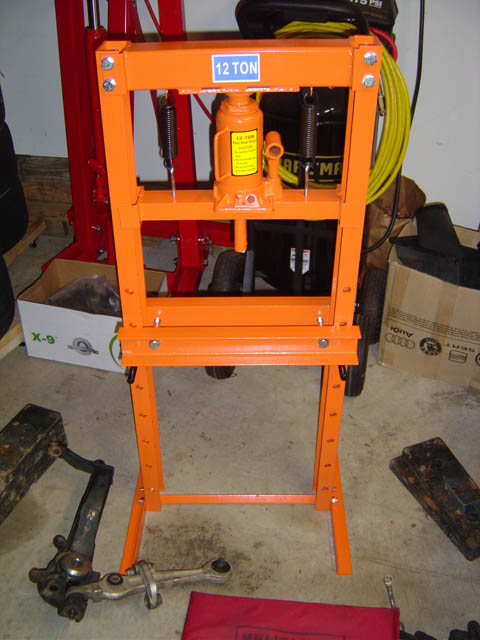
I tried using the Hub-Shark to remove my old wheel bearing, but that wasn't going to happen, so I decided to pick up a shop press instead. Even with the press, the bearing housing didn't want to easily move in/out of the spindle/upright.

I'm not sure if Piggie made a mistake when writing up the A4 Tech article, as he stated the bearing removed towards the *inside* of the car. On both a '97 A4 and my '02 S4, we have found the bearing to be removed to the *outside* of the car. Perhaps some year A4's were different? Nonetheless, for the S4 guys, they remove towards the outside.
Here's 2 new front bearings and 2 new rear ones. They each came as a kit with the correct bolt. The front kit included circlips for some other car application, not for use in the S4.

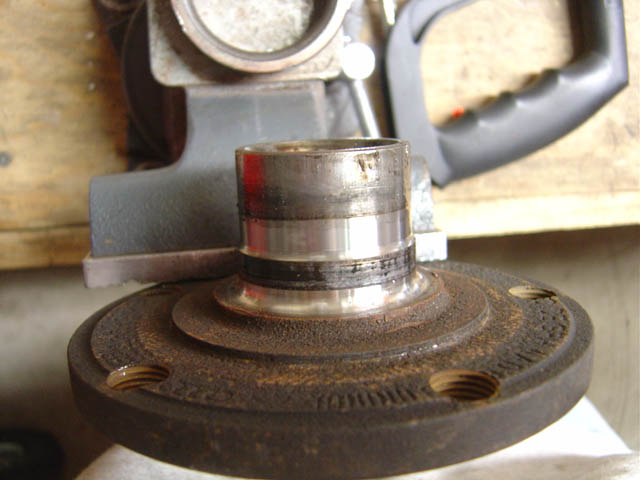
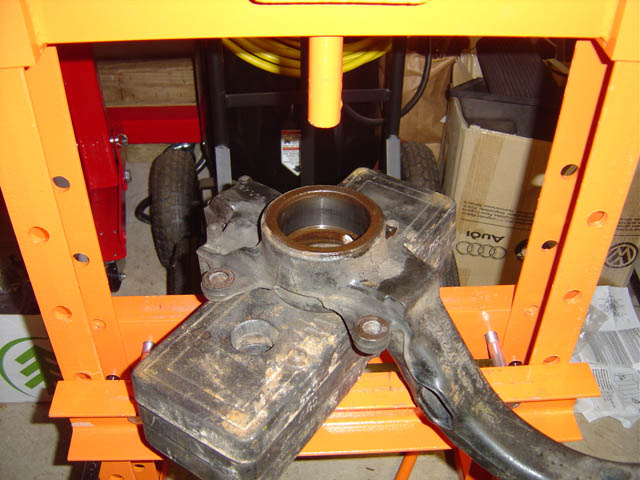
First I pressed out the hub from the bearing. You can see here where the hub has moved down about 1/4" (when I stopped to take this photo):

After pressing it all the way though, you can see that half of the inner section of the bearing came out with the hub (typical):

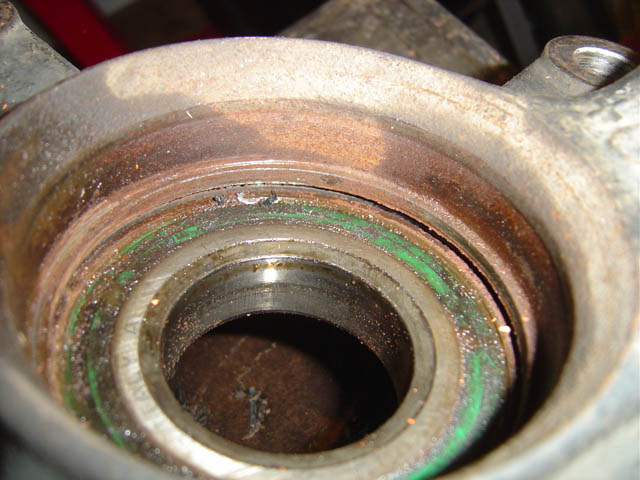
Here's what the bottom/outside of the bearing now looks like:

I then placed the spindle with the outside facing down, on a flat surface (note in the photo above that the bearing is recessed about 1/8", so placed flat it will have room to move), and pressed it until it broke free.
I used round discs like this just the right size to press on the bearing, but not the spindle. (Also note this photo is just for illustration as I already had pressed out the hub by this step):

Once the bearing broke free, you could then see the gap between the bearing and the inside lip that it sits against when in place:
Further out shot showing that it presses from inside out:

I then supported the spindle from the sides, so I could press the bearing out and through:

Close-up from the inside:

Close-up from the outside:

Here's the old bearing and a new one:

To separate the inside of the bearing from the hub, I placed the hub in a vise and used a small chisel at the abutment between the two parts. Rotating as I went, the parts strarted to separate:

After that, it's a few more bangs and it's off:
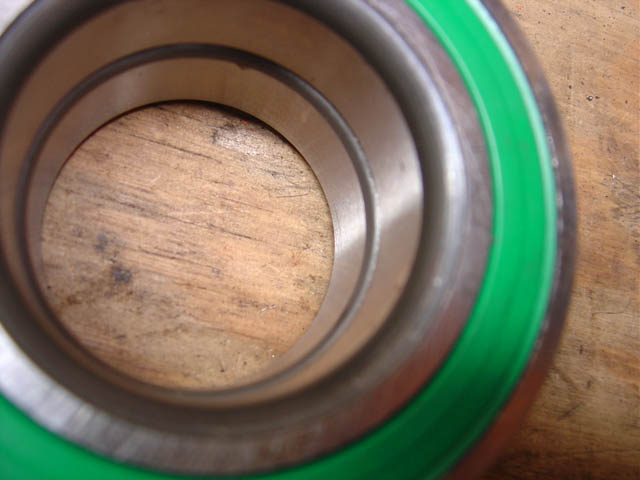
Note that the hub has two different outside diameters. Likewise the bearing has two different inside diameters. Be sure to observe this and orient all parts together before pressing the bearing into the spindle, othwise you'll have to press it out again. Here you can see that in this photo the top side has the wider ID, and the lower side has the narrower ID:
Here they both are in the orientation they fit together. Wider on bottom, narrower on top:

Since the larger diameter is on the outside edge of the hub, then the bearing gets pressed in accordingly, with the larger diameter on the outside; as pressing the bearing in from the outside-in.
When putting everything back together, first press the bearing into the spindle (with the wider ID facing out/up). When doing so, only place pressure on the outside rim of the bearing (or flat across the full face). Pressing only on the middle will damage the bearing.
Once the bearing is firmly seated against the lip on the inside edge, then the hub can be pressed into the bearing. It is extremely important at this step to support the bottom of the bearing when pressing in the hub. If you only support the spindle, pressing in the hub will blow apart the inside of the bearing, similar to when it was pressed out originally.