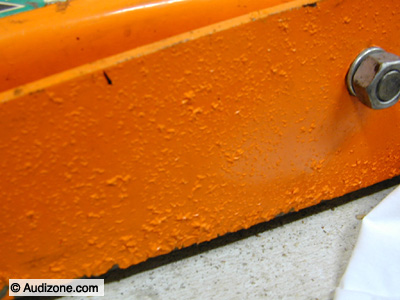
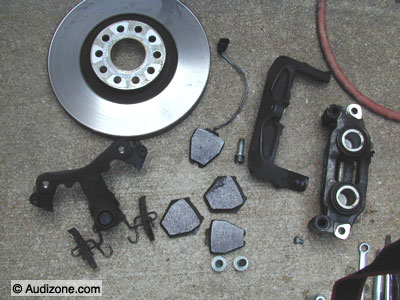
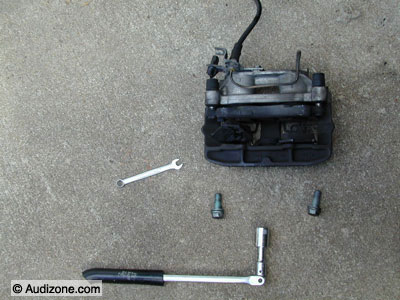
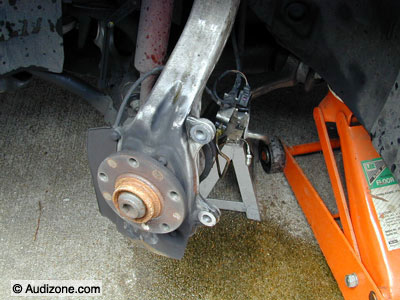
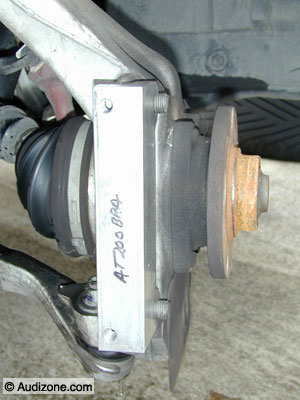
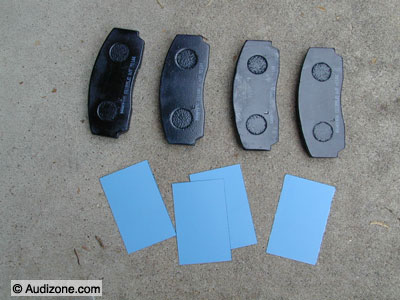
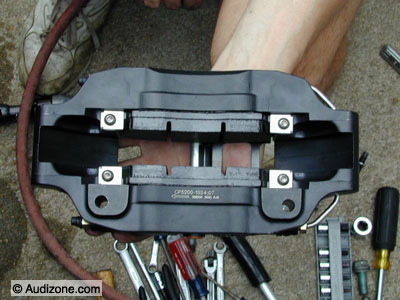
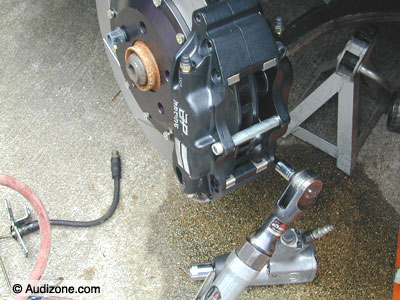
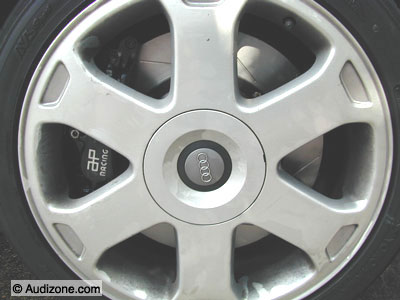
More S4 Power
(stopping power that is...)

The Install

The following is not a step-by-step guide but rather a general overview of what's involved to upgrade the brakes.  The nitty gritty details are up to you and the specifics associated with which brand of brake kit you purchase.  As always, if you doubt your ability to perform the upgrade have a pro do the job for you.  Don't forget... never work on a vehicle supported by just a floor jack--use jack stands!!  

Be EXTREMELY CAREFUL with brake fluid.  If you get it on your paint it will quickly ruin the finish! Brake fluid dissolves paint!!  Don't believe me?  See the picture below.  If you do get it on the paint rinse it off ASAP with water.  Brake fluid is water soluble.


Brake fluid vs. floorjack.  Floorjack lost.

Tools 'n stuff (may vary depending on your kit):

  • 22mm socket for the bolts that secure the stock caliper bracket
  • 11mm and 17mm wrench for the brake lines (flare wrenches are the best choice if you have them)
  • 10mm wrench for the bleeders
  • 8mm allen wrench
  • Straight screwdriver
  • Pliers
  • Knife or razor blade to trim the anti-squeak stick-on pads if the kit has them
  • Fresh bottle(s) of brake fluid of your choice.  We used about a quart.  Remember, the new calipers and lines are bone dry.
  • Brake bleeder kit of some kind if you're so inclined.

click images to enlarge

  • Get the car up on stands and remove the wheels.
  • To remove the brake assembly disconnect wear sensor wiring harness, the brake line and the two 22mm bolts on the back. The whole works just falls off in your hand.
  • Watch that the rotor doesn't fall off and crush your toe.  One rotor nearly fell off, the other had to be tapped and pried off thanks to corrosion bonding the rotor to the hub
  • The stock S4 brakes in exploded view.  After taking the first brake assembly totally apart to get the parts off the car I realized that the I'd done way too much work.  Silly me.
  • The right way to remove the brake caliper!  Dooh.
  • The bare assembly ready to receive the upgraded parts.
  • The hard line and bracket were not used.  
  • Secure the caliper bracket to the steering knuckle.  
  • This kit came with shims to adjust the position of the caliper in relation to the rotor.  After some fiddling I thought I the right alignment.  Notice I said "I thought".  On the test drive the LH brake was dragging. After the pistons and pads self-centered the caliper no shims were needed for this car.
  • Put the rotor on the hub and screw in one of the lug bolts to keep if from falling off while you're working. The rotors should be installed so that the cooling fins lean with of the direction of rotation. 
  • If you have anti-rattle pads put them on the back of the brake pads and trim to fit if necessary.  Otherwise, invest in some anti-squeal goop to help keep those pads from talking to you
  • Caliper with the pads installed and ready to be mounted
  • Secure the caliper to the bracket
  • Attach the new brake line to the hard line in the fender well.
  • Attach the other end of the new line to the caliper.  Be sure to use both copper washers for banjo connection.
  • Make sure the new brake line is long enough and positioned correctly so it does not bind while turning the steering wheel full lock to full lock. The line in this kit was too short--as delivered a full lock turn would have yanked the hard line right off the body.
  • Bleed the brakes
  • Check for proper caliper alignment (are the pistons equally extended?) and good pedal feel (don't want any stray air in there)
  • Connect the two wires from the brake sensor together or the brake pad warning light will stay lit on the dash.  I used a scotchlok connector, left the harness plug intact and secured the wiring harness out of harms way.
  • Put the wheels back on.
  • Take a S L O W test drive with several easy applications of the brakes to make sure everything is normal.  No odd noises, the car stops, dragging pads (from a misaligned caliper).  Once you're sure everything is good make a few firm stops.
  • Avoid full force braking for 100-200 miles to let the pads and rotors bed in.
  • Excuse the dirty wheel.  Didn't have time to clean with all the excitement.

Intro | The Kit | Install


Advertising | Contact Us | Cookie Policy | Privacy Statement | Terms of Service | Do Not Sell My Personal Information
© 2020 MH Sub I, LLC dba Internet Brands