DIY Interior LED Kit from - DeAutoKey
 08-15-2014, 01:04 PM
#1
Audiworld Junior Member
Thread Starter

Join Date: May 2013
Posts: 22
Likes: 0
Received 0 Likes
on
0 Posts
I recently received an interior LED kit from deautokey.com. Below is the details, hope it helps
(I used a small flat-head screwdriver to help me open all the covers)
1. For the front lights above the Driver and Passanger, open the sunglass holder and pull/remove the inner cover from the front side first

2. Then pull the cover from the rear side first all it should all come out.

3. Replace the bulbs, I didn't get to take a picture of the two front bulbs but they are push and twist in.


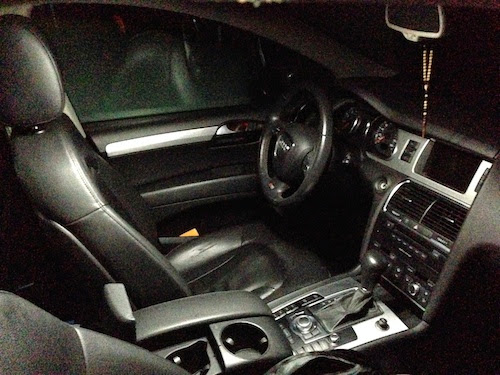
4. How it looks old bulb side by side and interior with the new bulbs

5. For the middle above the 2nd row open/pull from the long side (front & rear) till it comes out

6. Once you have it open twist remove the bulb housing from board and replace the bulb

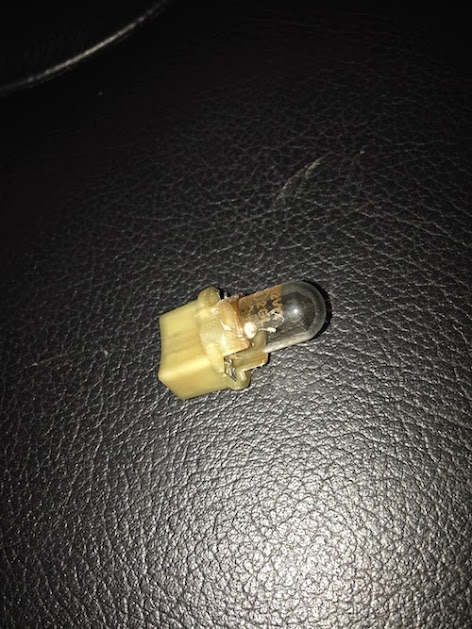

7. Side by side of the original and LED bulb

8. For the 3rd from pull down from the rear side first, where the bulbs are located. Twist remove the bulb housing and replace the bulbs


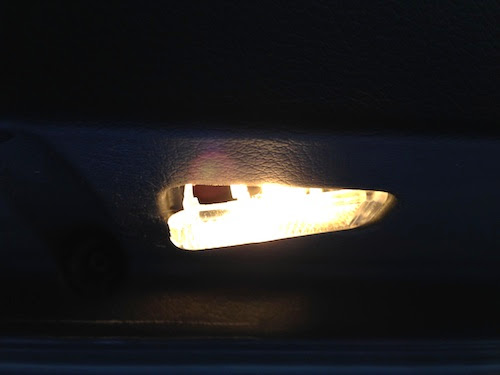
9. Not a great pic but here is the rear with the LEDs


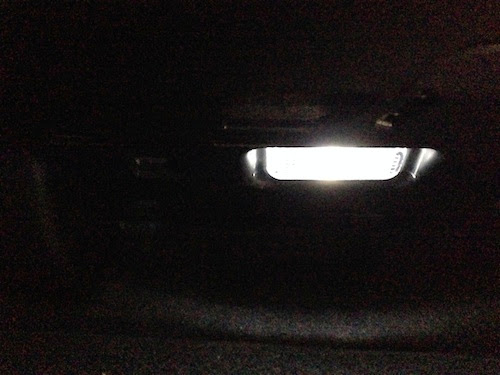
10. For all Trunk, Trunk Gate, Glove Box, Door Jam/Puddle bulb housings, there is a small slit in the middle of sides that indicate which side to pull down from. Each are different positioning.

11. When you have the bulb housing out disconnect it by lightly lefting the side clips. Be careful not to break them. One advice is to unclip the light housing quick as possble before the light has been on and the housing gets hot. Such as for or the Doors to remove both the Puddle and Door Jam housing one after the other fore they get to hot to work with.

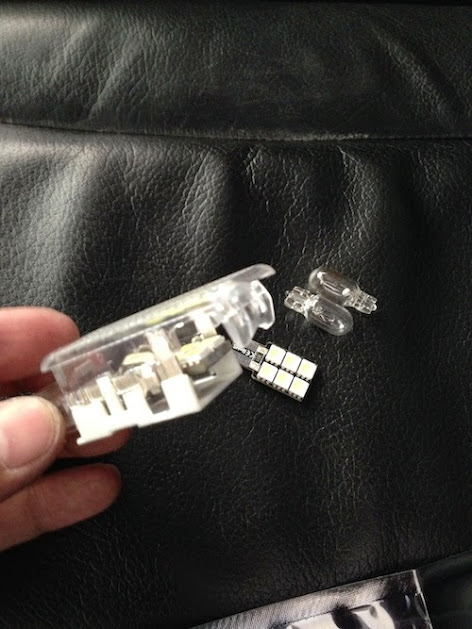
12. Make sure when you put in the LED the SMD side faces the out towards the housing lens and not the back. You should be able to push the bulb out with your small screwdriver and then push the new LED in.
Here is some picture after install


(I used a small flat-head screwdriver to help me open all the covers)
1. For the front lights above the Driver and Passanger, open the sunglass holder and pull/remove the inner cover from the front side first
2. Then pull the cover from the rear side first all it should all come out.
3. Replace the bulbs, I didn't get to take a picture of the two front bulbs but they are push and twist in.
4. How it looks old bulb side by side and interior with the new bulbs
5. For the middle above the 2nd row open/pull from the long side (front & rear) till it comes out
6. Once you have it open twist remove the bulb housing from board and replace the bulb
7. Side by side of the original and LED bulb
8. For the 3rd from pull down from the rear side first, where the bulbs are located. Twist remove the bulb housing and replace the bulbs
9. Not a great pic but here is the rear with the LEDs
10. For all Trunk, Trunk Gate, Glove Box, Door Jam/Puddle bulb housings, there is a small slit in the middle of sides that indicate which side to pull down from. Each are different positioning.
11. When you have the bulb housing out disconnect it by lightly lefting the side clips. Be careful not to break them. One advice is to unclip the light housing quick as possble before the light has been on and the housing gets hot. Such as for or the Doors to remove both the Puddle and Door Jam housing one after the other fore they get to hot to work with.
12. Make sure when you put in the LED the SMD side faces the out towards the housing lens and not the back. You should be able to push the bulb out with your small screwdriver and then push the new LED in.
Here is some picture after install
Last edited by mikeboun; 08-15-2014 at 01:06 PM.

 08-24-2014, 02:57 PM
#5

Thanks for this post... helped in taking the pieces off easily and minimize the chances of me breaking something! Love the lights and the install took less than 30 minutes. Huge upgrade!
08-29-2014, 04:45 AM
#6
AudiWorld Member
08-29-2014, 06:53 AM
#7
Trending Topics
08-29-2014, 11:42 AM
#8
AudiWorld Member

Join Date: Jun 2013
Location: Suburbs of Toronto, Canada
Posts: 248
Likes: 0
Received 3 Likes
on
3 Posts
I also think they're sealed for life, but it's nagging at me that they included the bulbs in their kit. Will have to find another use for the "extra bulbs".
