Audi A3: How to Cut Down on Brake Dust
Replacing your soft Audi A3 pads with ceramic pads will reduce or even eliminate brake dust, and give you shorter stopping distances. Read on to learn how to do it.
This article applies to the Audi A3 (2003-2016).
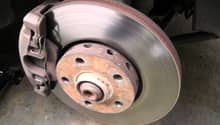
The soft brake pads that come with the Audi A3 and the ones you buy as stock direct replacement produce lots of dust. You will notice the dust buildup weekly, which could get rather annoying. Replacing your brake pads with ceramic pads can cost you a little extra, but it will tremendously reduce, or even eliminate, brake dust. Ceramic pads usually stop quicker, too, though they are a bit harder on your rotors. If you are tired of scrubbing your rims clean, read on for the scoop on ceramic pads.

Materials Needed
- Jack and jack stands
- Lug wrench
- Pliers
- Socket
- C-clamp
- Caliper wind back tool
- Ceramic brake pads
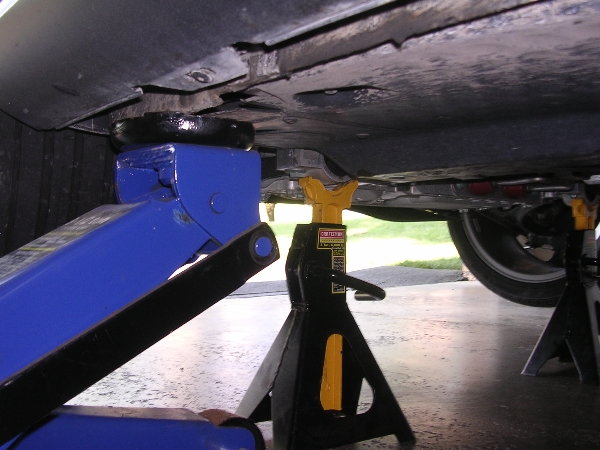
Step 1 – Raise the car
Loosen the lug nuts on the wheel, then raise the car using your jack. Secure the car with jack stands, then take the lugs completely off and remove the wheel.
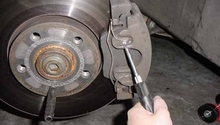
Step 2 – Remove brake caliper
The brake caliper is held in place by two bolts. Locate the two bolts on the back of the brake caliper, then remove them. Remove the clip on the outside with your pliers; this will release the brake pads from the caliper. Pull the brake caliper off of the rotor, then place it somewhere safe. Be sure you don't let it hang from its brake line.
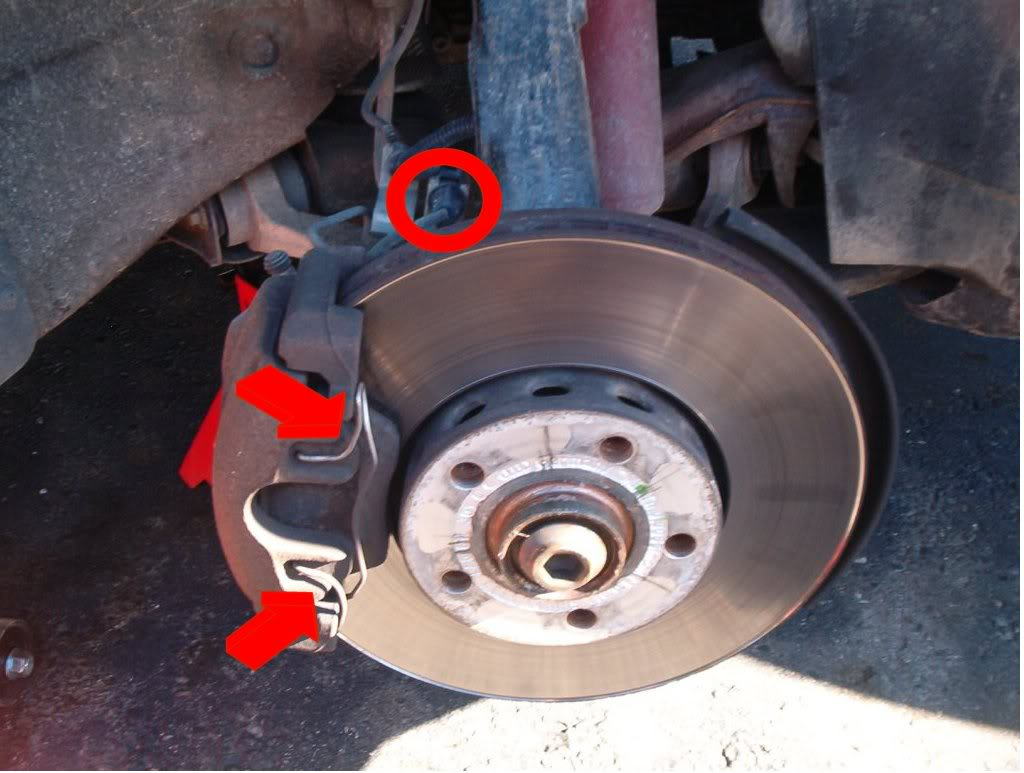
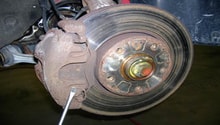
Figure 2. Typical front brake caliper and wear sensor circled. Arrows point to retaining spring. 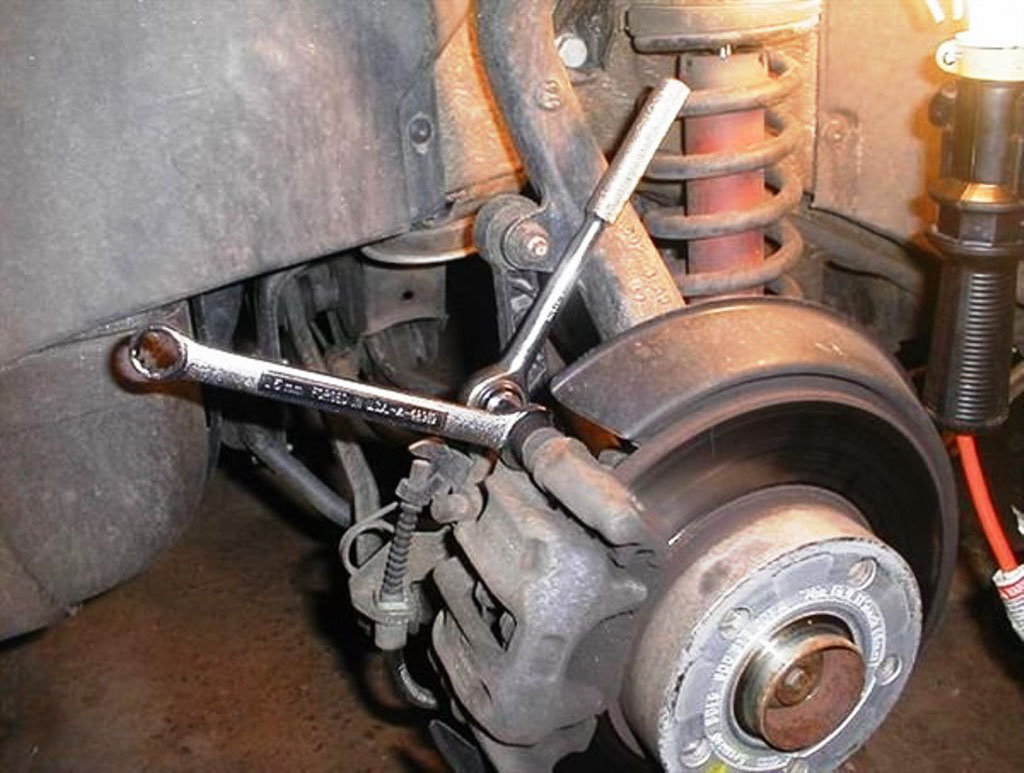
Figure 3. Remove the top and bottom bolts on the back of the caliper.
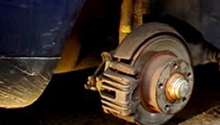
Step 3 – Compress caliper's piston
The new brake pads typically will be much thicker, so use your C-clamp to compress the caliper's piston. Put the C-clamp on the piston, and compress it until you have room to fit the caliper back over the disc. The rear calipers require a special tool to wind back the parking brake piston, but you can usually borrow one from your local auto parts store.
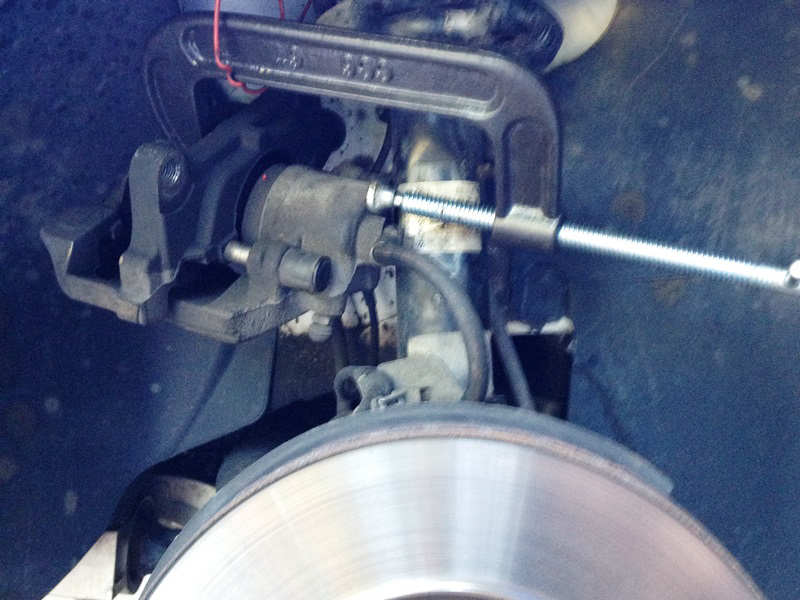
Figure 4. Compress the front piston with a C-clamp. 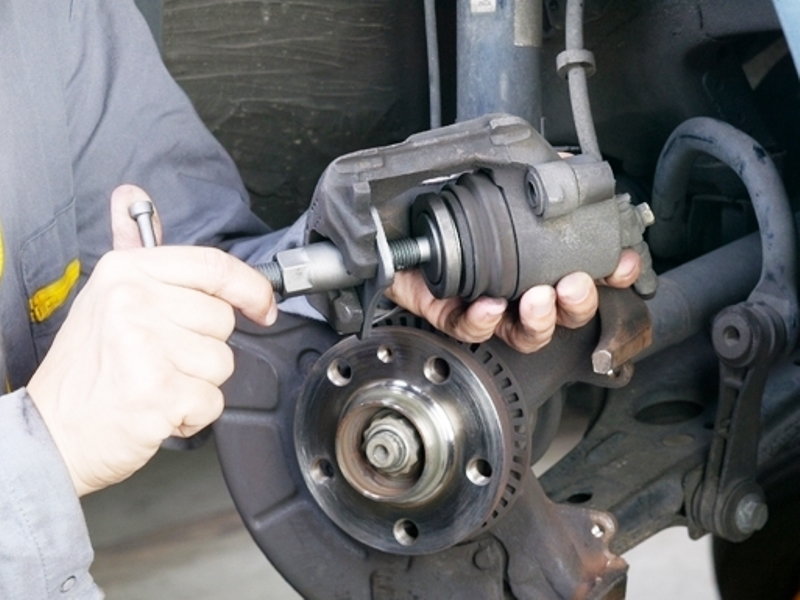
Figure 5. Rear caliper requires a special wind back tool.
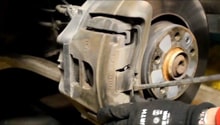
Step 4 – Replace brake pads
Remove the brake pads and install the new ceramic ones in place. The pads will go onto the bracket, and the brake caliper will go over the bracket. Tighten the two rear bolts onto the caliper. Put the spring back onto the caliper using your pliers.
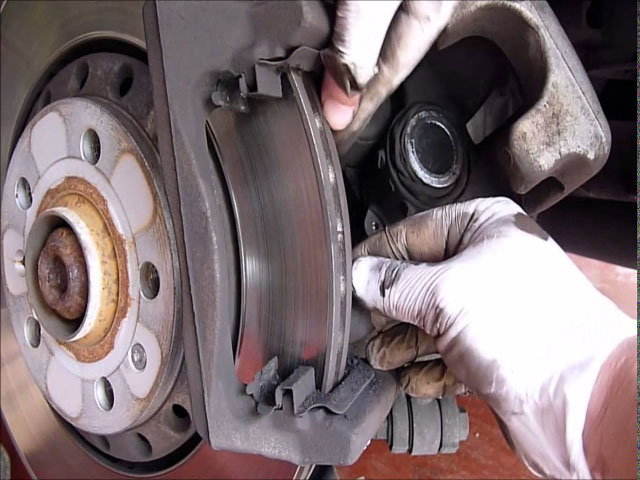
Figure 6. Install the ceramic pads onto the bracket. 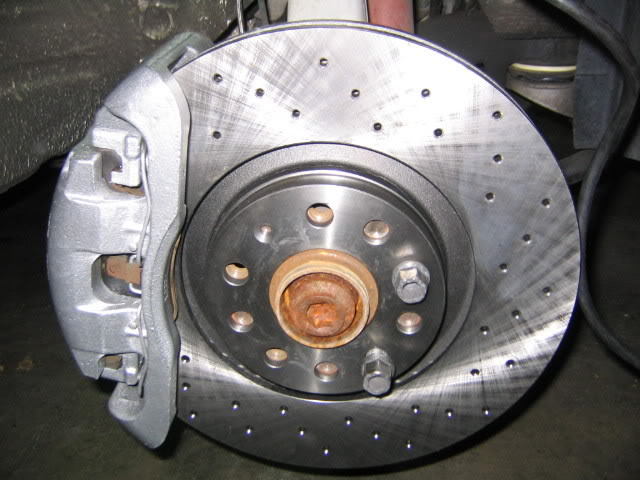
Figure 7. Install the spring.
Related Discussions, Site and Video
- Brake Dust - AudiWorld.com
- Cleaning Rims From Brake Dust - AudiWorld.com
- Front Brake Pad Replacement - EuropaParts.com
- A3 Front Pad Removal - YouTube.com