Audi Q5: How to Replace Brake Pads, Rotors, and Calipers
Replacing old, worn out brake pads, rotors, and calipers is a great investment for the longevity of your Audi Q5. Read on to learn how to complete this DIY job.
This article applies to the Audi Q5 (2008-2016).
The brake system is considered to be one of the hardest working systems in your Audi Q5. After all, your brake parts sacrifice themselves to save you. The brake pads should be replaced after 50,000 or so miles, depending on how hard you use your brakes. The brake rotors also need to be replaced, not as often as the pads, but they do wear out after a while. The brake calipers are not meant to be replaced at maintenance intervals; they should only be replaced if they are faulty. The process of replacing your brake parts isn't too difficult; however, it does require some time and effort. Read on to learn how to replace your brake pads, rotors, and, if necessary, the calipers on your Audi Q5.

Materials Needed
- Jack and jack stands
- Tire iron
- Socket set
- Flathead screwdriver
- Wrench
- Rubber mallet
- C-clamp
- Hose
- Bottle
- Brake pads
- Brake rotors
- Brake calipers
- Assistant/helper
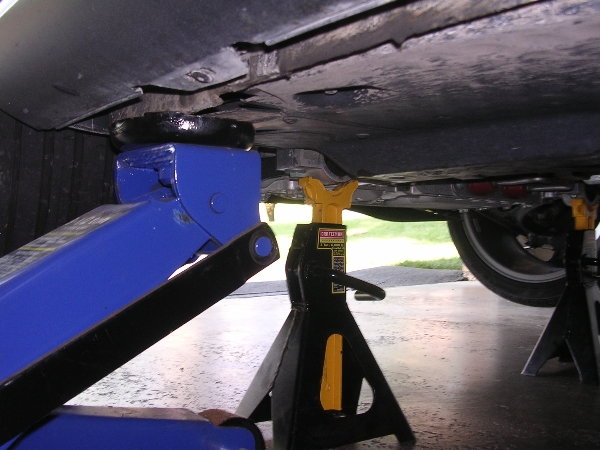
Step 1 – Raise and secure car
Loosen the lug nuts on the wheel you will be replacing the brake parts on, then raise the car. Secure the car with jack stands, then remove the wheel.
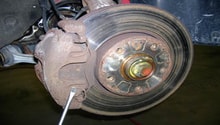
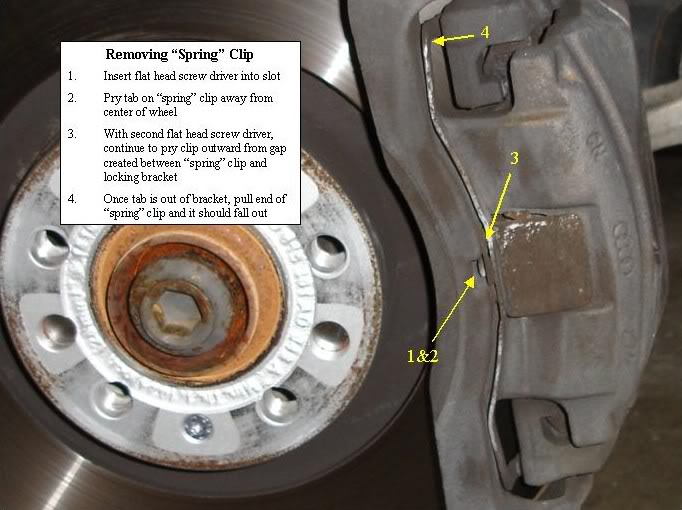
Step 2 – Replace brake pads
- With the brake caliper still in place, use your flathead screwdriver to remove the clip in the center of the caliper; pry it up then out to remove.
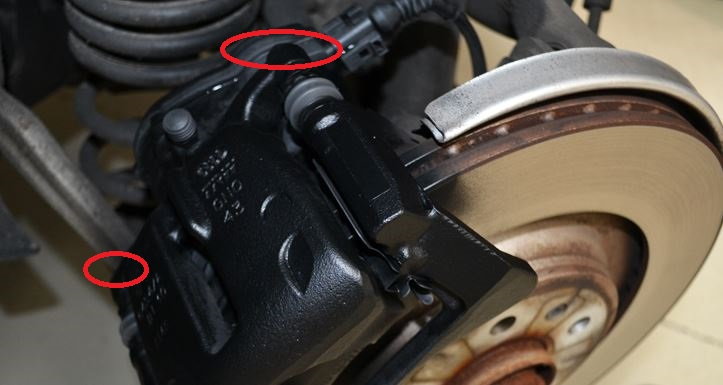
- Use your 13mm socket to remove the two bolts on the back of the caliper, on the top and the bottom.
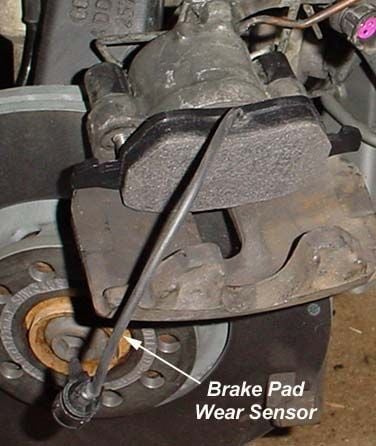
- Disconnect the clip connecting the brake pad sensor to the electrical harness.
- Pull the brake caliper up to remove, then set it somewhere. Don't let it hang from its brake line.
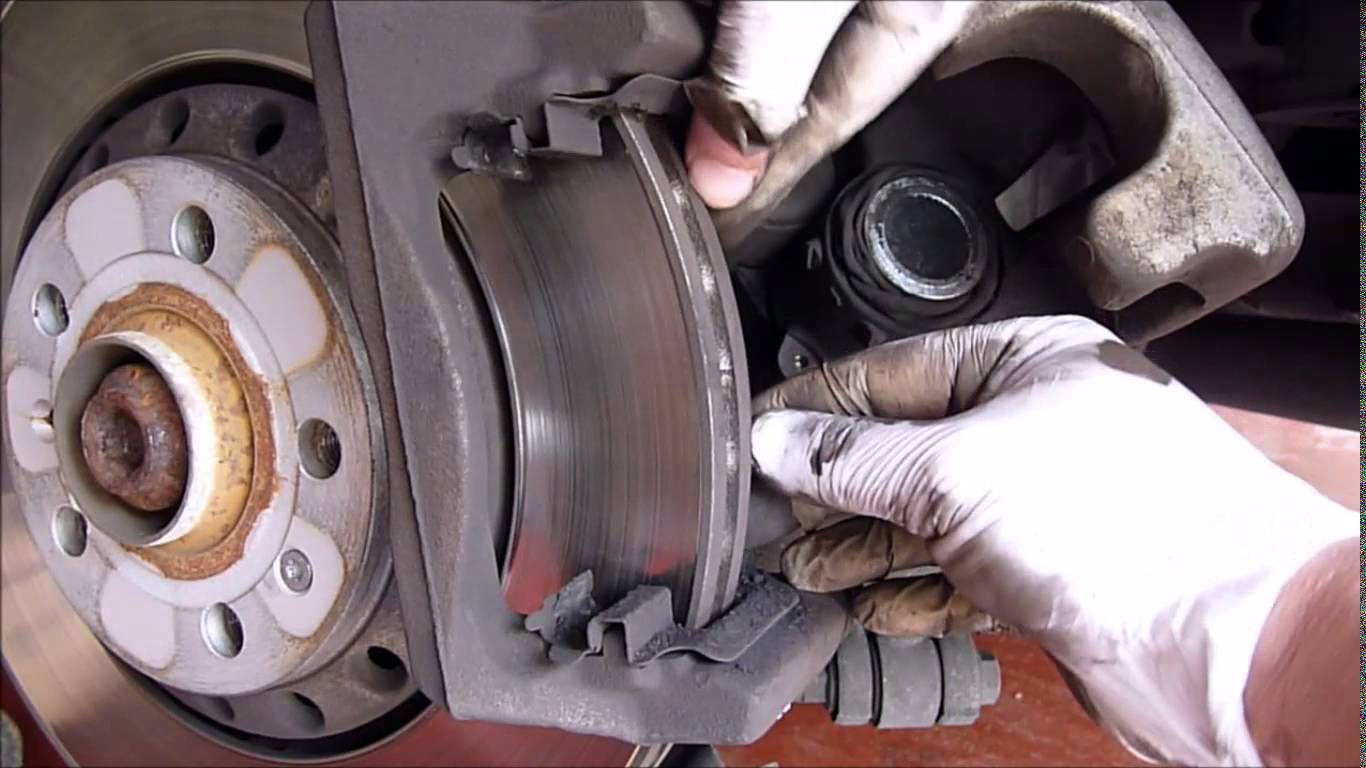
- Remove the brake pads from the calipers, then install the new ones in place. You may need to use a c-clamp to compress the caliper's piston in to make room for the new, thick pads.
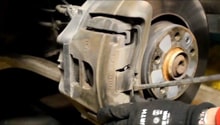
Step 3 – Replace rotor
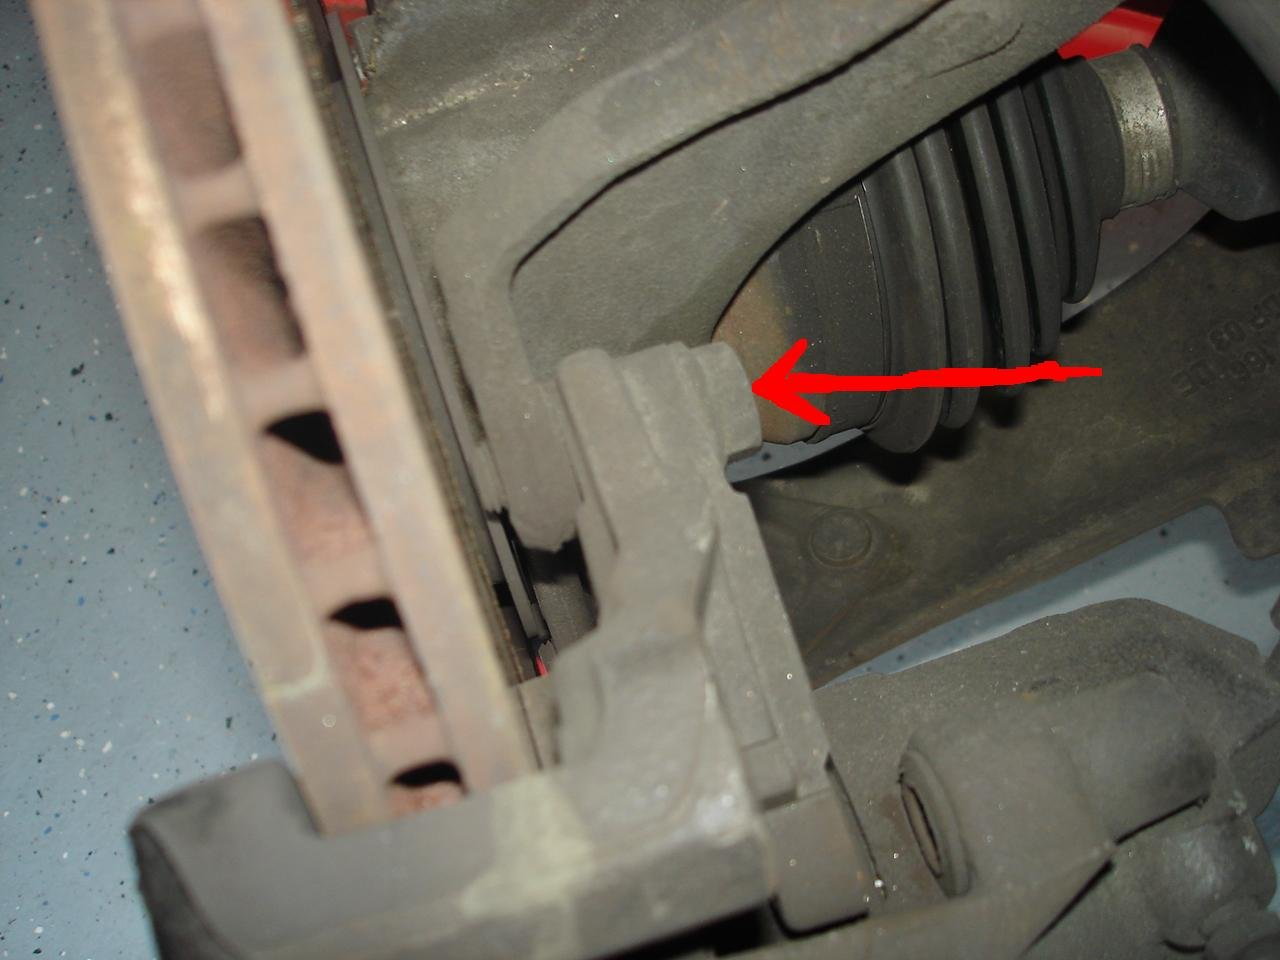
- Remove the two bolts holding the bracket onto the rotor, then remove the bracket.
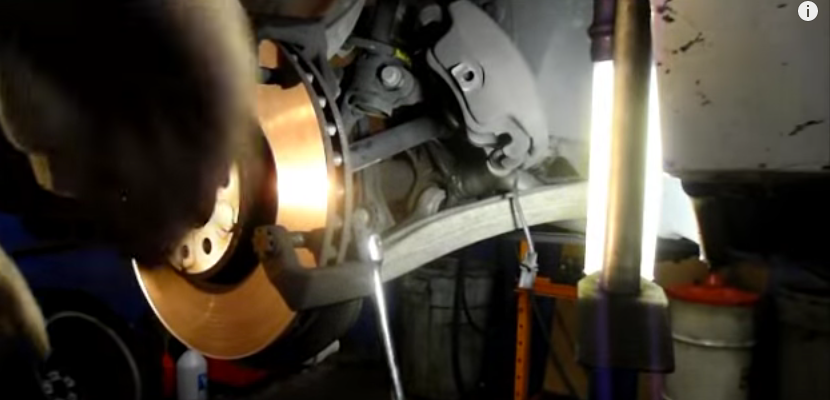
- Unscrew the screw securing the rotor, and the rotor should come straight out. You will likely need to tap it with a rubber mallet to get it loose.
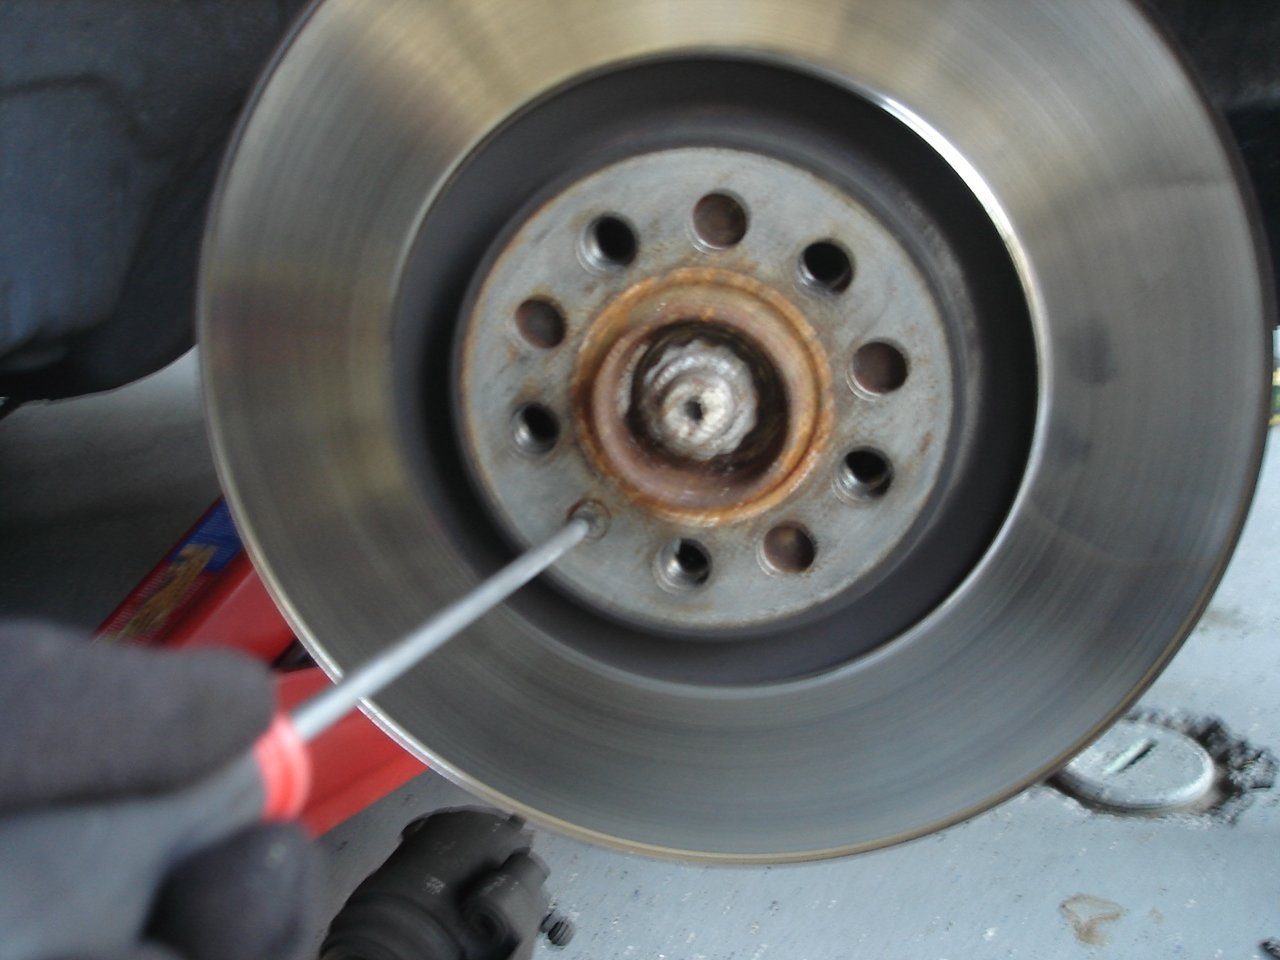
Figure 7. Rotor screw. 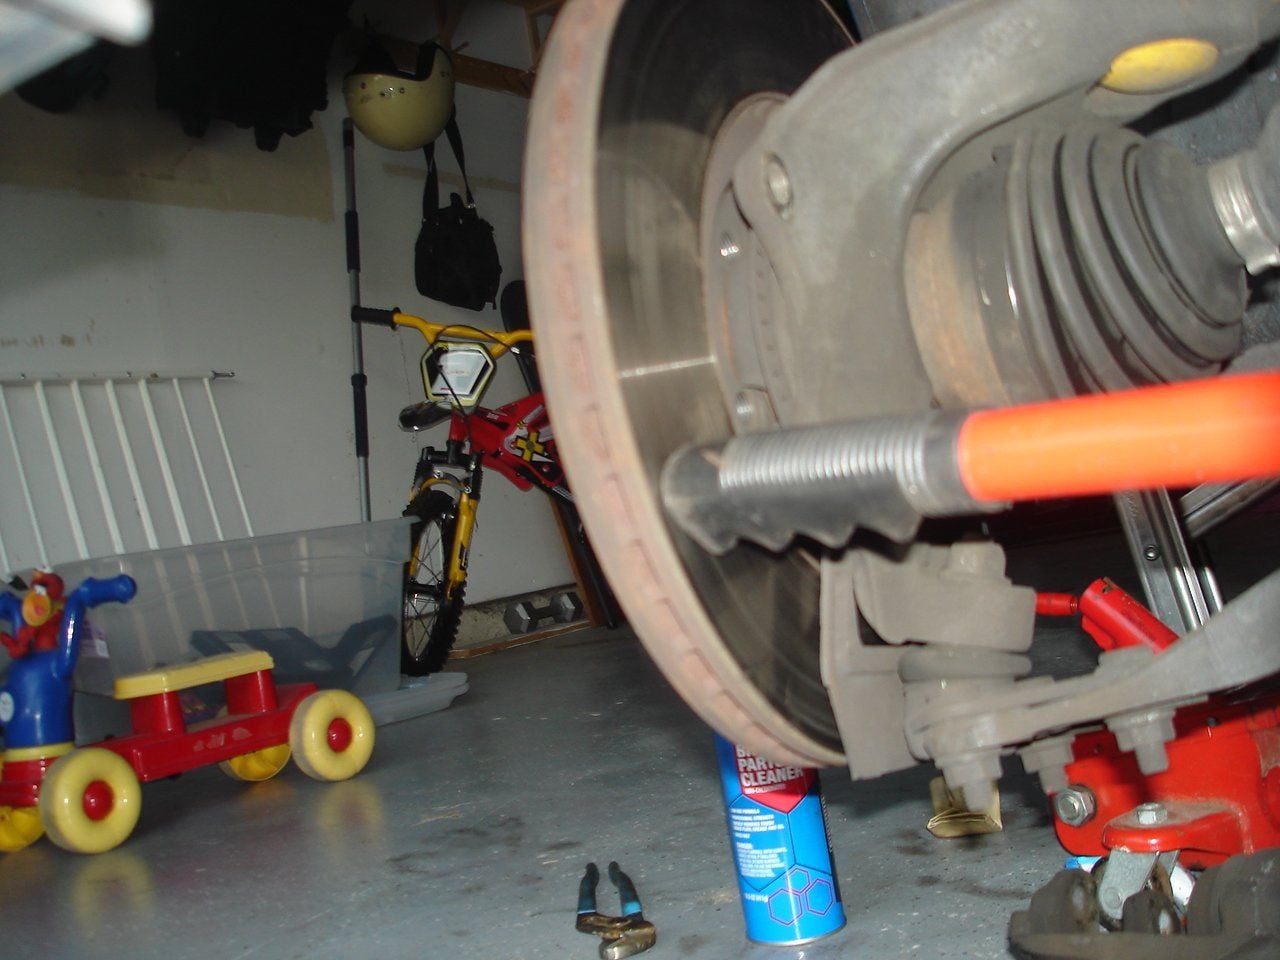
Figure 8. Tapping the rotor.
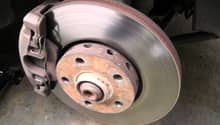
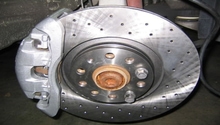
- Once it wiggles loose, pull it straight out to remove it, then install the new one in place.
Step 4 – Replace caliper
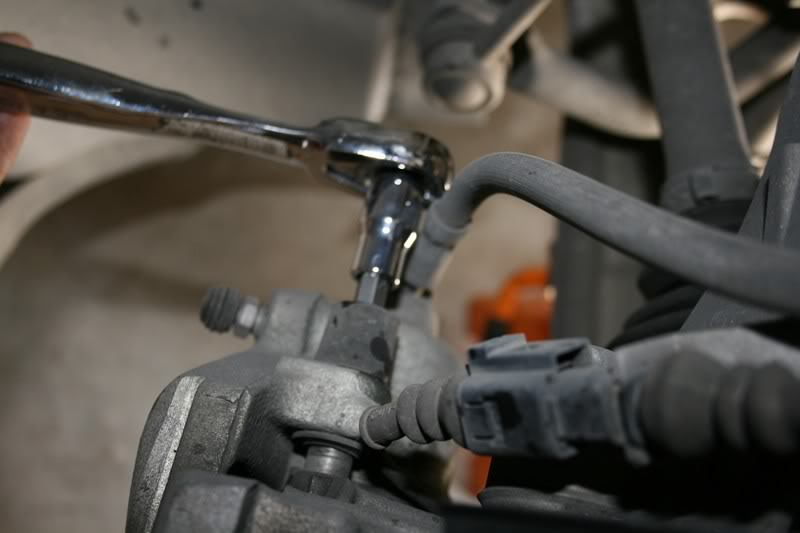
- With the caliper off the rotor, you will need to remove the line's nut, then install the brake line onto the new caliper.
- Tighten the nut, wipe any fluid off, then install the bracket and caliper back in place.
- Tighten the two bolts on the back of the bracket first, then tighten the two bolts on the back of the caliper.
Step 5 – Bleed the brakes
You don't have to bleed the brakes if you replace the pads and the rotors, but as soon as you replace a caliper, you introduce air into the system. Some people only bleed the caliper that was replaced, but bleeding all of them ensures there is no air in the system.
- Locate the bleeder screw on each brake caliper, starting with the passenger's rear caliper, then moving to the passenger's caliper, the driver's rear caliper, and ending with the driver's caliper.
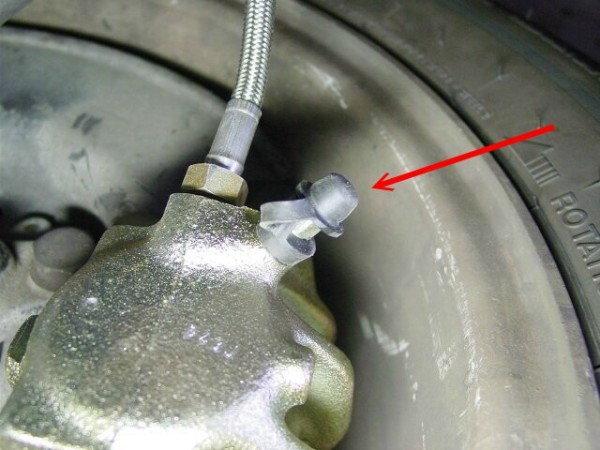
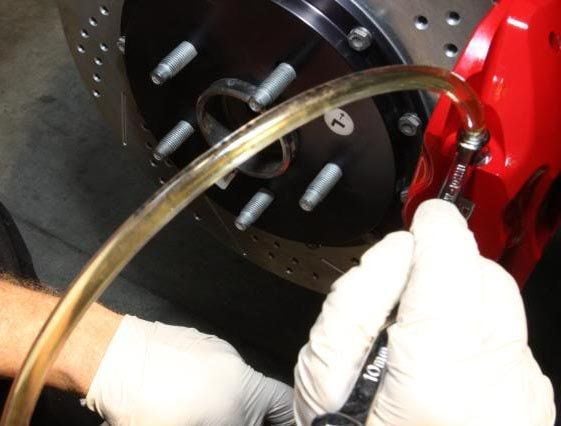
- Place the hose onto the caliper's bleeder screws, then put the other end of the hose into a bottle.

Figure 12. Secure the hose onto the bleeder screw. 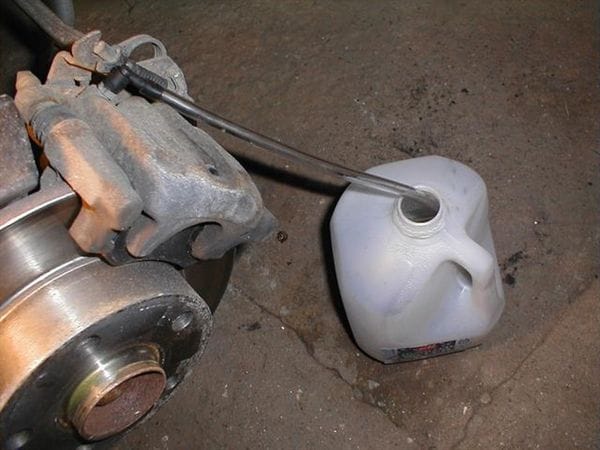
Figure 13. Hose secured in bottle.
- Ask a friend to pump the brake pedal a few times, then keep it pressed down.
- Loosen the bleeder screw with a wrench, and watch for any air bubbles in the fluid coming out.
- Once you stop seeing bubbles, tighten the screw first, then ask your friend to release the brake pedal.
- Make sure you top off the brake fluid reservoir between each caliper.
Related Discussions
- Brake job - Audiworld.com
- Pads and rotor replacement - Audiworld.com
- Brake service - Audiworld.com