When you click on links to various merchants on this site and make a purchase, this can result in this site earning a commission. Affiliate programs and affiliations include, but are not limited to, the eBay Partner Network.
As requested, here's a guide I put together to install the JB4 using the method that routes the OBD cable around the doorway instead of through the firewall. The latter method is the better way to install your JB4, but it is a great deal more difficult than the method that I used. I went this route, partly because I'm not very knowledgeable about cars but also because this method allows for quick removal in no more than 5 minutes. Because the firewall method is intimidating to a lot of people and is preventing many from trying out the JB4, I thought I'd present how I installed it. With this method, you don't need to be very handy around cars, so call this the novice's guide to JB4 installs. I'll leave the expert method in the hands of those far more experienced than I am, such as HyperS4. So far I've had it installed for a couple of days and it seems to work quite well. My car's gone through it's settling period, which took about 20 miles before the engine seemed to no longer hesitate as the ECU finally adjusted. Power seems quite good, and the engine seems always ready to deliver. So far, I'm pleased with the purchase, as I do consider this an upgrade over the Neuspeed Power Module, though it gave a decent performance as well.
Now to the install...
The first thing I did was to install the Bluetooth Connection Kit. Instead of describing this, I'll point to a Youtube video that I used to help me put it together. Go to
for a really good guide on putting the unit together. I did make a mistake initially, funneling the blue wire through the same end as the Bluetooth module's gray cable, but that kept the case from closing properly. The right way to do it is to go to the other end where a lot of cables are going into the unit and to squeeze the rubber ring to give room to slip the blue Bluetooth wire into the unit. Then set up the Posi-Tap, close up the unit and you're ready for the main install.
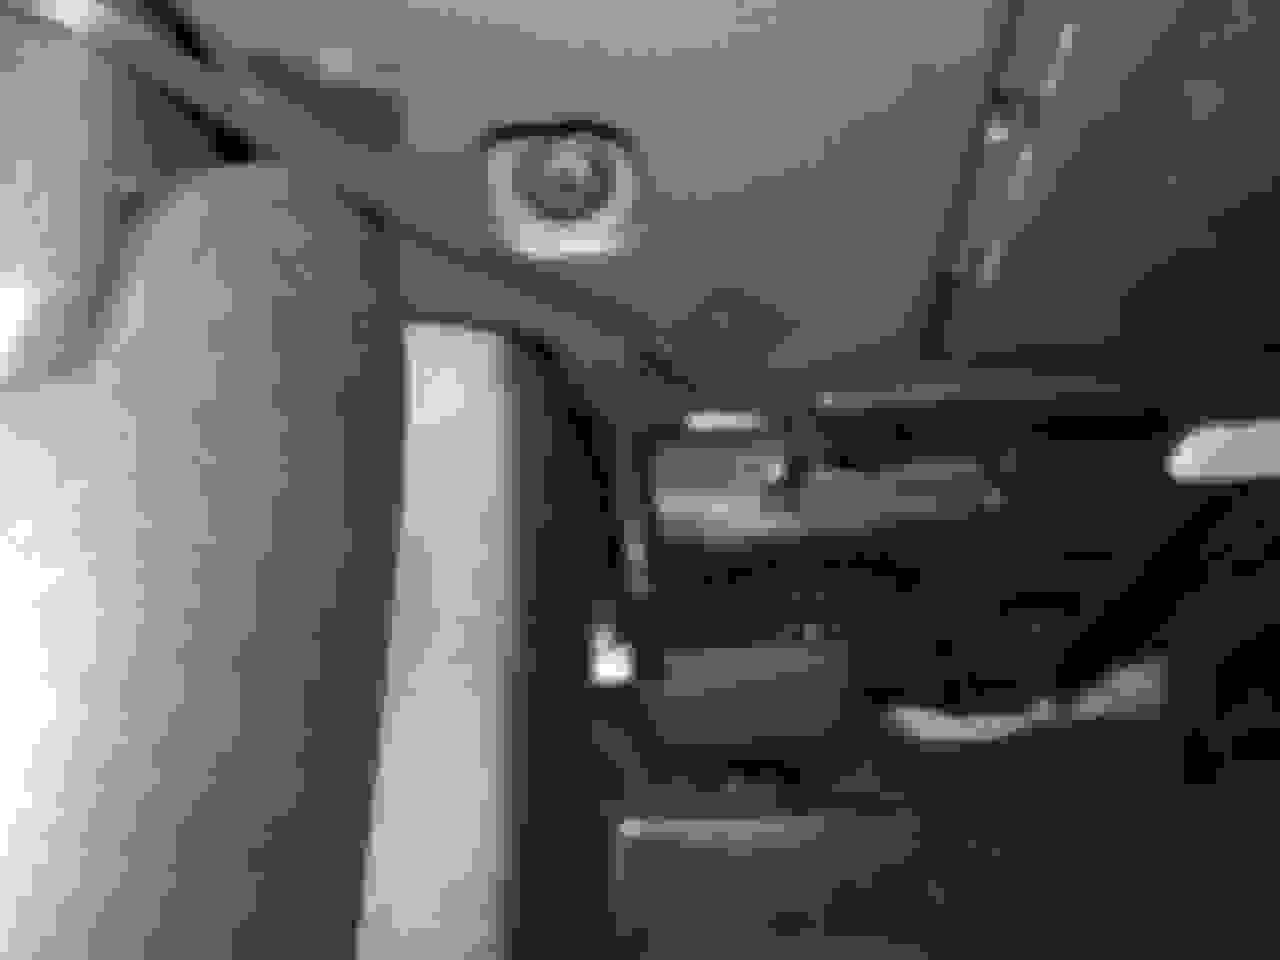
The first part of the install was to plug in the OBD cable into the OBD socket under the dash close to where the driver's left knee is. I used a combination of electrical tape and waterproof Gorilla tape and a few cable ties to secure everything. Here's a picture of the OBD plug after I've inserted it into the port. I used some black electrical tape to secure it under the dash. Here is the cable plugged into the port. I ran the cable right above the hood release lever using electrical tape. I secured the cable to the rubber hose with a cable tie and ran the cable upwards. I double wrapped the OBD cable around the horizontal door strut and secured it with a couple of cable ties to keep it from sliding around. If the cable goes too far to the left, closing the driver door has the potential to damage the cable.The reason I started with the OBD cable was because I needed to get the cable through the door seal and into the engine compartment. I unscrewed that seal using a 10mm torque wrench, allowing me to slip the cable underneath the door seal. I then put the door seal back in place. Note that I went from the interior to the engine compartment because that end of the cable is much smaller. It's not possible to get the OBD plug through that door seal, but the other end is quite easy to get through it.I then ran the OBD cable along side the weather seals at the top part of the engine compartment. The official JB4 install document recommends that you store the main unit in that compartment near the top right of this picture, but I chose not to because I would have had to run the fat grouping of wires either over or under the weather seals. This way, only a thin wire can go around the seal. I then connected the cable to the JB4 unit. I used weatherproof Gorilla tape to hold the wire in place.
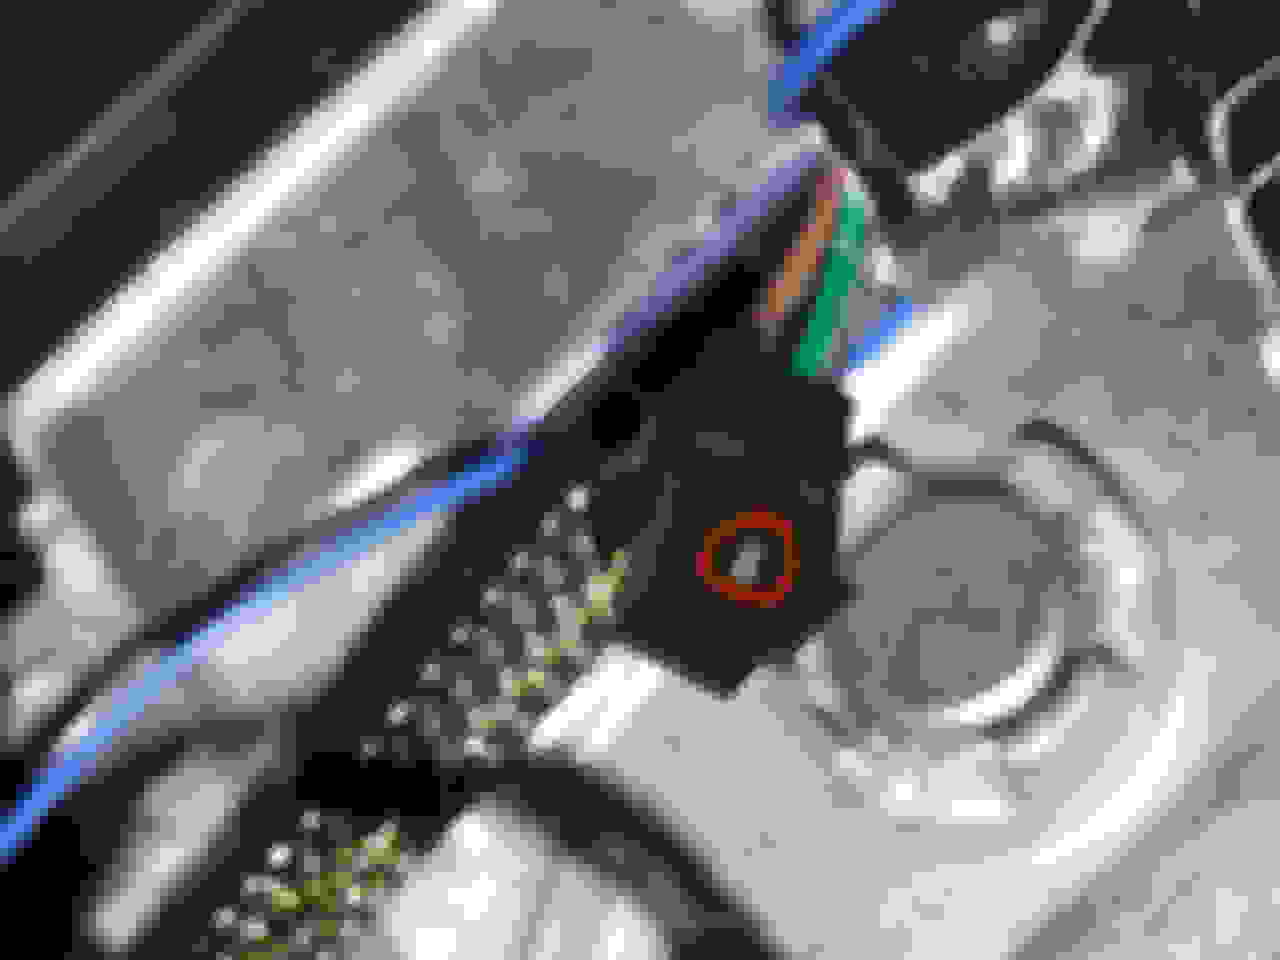
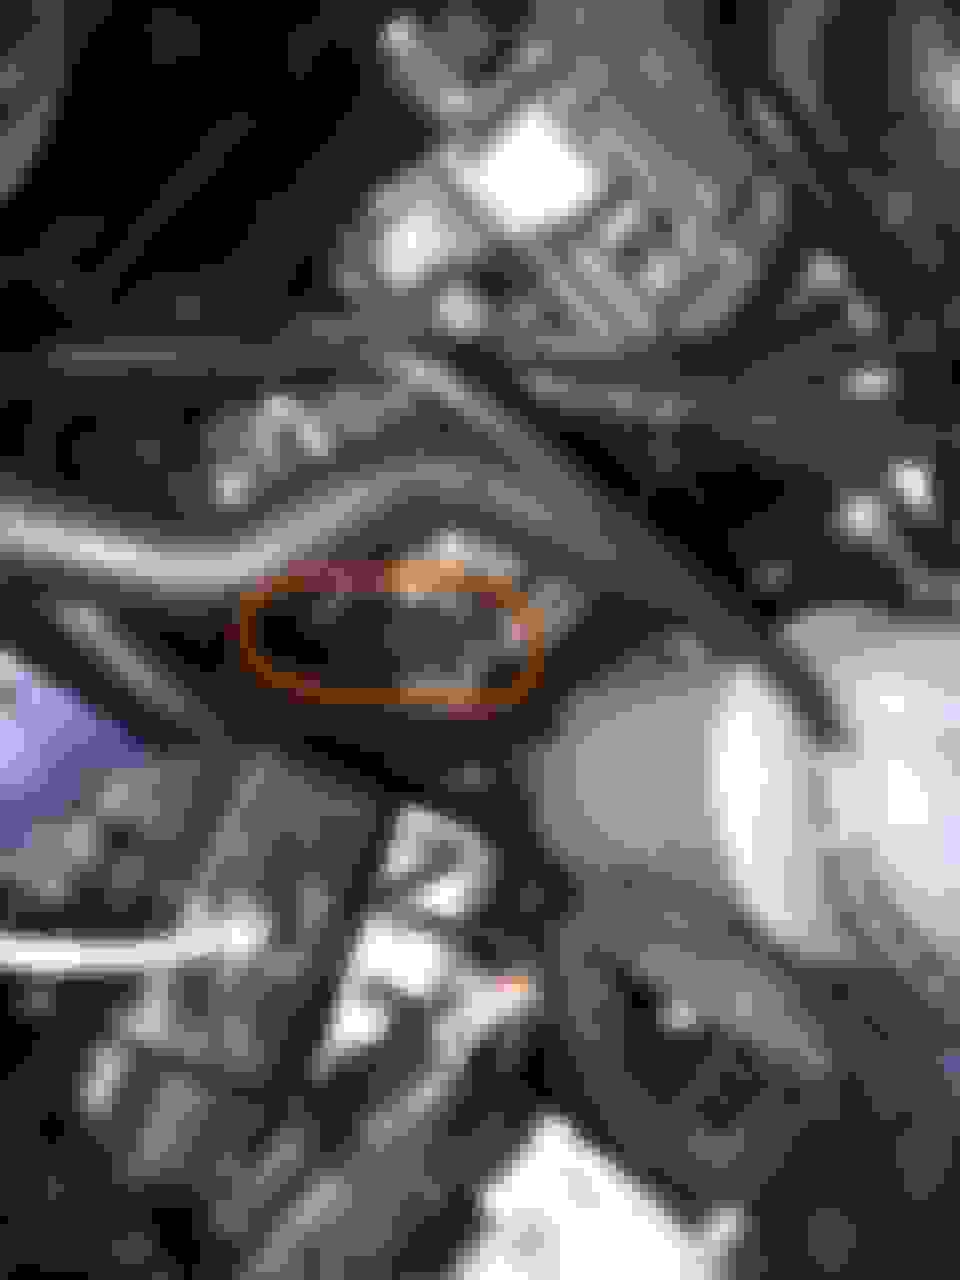
Here's where I run the cable along the driver's side of the engine compartment. The JB4 is on the bottom left of the picture circled in red. This is the OBD connector on the JB4. I circled the notch in red. The lever on the OBD wire goes over the notch to lock the cables together. This is what they look like joined.
To be continued...
Last edited by NorthwestB9; 10-09-2017 at 01:02 AM.
Now for attaching the JB4 unit to the engine itself. There are four connections to be made as shown in the JB4 install document.
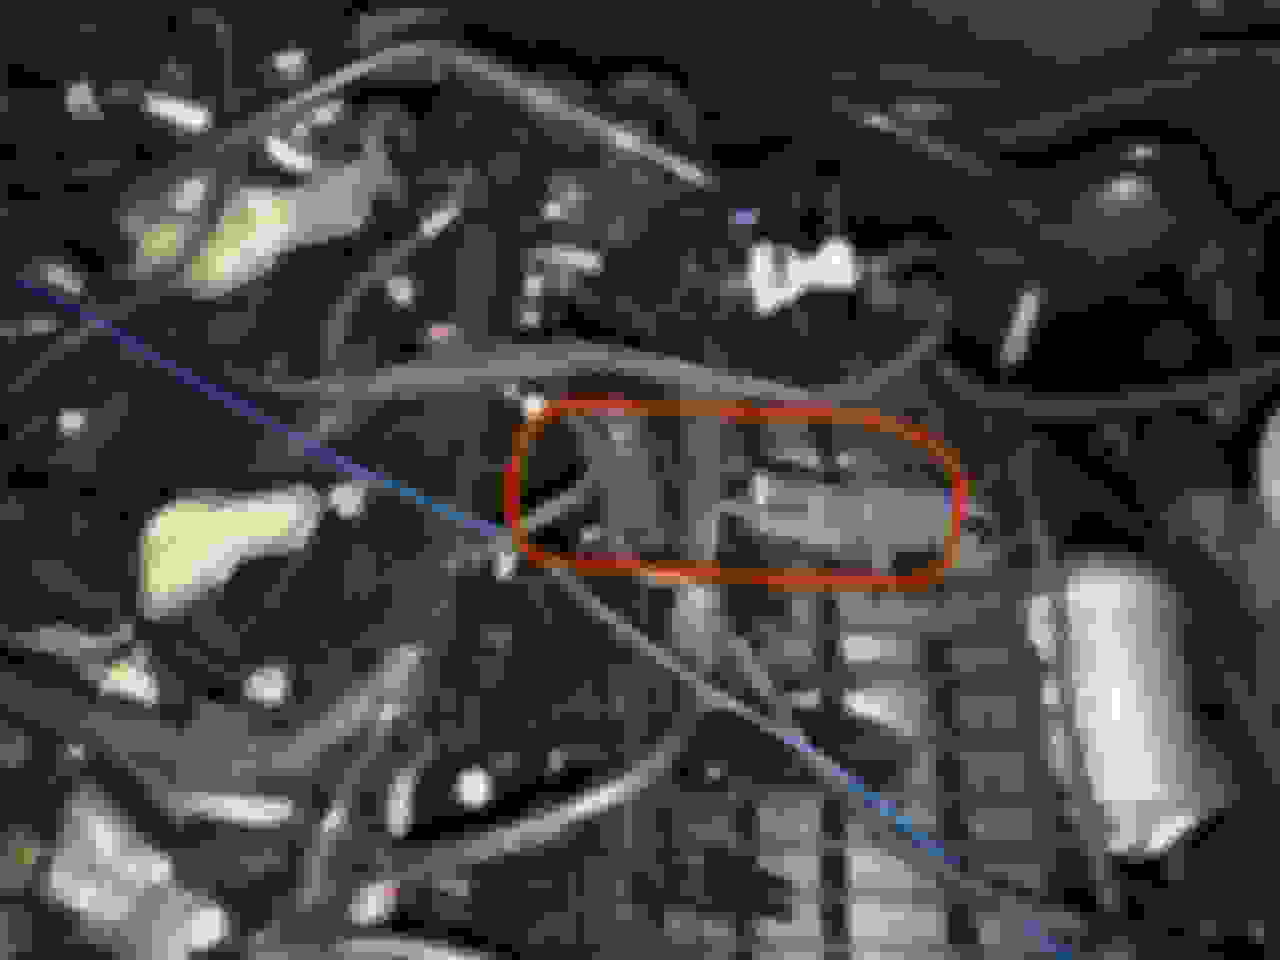
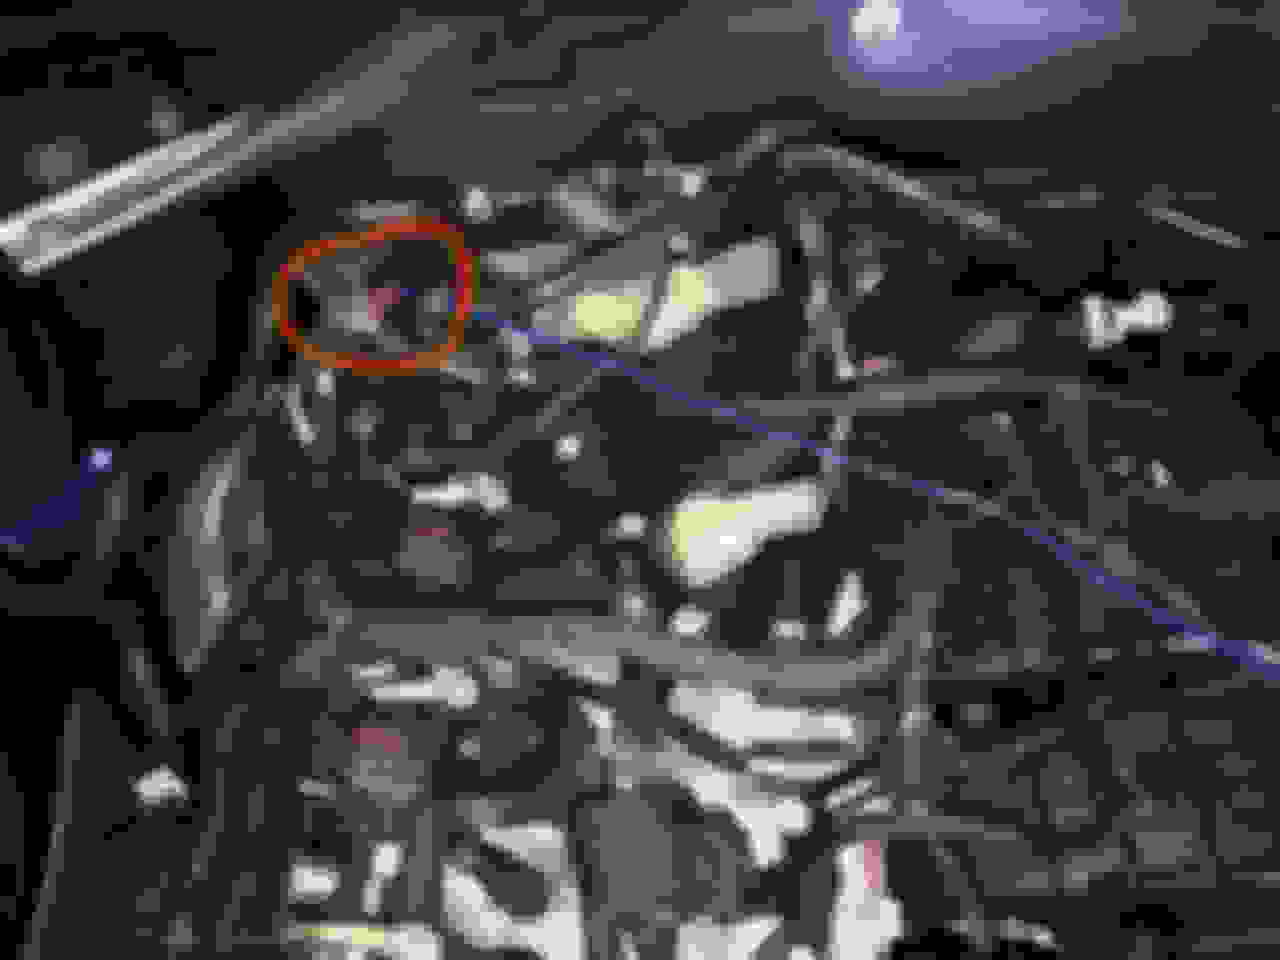
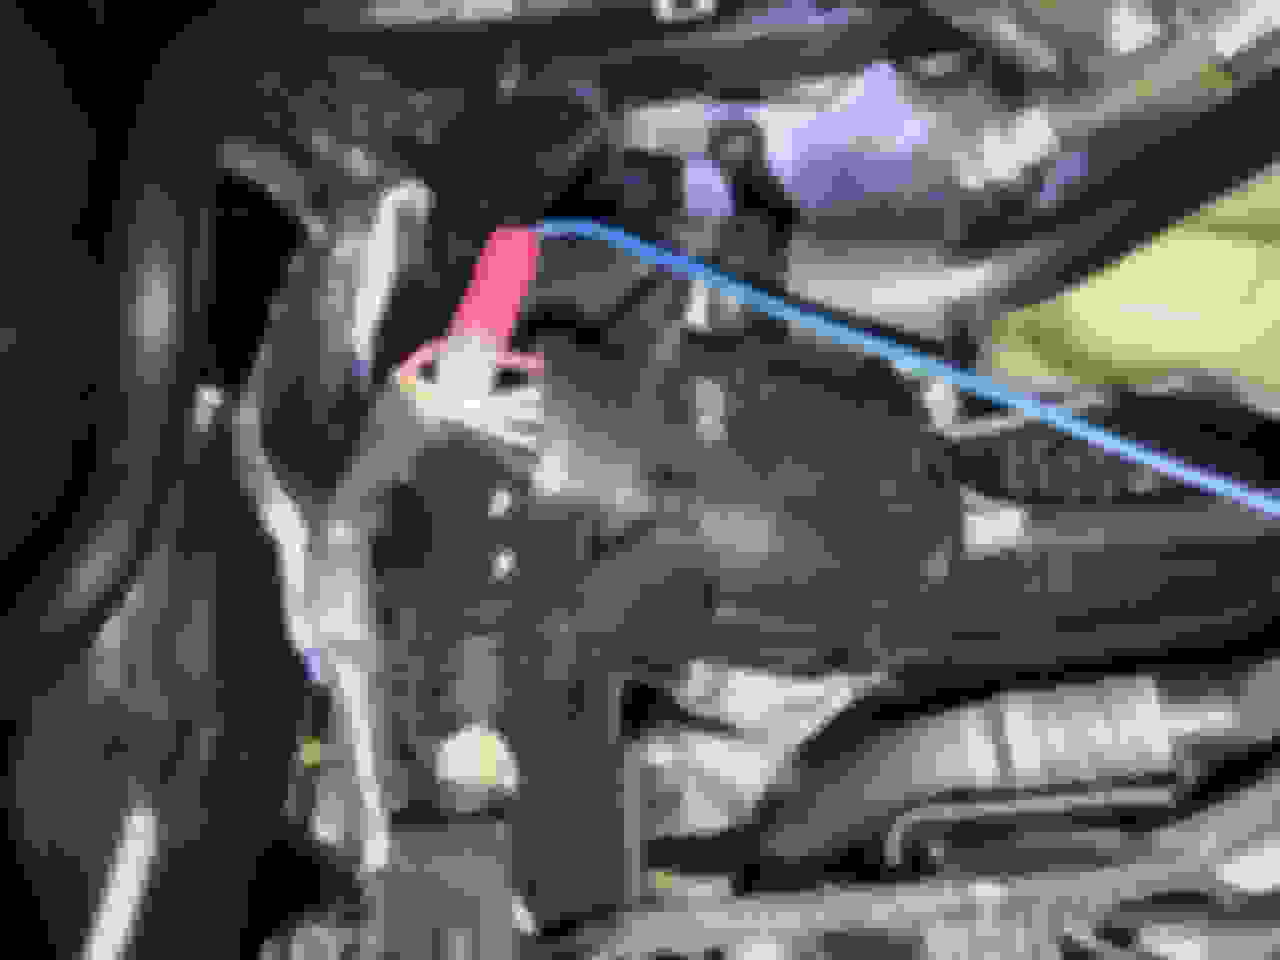
The first plug to connect to the engine is the one the instructions call Plug B. It's the one that goes to the boost sensor on the top right of the engine, circled here in red. The next one is Plug C, which is to the back part of the engine on the right. The instructions don't make clear which of the two plugs is the one to connect. I circled the larger, bottom one here in red. Plug D is to the right of the engine down lower in front of the plastic tank. There's plenty of room to get to that plug, fortunately. Finally, the AFR wire attaches to the red wire via a Posi-Tap. I circled it in red here. Here's a close-up of the AFR wire. Make sure the Posi-Tap isn't standing straight up because it'll get in the way of putting the engine cover back on. I slipped the end of the Posi-Tap over the wire next to it, using that wire to hold the Posi-Tap in a horizontal position.
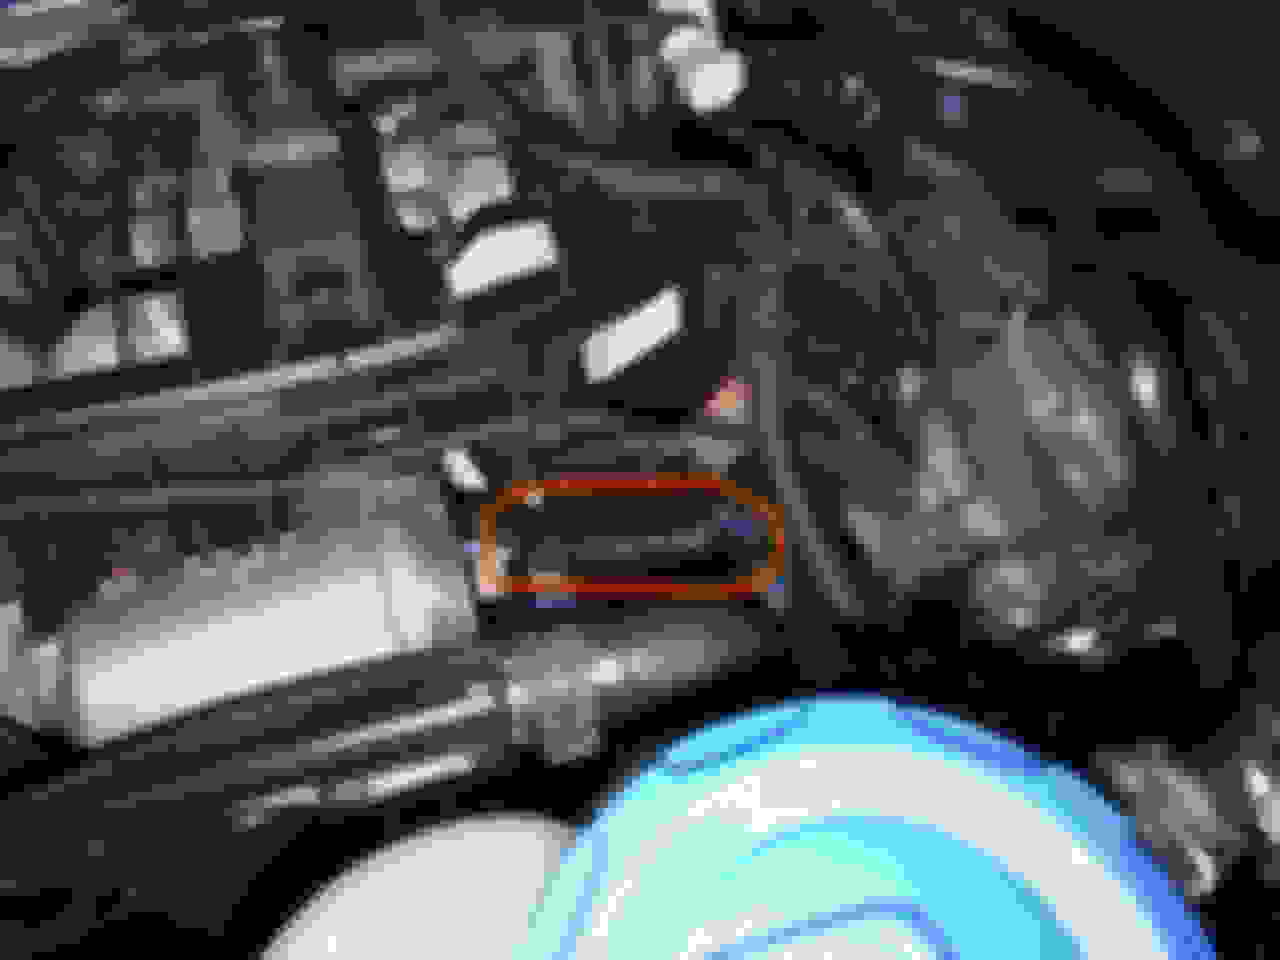
The last step is to place the JB4 main unit in a spot where it's secure.
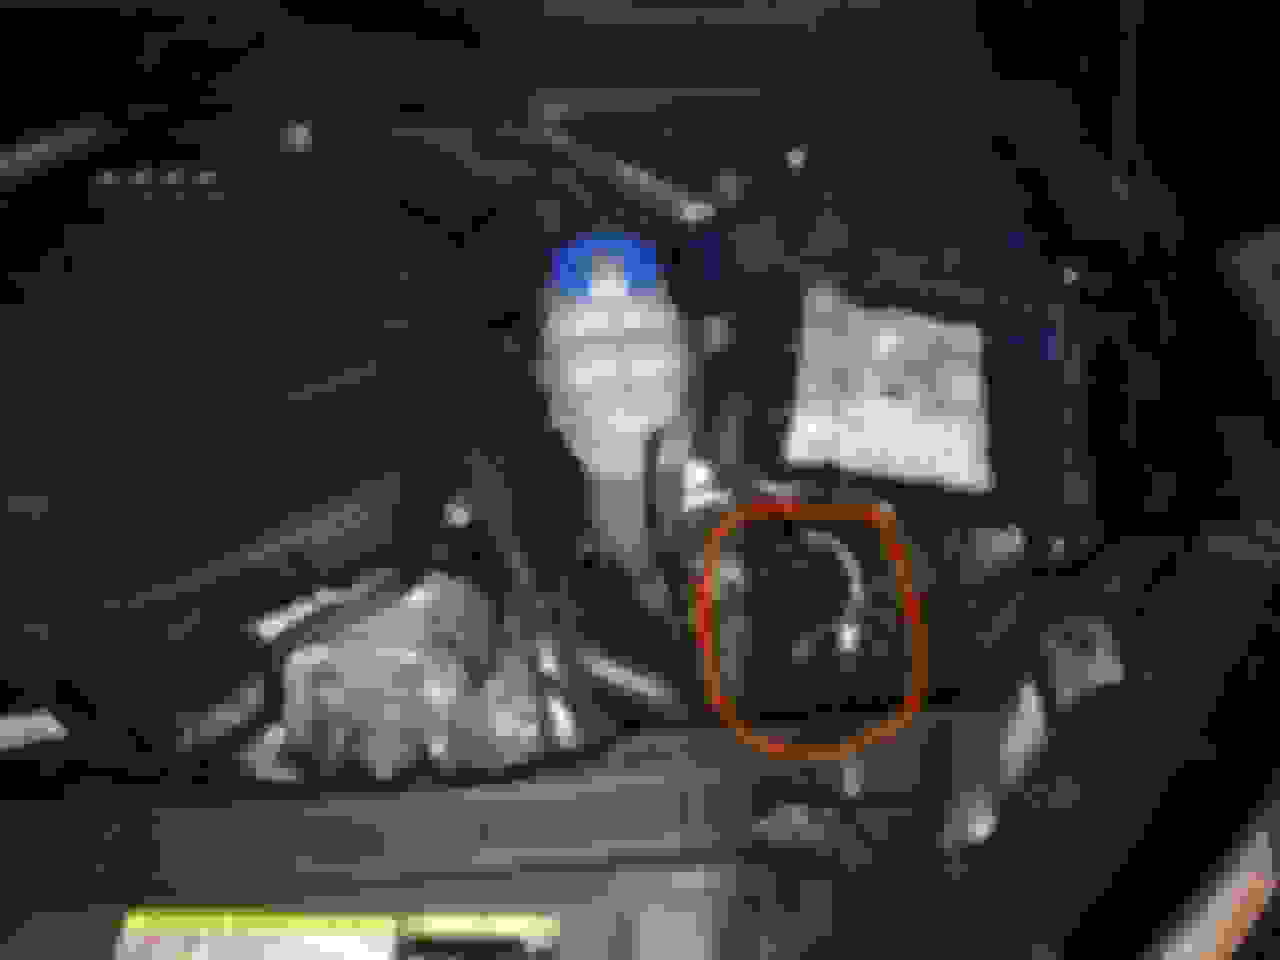
Before putting the unit in place, I weather sealed it as best I could with waterproof Gorilla tape. Since there are numerous cracks and openings water could get through, I figured it would be a good idea to seal it up to prevent the circuit board from shorting.I circled the place where I put the unit in red. It's held in place by a piece of industrial velcro. I bought a whole pack from Amazon for $5, but used only 1/3 of a single 2x4 piece.
The install is now done! The whole initial install took me about 1/2 hour, give or take. I initially used blue electrical tape, but I got delivery of the Gorilla tape today and replaced most of the blue tape. For those who think this install is still intimidating, it was pretty easy for this complete car novice. The hardest part was putting in the Bluetooth connection kit. I found another Youtube video to help me figure out how to use a Posi-Tap. The rest was just plugging in connectors and taping things down.
Last edited by NorthwestB9; 10-08-2017 at 08:53 PM.
Just to be thorough, I took a few more pictures and showed the rest of the OBD cable install. I wasn't exactly sure whether you meant the orientation of the pins (since the install guide wasn't very helpful there) or where along the car I ran the cable, so I included both. I edited the first post on this thread to show the additional pictures.
Hmm, I was able to slot it in from the sides. The two larger notches on the sides is confusing. I'm not sure what it's used for.
Northwest, do you notice a difference between Map 1 and Map 2 (5.4 psi over stock)? Do you need higher octane gas for it?
George is the best person to answer the questions about using Map 1 versus Map 2. I have not tried Map 2 since my understanding is that using it requires having other mods on your car, such as a cold-air intake or a better intercooler. I have no other performance mods on my car, so I figured it was best to stay with Map 1. I live in the Pacific Northwest, which has 92 octane gasoline for part of the year and 91 for the rest. We don't get 93 octane out west.
As for the OBD clip, I posted a few pics, edited into the first post of this thread, to show the OBD connections on the end closest to the JB4. There is only one correct way to connect that cable to the JB4.
 10-08-2017, 08:03 PM