When you click on links to various merchants on this site and make a purchase, this can result in this site earning a commission. Affiliate programs and affiliations include, but are not limited to, the eBay Partner Network.
I replaced my right rear air strut today. I diagnosed it by putting the car in jack mode, then after 30 hours only the right rear was sagging.
It took about 2.5 hours, if I did it again, it would probably take 1.5 hours.
Set parking brake
enable jack mode
Jack up both sides of the rear end.
Remove tire on the side you're replacing.
Remove fender liner. A couple Push pins, 5 10mm nuts, 7 hex bolts.
Disconnect air suspension electrical connector.
Remove 10mm nut air supply from the r.eservoir.
Remove 18mm bolt from lower control arm.
Remove 3 bolts from the top of the air strut
Remove 2 10mm retaining nuts on the reservoir
Now the hard part. You'll need a bottle jack to push the lower control arm down, this will let you slide the bottom of the air strut out. I place a small wood 2x4 on the brake caliper, set the bottle jack on top of that, then used another 2x4 length to go from the jack to the top of the wheel well. This took time to figure out to prevent the jack or wood from slipping. Once you have enough clearance, the bottom of the strut will slip out and the new one goes right back in. Get the bottom control arm bolt in, then slowly release the bottle jack pressure to line up the top holes, you'll have to push and shake the strut a bit to get it all lined up. Once you have the 3 top bolts started, remove the bottle jack.
Now just bolt everything back up.
I purchased a used strut off eBay. Has a 1 year warranty. If it fails, I'll send the original to be rebuilt.
Last edited by Tstealth32; 02-26-2017 at 11:31 AM.
The lower control arm still springs up after you remove the strut wont it? Then you need to push the entire assembly down. I read another guy have that issue.
The jack also helps you position the top 3 mounting holes. Otheerwise its pinned to the top and very hard to line up.
Edit: disregard, i think you meant the initial steps of jacking the car up and putting it on stands. You still need to remove the tire and fender liner to pull the air line.
Last edited by Tstealth32; 02-26-2017 at 05:44 PM.
Next time (lift mode) and remove the air line you won't need to jack up anything
I am in the process of removing left rear strut. I set car in lift mode, removed the wheel, the wheel well lining, disconnected air supply, loosen bolt and nut which hold the reservoir, removed top 3 bolts, removed the bottom bolt (easy by hand). However, in order to remove the strut I would need to use a long lever (Bentley manual suggests 1 m long) in order to push the wheel bearing housing down in order to remove the strut. It suggests also to remove a bolt holding level sensor (I assume to get a space for the lever needed to push the bearing housing down). Bentley manual suggests somebody to help with strut removal (while the other person pushes on the lever.
Unfortunately, the original post doesn't look like it will work on the left side because the strut reservoir is in the way to put a support on the top of the bottle jack against the top of the wheel well.
No need to
You'll be able to push it up and get it out with one hand......
For the left rear strut use of a bottle jack wouldn�t work
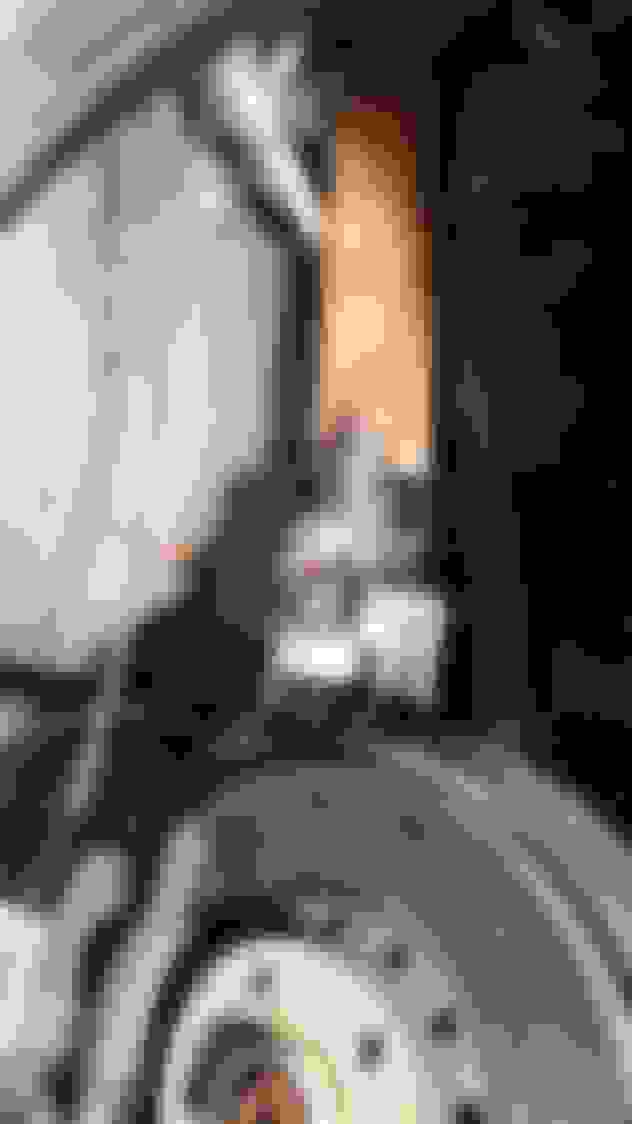
Your system for strut (rear right) is a very slick. But on the left rear strut there is a strut reservoir in the place where the the 2x4 piece of lumber would need to rest against the wheel well. Here is the picture:
Well, I looked in your picture. The reservoir seems to be on the tight side of the strut (as you look from the brake disc position). I see it is removed but it can't be much rotated since it is connected with heavy rubber hose to the strut. On the left side, in your case you have a gas tank filler pipe (I think).
Now if you look at my picture, you would see that the reservoir is on the Left side of the strut. So I don't see a place to position the upper 2x4.
Anyway, I finished the strut change using a long, heavy crowbar to push the wheel bearing (and related arm where the lower end of the strut attaches). I my case I had to have a helper to push the strut out (and later to push the new strut in the position). Not very easy job to do.
No, it is a picture of the new strut. On old I, of course, unscrewed the air supply (as well as the electrical connection). One has to use either a bottle jack (as shown above for the right rear shock) or big strong (Bentley manual suggests 1 m long) hardwood or, as I used about 3 ft (3.5 or 4 would be better) crow bar for the left shock. The advantage of a small cross section of the crow bar is that one doesn't need to disconnect the level sensor.
Somebody mentioned that one can disconnect the sway bar and thus avoid a need for a bar. That could be possible , but I haven't tried it.
 02-26-2017, 11:21 AM