When you click on links to various merchants on this site and make a purchase, this can result in this site earning a commission. Affiliate programs and affiliations include, but are not limited to, the eBay Partner Network.
Hello Everyone,
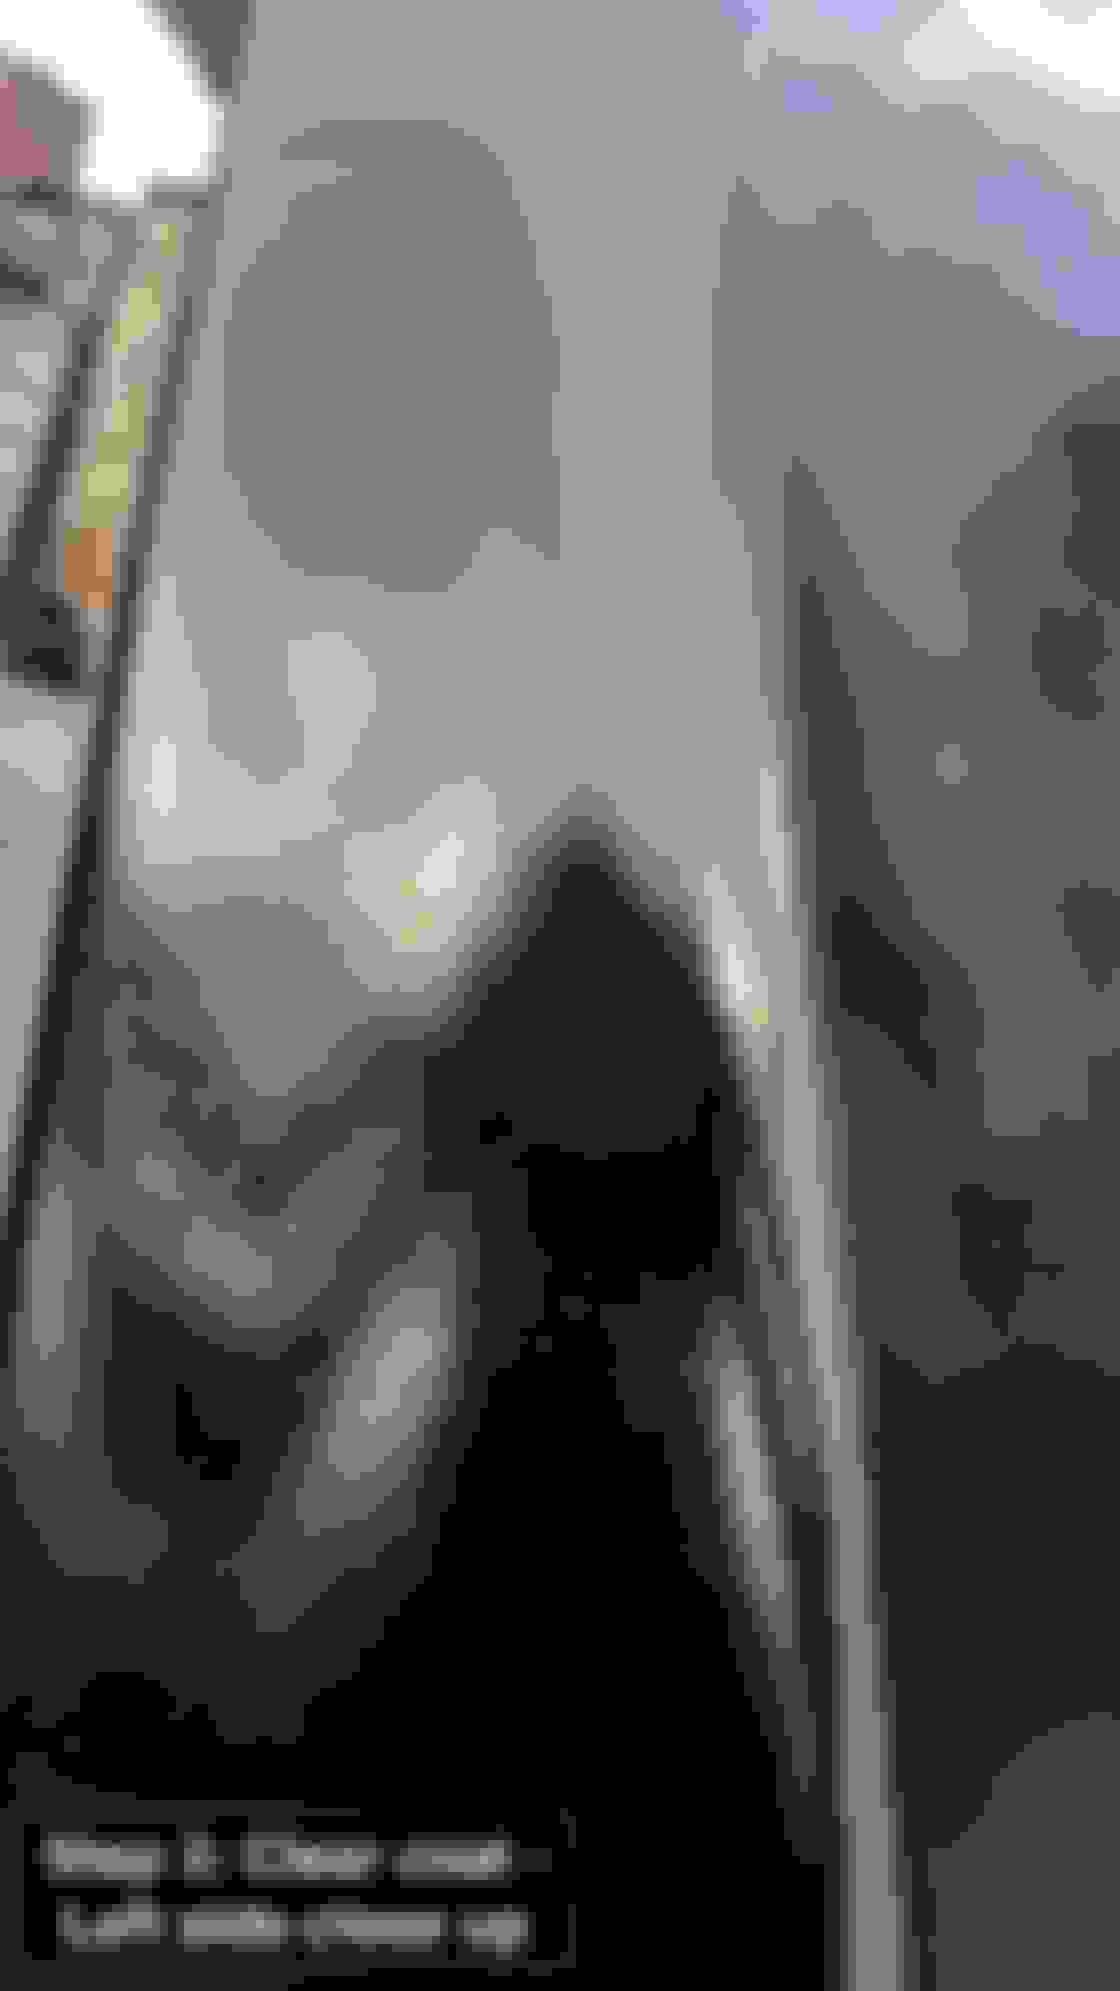
Somehow my hood got messed up and the clear coat is hazy and chalky white, I don't know how it happened. So before I take it to my body shop to have it professionally painted, I figured I'd take a shot at trying to paint it myself, since I can't make it any worse and it's a good learning opportunity. This was my first time trying to paint anything automotive.
Here are the steps I took:
Washed the hood. Tape and draped the area.
Wet sanded with 1000 grit. Wiped with a tack cloth.
Laid a couple of coats of base color (LY98).
Waited 10 mins between coats
Waited 30 mins before Clear
Laid a couple of coat of clear.
Waited 10 mins between coats
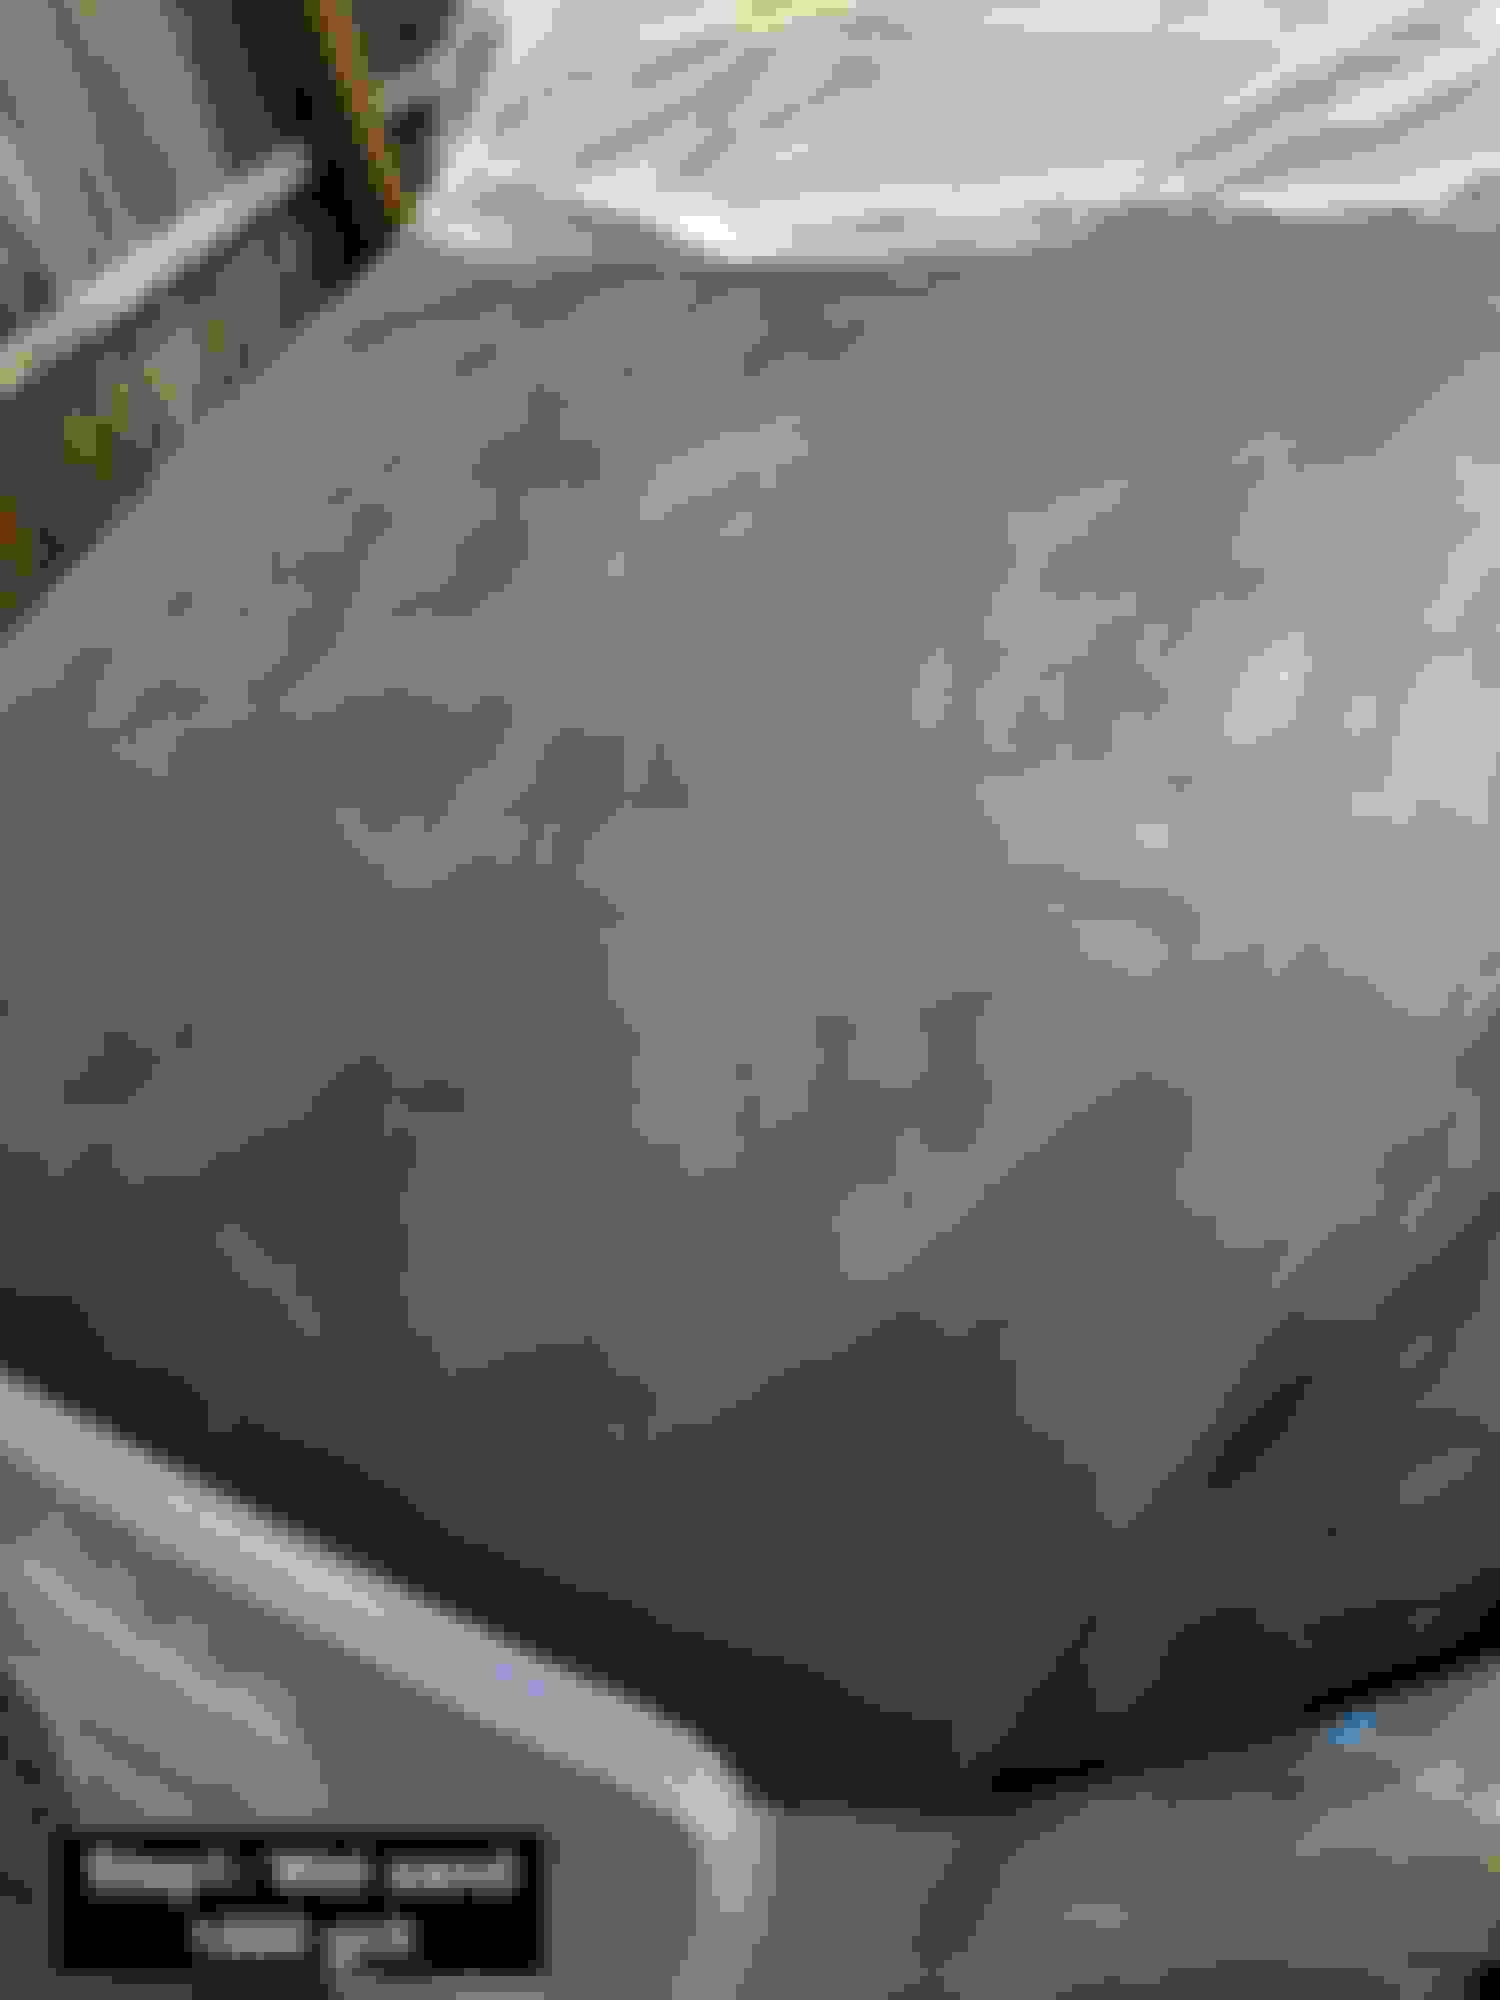
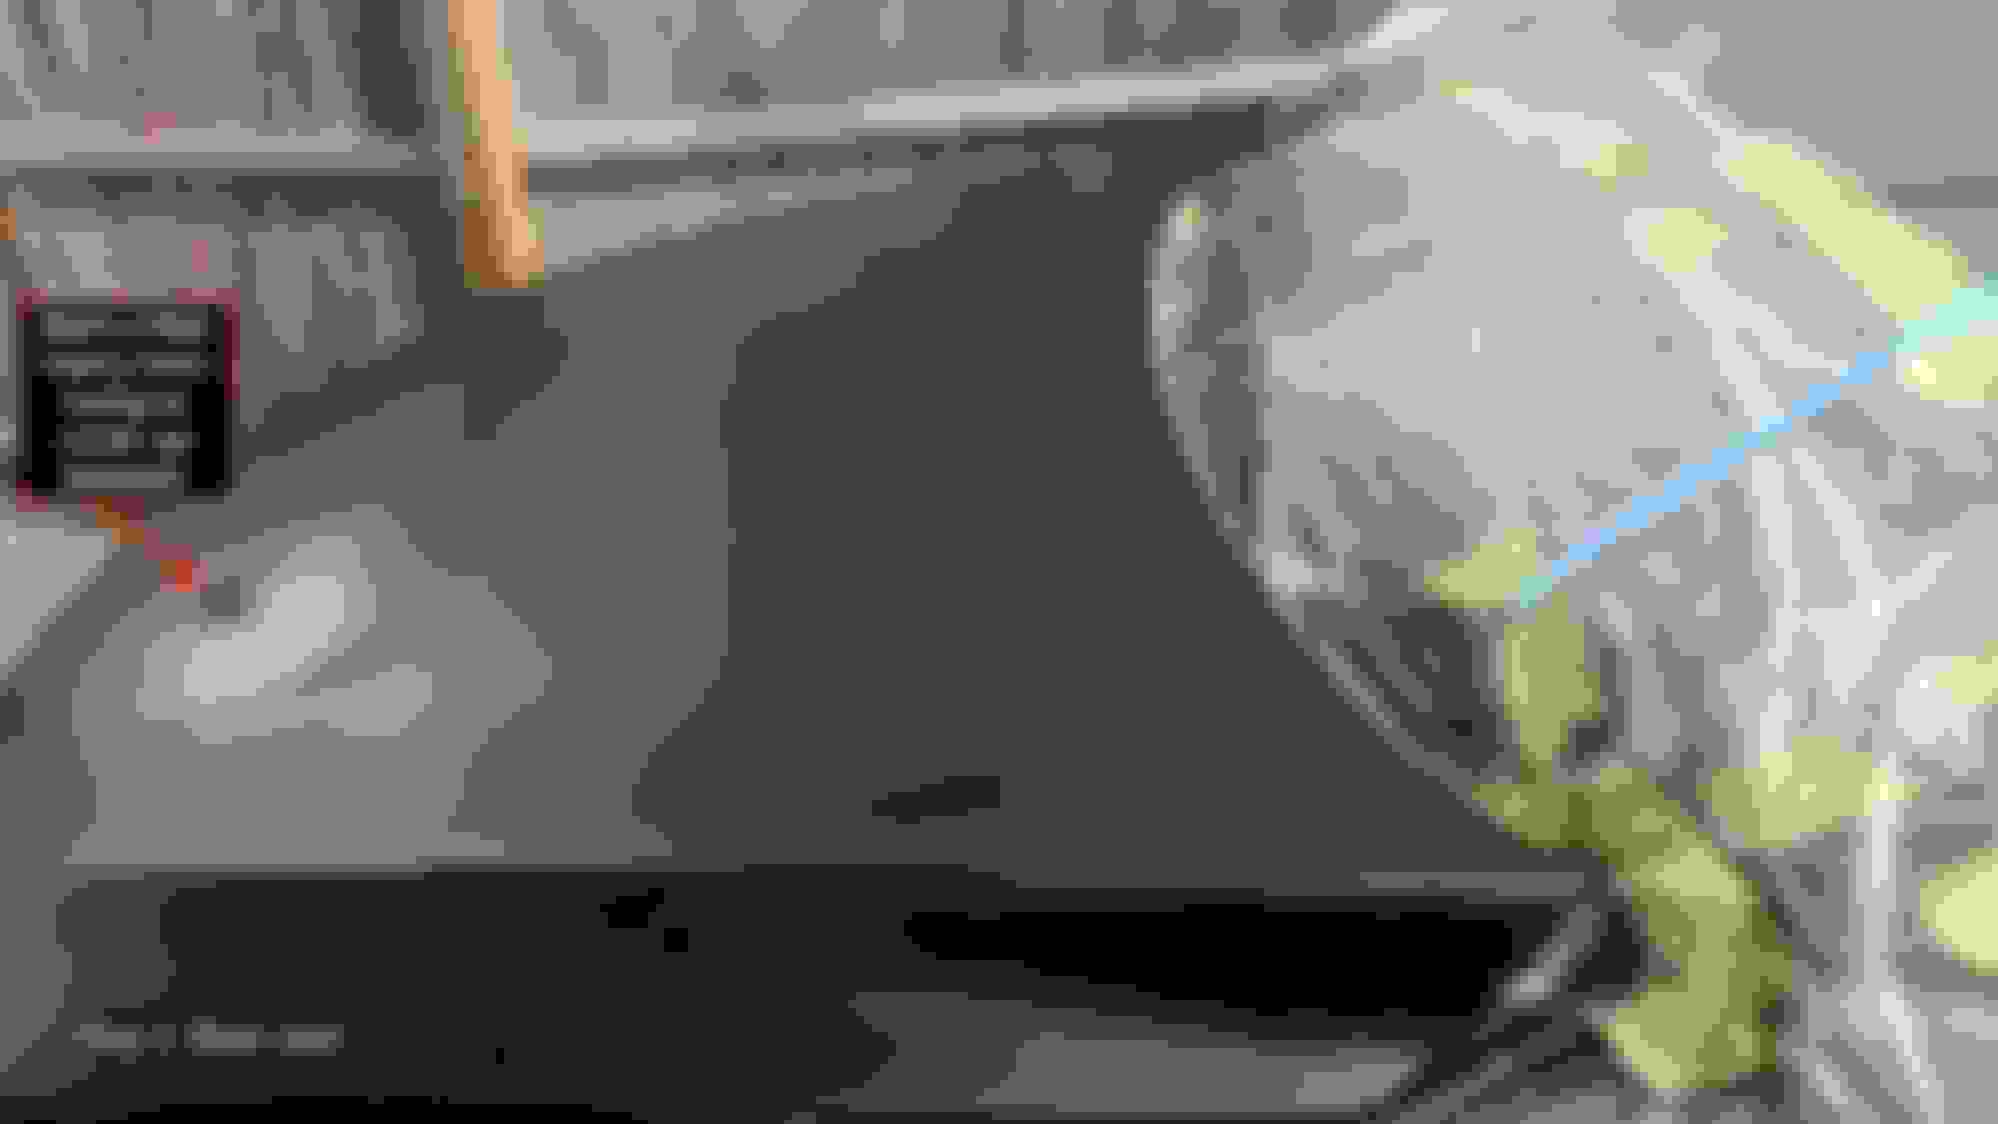
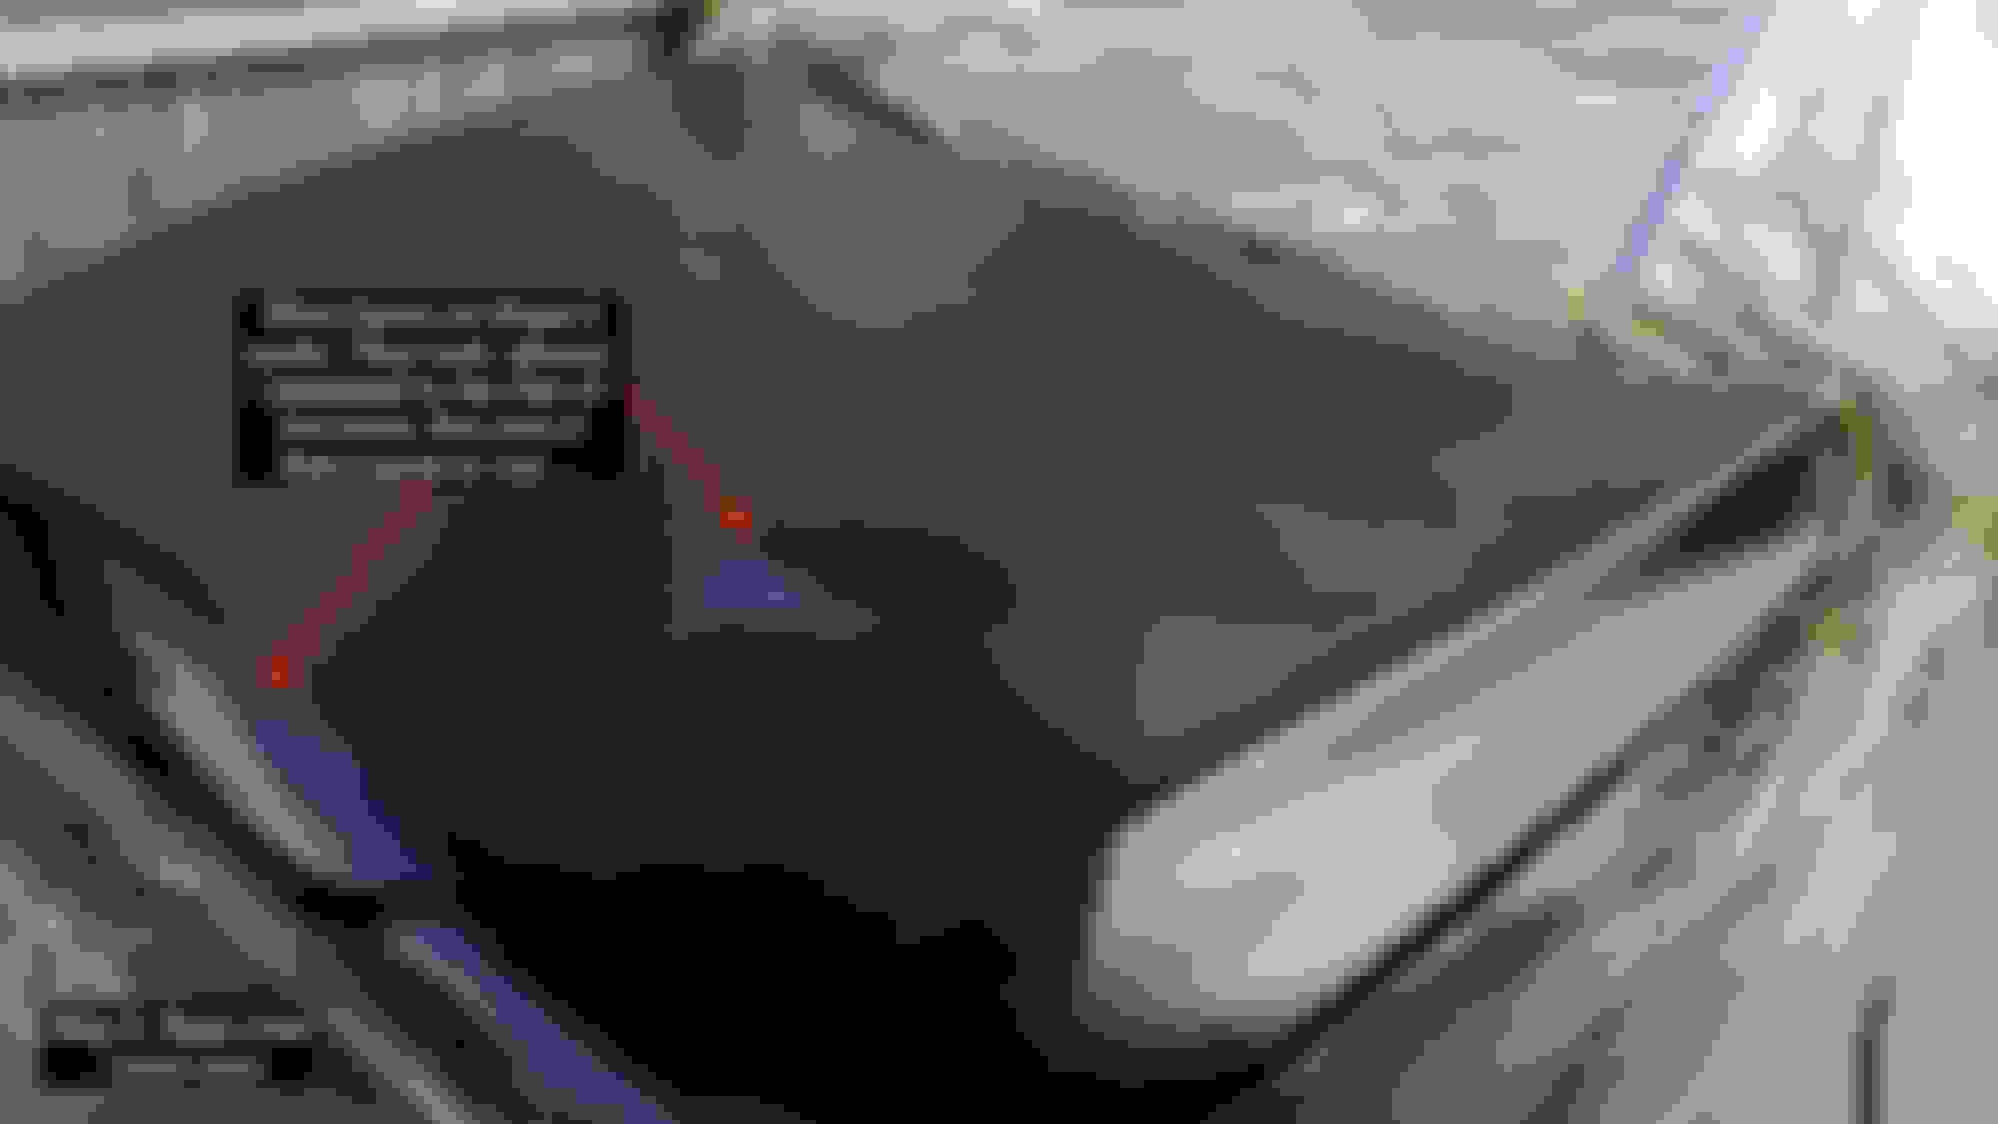
The end result was an 'orange peel' finish and nowhere near factory finish, however still better than the chalky white hood. It's a fifty footer, looks ok from 50' away but once you get up close.. not so good. I'm not expecting a professional mirror finish but I feel like it can be better than this using rattle cans....? I wasn't sure how much/heavy for each coat (Base and Clear) to actually apply.
When spraying the base, should it be so heavy that it's 'glossy'? As you can see in my pics.. I went on the lighter side and the base coat was 'matte' when it dried.
Same thing with the clear.
Since this was just done today, I have to wait for 24hrs to let the Clear cure. My next step is to polish with some cutting creme and see if I can smooth it out a little.
Any tips, techniques or suggestions would be appreciated.
Thanks.
Pictures This is the before pic, note the chalky haze. Prepped. Wet sanded, 1000 grit. Base coat, side view. Base coat, front view. Clear coat, front. Clear coat, left side Clear coat, right side side
Probably not the most helpful now but did you attempt to machine polish the clear coat. You may have found that it could be polished out.
As for the finish you have. IMO it looks like something didn't agree when you sprayed down the lacquer. That doesn't look like normal orange peal it looks like a reaction of some kind. After you painted the colour did you flat it at all or clean it down before applying the lacquer - also what types of paint did you use - you haven't mixed types which may have caused this?
Your going to have to do a lot of wet and dry sanding to get that flag again.
I don't know what happened to the hood to cause the haze, looks like something was rubbed on it. My hypothesis was someone at the car wash or mechanic using the wrong product or accidentally wiping it with the wrong rag.
I agree that re-painting seems drastic but I previously brought it to 2 body shops who tried to cut/polish it out and failed.
I have to wait for 24hrs for the clear to cure before I can sand/polish it. My next intended steps are to sand with 1500, then 2000, then cutting compound....
Hello Everyone,
Somehow my hood got messed up and the clear coat is hazy and chalky white, I don't know how it happened. So before I take it to my body shop to have it professionally painted, I figured I'd take a shot at trying to paint it myself, since I can't make it any worse and it's a good learning opportunity. This was my first time trying to paint anything automotive.
Here are the steps I took:
Washed the hood. Tape and draped the area.
Wet sanded with 1000 grit. Wiped with a tack cloth.
Laid a couple of coats of base color (LY98).
Waited 10 mins between coats
Waited 30 mins before Clear
Laid a couple of coat of clear.
Waited 10 mins between coats
The end result was an 'orange peel' finish and nowhere near factory finish, however still better than the chalky white hood. It's a fifty footer, looks ok from 50' away but once you get up close.. not so good. I'm not expecting a professional mirror finish but I feel like it can be better than this using rattle cans....? I wasn't sure how much/heavy for each coat (Base and Clear) to actually apply.
When spraying the base, should it be so heavy that it's 'glossy'? As you can see in my pics.. I went on the lighter side and the base coat was 'matte' when it dried.
Same thing with the clear.
Since this was just done today, I have to wait for 24hrs to let the Clear cure. My next step is to polish with some cutting creme and see if I can smooth it out a little.
Any tips, techniques or suggestions would be appreciated.
Thanks.
Pictures
This is the before pic, note the chalky haze.
Prepped.
Wet sanded, 1000 grit.
Base coat, side view.
Base coat, front view.
Clear coat, front.
Clear coat, left side
Clear coat, right side side
No amount of polishing is going to fix that and there is no way to get a decent rattle can paint job on anything as big as a hood.
Needs to be sanded down and professionally painted.
Yeah, painting the hood was challenging. I thought about taking it off and painting it vertically but was apprehensive about getting the washers disconnected and rerouted. I'm also now more open to buying an actual paint gun setup if it would give better results. I live in NYC and no doubt will need to do touchups frequently.
It's a 2009 and I was not expecting to get a mirror factory finish but I thought it could be better than this. Also, almost anything would be better than the white hazy finish that it currently had. I also thought it was a good opportunity for me to learn something new, knowing that it has to be done by a pro either way. Why not try it myself first, learn, and see how it comes out.
Next, I'm going to attempt fixing the front left fender which has a rash from a hit and run by an uber driver. That's NYC.
Thanks for all the comments and help. I'll post pics after I sand and polish it....
IMO I would not start investing in a compressor etc. If you get 2pac spray cans and a spray handle then you can get some very good results with spray cans. This is a good example of a video to watch -
I would say you're going to have to sand down the whole bonnet so its flat (600 will do given your going to be spraying it again) and then start again. Take it step by step and to work out exactly which part is failing. it might also be worth just trying out doing a corner first just to see if you can manage to do it. If it works sand it down again and do the whole bonnet. If it doesn't then get a pro.
Another idea might be to buy a junk panel to practice on before you do your bonnet again. The bonnet is one of the harder panels due to its size.
Yeah, painting the hood was challenging. I thought about taking it off and painting it vertically but was apprehensive about getting the washers disconnected and rerouted. I'm also now more open to buying an actual paint gun setup if it would give better results. I live in NYC and no doubt will need to do touchups frequently.
It's a 2009 and I was not expecting to get a mirror factory finish but I thought it could be better than this. Also, almost anything would be better than the white hazy finish that it currently had. I also thought it was a good opportunity for me to learn something new, knowing that it has to be done by a pro either way. Why not try it myself first, learn, and see how it comes out.
Next, I'm going to attempt fixing the front left fender which has a rash from a hit and run by an uber driver. That's NYC.
Thanks for all the comments and help. I'll post pics after I sand and polish it....
There is hope!
How many coast of clear did you apply? If thick enough and dried properly, you need to wet sand and compound buff.
That much orange peels needs at least a 600 grit sand paper to start and work your way to 5000.
You must use a flat rubber pad to wet sand properly as to not cut through the clear coat. Use a lot of water.
Then you need a rotary buffer and foam cutting pad along with the compound to buff the sanded clear to a smooth gloss. There will still be some light haze.
Then polish buff to bring out the high gloss.
Do have a rotary buffer? The correct pads and compound/polish to do the job? It may be cheaper to just let a detailer wet sand and buff the hood.
The same shop(s) you used before.
I don't know what happened to the hood to cause the haze, looks like something was rubbed on it. My hypothesis was someone at the car wash or mechanic using the wrong product or accidentally wiping it with the wrong rag.
I agree that re-painting seems drastic but I previously brought it to 2 body shops who tried to cut/polish it out and failed.
I have to wait for 24hrs for the clear to cure before I can sand/polish it. My next intended steps are to sand with 1500, then 2000, then cutting compound....
Hello audibk, Kudos for giving it a try as a panel that large is very difficult to do properly with spray cans. It looks like the clear was put on way too dry, like it was misted on and not wet enough to flow. Spray cans are very low pressure so the paint is thinned enough to spray out of the nozzle and has to be applied slower than you could with a spray gun. It results in a narrow spray pattern, inconsistent thickness and much thinner coats overall. That said it's likely that the problem is confined to the clear coat so here's how I would approach it. Wet sand the clear in one direction with a rubber block and 600-1000 grit until smooth but without going through to the base coat. You can then polish it but again, you can't afford to go through the clear to the base coat.
If that doesn't work you can reapply clear. Being applied to a flat positioned panel is a huge advantage in avoiding runs so you have more leeway in applying wetter coats. The areas most likely to form runs are the accent lines where the hood contours are so keep that in mind. Ambient temperature also affects paint flow so the warmer it is the quicker it flashes off and the less it will flow. Apply an initial coat of clear and let it tack up properly. Additional coats can then be applied in an opposite pattern (across and diagonal) which will even out the thickness differences inherent in narrow spray pattern applications. Do subsequent coats a bit wetter so they will flow and smooth out. I would be inclined to do at least three clear coats with adequate flashing in between to build thickness with the final coat being wet. Have more than enough paint on hand to coat as much as you need to. This will also give you some thickness to work with if you need to sand, buff and polish the final coat. These additional coats will bind to, slow the evaporation process and tend to smooth the previous coats. I would wait longer than 24 hrs, maybe even a week as the paint will shrink and harden as the solvents are released and there's no good reason to rush it. You can still drive the car after 24 hrs while you give it additional curing time.You can then assess whether it needs additional attention. Severe orange peel may require wet sanding with 1000-2000 grit in a straight line pattern (vs circular) followed by rubbing compound, polishing compound and a finishing polish. You may be able to buff out dry streaks that result from the small spray pattern and quick drying. Each step removes a bit of thickness and has the potential of rubbing through, particularly at the peaks of the contour lines. An orbital polishing machine vastly speeds up the process and minimizes rub through. Keep in mind you can use the least abrasive processes first and still go back and wet sand if required. If you decide you don't want to go through all this you can always have a body shop give you a quote to just sand and clear the hood. Good luck and looking forward to your next update!
Orange peel is basically the way that "krinkle coat" fake vinyl paints work. It happens when the evaporation rates are wrong, which can mean the first paint layer was not fully cured before the second layer was applied. Or, that one or both of the layers was way too thick. Or most commonly, if the temperature and humidity were not both controlled, so the solvent kicked off too quickly making the paint "bubble". I would suggest taking a piece of scrap metal, even a pie plate or tin from Walmart, and practicing on that first. (Small area, less paint to waste.)
Make sure the weather is the same, temp and humidity, for the real job. Most paints have a limited range they can be applied in, limited to maybe 50-80F and a specific humidity range as well.
As far as paint thickness goes, I've gotten great results by NOT spraying the paint, but just lightly misting or dusting the piece with more very light coats. That also allows the solvent to kick off easier, without having to force its way out through a heavy paint layer.
 08-01-2019, 05:55 PM