When you click on links to various merchants on this site and make a purchase, this can result in this site earning a commission. Affiliate programs and affiliations include, but are not limited to, the eBay Partner Network.
Mk3 TT/TTS Brake Fluid Change with Photos and No Special Tools (Gravity Drain Method)
Hello fellow TT owners, greetings from sunny Los Angeles, California! I’m hoping this How-To finds you loving your TT and ready to save some serious money on an easy, frequent maintenance task. Today I’m going to show you how I recently changed the brake fluid on my 2017 TTS. This guide applies to any Mk3 TT or TTS. I’m not familiar with the TTRS brake system, but it should be similar.
Brake fluid absorbs moisture and degrades over time, and can develop gas, which can “mushy” the brake response. If you’ve read your Maintenance Schedule, you already know that Audi requires a brake fluid change every two years regardless of mileage. This is new to me, as every car I’ve owned before had either permanent or long-life brake fluid. My two year mark came up, and my dealer quoted me $275 for this service. The only parts I had to order for this were $40 of DOT 4 brake fluid and some tubing from Amazon, and I used parts from the trunk of my TTS and my kitchen. It couldn’t have been easier.
Before we start, I prepared myself by reading through the maintenance section of the Audi repair manual. I got this by paying $30 for 24 hours access to erWin, and you get maybe 20 VIN-specific PDF OEM service procedures. I can’t post them here because they’re copyrighted, but it’s worth the money. The procedure is in D4B8053415F – Maintenance.pdf, Section 3.13 “Brake Fluid – Changing”.
Audi’s shop method uses a “Pressure Bleeder” that forces brake fluid under light pressure into the reservoir from the top. This pushes new fluid down through the lines and out the bleeder in a quick manner. My goal was to buy as little new equipment as possible as I rarely do this, so I chose the Gravity method, which is the exact same thing, but much slower. This involves allowing the fluid to drain slowly on it’s own, just with the force of gravity. I do not recommend the vacuum method. I attempted it first with this car, and it didn’t work. As soon as the bleeder is loosened, it lets in air to the line and very little fluid pulls out.
Also, I have a DSG/automatic TTS. The clutch in the manual-transmission TT’s shares fluid with the brake system. I have not researched these additional clutch-fluid steps, so manual owners, you’re on your own.
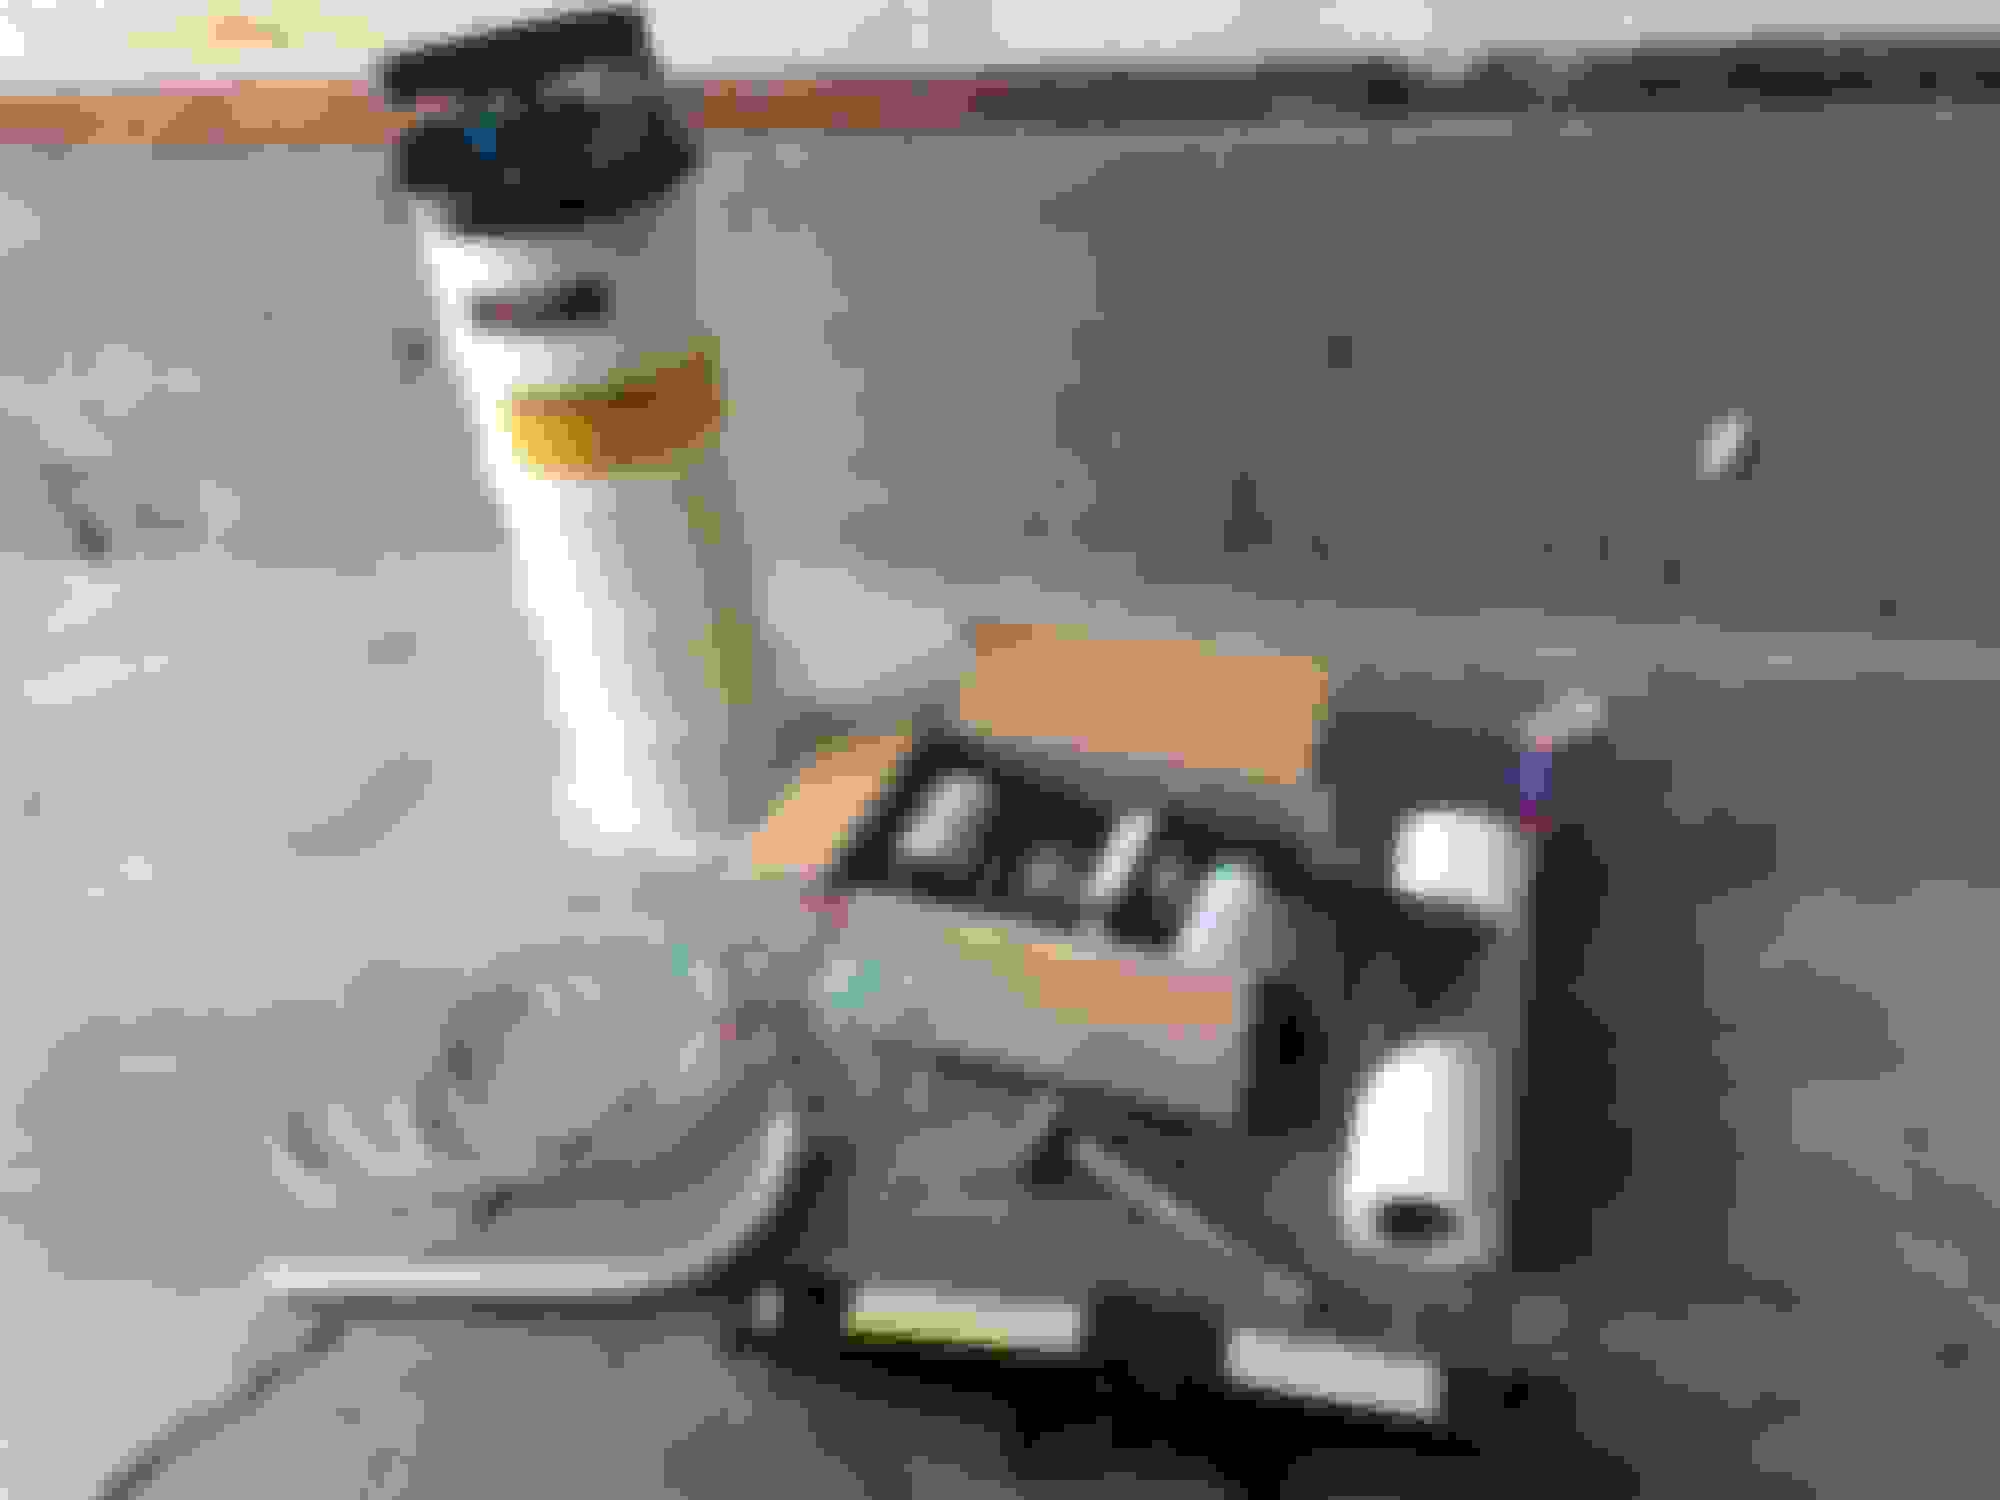
Supplies I used:
· 4 X 12 oz (354 mL) Castrol DOT 4 Synthetic Brake Fluid
· About 3 feet of 1/4” Inner Diameter, 3/8” outer diameter clear PVC tubing, cut to taste
· 2 X 500 mL measuring cups, one for new fluid, one for old (you will not be able to see a change in fluid color)
· 11 mm socket wrench, with extender for the bleeders
· Tire Iron and Jack, from Trunk kit
· Lots of Paper Towels or Rags
· Rubber Gloves, for skin protection
· A suction device, to vacuum old fluid from the reservoir. I used my oil extractor, which runs manually or on shop air. My other idea is the spray-gun top from a spray bottle, where you could dip the straw into the bottom of the reservoir screen and spray into a container.
Scary Warnings
· Brake fluid is hazardous to eyes, skin, and auto paint! It’s a corrosive, glycol-based hydraulic fluid, not motor oil. Do not get brake fluid on yourself or on your paint. Use gloves and eye protection.
· Do not allow air to enter the braking hydraulic system, simply keep the top reservoir full of fluid while draining at all times! Getting air into your brake lines will make them mushy and practically useless, and will require another fluid drain and bleed. Getting air into the ABS hydraulic modulator will require a VCDS/diagnostic unit or trip to the dealer to purge the ABS valves of air.
· Keep the vehicle’s key outside the car!This prevents you from accidentally starting it during the process, leading to crazy/who-knows-what results.
Now that that’s over, this was the easiest thing I’ve ever done to a car, don’t worry. If you can take your wheel off and do an oil change, you can change your brake fluid.
Step 1: Photo/mark/memorize the level of old brake fluid
This depends on the age of the car and wear of the brake pads. Use something to mark where you should refill to.
Step 2: Vacuum out the Old Fluid from the Brake Reservoir
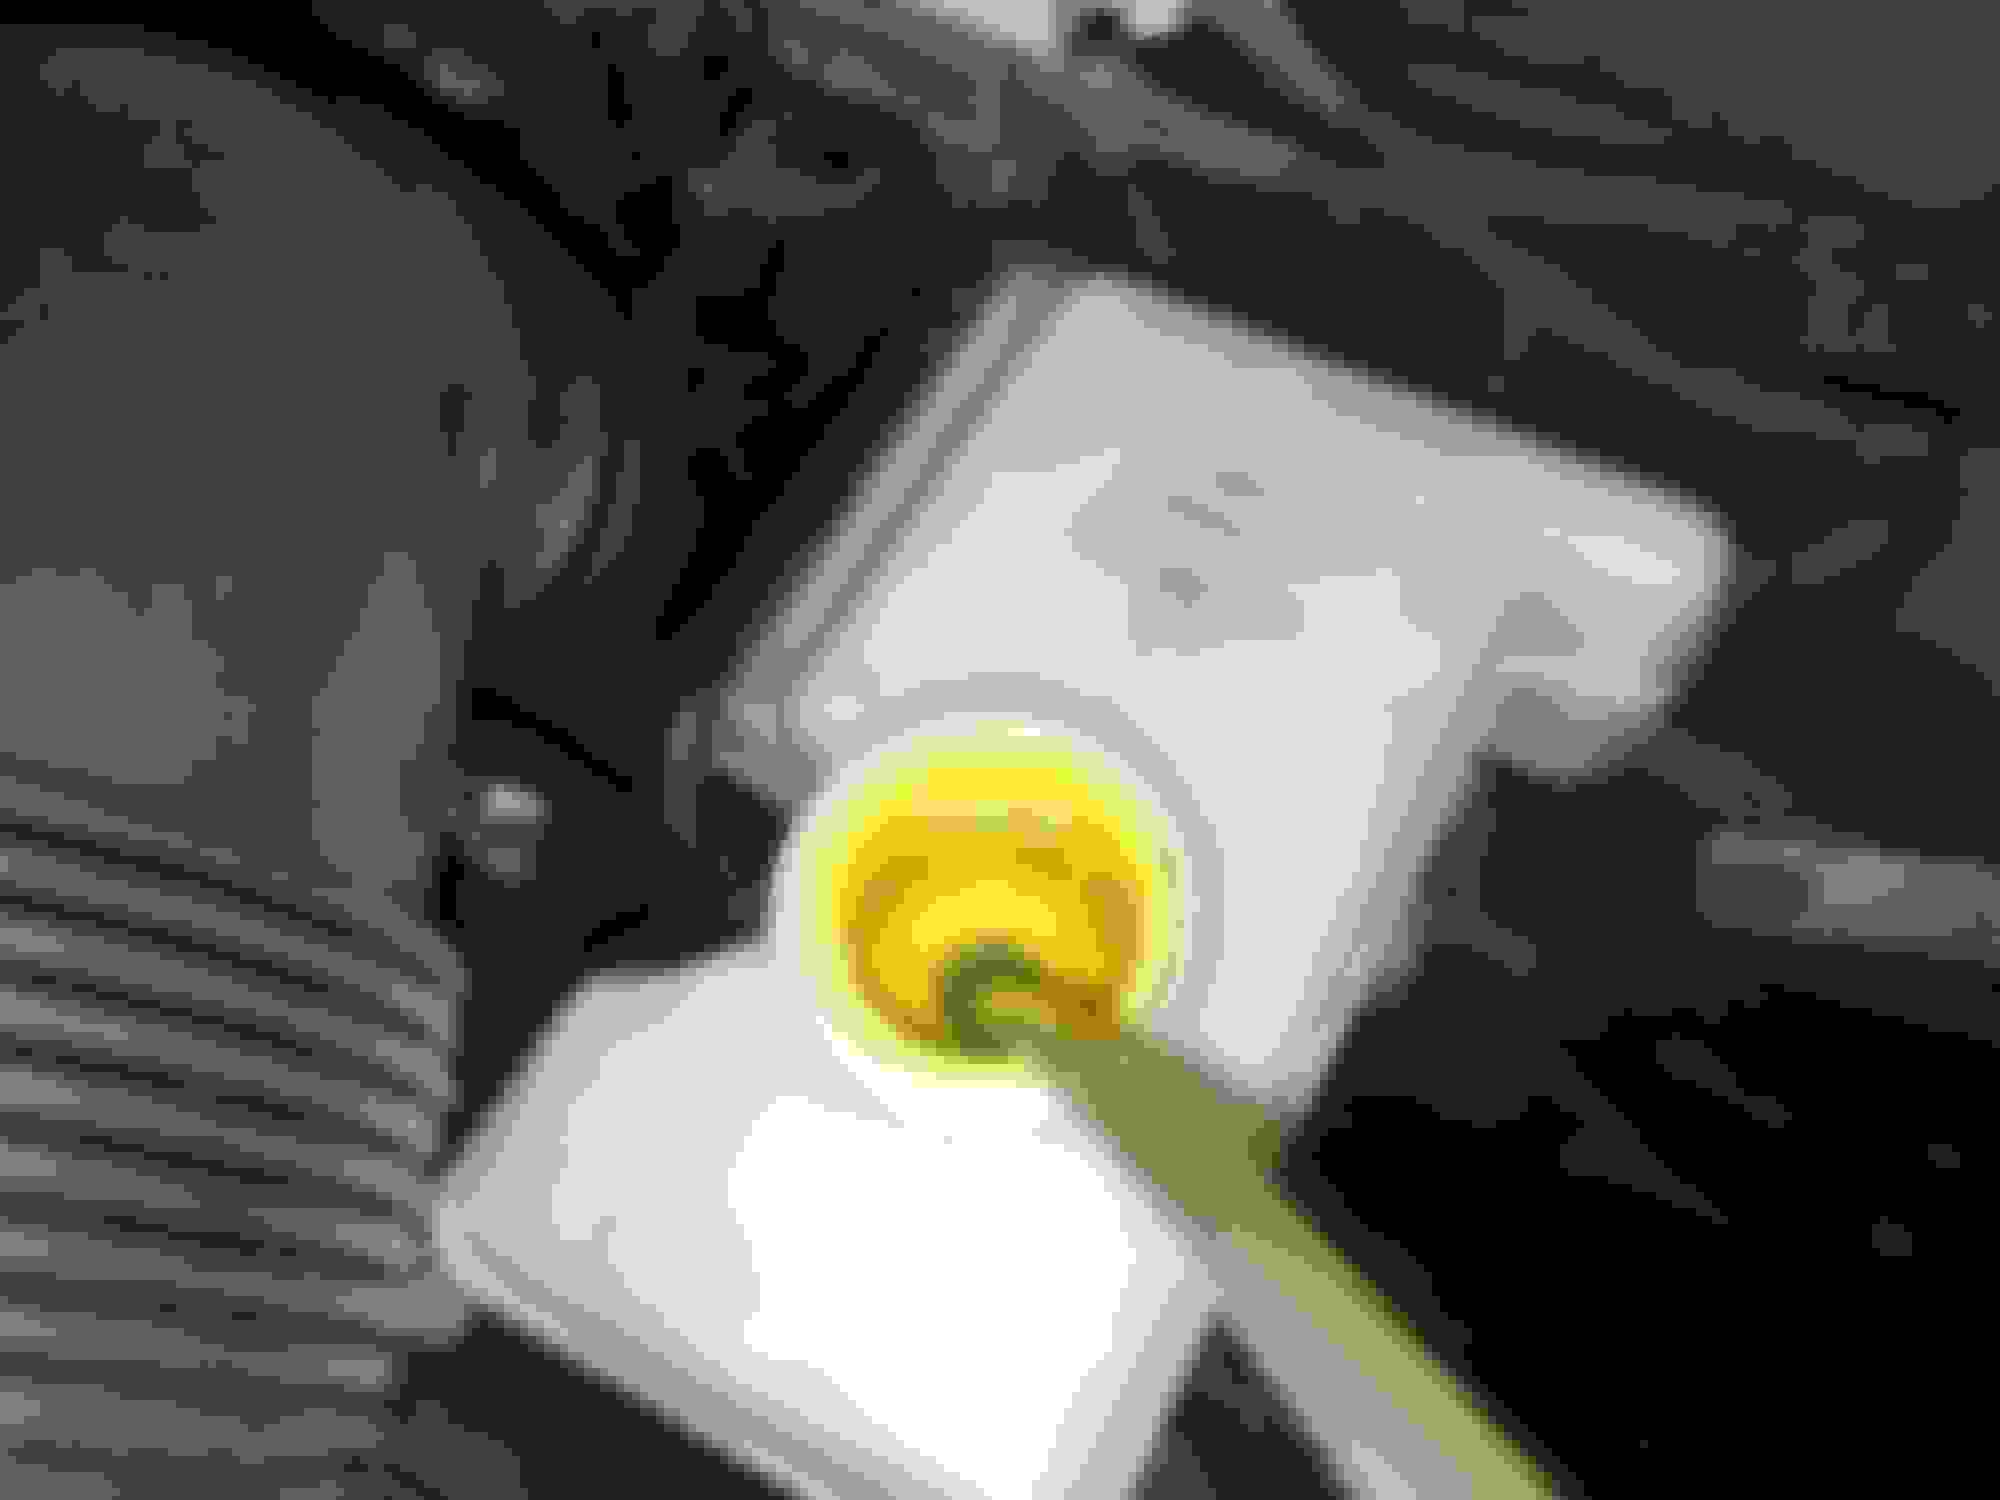
-Remove as much old brake fluid from the reservoir as Audi’s yellow strainer will allow. The OEM manual says to use the suction device to remove brake fluid to the level of the bottom of the yellow screen, if equipped. I used my extractor to get fluid out, and it always settled to about the middle of the bottom (narrow) half of the screen, so that’s where I stopped. This leads to a fluid level in the reservoir at about the bottom of the wide portion of the bottle shown at the red mark on the photo below (hard to see without backlight). If you don’t have a strainer equipped, vacuum to the bottom mark of the bottle as shown and don’t go below. It’s helpful to shine light at the back of the bottle and tap it to see the fluid level.
Don’t try to take the screen out or vacuum below this level. We want a minimum of fluid in the reservoir at all times to keep air from pulling in, even if it’s old.
Step 3: Add more fluid to the Reservoir!
If the reservoir is at the line shown in red above, it should be able to accept exactly 250 mL of new brake fluid before it reaches the Max line. Put a clean funnel into the reservoir opening, and slowly fill with 250 mL of brake fluid from the clean/new measuring cup.
You will not be able to see when you have new fluid coming out based on the color. It drains too slowly and mixes too much in the tube. You must measure to get enough new fluid through all the lines. Alternating with a different-color brake fluid is also not advised. At least in the US, all DOT4 fluid should be light yellow.
Audi’s TT repair manual says to change the fluid in the following wheel order, and to remove this amount of fluid for each wheel:
1. Front Driver’s Side: 200 mL
2. Front Passenger’s Side: 200 mL
3. Rear Driver’s Side: 300 mL
4. Rear Passenger’s Side: 300 mL
Step 4: Remove each wheel, and Drain Fluid, keeping reservoir above “Min”
- Jack up the car for each wheel according to the manual, starting with Driver’s Front.
If you have a TTS (and RS but no experience),you have a dual-piston brake caliper! It has a crossover line underneath between the inside and outside pistons. The manual says to bleed the inside first, but does not specify how much to drain between the inside and outside calipers. So, I chose to bleed 175 mL from the inside bleeder, and 75 mL from the outside, for a total of 250 mL for the front two wheels. I still had plenty of fluid with 4 X 12 oz bottles. If you have a base TT,you will have one bleeder on the fronts. Bleed 200 mL from the front bleeders.
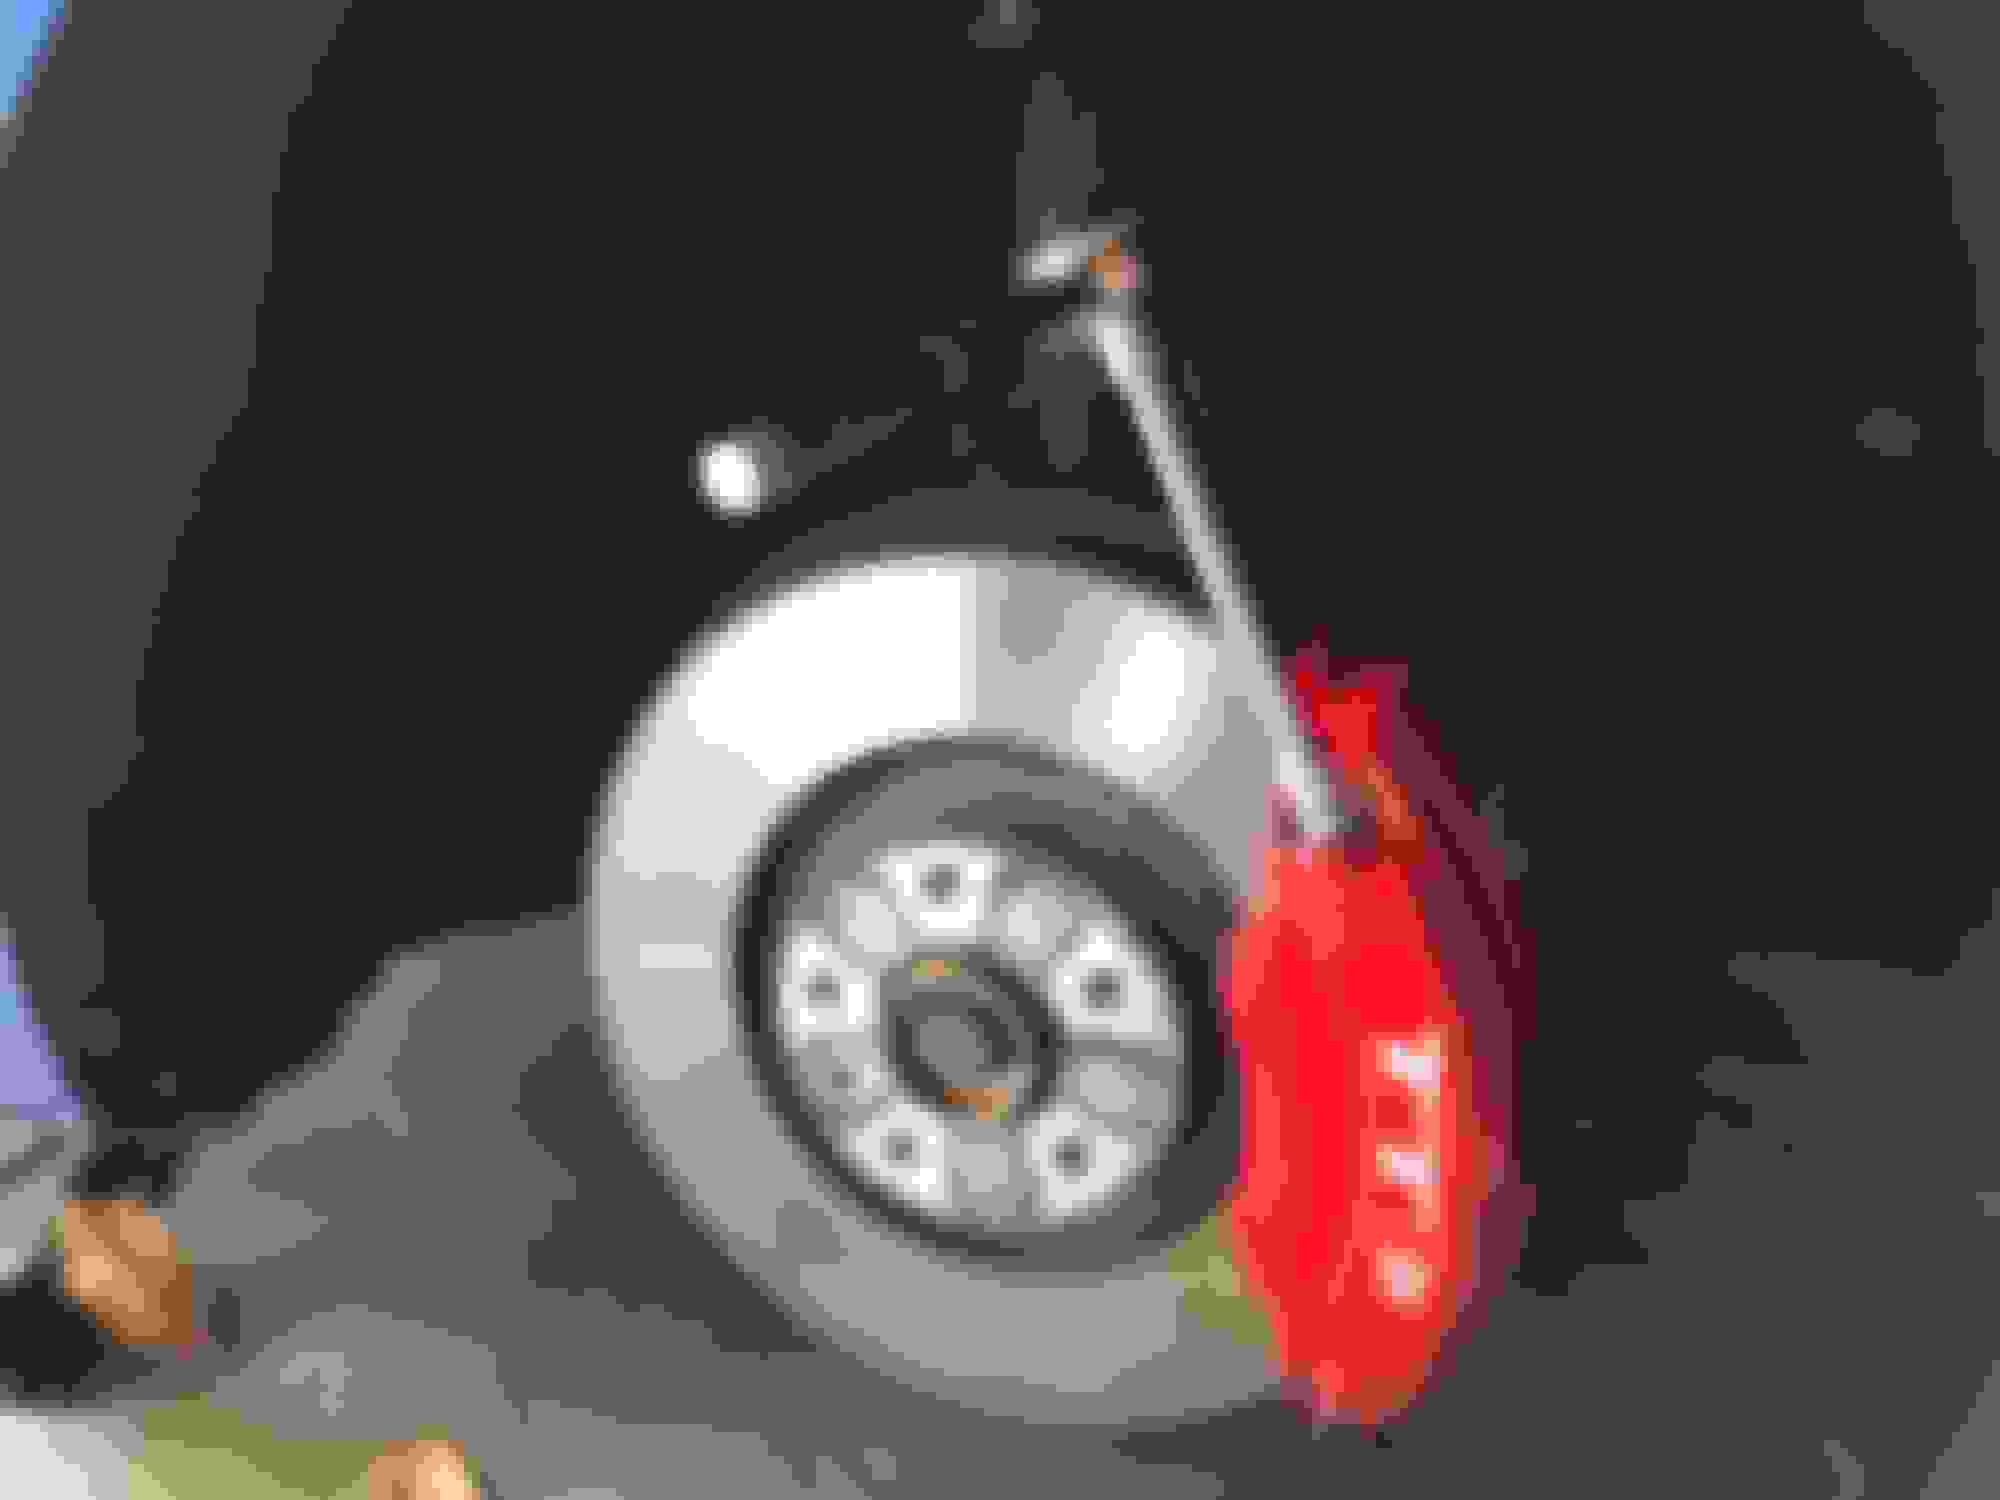
-If you have 2 bleeders for the wheel, start with the inside bleeder. Remove the rubber bleeder cap. Use an 11 mm socket wrench with extension to loosen the bleeder (outer bleeder shown below, inner/rear same):
-Crack open the bleeder gently with the wrench. Do not rotate the wrench any more than you need to get it loose, or fluid will weep out (about 1/4 turn).
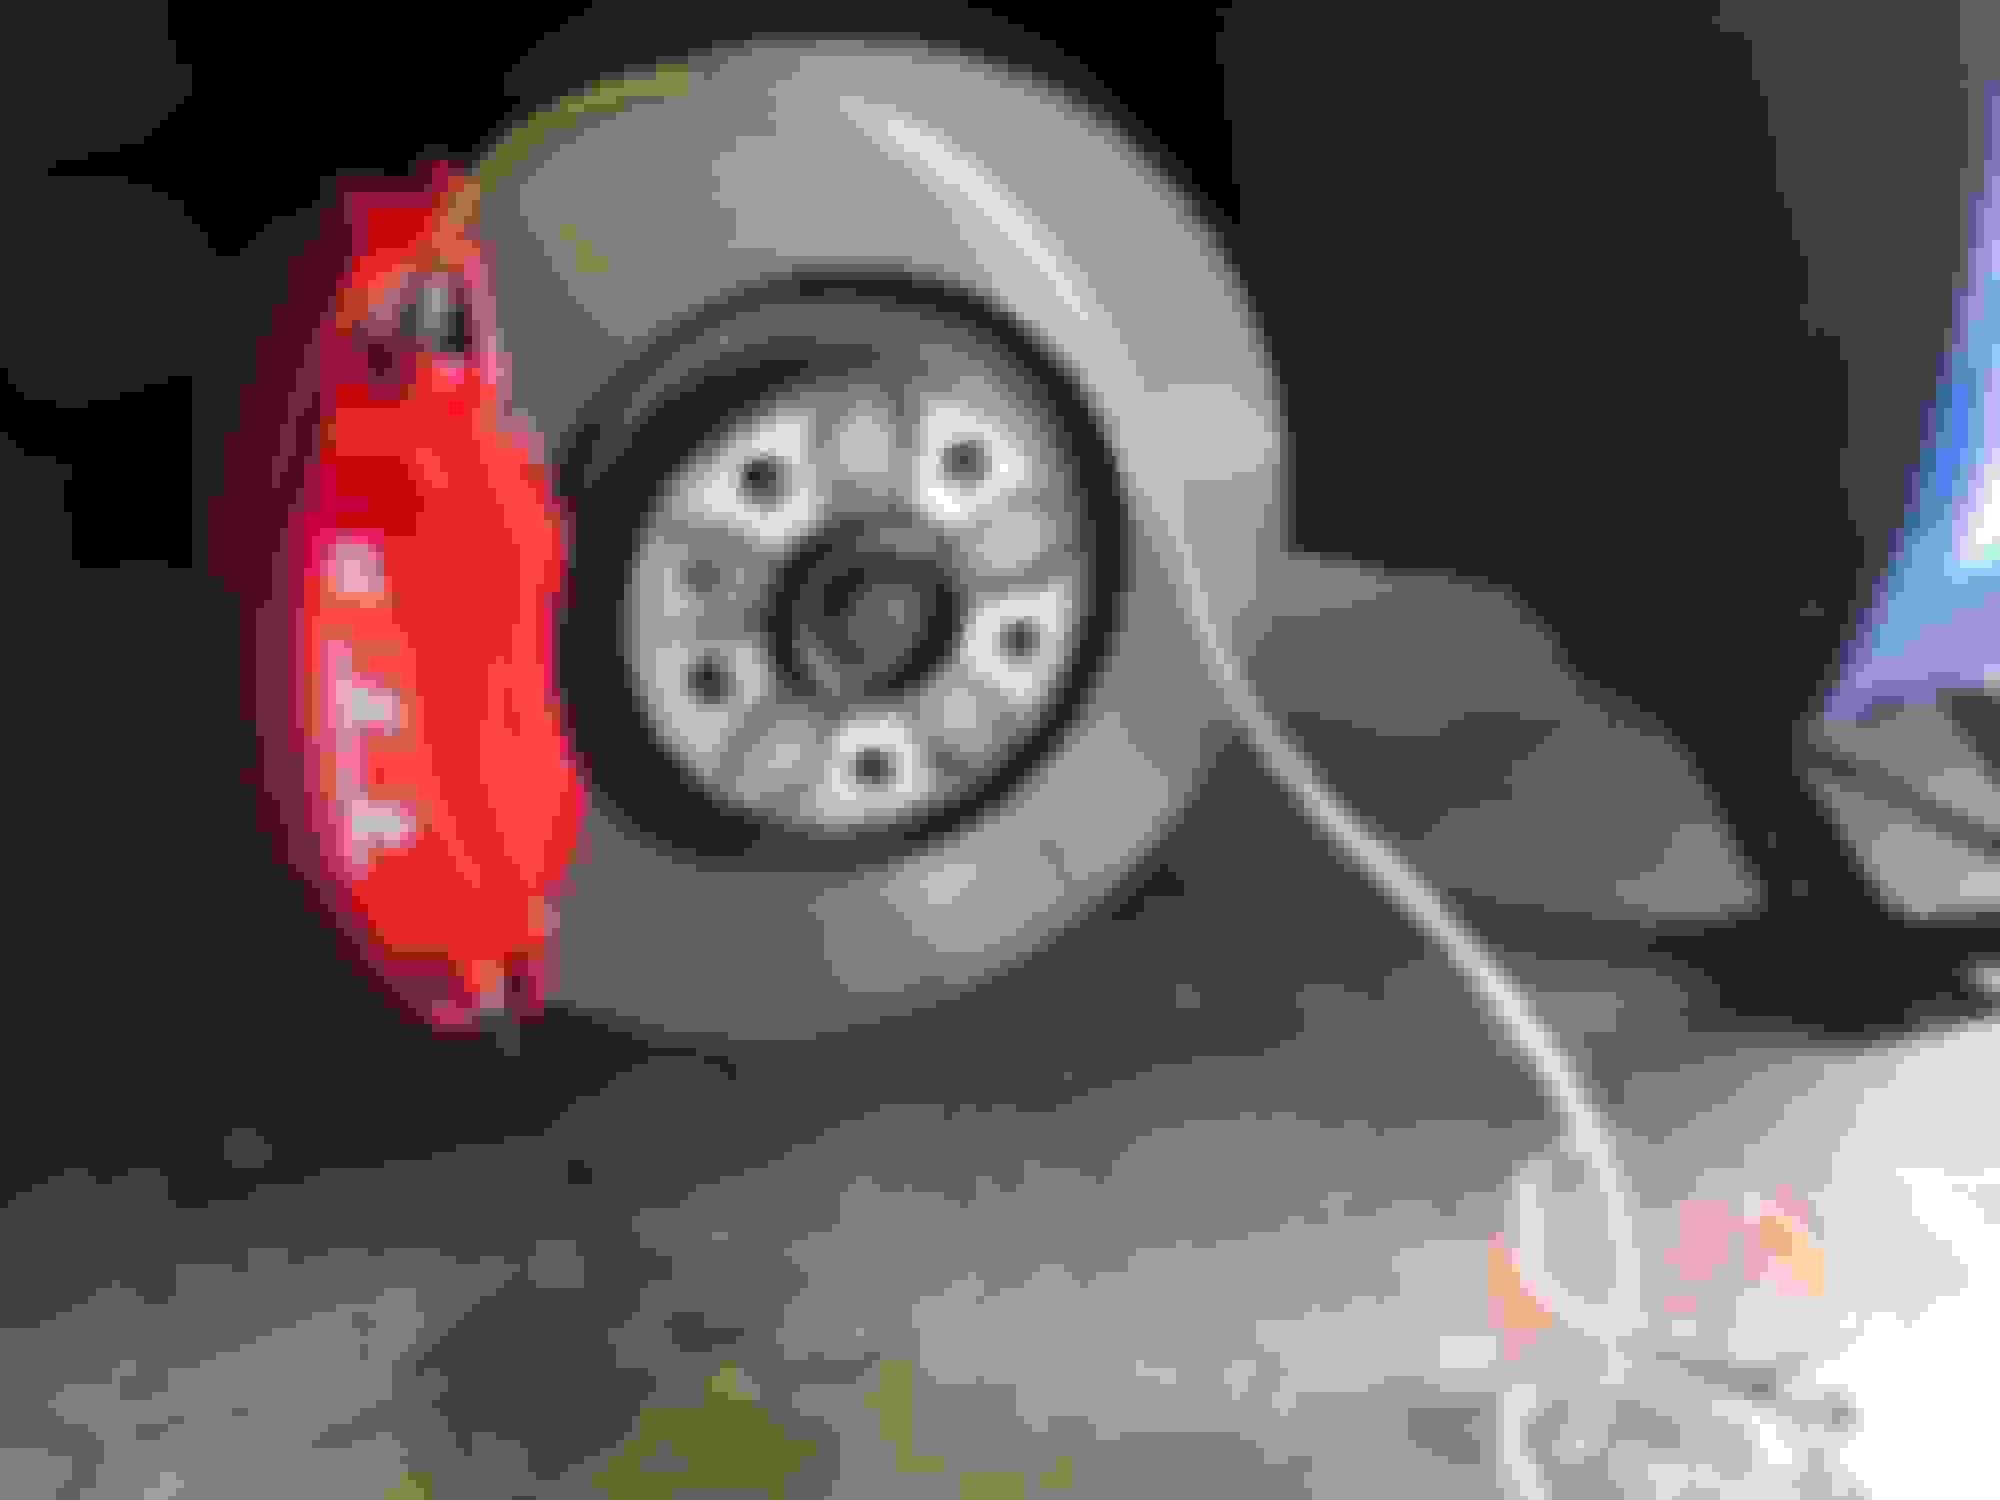
-Shove the 1/4” X 3/8” tubing all the way down the bleeder stem, and rest the bottom end of the tubing into the dirty measuring cup on the floor, as shown below.
Inside bleeder photo:
Outside Photo (behind the wheel):
-Twist the bleeder and attached tube counter-clockwise, about 1/4 to 1/2 turn, until fluid comes into the line steadily. Make sure you keep the bottom of the tube in the measuring cup and away from paint! Twist the bleeder open enough that the fluid comes out through the tube consistently, but not so much that the bleeder starts to weep fluid at its base. Clean up weeping fluid by dabbing with a paper towel. The fluid will drip slowly into the dirty/floor measuring cup. It was about the pace of a hospital IV. In my experience, it took about an hour for each 250 mL to drain. Be patient! Don’t worry, I got brake fluid all over my red calipers and it didn’t do anything to the paint, just my experience.
-While watching the fluid level coming out into the measuring cup, make sure the reservoir is above the minimum line! If the fluid starts to get low, add to it slowly, up to the max line. Have a beer, but keep a close eye on the reservoir level!
-When you have measured enough fluid drained into your floor/dirty measuring cup, turn the bleeder and attached tubing clockwise until it stops.
-Bend the tubing downward to drain as much fluid into your floor measuring cup as possible.
-Have towels ready, and slowly pull off the tubing from the bleeder. Let all the fluid drain into the cup.
-Final-tighten the bleeder clockwise with the 11 mm wrench. Audi specifies a torque here, but it’s not rocket science…
-Replace the rubber bleeder cap(s)
-With a towel, dab away all fluid around the bleeder and wherever else it got.
-Replace the wheel, drain your dirty measuring cup and get it ready for the next wheel.
-Repeat Step 3 for the next wheel.
-Don’t let the reservoir go below Min! Keep checking and tapping it with backlight to see the fluid level.
Step 5: Refill the Reservoir to the Starting Level
You’ve bled fluid from all four wheels, cleaned everything up, tightened the bleeders, and put the wheels back on.
-Refill the Reservoir with brake fluid to the same level you marked or photo’ed at the start.
-Replace the Reservoir cap and double-check all bleeders and bleeder caps.
Step 6: Test it!
-Start your TT and fully depress the brake pedal several times. Look for error lights. Check the fluid level again.
-Slowly drive the TT, making sure the brakes handle as expected. If not, bleed the brakes again.
-Make sure to complete at least one ABS (mash the brakes) maneuver, to ensure the ABS hydraulic modulator is happy and doesn’t throw any codes.
Results:
Congrats! You just changed your brake fluid for about $40! This method gave me brakes exactly like I had before. I hope it works as well for you.
Last edited by macaddict111; 08-10-2018 at 11:58 AM.
Reason: Clarified about fluid color change
Great job, nicely laid out. I too have never changed out break fluid on any of my cars. And when you do the math on audicare it seems to me that you loose money. So i am preparing to perform all maintenance on wifes 18 tt roadster. A member on here turned me on to ECS tunning's oil change kits thich provides everything needed for oil change. I contacted ECS for info on haldex supplies. They provided info on correct oil and amount plus part numbers on haldex drain and fill plugs. Already purchased those items.
a little while ago ECS had schwaben tools 25% off
and i purchased the premium brake bleeder $45 and 2 fluid catch bottles for $7 per.
i had just seen on brake fluid change out to just bleed until you see fluid color change.
but thanks for the 200ml front and 300ml rear , drain figures.
last for me is transmission oil change tools and procedure. But wife only has 2200mi on her TT so i have plenty of time.
Ecs is a great resource for info and supplies.
Actually I meant to add a note to the instructions that you will simply not see a fluid change. It comes out too slowly and mixes in the line too much to tell.
For oil changes, all you need is a 502 00 compliant oil (so I buy whatever is the cheapest 502 00 off Amazon), and you need the filter element (like $7 on Amazon for OEM). Also need the wide wrench socket for the filter housing ($5 on Amazon). I will be changing mine with my extractor, so all from the top. I'll post another how-to when I do this too.
I will likely let Audi do the Haldex, gearbox oil, and plugs every 40,000 miles. Gearbox change especially is very complicated. All three require multiple special tools as well.
The haldex seems straight forward, their is a drain plug/port on bottom and a fill plug/port on left side. Drain and fill. Oil is audi # G060175A2 hi performance haldex oil. Drain and fill plug with copper gasket # N90281802. Oil is 850ml bottle haldex requires 655ml. My plan after draining was to flush the haldex with 140ml fresh oil let it drain then close up drain and fill with the 655ml Their is no filter like prior haldex versions. But the pump has a inlet strainer that over time could clog decreasing performance, but the pump is 2 bolts and 2 o ring seals not big deal to remove pump and clean strainer. The auto trans is a little more difficult their seems to be a special fill tube that goes into the drain that has a sort of stand pipe. The height of stand pipe allows filling to proper level. From what i gather so far on the auto trans.
when i purchased the brake bleeder i also picked up the schwaben oil extractor 60bucks, filter socket 7 bucks. Used the extractor on 370z worked reslly nice, unfortunately that filter is on the bottom, but my other kids BRZ has a top filter also.
been using motul in the 370z and the brz, i am going with the recommended castrol on the tt. Everyone has their own reasoning for which oil they use. Heck i might drain the oil out of the tt and put it in my 10yr old merc.
spark plugs are not a big deal either.
look forward to your next maintenance job with pictures.
I use a different color brake fluid when changing so i can tell when i’ve got all the old out.
I also start the bleeding at the furthest point from the master cylinder, passenger rear. Proceeding to driver rear, passenger front and lastly driver front.
Historically I’ve done the gravity bleed method but now employ the pressurized. I also first use vacuum extraction as you did.
Actually I meant to add a note to the instructions that you will simply not see a fluid change. It comes out too slowly and mixes in the line too much to tell.
For oil changes, all you need is a 502 00 compliant oil (so I buy whatever is the cheapest 502 00 off Amazon), and you need the filter element (like $7 on Amazon for OEM). Also need the wide wrench socket for the filter housing ($5 on Amazon). I will be changing mine with my extractor, so all from the top. I'll post another how-to when I do this too.
I will likely let Audi do the Haldex, gearbox oil, and plugs every 40,000 miles. Gearbox change especially is very complicated. All three require multiple special tools as well.
Technically brake fluid is all supposed to be light yellow, so do that at your own risk.
Also VW/Audi does NOT instruct you to do that order, they are notable for being reverse, as I listed above, so I don't advise that.
Power bleeding is obviously way better and faster. My issue with all this reoccurring maintenance is the special tools (spark plug puller etc) will probably pay for themselves in two services, but I'm never sure if I'm going to keep the car that long...
Originally Posted by Huey52
I use a different color brake fluid when changing so i can tell when i’ve got all the old out.
I also start the bleeding at the furthest point from the master cylinder, passenger rear. Proceeding to driver rear, passenger front and lastly driver front.
Historically I’ve done the gravity bleed method but now employ the pressurized. I also first use vacuum extraction as you did.
Their is no filter like prior haldex versions. But the pump has a inlet strainer that over time could clog decreasing performance, but the pump is 2 bolts and 2 o ring seals not big deal to remove pump and clean strainer..
No filter on the MK3? Do you happen to have the schematics?
What I meant was, yes there is a small mesh screen on the Haldex Clutch Pump. There's also the main Haldex Oil Filter. They are in two different locations. Is the main oil filter not part of the MK3?
 08-04-2018, 05:23 PM