Audi: How to Clean Foggy Headlights
Keep reading to learn the simple hacks for cleaning foggy headlights on your Audi.
This article applies to the Audi Q5/Q7, A3, A4 B7, A4 B8, A6 C5, A6 C6.
Foggy headlights can mean serious danger for you and your passengers when driving at night or during times of low visibility, such as before, during or after a heavy storm or when thick layers of fog fill the air. While we don't want to frighten you, the realities of driving with foggy headlights cannot be ignored or minimized. Simply put, when you drive with reduced visibility, you increase your risk for a crash. To avoid these kinds of hazards altogether, it's highly recommended that you clean foggy headlights using the following tips.

Materials Needed
- Headlight restoration kit
- Microfiber cloth
- Headlight protection kit (optional)
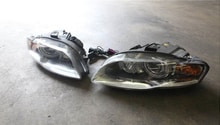
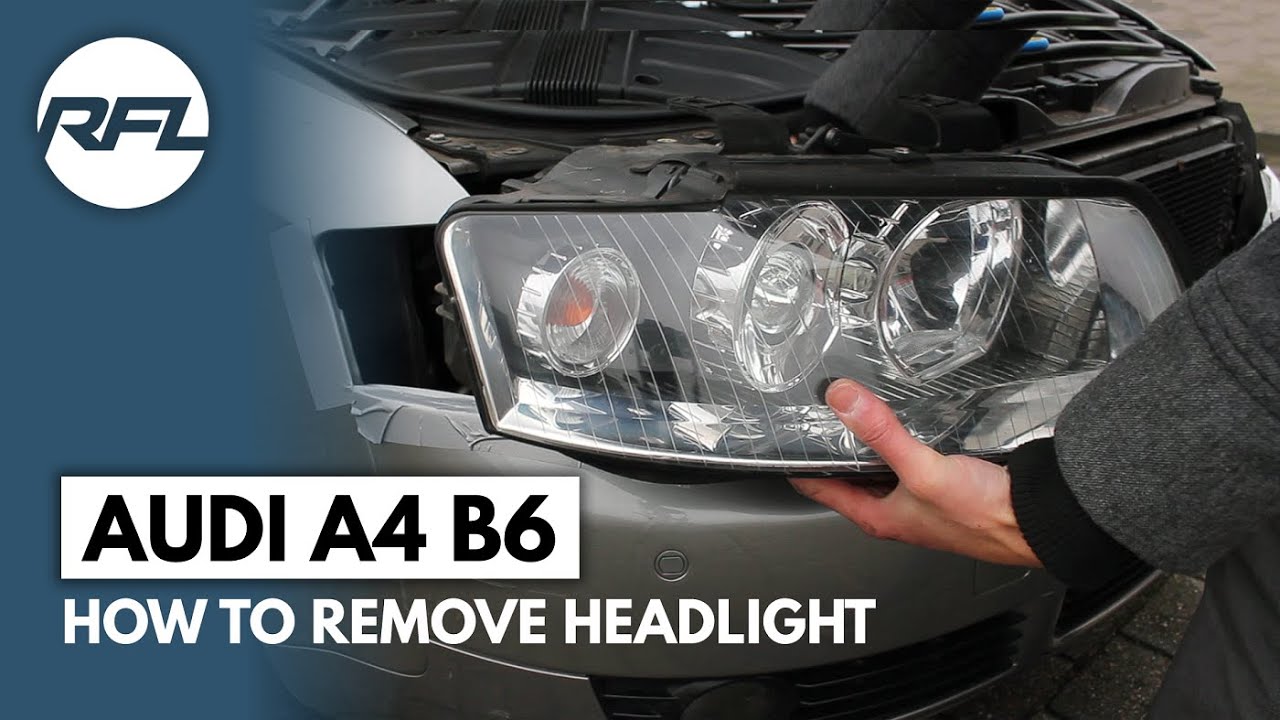
Step 1 – Remove the headlight
It's not necessary to remove the bumper to access and remove the headlight.
- Remove the three connecting bolts and unplug the harness connector.
- Rotate the outward facing corner of the headlight away from your car.
- Release the alignment dowel from the white plastic bracket.
- It's located on the lower (inside) corner of the headlight.
- Lift the headlight up and over your bumper.
- You may need to apply some force, as needed.
- Remove the bumper if you're unable to remove the headlight by hand or if chipping starts to occur during the removal process.
Pro Tip
The problem is usually almost always on the exterior of the lens, so test a small area to determine if removing the headlight is necessary for you.
Step 2 – Remove discoloration and dullness
- Starting with three to four grades of sand paper, which should all come with your headlight restoration kit, ranging in grit sizes from 500 to 2,500, go ahead and apply a rubbing compound to your first headlight lens, and then begin removing the heavy discoloration from your headlights.
- You'll need to start from the coarsest grit size first, and then work your way up to the finest grit size available.
- When sanding, use a circular motion until your lens is fully sanded (i.e., clear).
- Using a microfiber cloth, go ahead and wipe away all sanding residue, including the bits and pieces that were dislodged from your lens during the sanding process.
- Wash and rinse your lens one final time.
- Dry the lens using a new microfiber cloth.
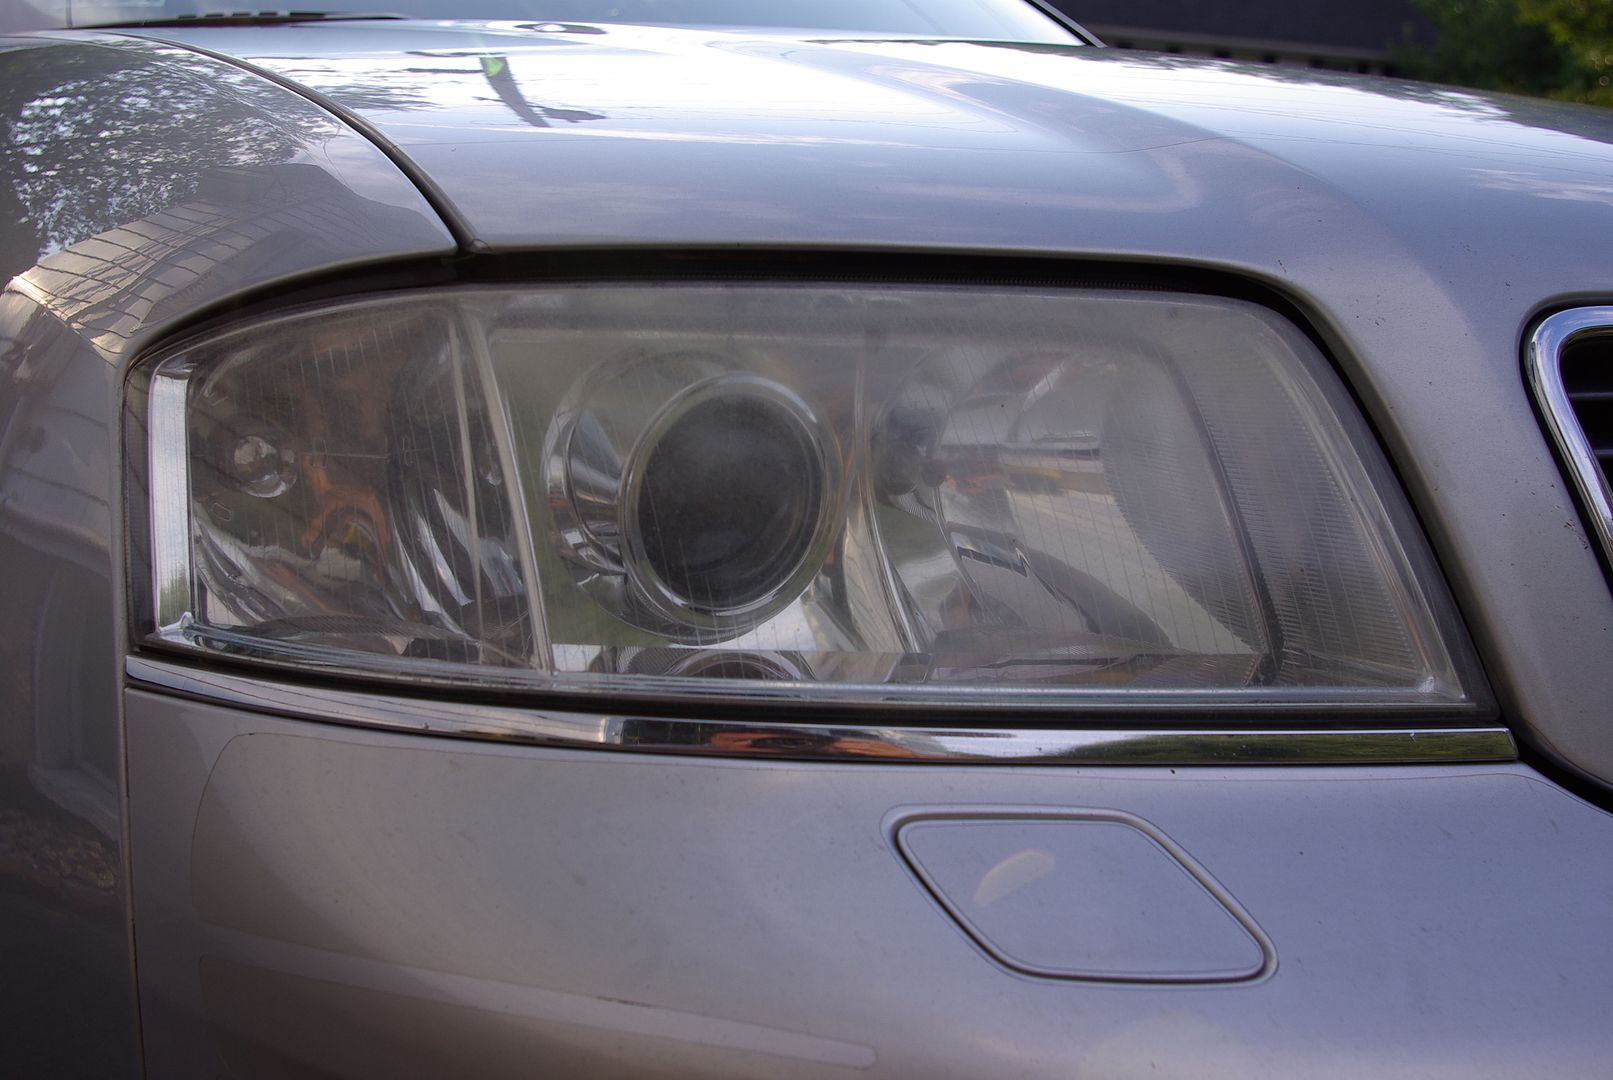
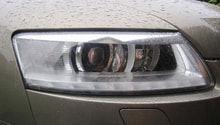
Figure 2. This is a "before" photo of a foggy headlight. 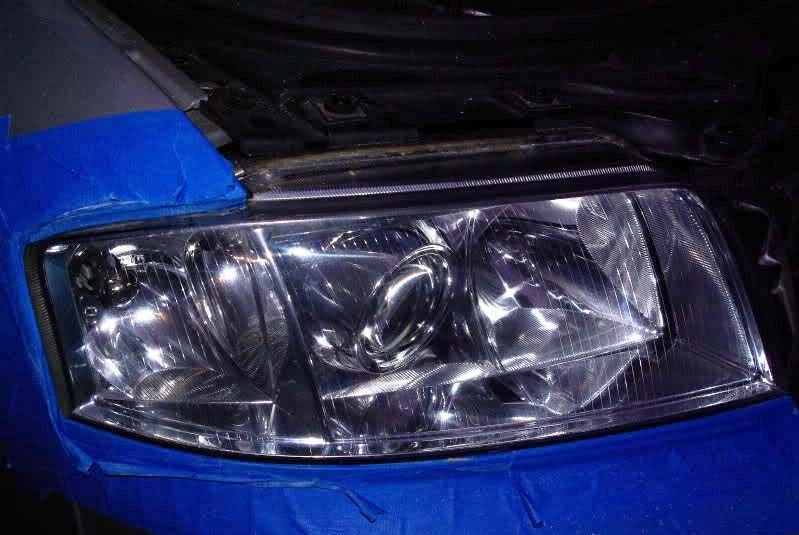
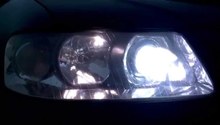
Figure 3. This is an "after" photo of the restored headlight.
Pro Tip
Re-seal your lens using a silicon sealant product when you're done.
Step 3 – Apply a protective film to your lens (optional)
- Protect your lens using a high performance PVC film if desired.
- Apply the self-adhesive film directly to your lens, as directed by the manufacturer, for year-round protection from scratches, discoloration, and other tell-tale signs of aging.
- The protective film will ensure your headlights achieve the greatest level of visibility possible.
- Headlight protection kits start as low as $10 online, and can be changed easily.
- They are also available through local auto parts stores.
- X-Pel is the go-to brand for the Audi and comes highly recommended by many Audi owners.
- Meguiar's, 3M, and Griot's Garage also receive high reviews.

Related Discussion
- Headlight Disassembly Refinishing Repair - Audiworld.com