Head up Display retrofit
#21
ok cool where did you purchase coneector is there a part number for it?
#22
AudiWorld Junior Member
You could get this one
https://www.k-electronic-shop.de/AUD...Kabelsatz.html
or go to youl local dealership and order the connector and 2 wires that fit the connector
they know what parts you need
https://www.k-electronic-shop.de/AUD...Kabelsatz.html
or go to youl local dealership and order the connector and 2 wires that fit the connector
they know what parts you need
The following users liked this post:
Mustafa352003 (03-17-2020)
#23
You could get this one
https://www.k-electronic-shop.de/AUD...Kabelsatz.html
or go to youl local dealership and order the connector and 2 wires that fit the connector
they know what parts you need
https://www.k-electronic-shop.de/AUD...Kabelsatz.html
or go to youl local dealership and order the connector and 2 wires that fit the connector
they know what parts you need

#24
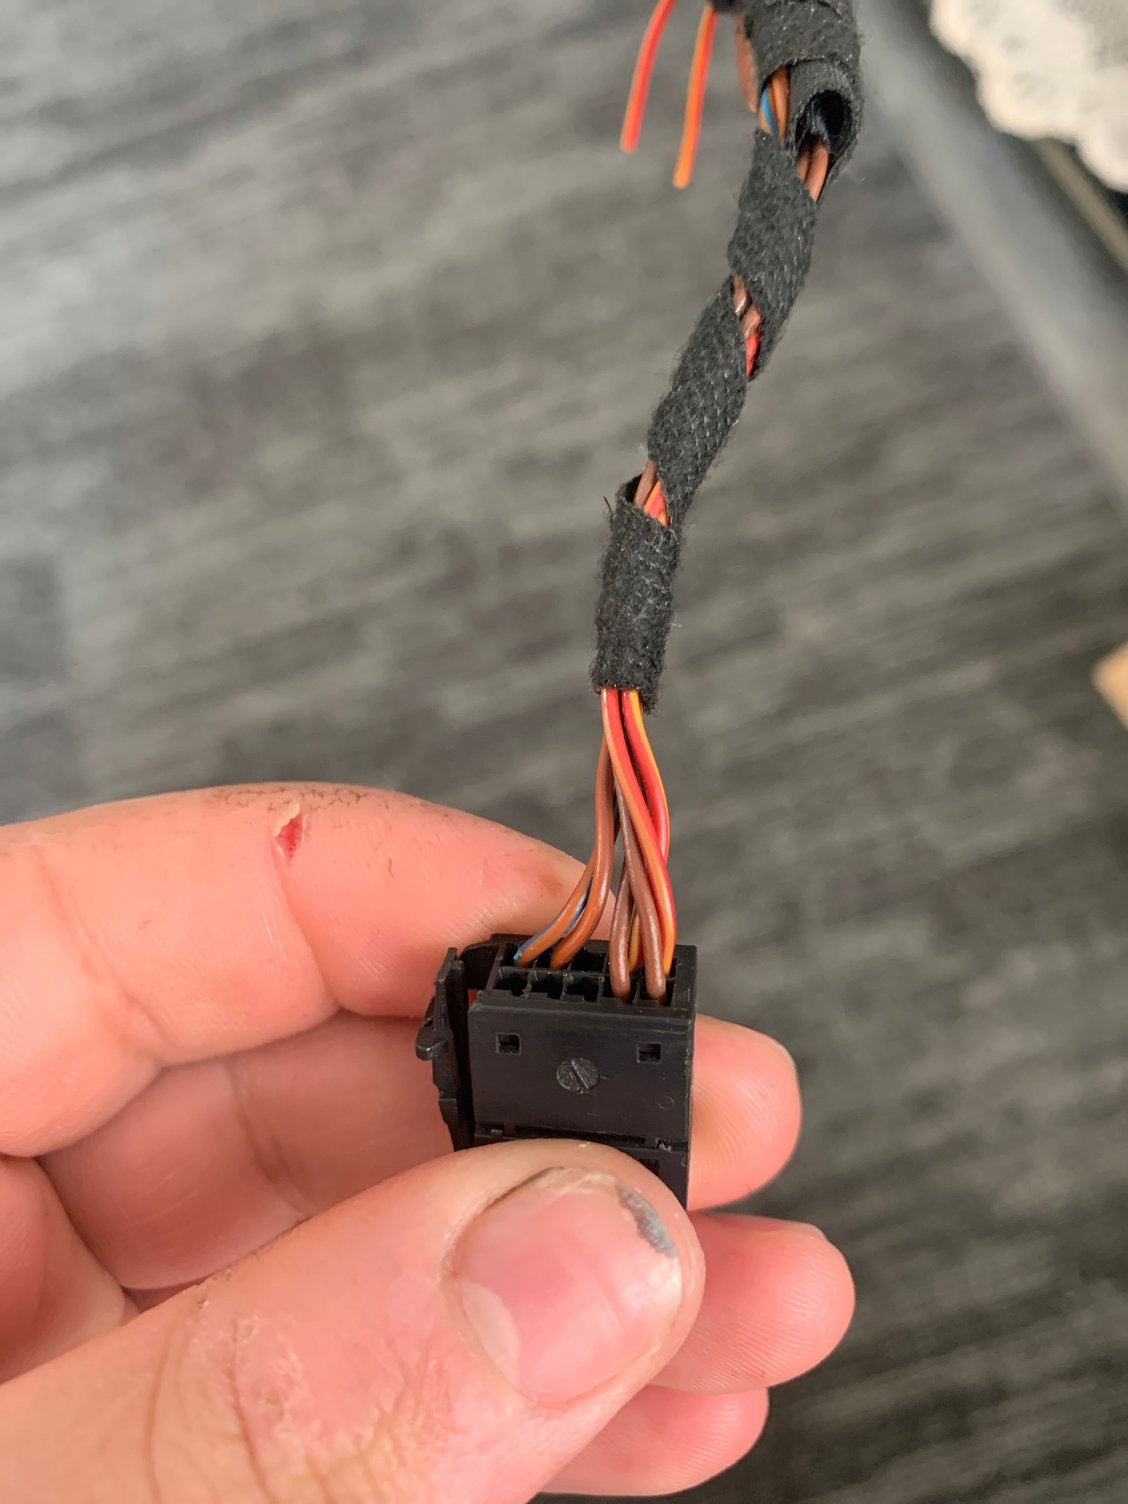
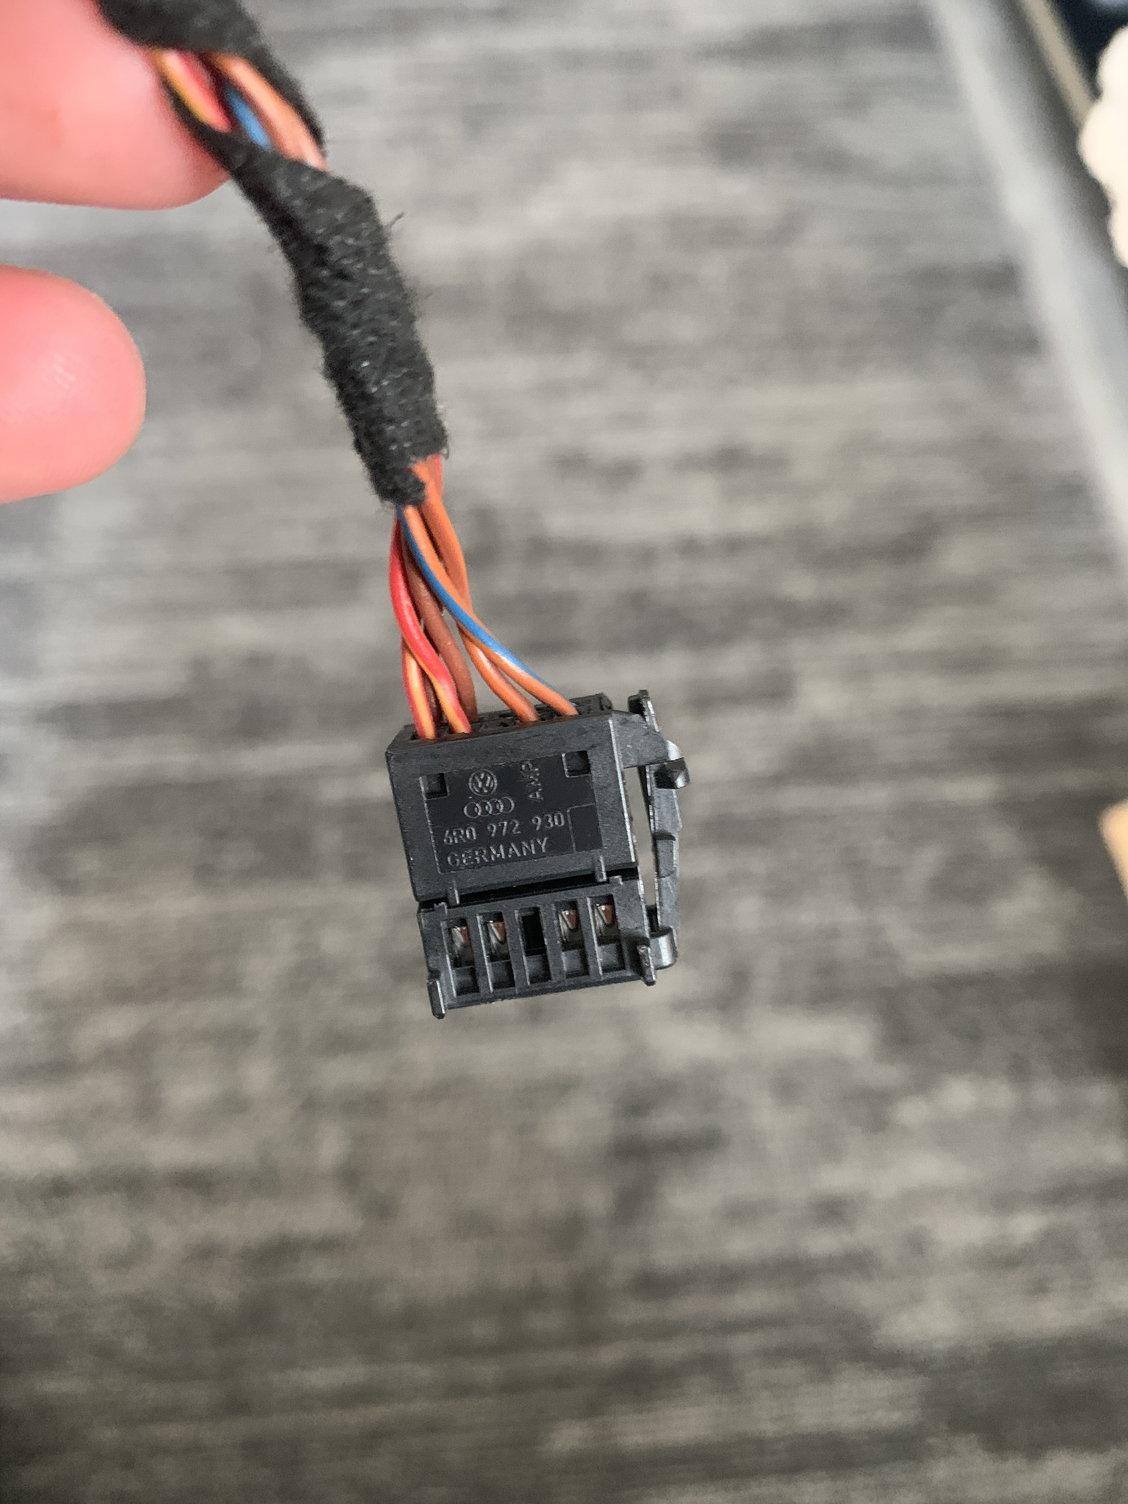
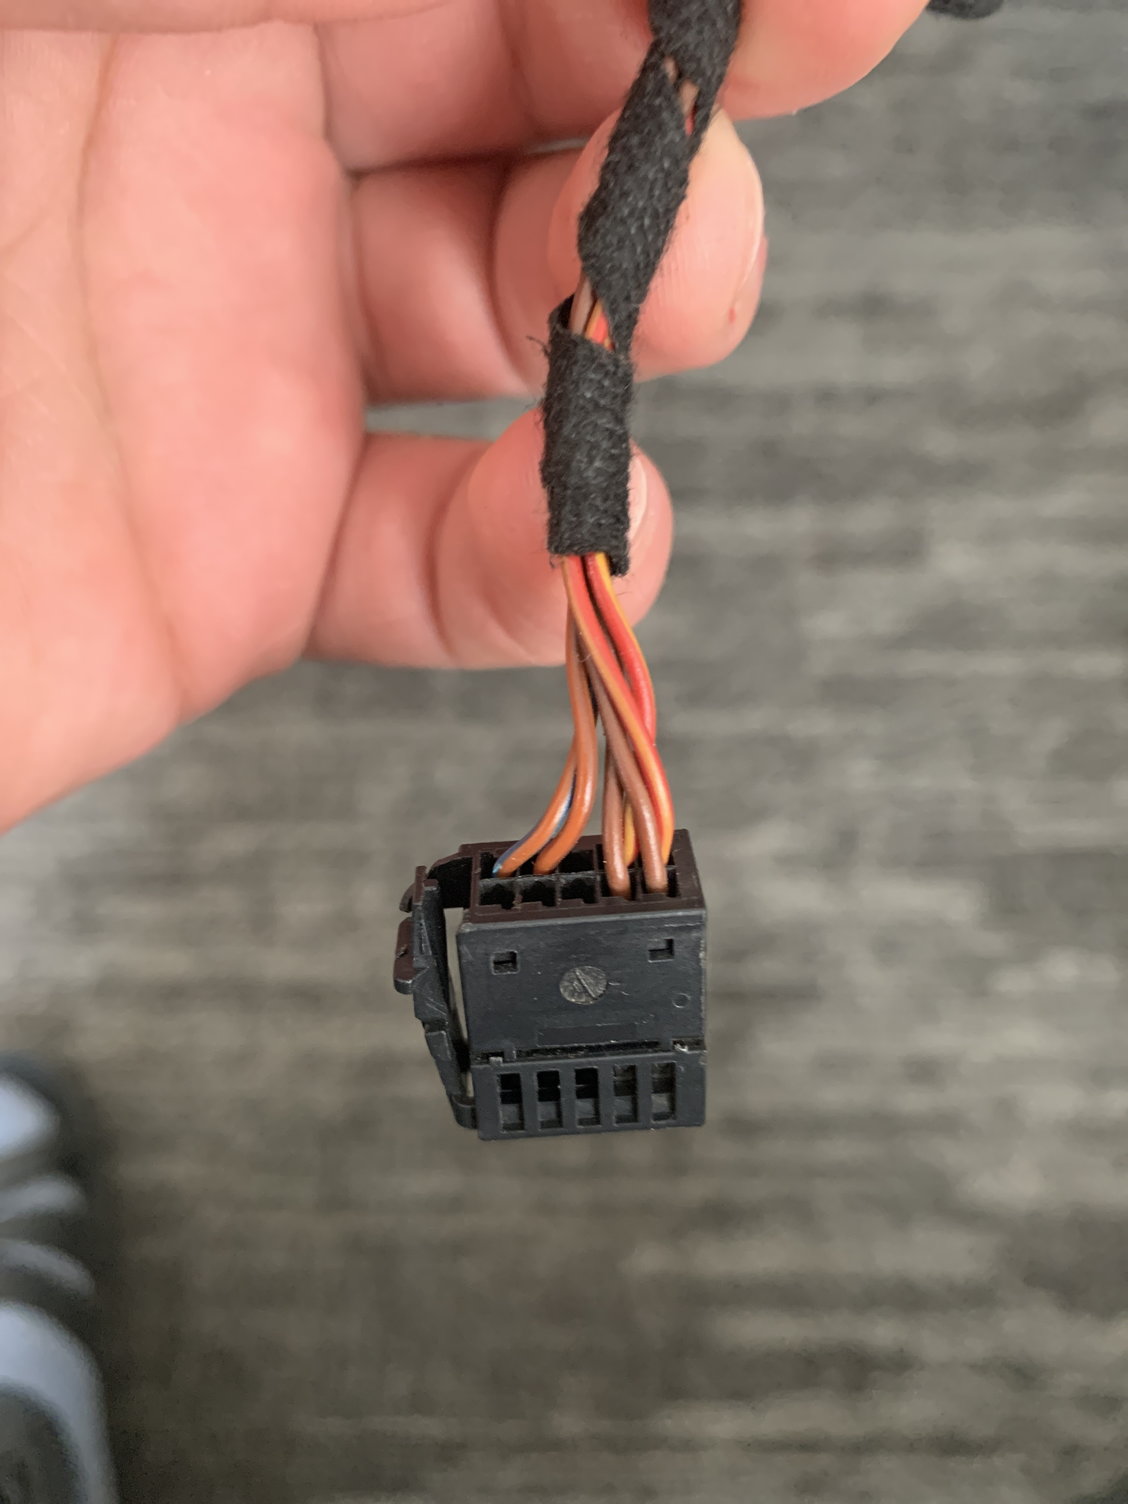
i should clarify so i when i got my new dash because i needed to replace it anyway i told the shop giving me the dash to include the bracket, hardware and the unit i just donít know where exactly the wire connect so for positive is it the two orange and red wires? And for ground is it the brown one? And where exactly is the best place to get power for it Also the can bus high and low where do the connect and to which pins because if i had to guess you have to pin the to a connector .
#25
AudiWorld Junior Member
Orange / brown is can bus low
Orange / blue is canbus high
You can extend the cables and connect them in the can bus connector at the bottom of the A pillar, or attach them to the canbus wires going to the instrument
Jusk connet the wires to the same collor combination in the wiringloom and all is ok. Just remember to disconect the battery first
Red is positive
Brown is negative
I cannot answer why you have two of both tho
And the coding is fairly straight forward, but depends on if its a face or pre face
Last edited by Rizzio; 03-19-2020 at 03:02 AM.
#26
Orange / brown is can bus low
Orange / blue is canbus high
You can extend the cables and connect them in the can bus connector at the bottom of the A pillar, or attach them to the canbus wires going to the instrument
Jusk connet the wires to the same collor combination in the wiringloom and all is ok. Just remember to disconect the battery first
Red is positive
Brown is negative
I cannot answer why you have two of both tho
And the coding is fairly straight forward, but depends on if its a face or pre face
Orange / blue is canbus high
You can extend the cables and connect them in the can bus connector at the bottom of the A pillar, or attach them to the canbus wires going to the instrument
Jusk connet the wires to the same collor combination in the wiringloom and all is ok. Just remember to disconect the battery first
Red is positive
Brown is negative
I cannot answer why you have two of both tho
And the coding is fairly straight forward, but depends on if its a face or pre face
#27
Orange / brown is can bus low
Orange / blue is canbus high
You can extend the cables and connect them in the can bus connector at the bottom of the A pillar, or attach them to the canbus wires going to the instrument
Jusk connet the wires to the same collor combination in the wiringloom and all is ok. Just remember to disconect the battery first
Red is positive
Brown is negative
I cannot answer why you have two of both tho
And the coding is fairly straight forward, but depends on if its a face or pre face
Orange / blue is canbus high
You can extend the cables and connect them in the can bus connector at the bottom of the A pillar, or attach them to the canbus wires going to the instrument
Jusk connet the wires to the same collor combination in the wiringloom and all is ok. Just remember to disconect the battery first
Red is positive
Brown is negative
I cannot answer why you have two of both tho
And the coding is fairly straight forward, but depends on if its a face or pre face
so i have some questions about coding as i finally have the car back together since i was finishing body work i have the error that it is not registered so how do i code it i have vcds and the cable I'm pretty sure my car is pre facelift as it has older headlights and taillights and the mmi is older 3g one as i only have sd1 and sd2 slot so my question is how do i register it or code it to my car?
#28
AudiWorld Junior Member
Could you access the green menu in your mmi?
if no, vcds, log into 5F, adaptations 10, channel 6, set to 1. save, exit, reboot mmi
green menu /car / cardevicelist / headup display to checked, then find carmenuoperation, scroll down to headup display, set the scrollbar to 5, go out of the menu, reboot mmi
enter adress 19 in vcds, installation list, add headup 82. save, exit.
enter adress 82
bit0 is vze
bit1 is navi info
bit2 is lane assist
bit4 is night vision camera
bit5+6 is 00 no acc
01 is cruicecontroll
10 is adaptive cruice
bit7 is seat memory
select needed, save, exit, have fun
The following 2 users liked this post by Rizzio:
Jimrok123 (04-21-2021),
lionel clerc (04-10-2021)
#29
I did this retrofit in my 2019 A5 SB...I will be making a detailed post about it but in short, I removed and retrofitted the dash to accommodate the HUD...windshield stayed in (the job would be easier with it out)...a lot of work but I’m pleased with the results. I did ultimately change out for a HUD friendly windshield cause I tired of the fuzzy display. Not for the faint of heart - but it is doable with lots of research and patience. Rizzio’s coding is pretty much right on for my B9 too but I did it through long coding in VCDS.
#30
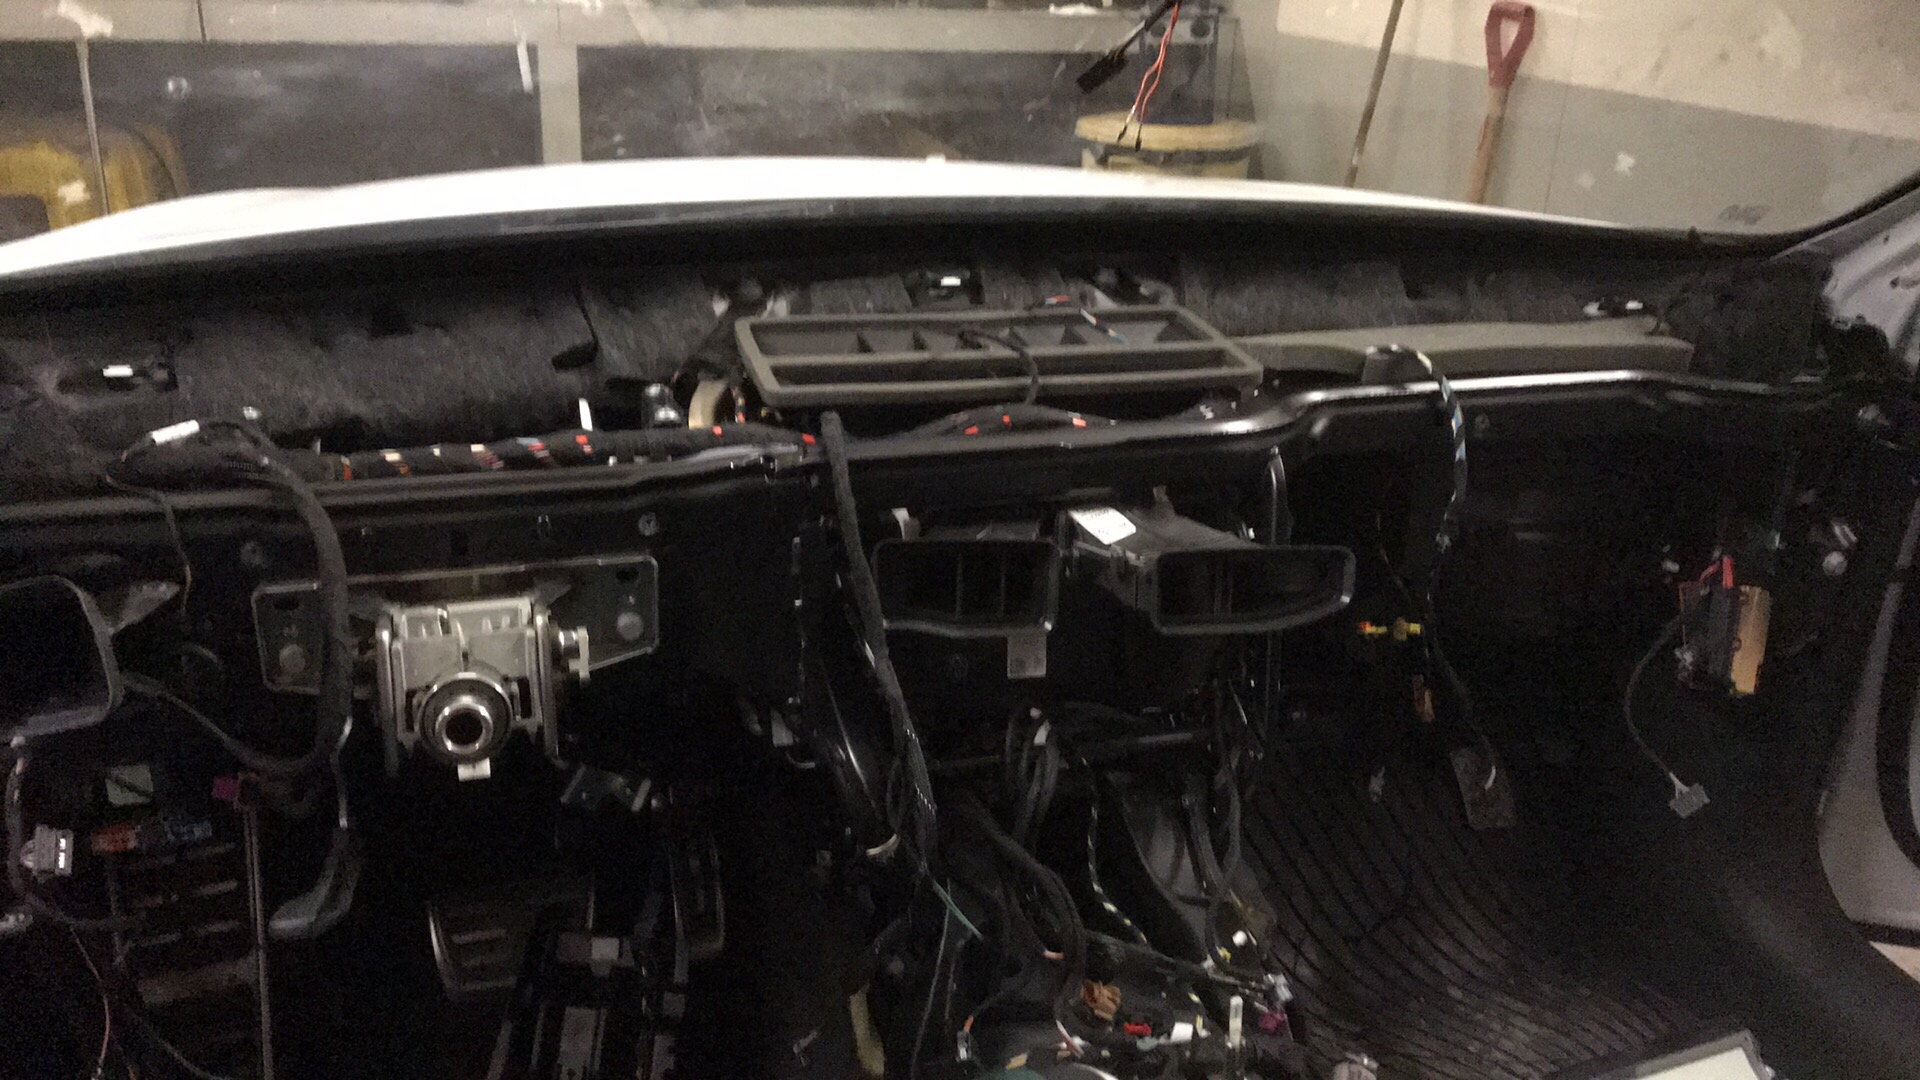

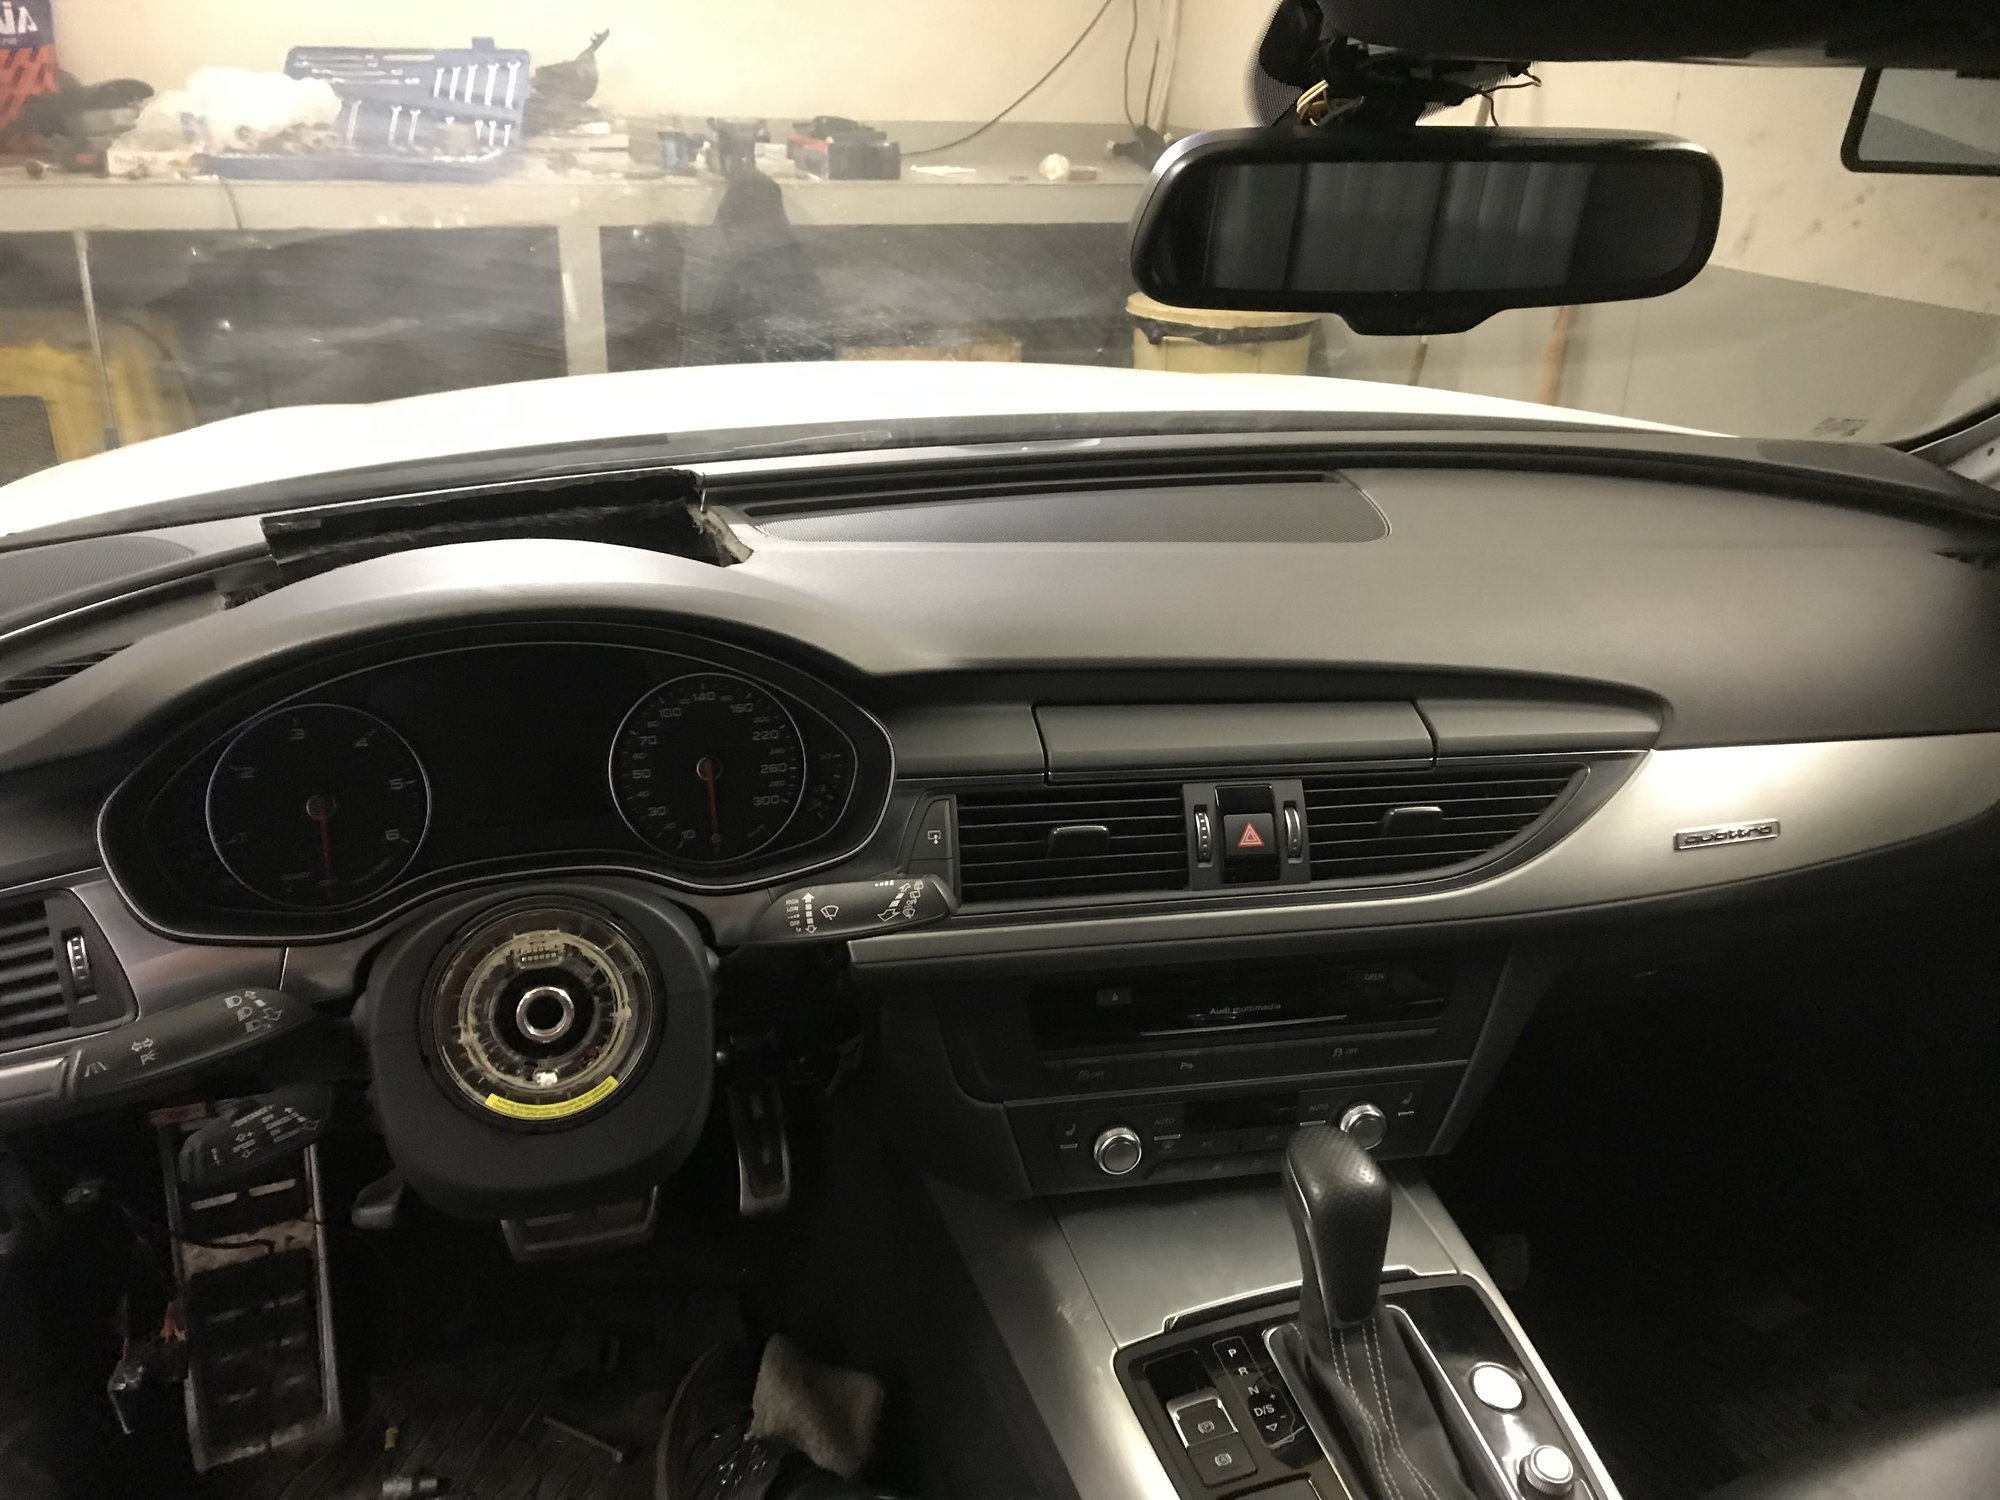
I have done this upgrade on my fl 2015.
its straight forward.
Parts needed is hud windscreen, lightswitch, the complete hud system. New/used cableloom (4 pins) (positive and ground, can high and low) and i do recomend getting a hud dash (yes, its possible to cut it to fit, but damn what a job. Rerouting the airduct is a pain in the ***)
the coding depends on a few details. Facelift or pre facelift. 3g or mib2 player. I have the coding for the fl mib2 high
regarding the retrofit.
Disconnect the battery
out with the windscreen.
Then the senterconsole, before removing all trim and parts in the dashboard.
make shure to take a lot of pictures and remeber where all bolts etc goes.
i fixed my retrofit in one weekend.
I also want to retrofit the HUD in my Audi. Do you remember where you get the measurements for the cut? Or do you just cut it on your own mind?
Thanks

Thread
Thread Starter
Forum
Replies
Last Post
CoolUserName
A6 (C7 Platform) Discussion
7
01-16-2018 04:59 PM


