Audi A3: How to Install NaviTouch Android MMI
If you use an Android based phone, you can now upgrade your Audi MMI to more fully integrate with it thanks to innovations via the aftermarket. Also, thanks to modern technology, this job is only slightly harder than installing a car stereo system used to be, before the advent of smart infotainment systems.
This article applies to the Audi A3 8V (2012-Present).
With seemingly everyone owning a smartphone, tablet, and even smart watches these days, it only makes sense that car companies begin to integrate similar technology into the vehicles they sell. Unfortunately, tech in modern cars can't change as quickly as tech in our pockets. But fortunately, the aftermarket is there to help with some pretty innovative solutions. The NaviTouch system by VagNavisystems allows you to replace the 5.8" MMI screen in your A3 with a 7" one that runs the Android operating system, while still performing all the factory Audi functions. If you're looking to add some serious functionality and modern tech to your A3, the NaviTouch is a great way to do so.

Materials Needed
- Drill
- 8mm hex socket
- 10mm hex socket
- 13mm hex socket
- Pliers with cutting surface
- Phillips screwdriver
- Flat head screwdriver
- T25 Torx screwdriver
- Conical drill bit
- Zip ties
- Nylon wedge or panel removal tool
- Audi removal tool/hook
- Tape
- Double sided tape
Step 1 – Remove factory monitor
Open the air vents fully and use the specialized Audi removal hook tool to remove them. Once you pull the air vents out, remove the Torx screws behind them. Turn on the factory monitor and wrap some tape around the head of a flat head screwdriver. Insert the screwdriver into the left vent hole and carefully press up on the monitor's tab until the panel pops out. Turn off the monitor and remove the key from the ignition. Pull the monitor up out of the dash and disconnect the car's battery. Disconnect the image cable, joint clamp, and power connector from the back of the monitor, then remove the monitor.

Figure 1. Remove the air vents. 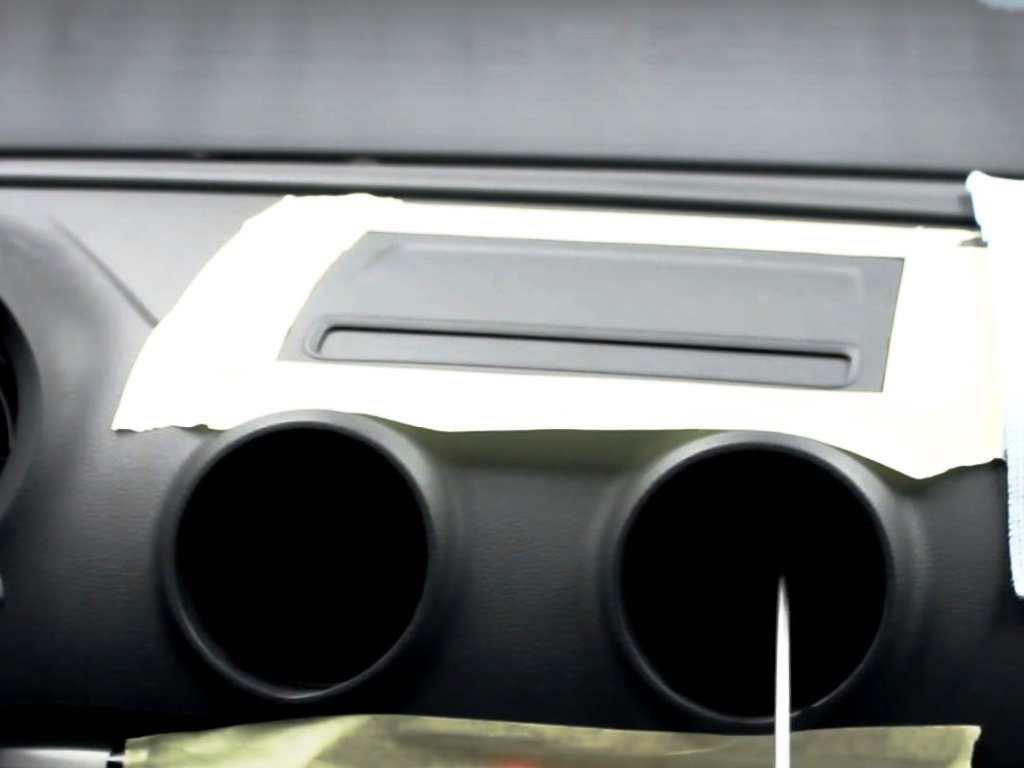
Figure 2. Remove the Torx screws behind the air vents. 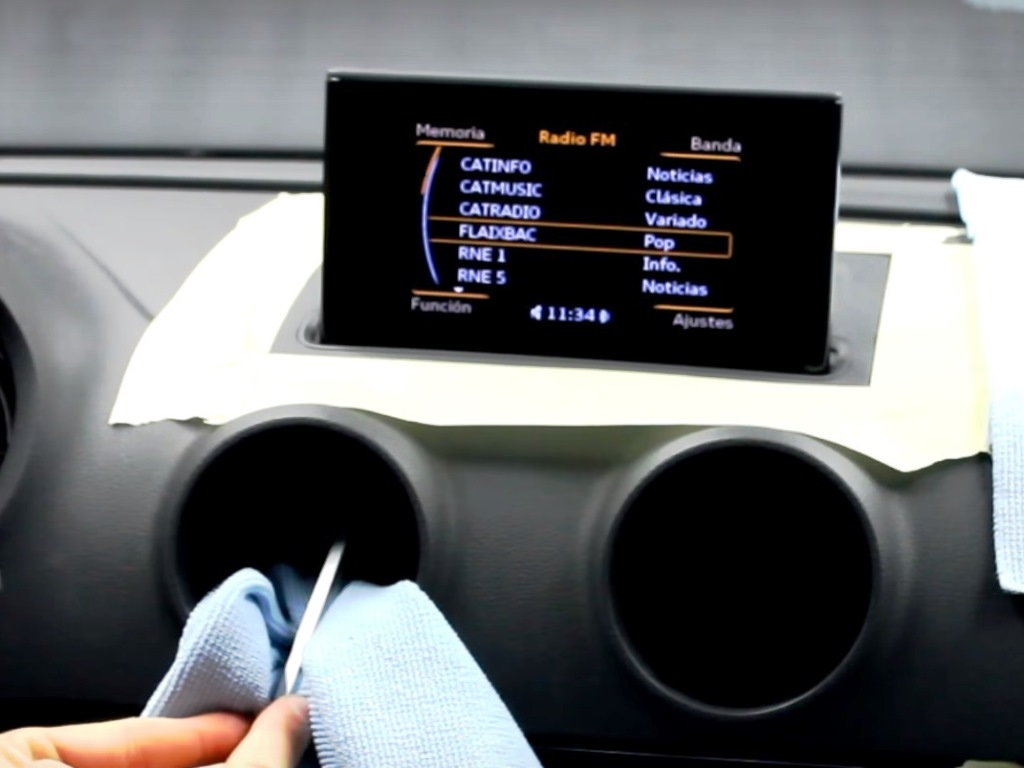
Figure 3. Pry the tab loose. 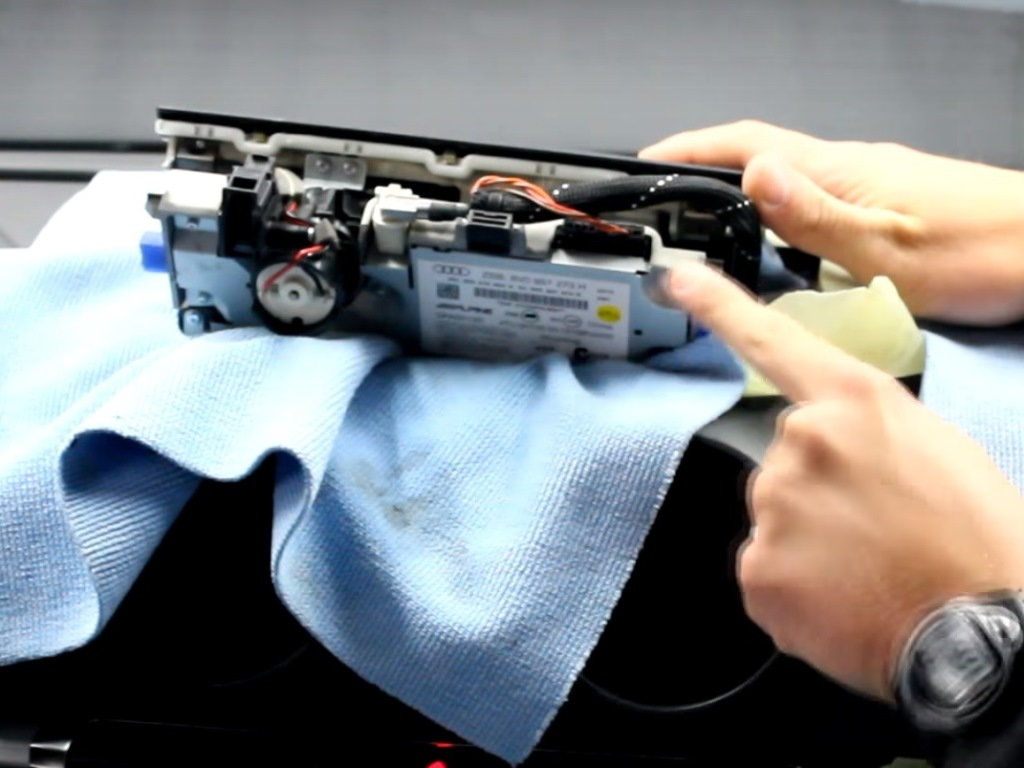
Figure 4. Remove the connections from the factory monitor.
Step 2 – Remove the factory infotainment system
Remove the passenger side glove box side panel using a nylon wedge or panel removal tool. Remove the screw in the middle of the removed panel (Figure 6). Remove the two screws underneath the glove box, one on each end. Use the specific Audi removal tools to remove the infotainment system inside the glove box. Disconnect the electrical connectors on the back of the system and pull it out.
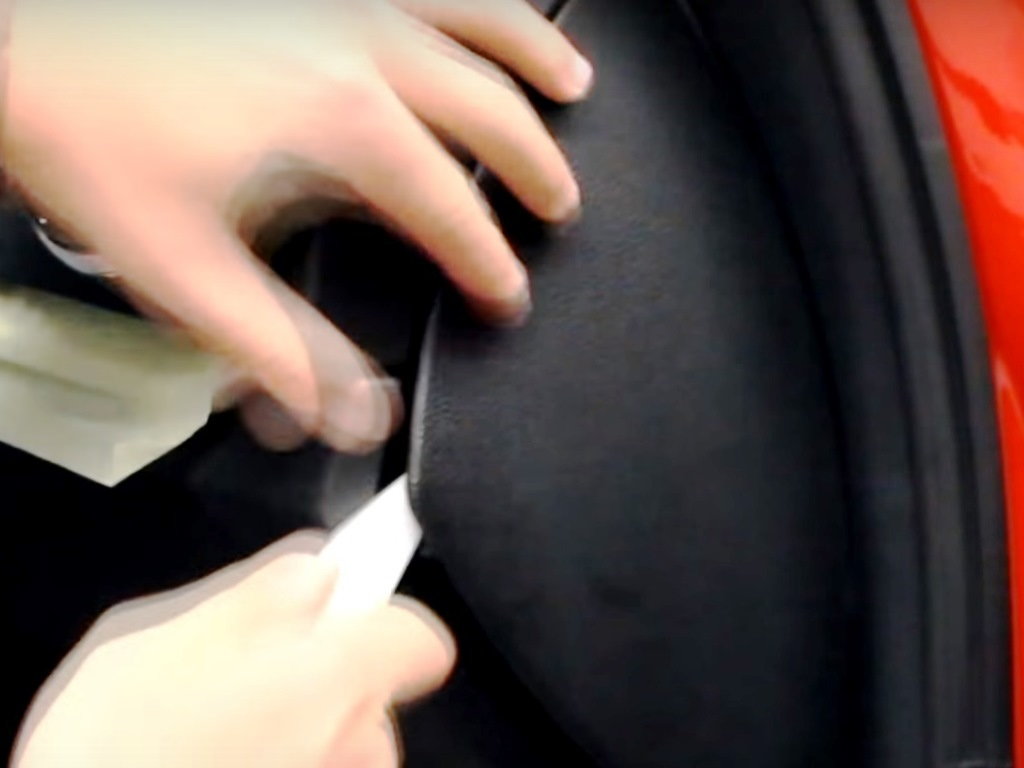
Figure 5. Remove the side panel. 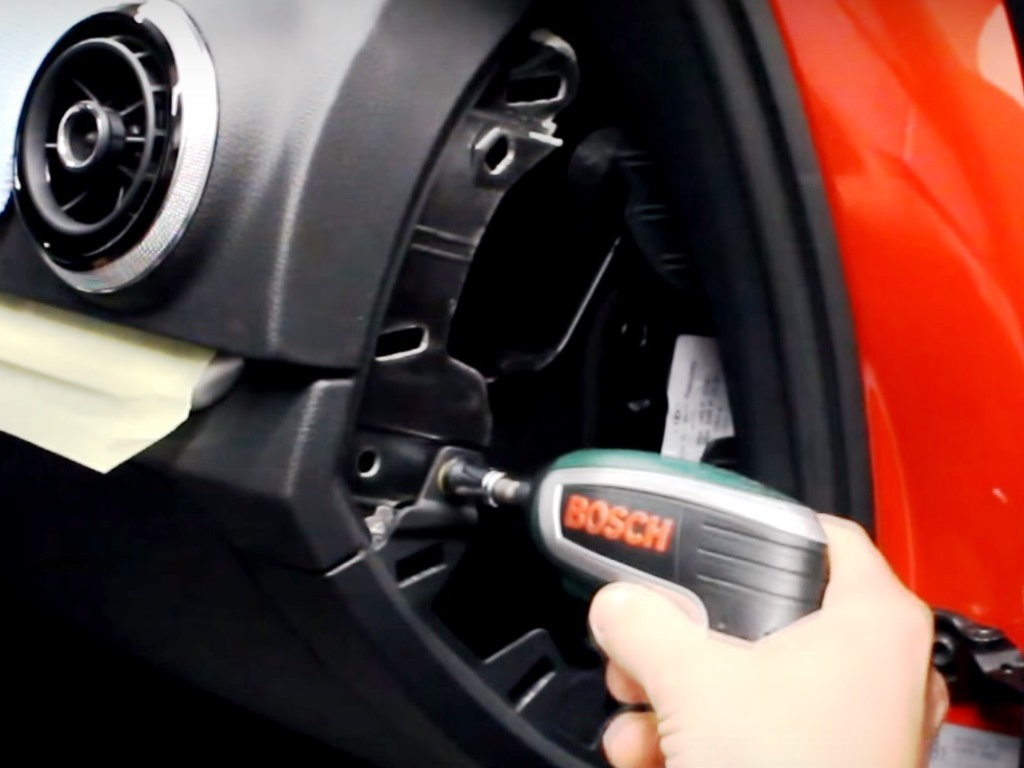
Figure 6. Remove the screw shown. 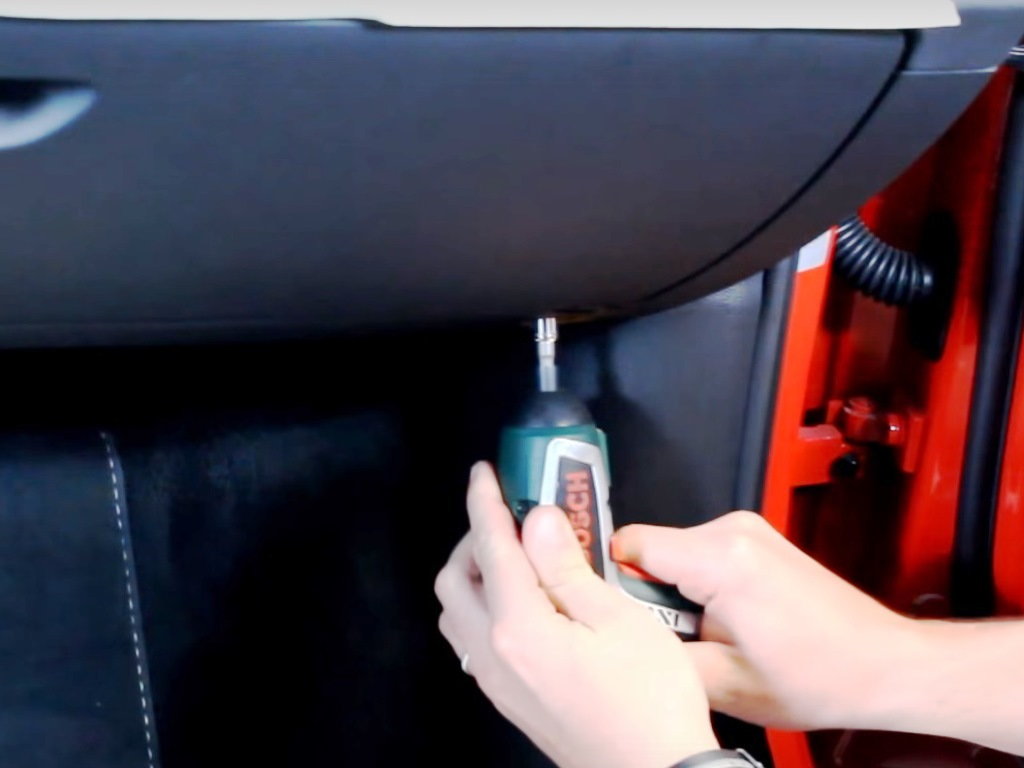
Figure 7. Remove the two screws underneath the glove box. 
Figure 8. Remove the infotainment system using the factory keys.
Step 3 – Remove glove box and install NaviTouch components
Remove the five screws located in the top inside of the glove box, then pull the glove box down. Remove the light connection and shock absorber from the glove box, then disconnect the airbag deactivator and remove the glove box. Use a drill with a conical drill bit to make a 20mm hole in front of the glove box's light (Figure 10). Pass the cable of the USB socket through the new hole. Place the SD card with double sided tape at the bottom of the airbag deactivator. Pass the cable for the SD card through the inside of the glove box and set the inside cover back in the glove box. If you purchased the plug and play connectors, install them at this time, or splice the vehicle's wiring harness as indicated in the manual. Set the voice module inside the left hole of the glove box and reinstall the glove box.
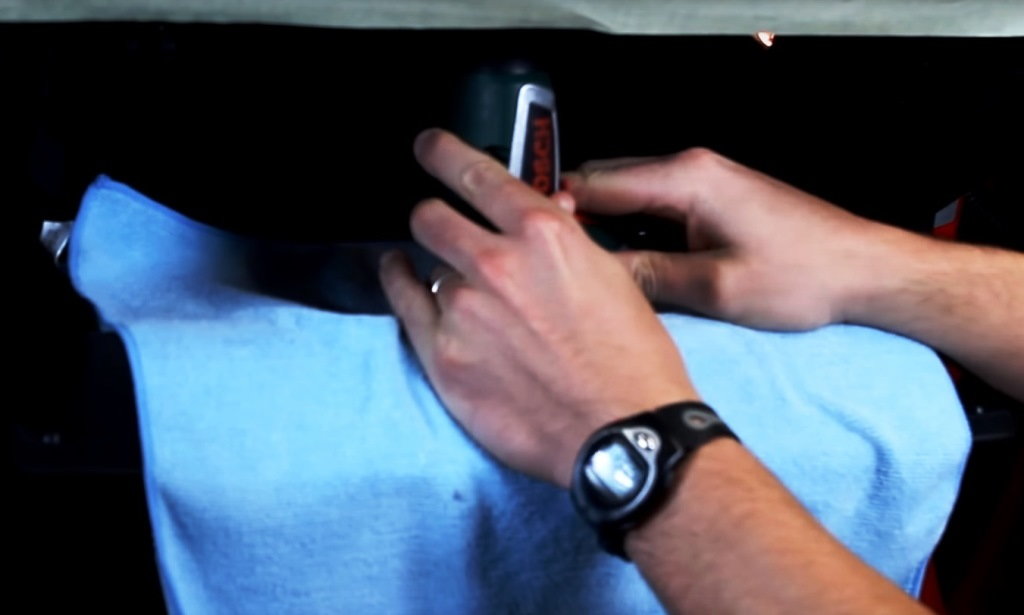
Figure 9. Remove the five screws and electrical connectors that hold the glove box in place. 
Figure 10. Drill a 20mm hole in the side of the glove box with a conical bit. 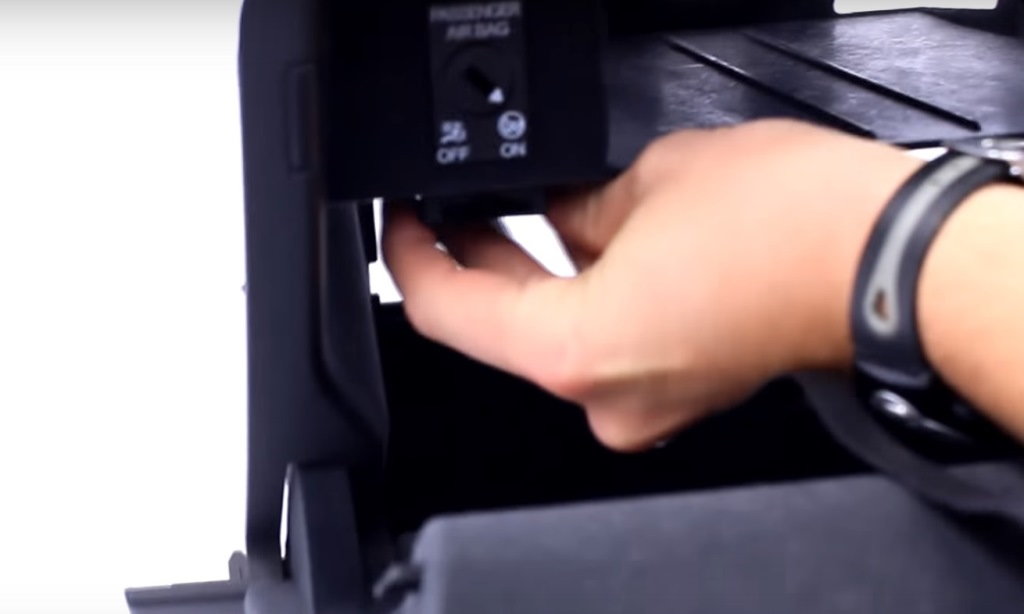
Figure 11. Install the SD card as shown using double sided tape.
Step 4 – Install GPS antenna and NaviTouch power and ground
Use a nylon wedge to remove the airbag's lateral cover. Disassemble the pillar using the specialized Audi tool. Disconnect the connector from the pillar and remove it. Place the GPS antenna in the upper right-hand corner of the pillar. Remove the dashboard's left side cover and ground the NaviTouch module as shown in Figure 15. Remove the fuse cover underneath the headlight switch and install the power connections.
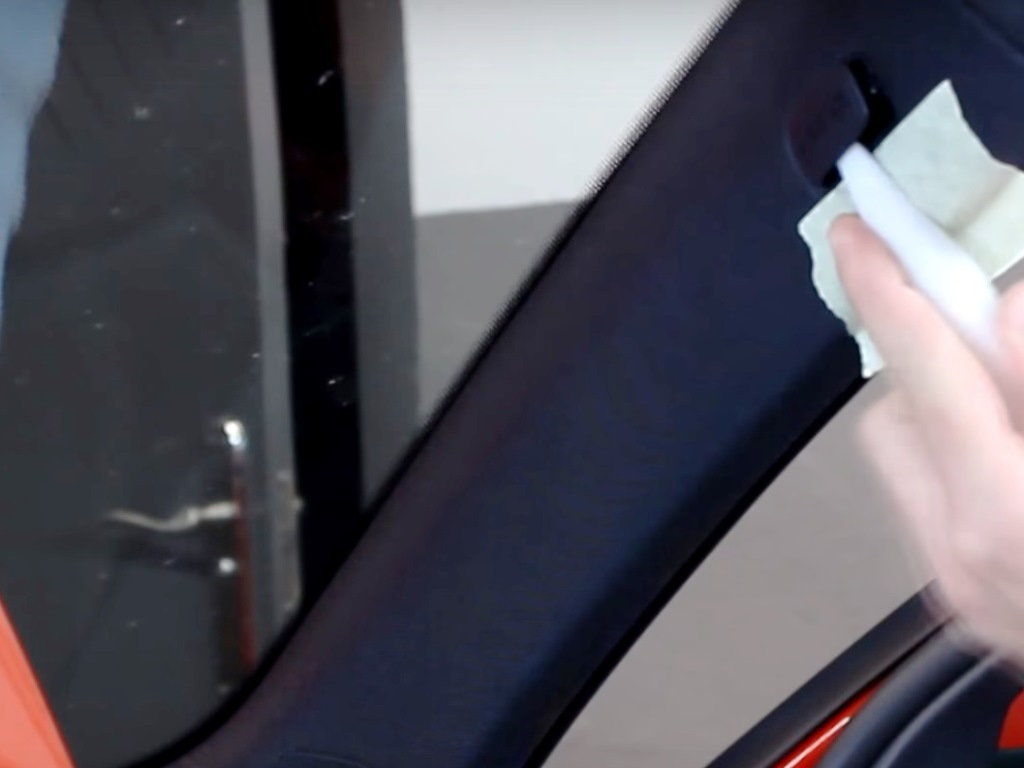
Figure 12. Remove the airbag's lateral cover. 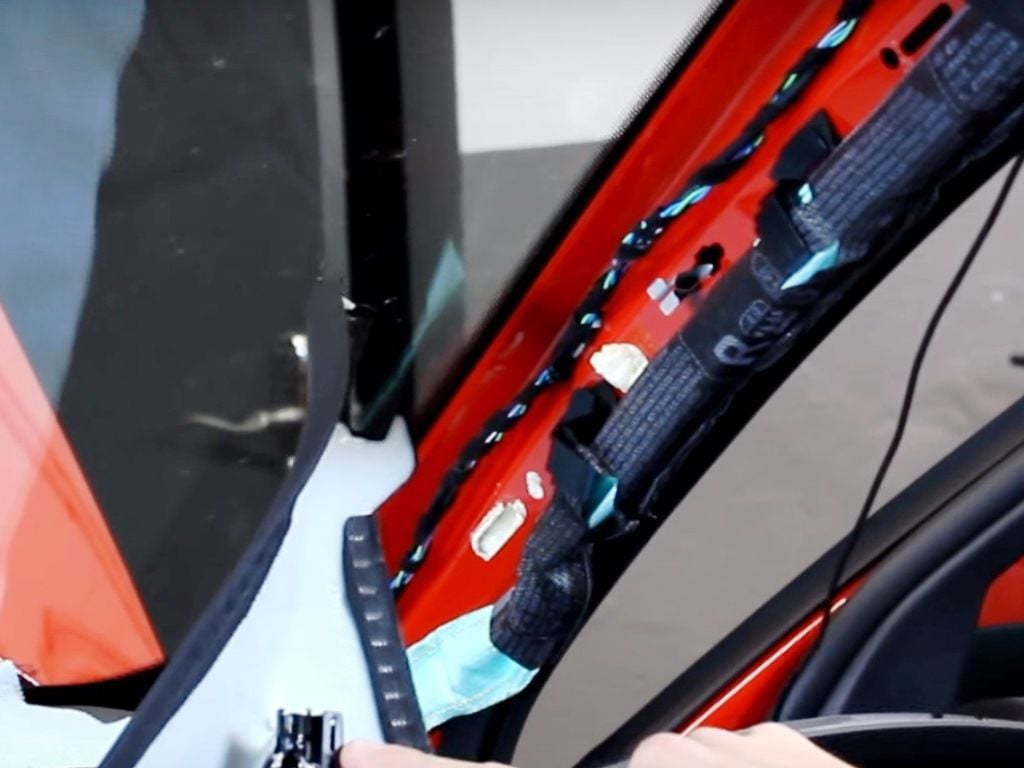
Figure 13. Remove the pillar. 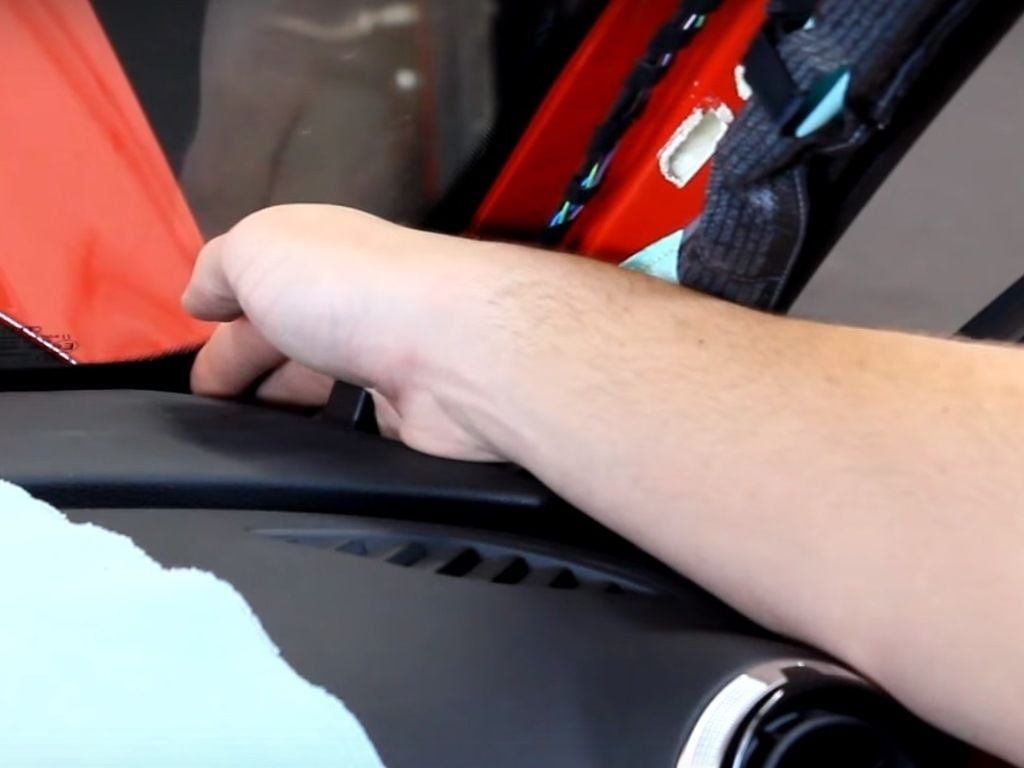
Figure 14. Set the GPS antenna in place. 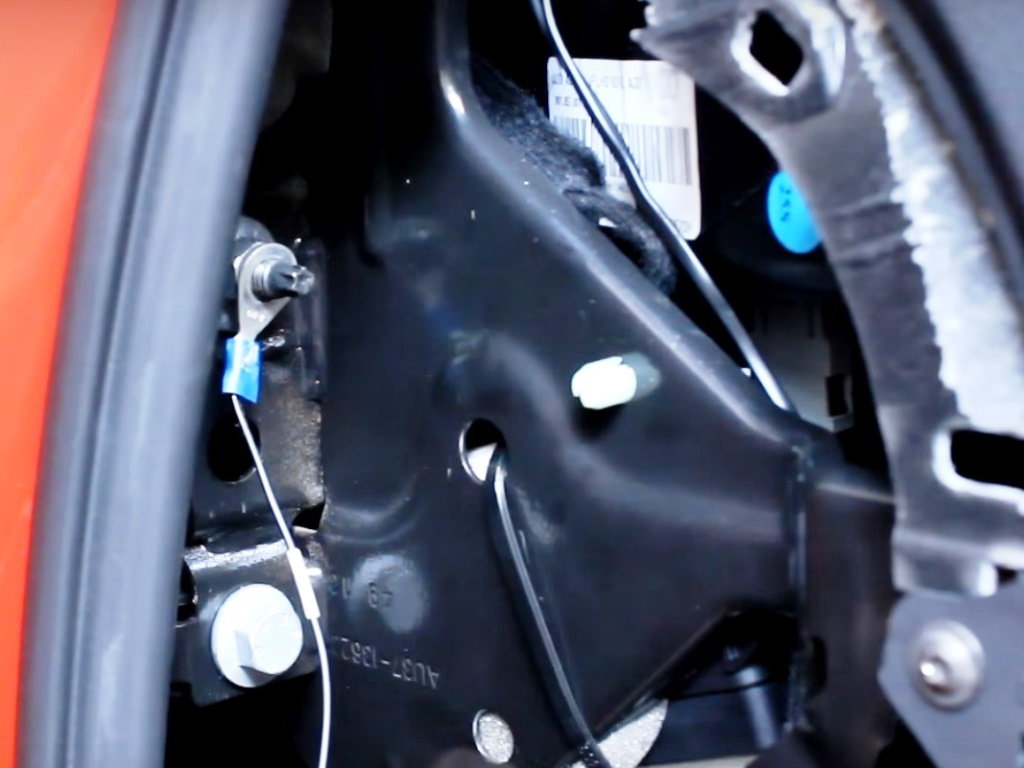
Figure 15. Install the ground wire. 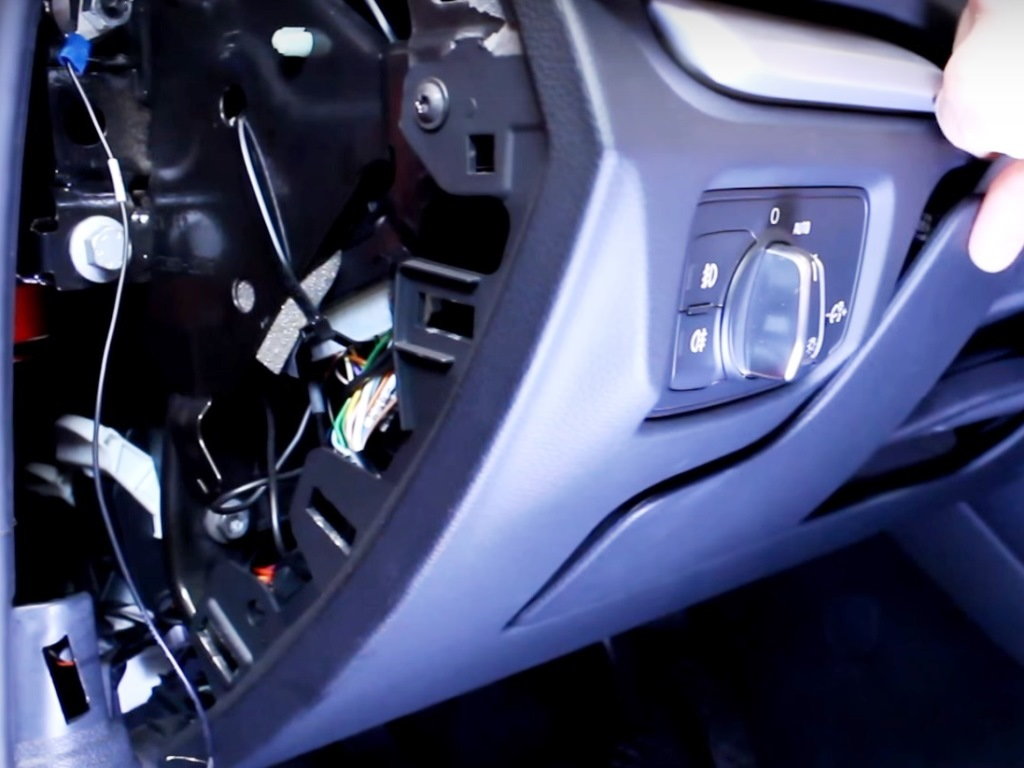
Figure 16. Remove the fuse panel cover and install the power wire.
Step 5 – Install NaviTouch monitor and module
Pass the connection cables through the hole in the dash where the monitor resides and install the connectors onto the new monitor. Set the monitor back into the dash and press down on it to lock it into place. Reinstall the Torx screws in the vent holes, then reinstall the vents. Install the NaviTouch module inside the glove box and attach it to the right-hand side using zip ties as shown in Figure 18. Install the image cable and wiring harness to the module. Once finished, reconnect the battery and test the system, then reinstall the glove box and pillar.
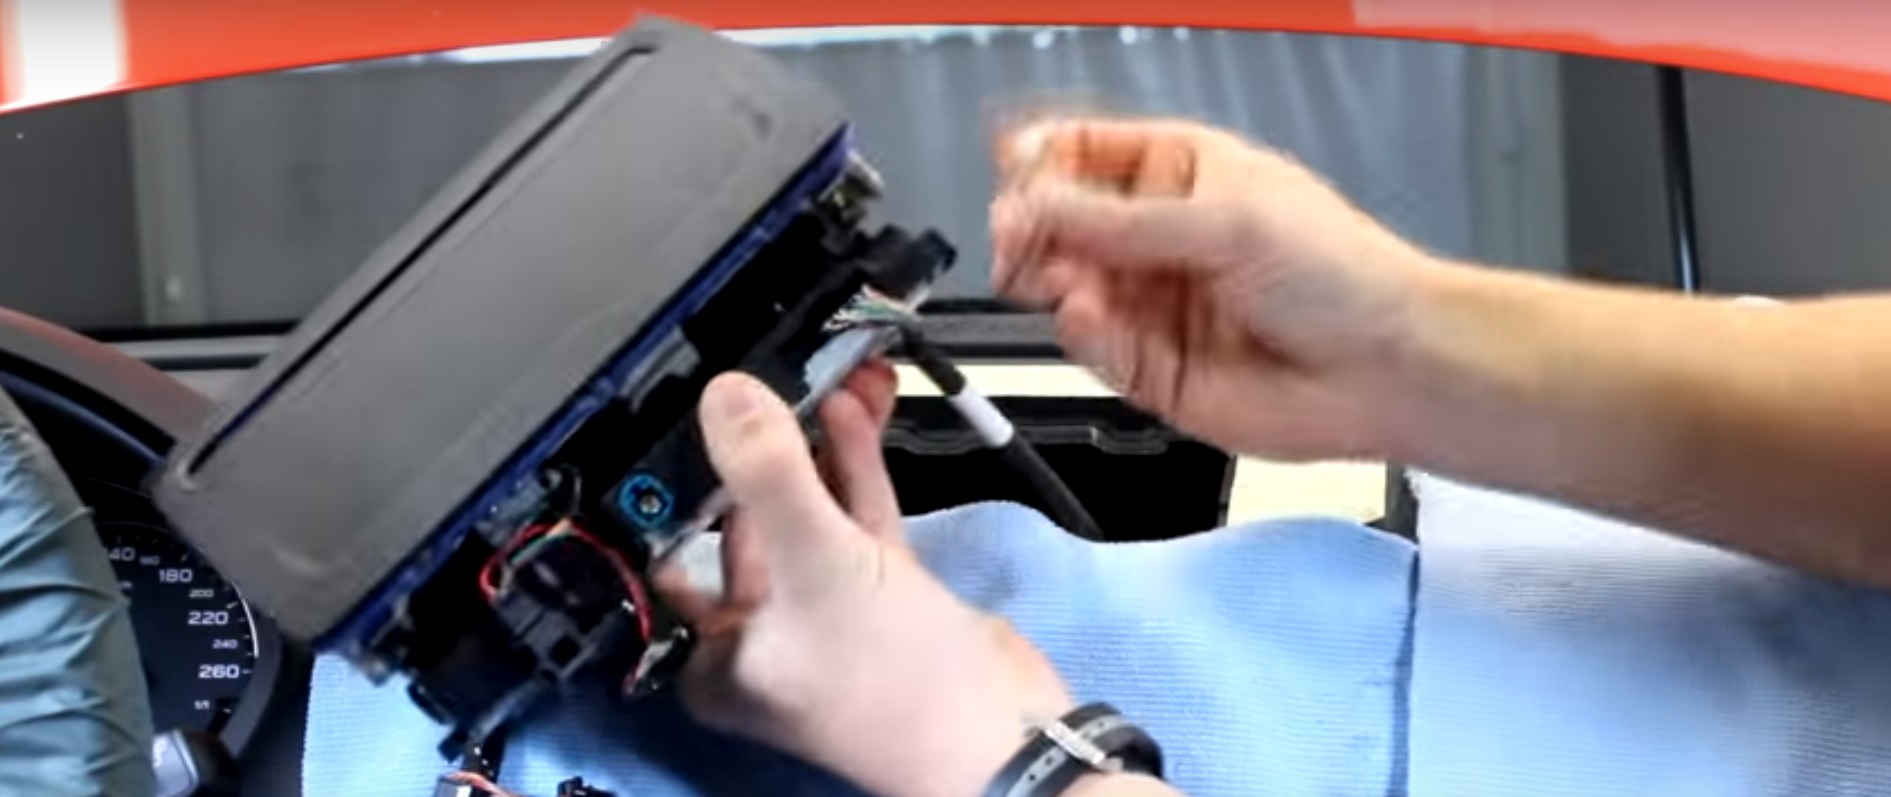
Figure 17. Install the new monitor. 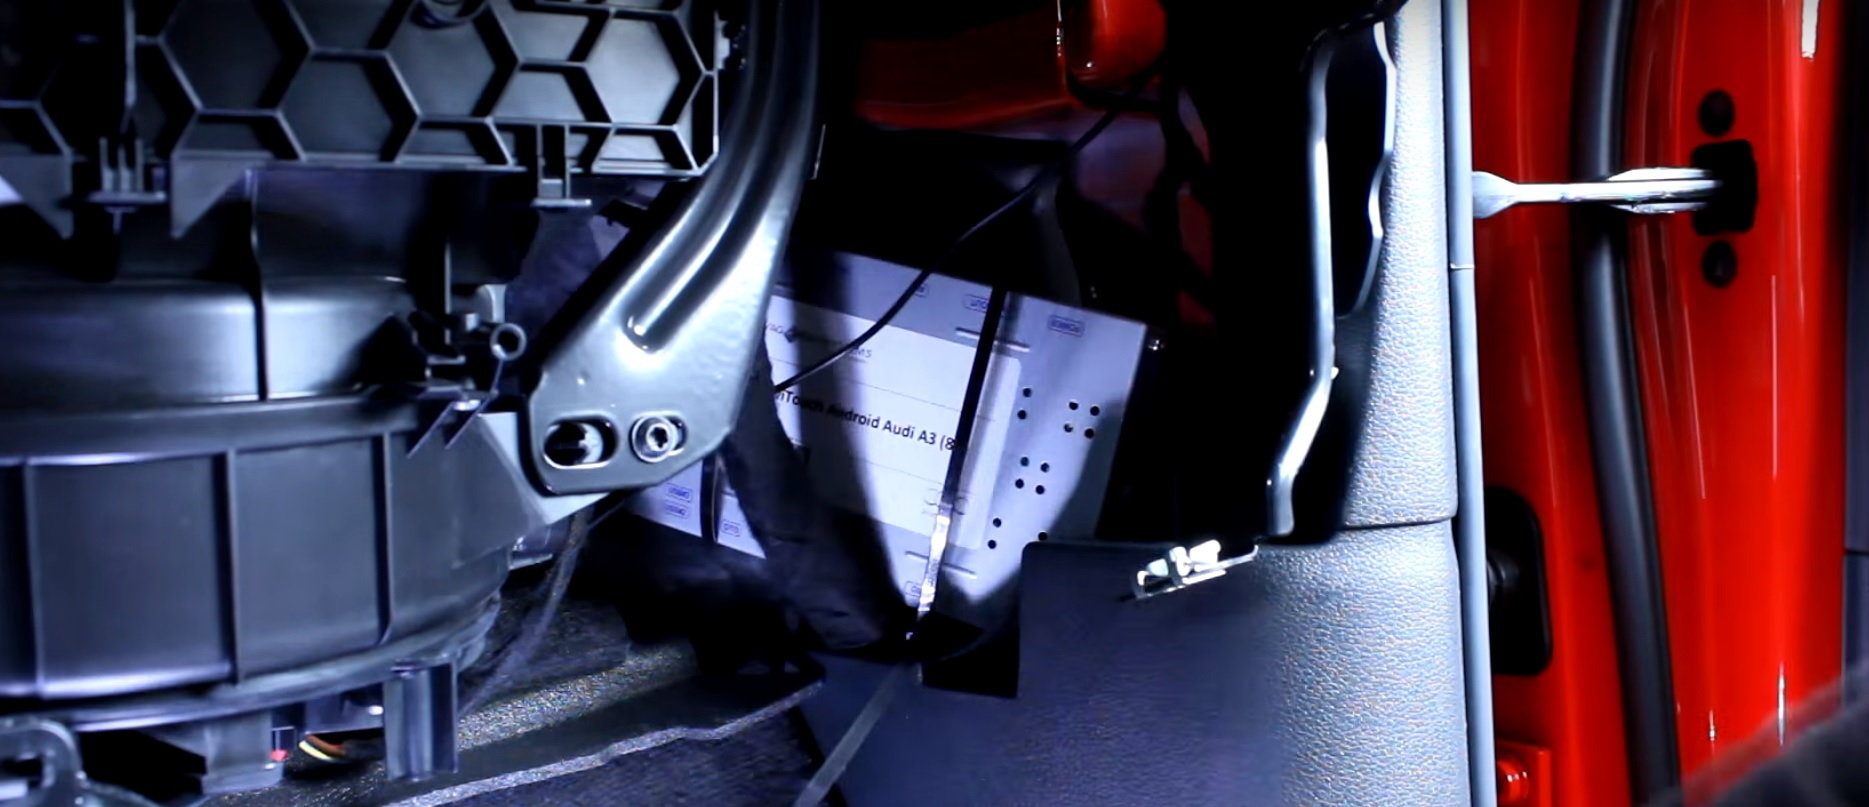
Figure 18. Install the module.
Featured Video: NaviTouch Android Audi A3 Installation
Related Discussion
- Anyone Use this Android Screen Replacement? - AudiWorld.com