Audi A6 C5/C6: How to Install HID Fog Lights
Want to install some HID fog lights to match your HID headlights? This article will walk you through the process, step by step.
This article applies to the Audi A6 C5/C6 (1998-2011).
High intensity discharge (HID) lighting has gained a lot of popularity over the years thanks in large part to its brightness – up to two to three times more than standard halogen bulbs. In spite of this vastly improved output, HID lights require less power to operate and have a long life. On top of all of those benefits, HID lights look great as well and produce an unmistakable white glow. Plus, if you have HID headlights and don't want to settle for keeping your standard halogen fog lights, you don't have to. Here's how to install a set of HID fog lights on your A6.

Materials Needed
- Drill
- Torx driver and bits
- 1" hole saw or forcer bit
- Wire cutters
- Flat head screwdriver
- HID digital ballast
- Error canceller capacitors/resistors
- HID H7 bulbs
- Zip ties
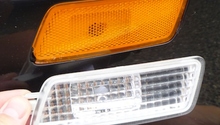
Step 1 – Remove the fog lights
- Remove the grille and the two Torx screws that hold the fog lights in place.
- Unplug the factory wiring harness from the fog lights and remove them.
- Use a flat head screwdriver to pry up the three tabs on the back of the fog lights to separate the front and rear housings.
- Remove the wiring harness from the halogen bulb by wiggling it a little bit, being careful not to bend the retainer clips.

Figure 1. Remove the grille and fog lights. 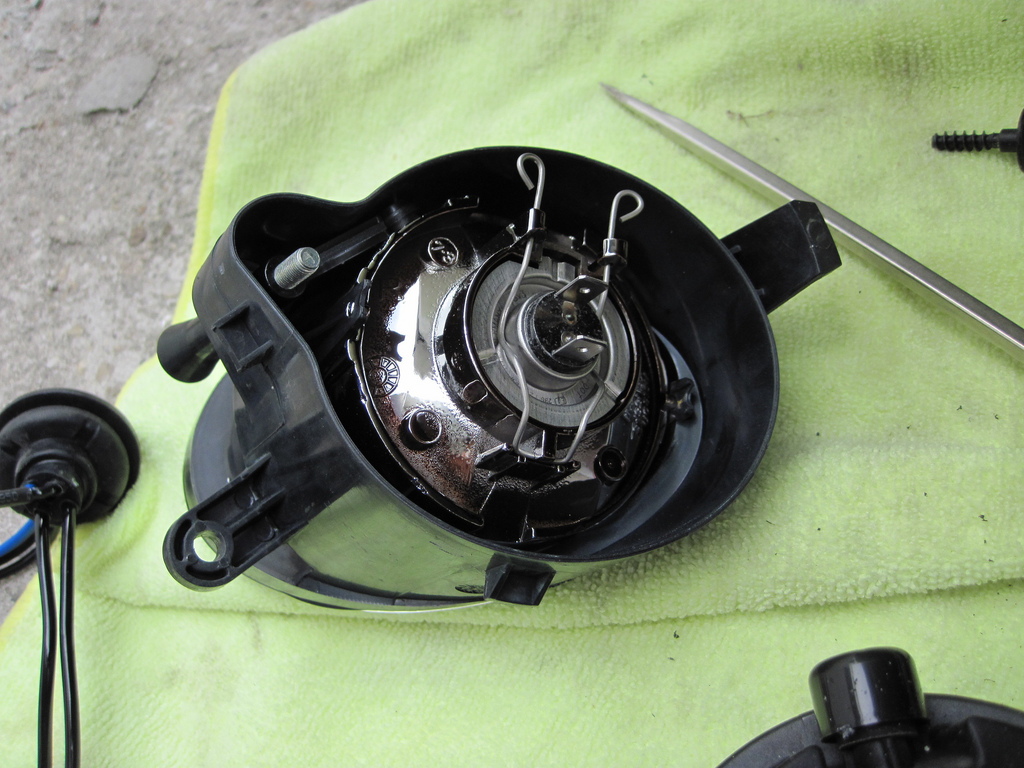
Figure 2. Separate the front and rear housings and remove the bulbs.
Step 2 – Install new lighting in the housings
- Drill a 1" hole in the center of the back of the housing (there is already a mark in the center from the factory). Don't put too much pressure on the bit while you are drilling or you might crack the housing.
- Feed the wires and the grommet through your freshly drilled hole.
- Unclip the old halogen bulb from the housing and remove it, then install the HID bulb.
- Take the positive and negative wires from the error canceller (EC) and plug them into the black harness.
Figure 3. Drill a hole in the center of the rear of the housing. 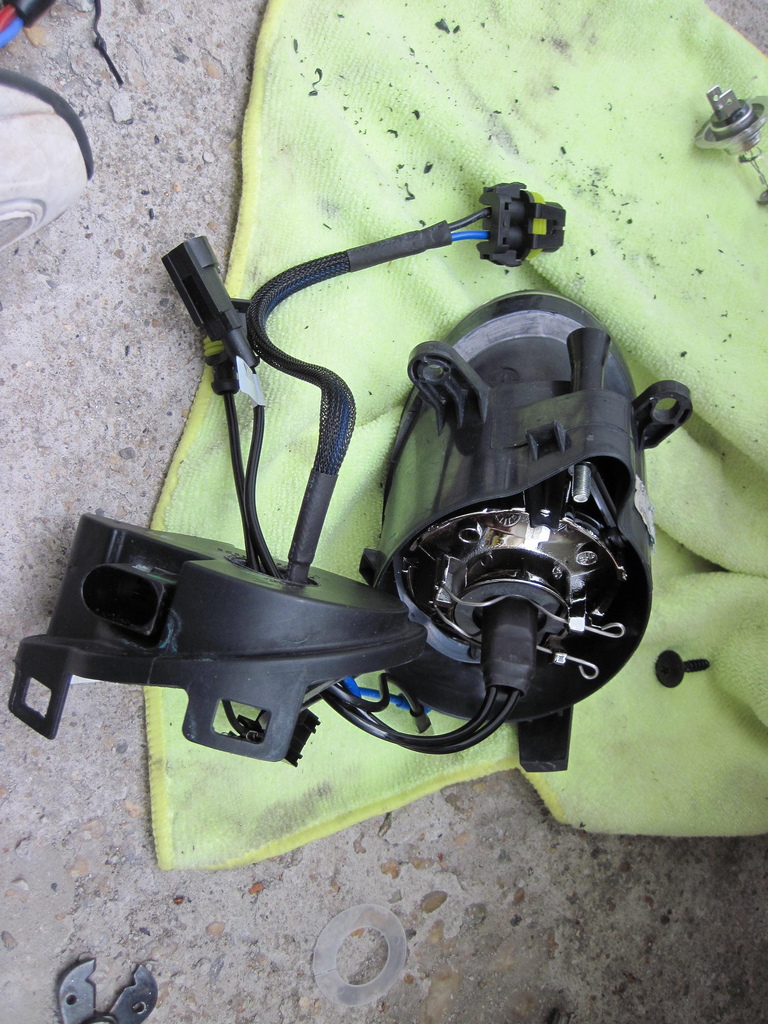
Figure 4. Feed the wiring and grommet through the hole.
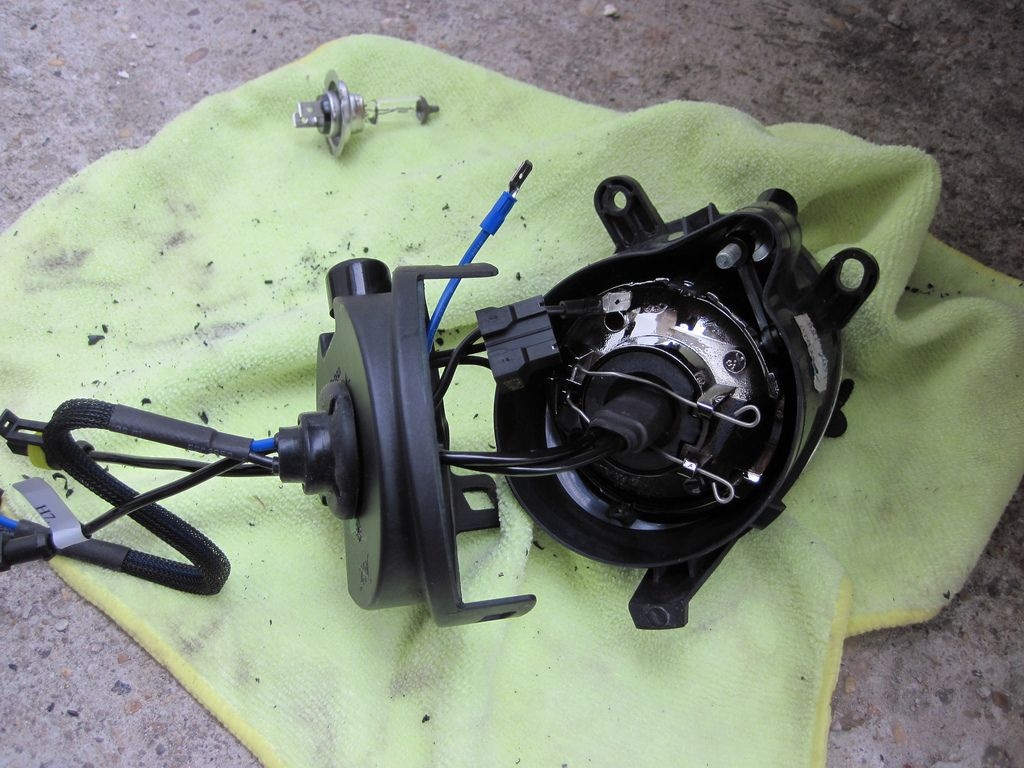
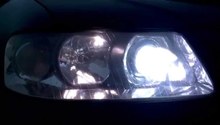
Figure 5. Install the HID bulb. 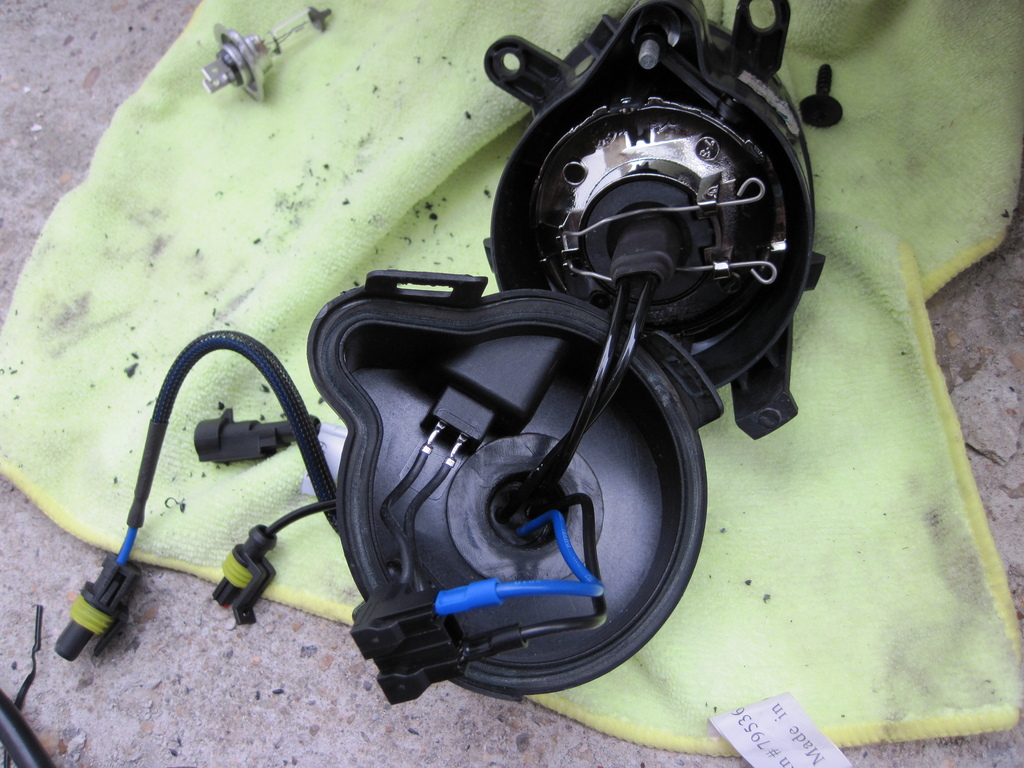
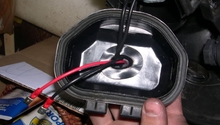
Figure 6. Connect the EC wiring.
Step 3 – Install the fog lights
- Plug the EC into the ballast, then plug in the two HID wires into the ballast.
- Connect the factory harness to the fog light housing's factory plug. Before bolting the lights back into the bumper, test to make sure everything is working properly.
- Once proper operation is verified, reinstall the fog lights into the bumper using zip ties to secure the ballast and wiring inside.
- Reinstall the grille, and you're good to go!
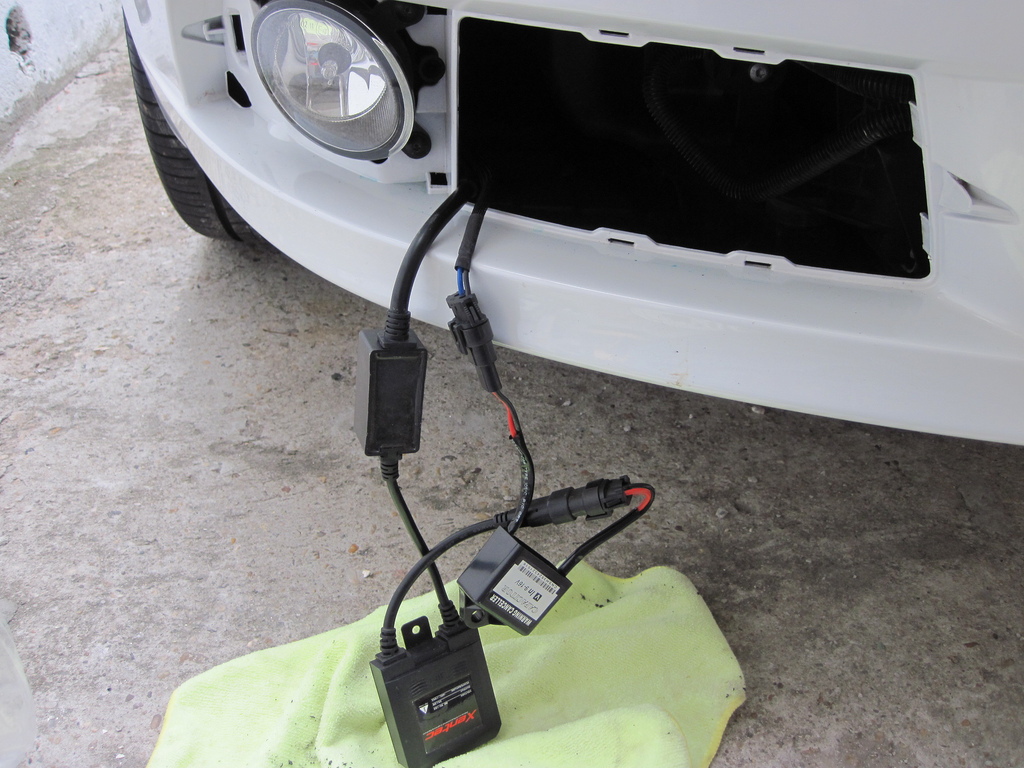
Figure 7. Install the ballast and plug into the factory harness. 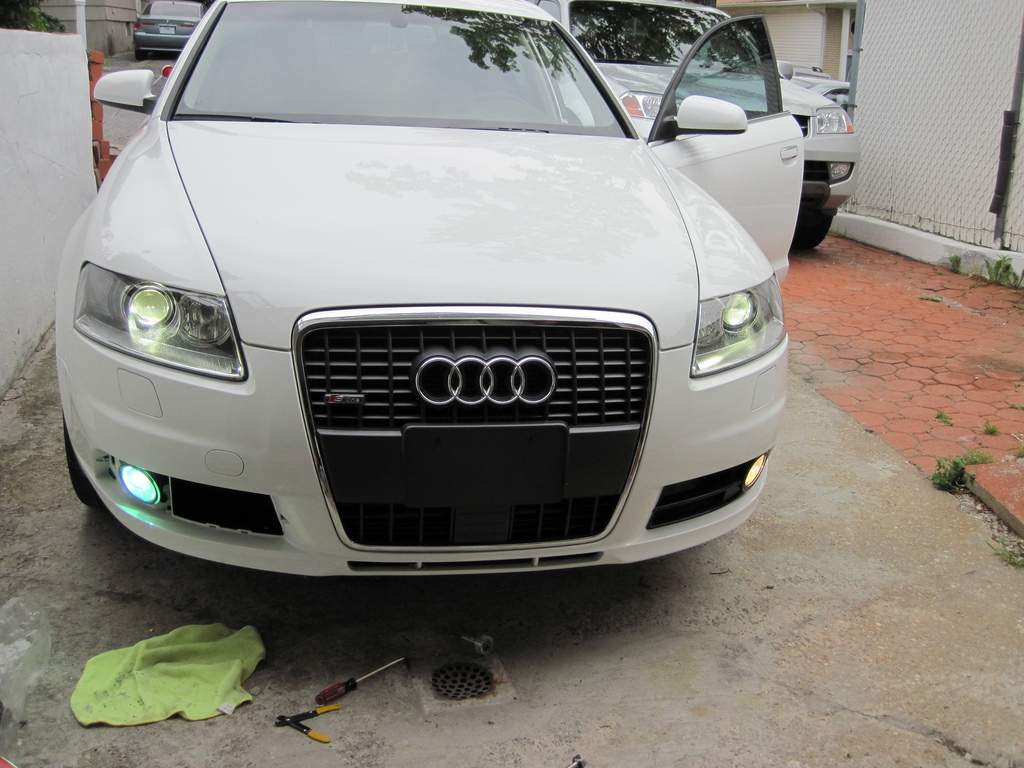
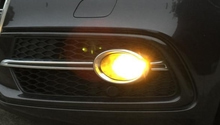
Figure 8. Test the new lighting, then reinstall the lights and grille.
Related Discussion
- HID Fog Light DIY - AudiWorld.com